..................
......................--- Forward V-berth Water Storage ---
During our first year with the boat we could carry 22 gallons of water under the aft part of the V-berth and just ahead of that under the old V-berth and also other water loose on the boat. We wanted to make the boat self-contained for up to at least 30 days without having to re-stock or make a marina or any place for that matter if we so desired. The Double Doodie Head makes that possible as far as human waste is concerned and now that we had the EdgeStar 63 quart frig we didn't have to re-stock ice every 5-7 days. The last part of the equation was the water.
On this page I'll document providing more storage under the V-berth forward of the other water storage.
..............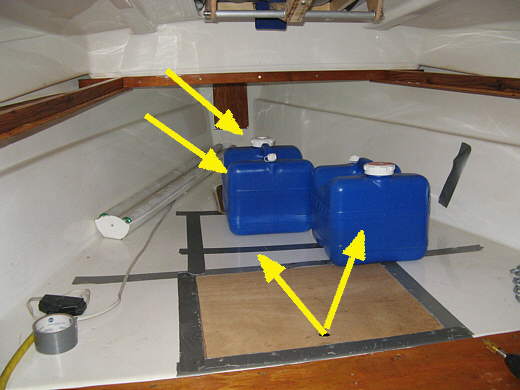
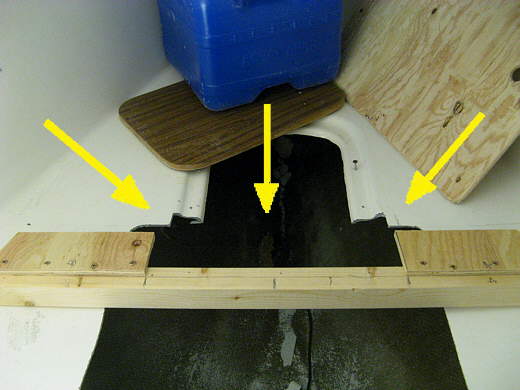
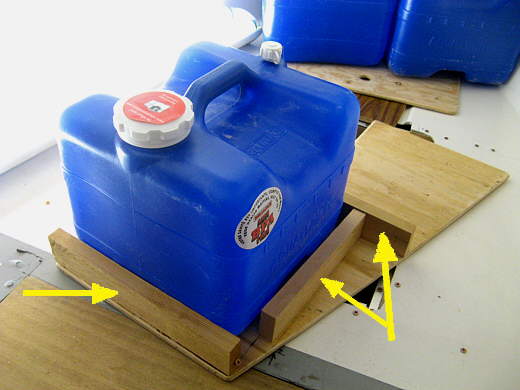
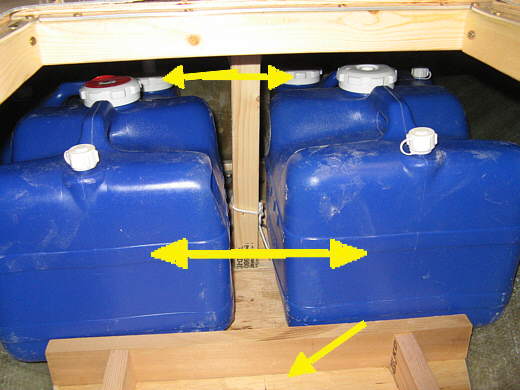
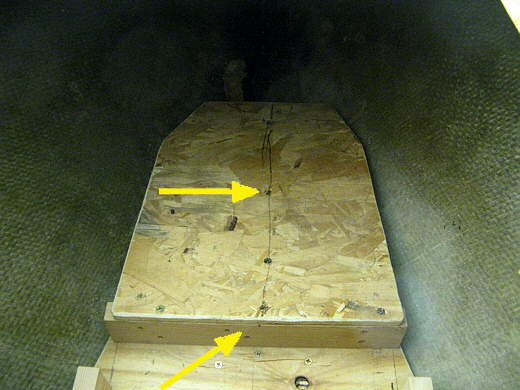
I started first by sliding some 4 gallon Reliance container forward by putting them below the berth through the existing hatch where the double bottom arrows are. Once I could see that I could get 4 additional containers down there I laid them on top of the berth like above to determining where I wanted the forward access hatch to be. I just used 2 containers, but in the end there will be another up forward ahead of the one there and another alongside the container to the right above.
I also determined how large the hatch had to be to get them in and out and marked that off with the duct tape you see forward of the existing hatch.
..............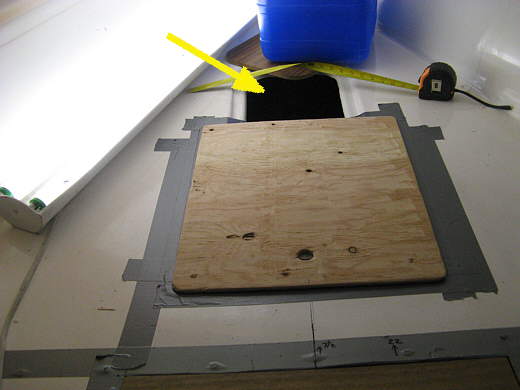
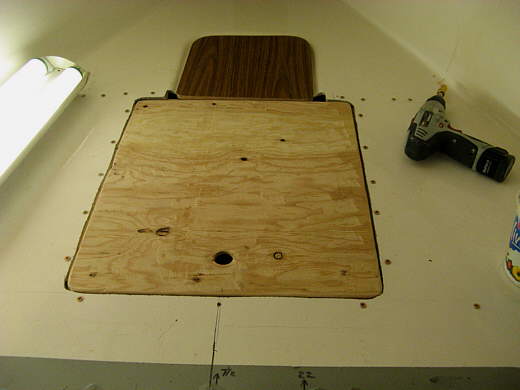
Next I cut a hatch out of plywood and laid it on the duct tape and drew around it with a marking pen. You can also see that the new hatch will overlap the existing access port (arrow).
..............
Holes were drilled at the corners of the new hatch opening and then the saber saw was used to cut the area out. Before that I screwed a temporary piece of wood in across the existing opening to stabilize it while cutting.
..............
A couple minutes later we had a hole. Now to reinforce the hole and provide a way to capture the hatch.
..............
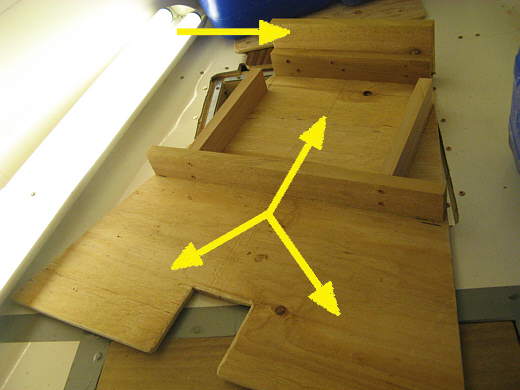
To do this pieces of plywood and 2 X 2's were cut. These will span across the forward and aft end of the hole and are long enough to go almost over to the hull sides, way past the opening itself. I've done this on other access holes and end up with the hole area being stiffer and stronger than it was before the hole was cut.
..............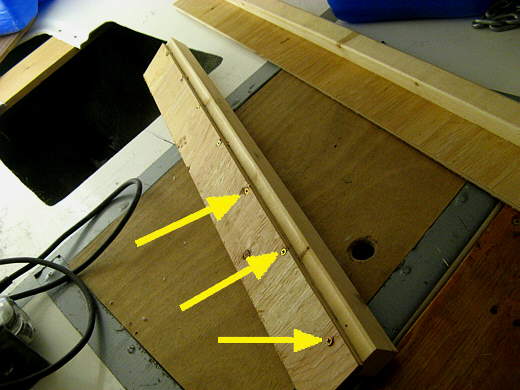
The plywood was screwed to the 2 X 2 with grabber screws.
..............
I cut some of the plywood out of the forward one in the area where the access hole is. It was slid up forward where the arrows are and....
..............
Screwed into place there, again with grabber screws after a pilot hole was drill through the fiberglass. This piece will support the aft end of the access cover and the forward edge of the new access cover.
..............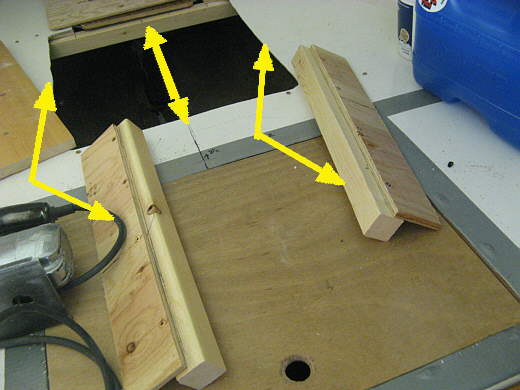
You can't see it here, but another piece (the long one 3 and 4 pictures up this page) was screwed into place at the aft end of the hole, so that there were supports on both sides of the hole (the middle double arrow set). Next two side pieces were cut and screwed together to go in on the sides of the hole. They look different lengths in the picture above, but aren't.
..............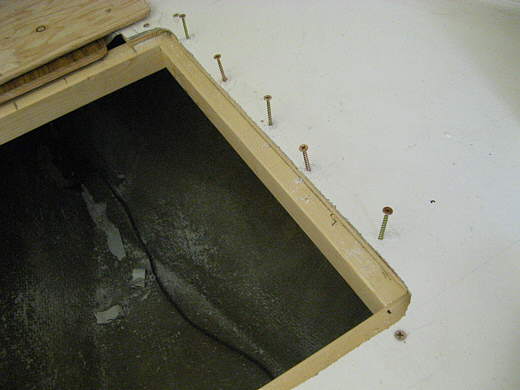
Here the starboard side one is being screwed into place. When done all of the places where the screw head are will get 2 layers of duct tape over them as they stick up slightly and the tape protects the bottoms of the cushion covers.
..............
One final thing that I did that I didn't take pictures of was to screw some narrow flat pieces of aluminum 1/8 th inch think to the tops of the 2 X 2's. This was to raise the hatch up so that it was flush with the fiberglass on the v-berth. You might or might not need to do this depending on the thickness of plywood you use.
..............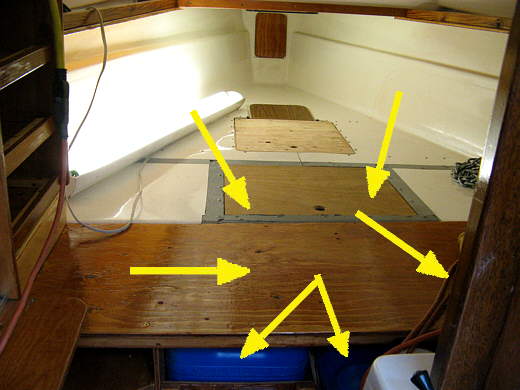
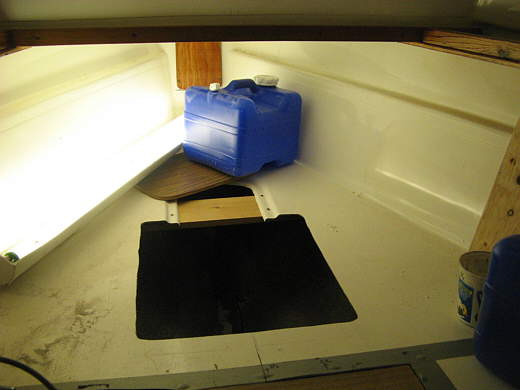
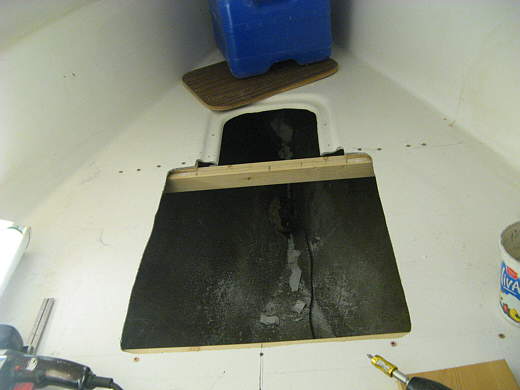
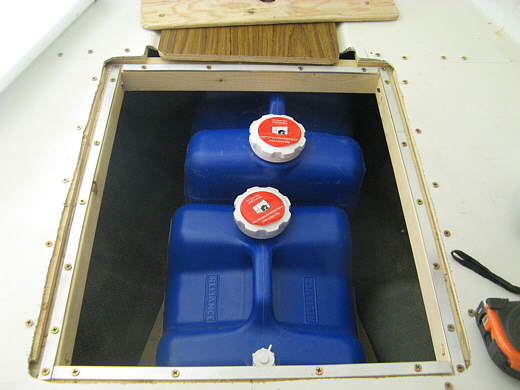
Here you can see all three of the areas under the v-berth. The two 7 gallon containers, one plumped to the sink, or where the 2 lower arrows are and you lift the plywood bench to get to them. To the right of them where the porta-potty use to sit is more storage and where we normally keep our wet suits and some other gear. The 2 top arrows point to where 2 four gallon containers are stored and all the new ones are forward of that and are the ones on this page.
Since the new cushions split...
..............
...side to side these areas are easy to get to. Just lift or remove the cushion over the hatch you want to get
into. I usually just lift them up after rolling the bedding forward and keep them up with a couple of the pillows
under them.
..............
Next the 4 new containers were put below in order to see what was going to be needed to position them there.
..............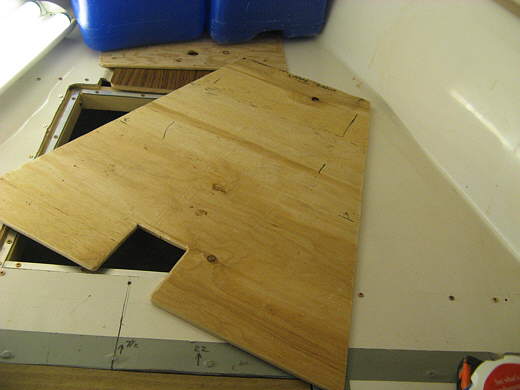
This piece of plywood was cut and believe it or not will actually fit down the hatch.
..............
A couple pieces were added to it to keep the container in place
..............
The 3 connected arrows point to where 3 of the containers will sit. The top arrow points to a piece that was added where the very front platform for the foremost container will attach.
..............
The new platform sits on the old one towards the stern and on this blocking forward. The above is a piece of 2 X 4 with another spacer piece on top of it. I felt the bottom of the hull here was very strong since the ballast tank joins it here, but if you worried about the weight put the spacer plywood under the 2 X 4 and make it larger. The blocking was screwed to the bottom of the platform.
..............
Here is the platform in place.
..............
Here you can see the older 4 gallon containers (top arrows) behind the new ones (bottom double arrow). The bottom arrow points to where one of the front ones will go.
..............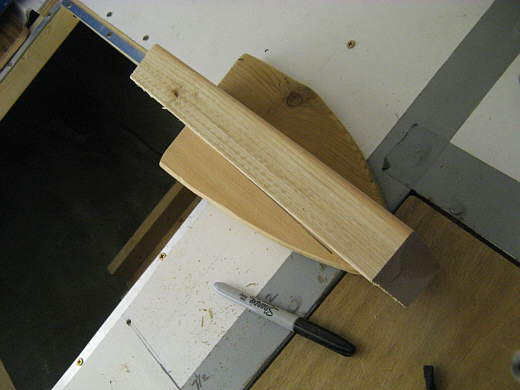
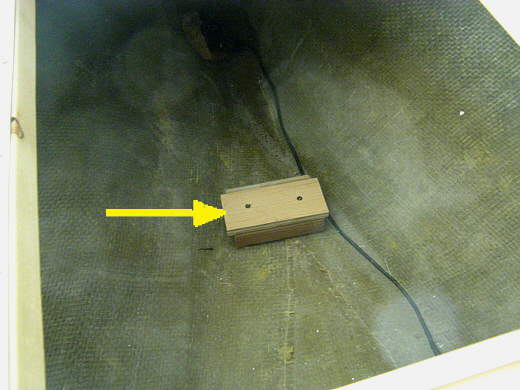
This support block was made to go....
..............
.... forward of the platform to support the final platform for the last container.
..............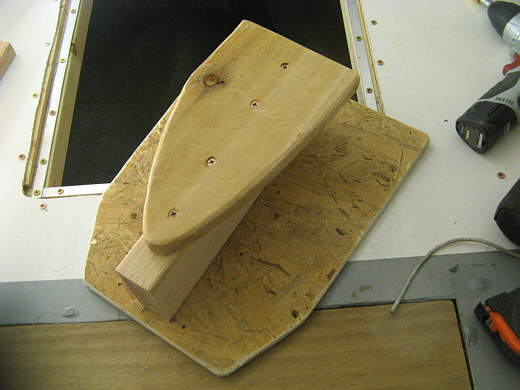
A picture of the bottom with the last platform screwed on.
..............
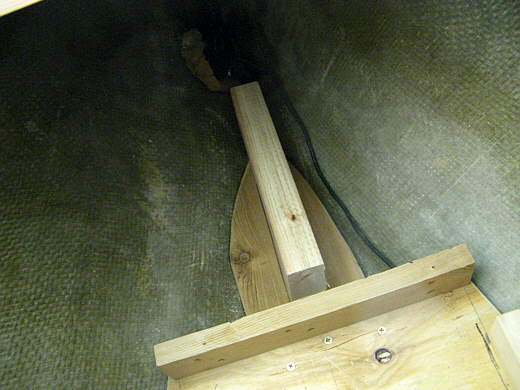
Here it is in place and you can see how it attaches to the tall piece of the larger platform.
..............
This one also got a locator piece to keep the container from going further forward.
..............
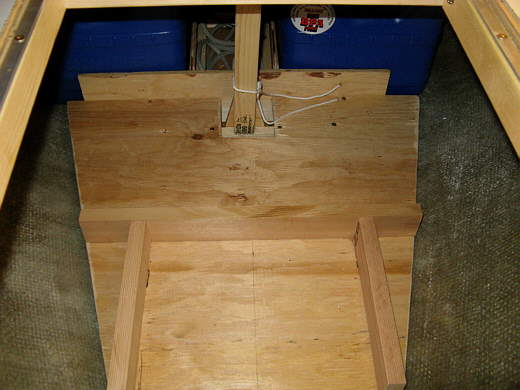
Here the 2 forward containers are in place. Note that the forward one is higher. That was to clear the hull sides as the boat is getting narrower.
..............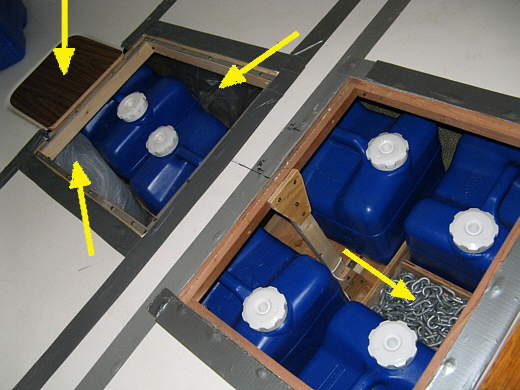
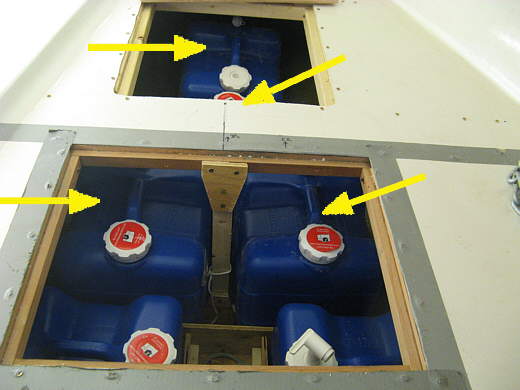
In the picture above you can see all 6 of the 4 gallon containers. The left arrow points to the cut off original access port. I store some pieces of wood there and along side of these containers just in case we need them while out. The next two arrows point to a couple of the collapsible water container that wedge the front two containers into place and could also be use if needed. We will probably use them for gray water at times. The last arrow points to a spare 30 foot 5/16 inch link anchor chain. On our Florida trip we had cereal and cookies in 1 gallon plastic containers along the hull sides in this area plus quite a bit of clothing in large zip-lock type plastic clothing bags. Also I kept my lap top computer in its bag with inverters and other computer cables and accessories on top of the containers to the right. You can put a lot of stuff under the v-berth if you so desire.
..............
Since we have the 19 gallon inboard gas tank in the lazarette I use the weight at this end of the boat to balance it out. On the Florida Fall 2010 trip we had the gas tank full twice and I used the water out of the very front of the boat last. Also I'll use water from one side or another if needed or both at the same time.