................Return to Sumner's Home Page..............Our MacGregor Index Page
........................................
Previous
Page.............................................
Next
Page If There Is One
Update Note (2011): Before exploring this mod you might want to read how it works for us. Here is a good page to read regarding that
( CLICK HERE ).
..........................................--- Original Double Doodie Bag Head Part I ---
Not too long after we got our Mac in Jan. of 2009 Scott Widmier of Kennesaw,GA who has a Mac 26D mentioned that he was going to enlarge his V-berth by taking out the head and enlarging the V-berth back towards the main cabin area. We had looked at the V-berth as a possible sleeping area for the two of us, but since I'm 6-1 it was just too short and confined in the foot area. Well after seeing Scott's post I thought what a great idea. The first time I got in the boat I thought the head was a waste of a lot of good useable space. We have a teardrop trailer that I made and the bed is not large in it, but we like it a lot and with the enlarged V-berth the bed there would be a little larger than the teardrop one. There is a lot to be said about the huge aft berth in the Mac., but for us it was actually too large and didn't have the cozy feeling we liked. Our decision of course is not for everyone, but we feel we will be happy.
Well if you get rid of the original head the next question is what do you do about a head. Scott answered that also. He made a head in the port seat right across from the sink area and just in front of his new enlarged V-berth. He mounted a toilet seat there and put a bucket under the seat with that held Double Doodie bags (same idea as Wag Bags). He did a very nice install with all of this.
We looked at that area, but prior to this idea wanted to use that area for a storage cabinet. We wanted seating for 4 people, 2 on each side of the cabin. We looked at using the port seat right next to the aft bed. I was going to have to raise the seat about 2 inches to do the install like I wanted and that presented a problem with my head hitting the ceiling and we also had a whisker pole stored along the top of that wall area. It was also going to be harder to curtain that area off.
........
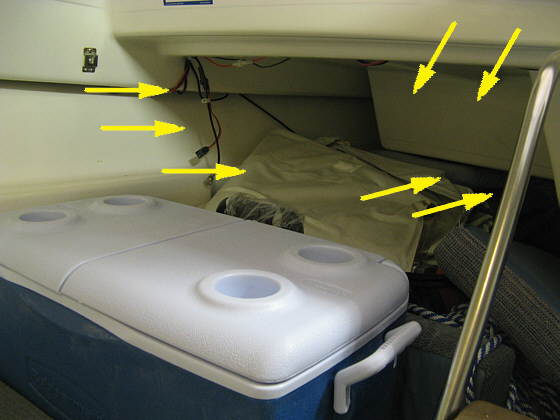
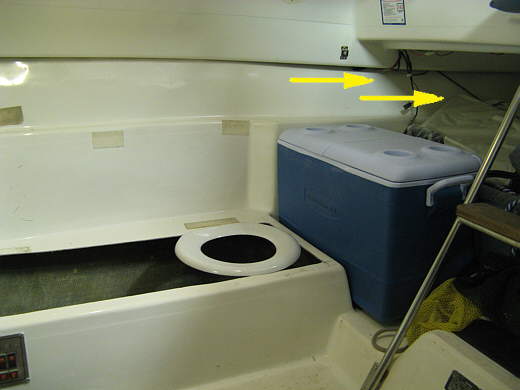
Next we looked at the starboard seat and came up with a plan. One we wanted to put our 5 day cooler just aft of that seat. It would be handy to get to from the cockpit and a great place when fixing meals. That would block off that side of the aft berth, but we will be sailing alone 99% of the time.
........
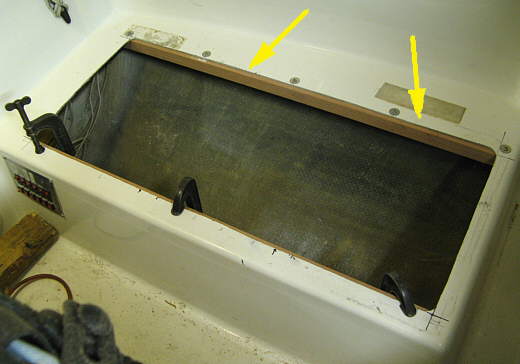
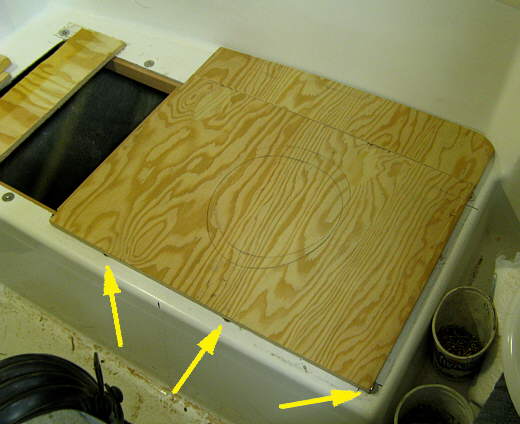
We decided to use the room behind and above the cooler back to where the cockpit intrudes into the aft berth area for storage of our table and for a drawer for kitchen items. In the area the arrows are pointing to. Also from the cooler back all the way to the rear of the berth would be used for light bulky items like the extra sails and clothing. We measured and from the cooler over to the port side of the berth it was as wide as our teardrop bed, about 54 inches. So it was still wide enough for two normal size people. We tried it out and both people can exit from just the one side if you are comfortable with each other. Again there will be very few times when there will be more than the two of us overnighting on this boat and if there is most likely it will just be one other person. Again this mod is not for everyone, but we hope to do a lot of cruising with this boat and could be gone for over a month from home with it and we want it setup for the two of us.
For some reason there seemed to be a little more headroom on the starboard seat, so that became the area for the new "dry" toilet. It would be easier to curtain off from the side of the companionway over to the sink area (curtain only needed if someone else was with us). If someone was sleeping in the aft berth the toilet wouldn't be right by their head and would have some separation (privacy) from both berths.
........
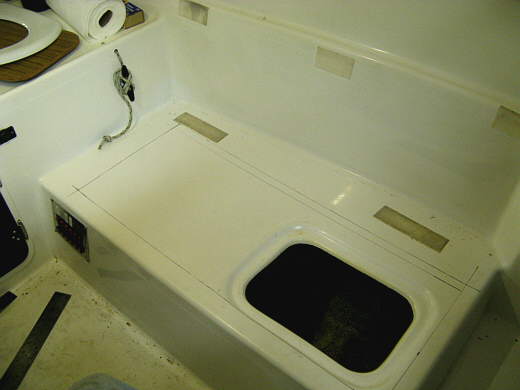
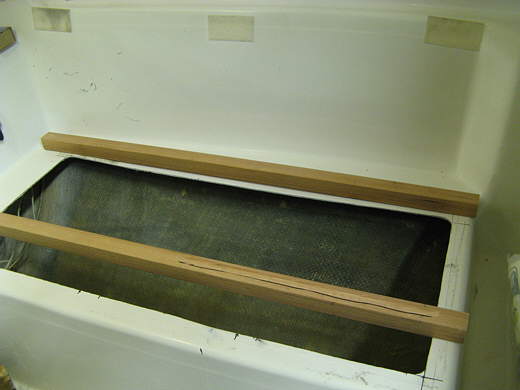
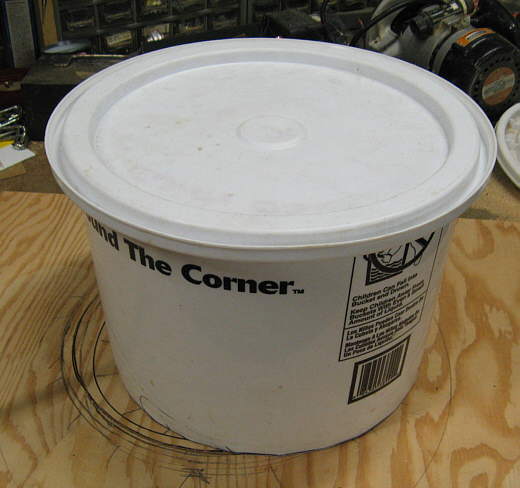
I started by marking off the seat where I wanted to cut it out. See the black outer lines above.
...............
I radiused the corners and drilled holes to put the jig saw blade into to start the cuts and started cutting along the lines.
...............
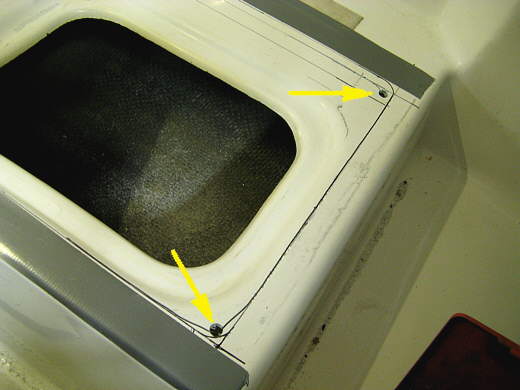
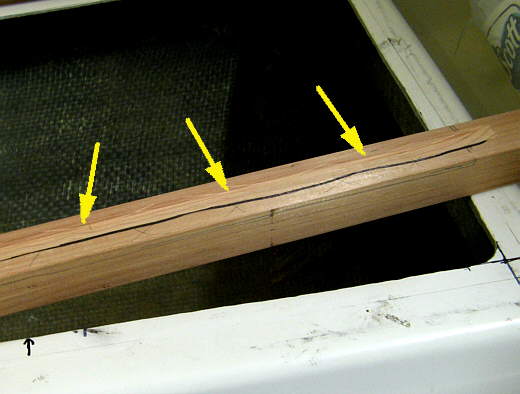
I like to use Bosch T-11B 11-14 TPI Progressive tooth metal saw blades for most of my wood work. They cut nice and stay sharp forever when cutting wood. I have an older Sears that isn't a Bosch, but the blades work in it. They cut pretty nice even in the fiberglass. The arrow points to the cut and shows the small amount of splintering. I put duck tape next to the line on the outside of the cut where the arrow body is. I cut the whole opening with one blade, but it was dull enough at the end to toss it.
...............
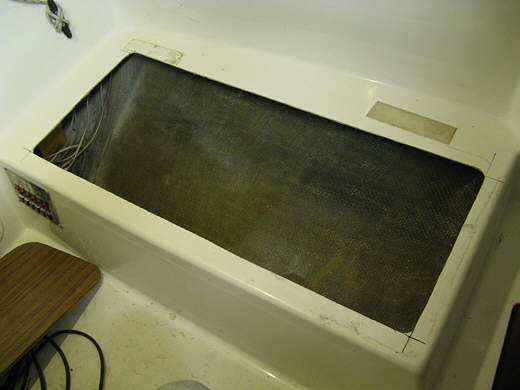
Here is the hole after the saw work. Pretty large and I worry about hurting the structural integrity of the boat doing this, but the boat has a large compound curve in the hull in this area and I feel it is pretty strong there, but that is a gut feeling. I am going to reinforce this area and hopefully make it as strong as before.
...............
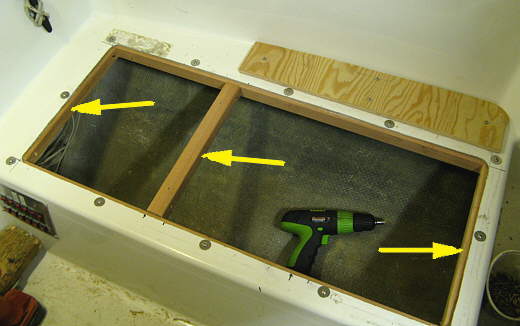
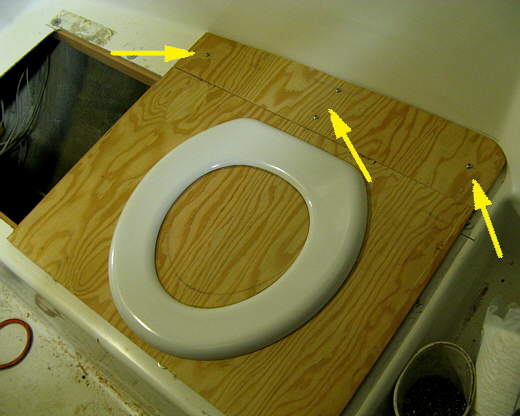
Here I have the toilet seat over the hole trying to get a feel for where I wanted it. I needed to have room next to the cooler, so it ended up being moved forward from where it is in this shot. The arrows are pointing to where I'll build a shelf to slide the table into when not in use.
...............
To put some strength back into this area two pieces of 2 X 2 redwood were cut to run along the opening lengthwise.
...............
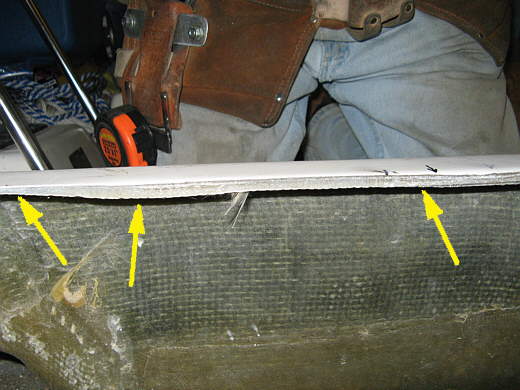
The cut lip was thicker where the old opening was (arrows). Since I wanted the redwood to fit flush below the lip I ground some of this thickness off and.....
...............
.......... cut a groove in the redwood in this area. The thicker lip will fit into the groove.
...............
Here one of the pieces has been screwed into place and the other is clamped into position waiting to be drilled and screwed.
...............
I used screws that went all the way through and had nuts on them at the ends and middle of each piece and between those used pan head wood/sheet metal screws. The screws, washers and nuts are stainless steel.
...............
Next I put in cross pieces on the ends and one across the opening where I wanted to separate the opening into two compartments. With all of this in the opening it felt really stiff and there will be more to come that will strengthen the area.
...............
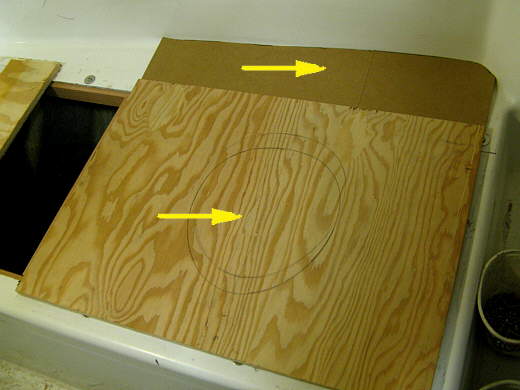
Next a piece of 1/2 inch marine plywood was cut (bottom arrow) that will be where the toilet seat will go (see outline on plywood). The top arrow points to a piece of cardboard that I was using to make a template for a piece of plywood that would go there.
...............
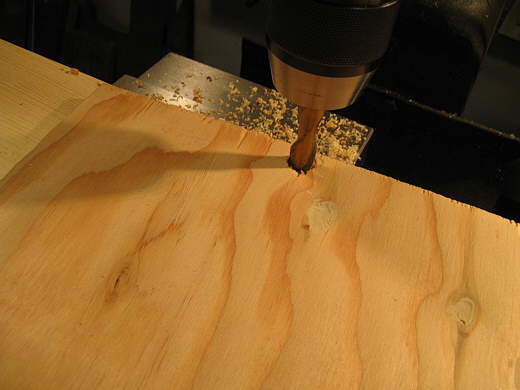
Where the plywood sat on the screws I used an end mill to recess a hole so that the plywood would sit flush.
...............
Here is a finished hole for the screw head.
...............
The arrows point to where the recesses where put in the plywood on the front edge. There were others on the side and back. I laid the plywood on the screws and tapped it with a hammer and that left impressions on the bottom side that showed me where to put the recesses. You can also see the board at the back has been cut and laid in that position. Later I figured out that I wouldn't have had to make it. Oh well one of the problems of figuring out what you are doing as you are doing it.
...............
I had to cut a kerf along the bottom of the back board so that it would clear the rounded edge where the seat meets the side of the cabin. Without this the plywood wouldn't fit flush with the side wall.
...............
Here the back board is screwed into place and the toilet seat is mocked into it's position.
...............
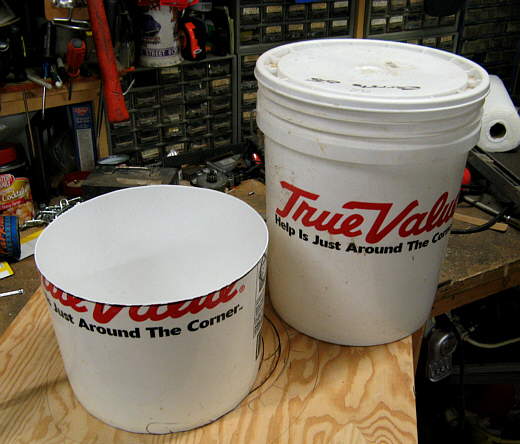
I needed a bucket for the Double Doodie bag to hang in and wanted it to have a lid. These bags are not suppose to leak, but I didn't want to take a chance. Because the side of the hull slopes in the bucket could only be so tall. I cut the one on the left to 8 inches (later when I found more headroom I did another one to 10 inches -- you will see it later.
...............
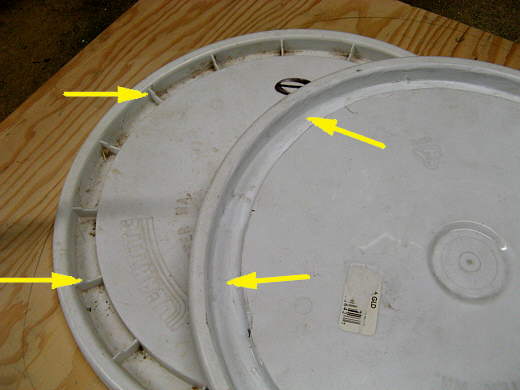
Since the bucket sides are tapered my next problem was the lid wouldn't fit any longer. I found out that if I cut the ridges (left arrows) out of the top of the lid and made that recess smooth that....
...............
I could flip the lid over and it would fit. It wouldn't snap on, but it went down flat. Later when I cut a bucket to 10 inches tall it was a little larger in diameter and the lid would actually snap on like it was made that way.
continued on the next page....................
.................................................................................. Next Page If There Is One