..................
...........................................--- Under V-Berth Storage ---
..............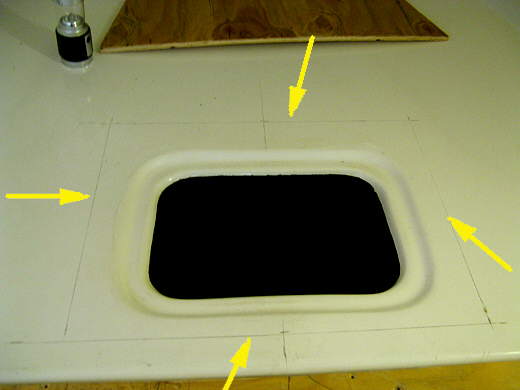
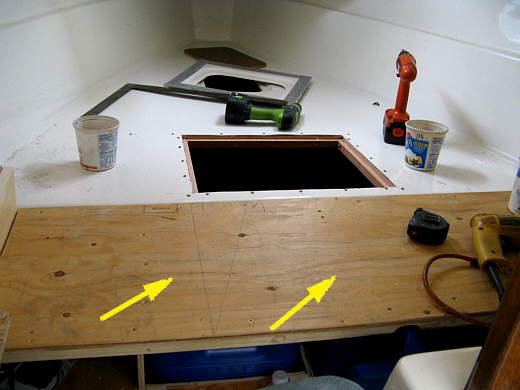
We wanted to open up the under v-berth storage by enlarging the access to it which would allow us to store extra water there in 4 gallon Reliance water jugs along with other items.
The new outline (arrows) was marked and then...........
..............
.... taped just outside the lines so that the bottom of the saber saw wouldn't mark up the fiberglass.
..............
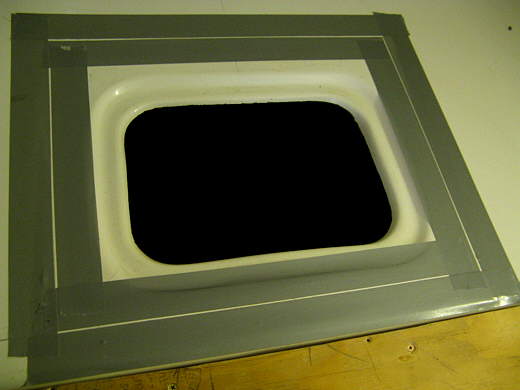
Next the opening was cut out with the saber saw. At this point the opening was quite flexible.
..............
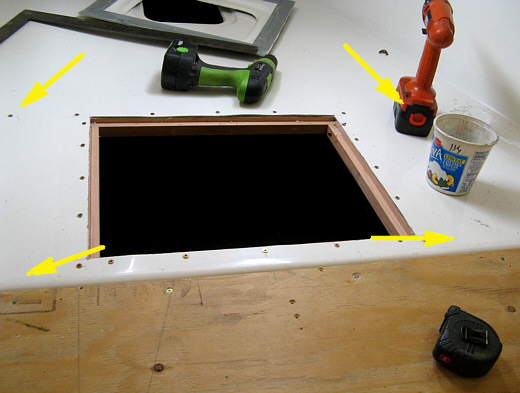
To strengthen it long pieces of 2 X 2 redwood were cut and screwed to the bottom of the opening. They extended from side to side way past the opening almost to the sides of the boat. The arrows show where these two pieces were placed and how they were screwed to the platform past the opening. Then fore/aft pieces were screwed into place. Now this area is more rigid than when the work was started.
..............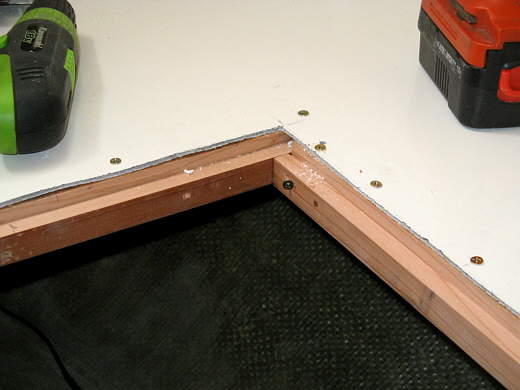
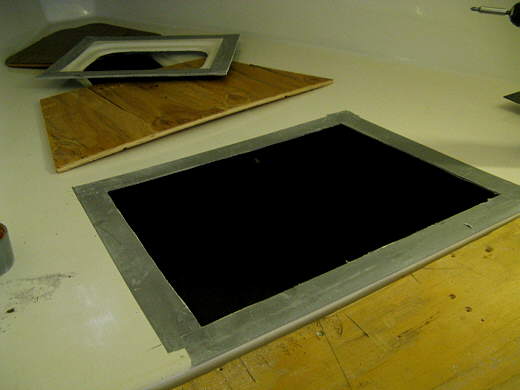
The redwood had been cut so that there was a recessed lip down far enough that the hatch cover would end up flat with the platform top. You can also see how the corners were tied together with screws put in at an angle.
..............
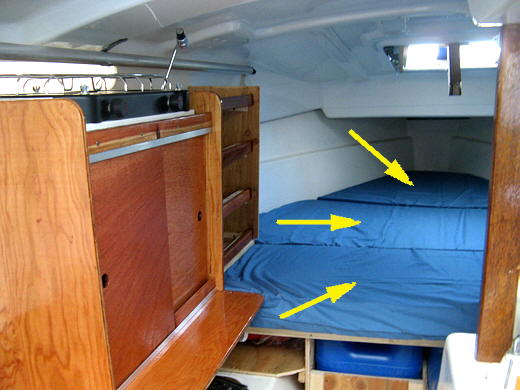
While viewing this remember the head has been moved to the cabin and this opening is now about the middle of the bed with the bottom arrows pointing to the new extended bed platform. Also the screw heads were covered with tape to avoid them chaffing on the bottom of the mattress covers. This is not shown, but was done at the end.
..............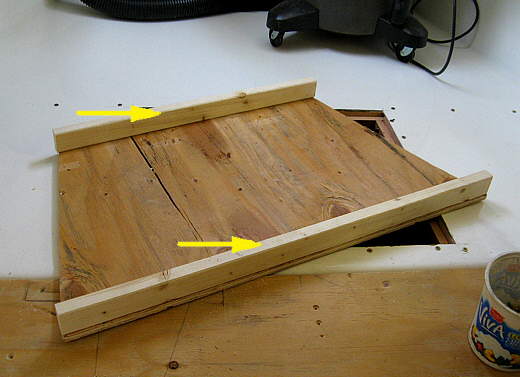
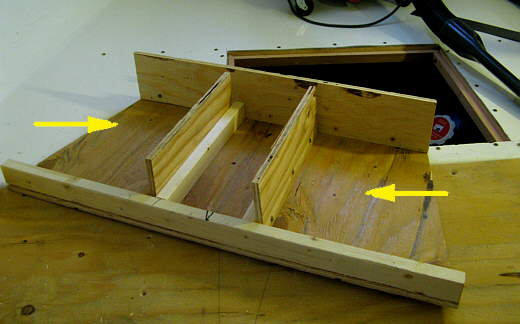
This is the start of the platform that will go down into the storage area and support the two 4 gallon water containers. The arrows point to 1 X 2's that stiffen the platform that goes from one side of the hull to the other, the reason for the tapered shape. The ends of this rest on a flat portion of the area down there and the centers are unsupported except for the 1 X 2's that take care of that.
..............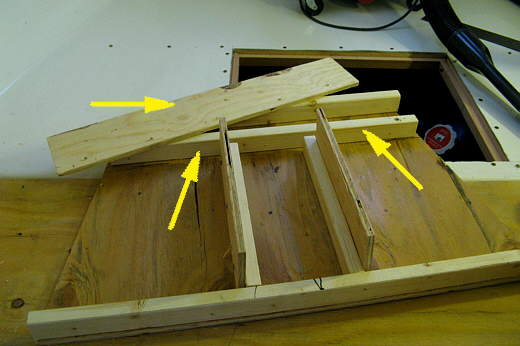
Here fore/aft dividers have been added and the top arrow points to a back divider that will be attached to the 1 X 2 that the other two arrows are pointed to. A slot was left for it behind the two fore/aft dividers.
..............
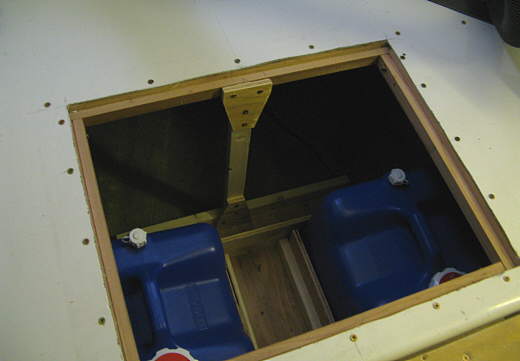
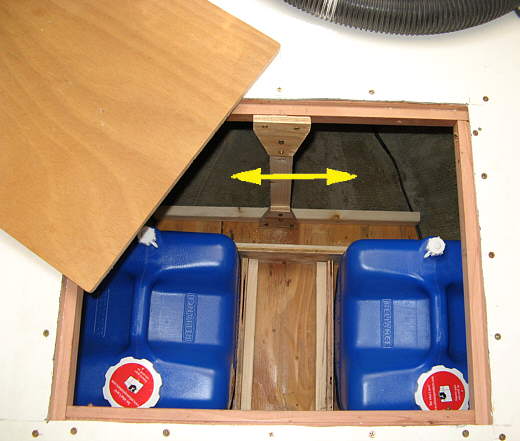
The water containers will go where the arrows are and will be held in place by the dividers and the slopping side of the boat on the outside.
..............
This shows the storage platform in place with the water containers and also shows an upright......
..............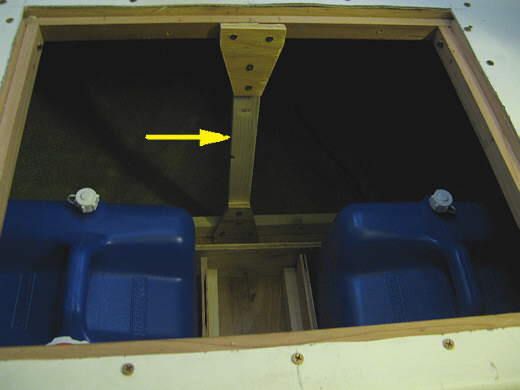
.........support (arrow). The 1 X 2 the arrow is pointing to goes from the platform at the bottom to the bottom of the forward 2 X 2. It is tied to both with the pieces of plywood. It makes the bed platform even more ridged.
.....
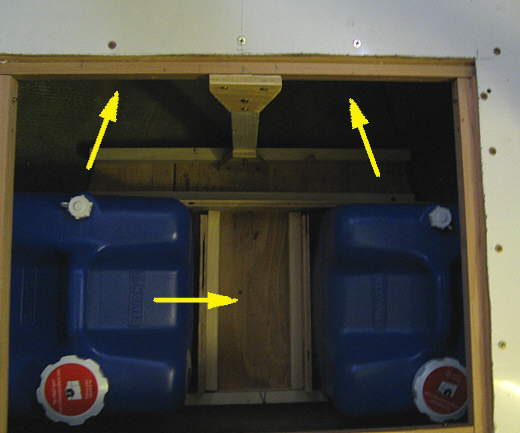
The water containers were move to the side so that the side of the boat would keep them from wanting to tip outward and the bulkhead right in front of them also keeps them from tipping to aft. The middle arrow points to a storage point between them where we usually keep our day packs for hiking. The top arrows point to storage on the bottom of the boat ahead of this area. We keep light things there, like a spinnaker and a container for full wag bags.
..............
This is a little better view and you can see the flatter areas that the ends of the platform rest on.
..............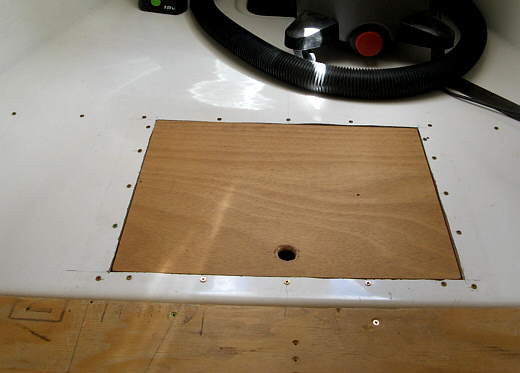
Here is the simple hatch to cover the hole. To get to the storage area....
..............
........we just need to push the bedding rearward and lift up the second mattress (middle arrow) and we have access.
The storage area has worked great in all kinds of wind and waves so far and we are happy with it. The 4 gallon water containers are light enough to handle, but if possible we fill them at home with a hose and then on the water transfer water from them to the main sink tank with our transfer pump. On longer trips it has been no problem to pull them out empty and then fill them ashore and put them back down into the storage compartment. I started with 7 gallon containers, but they are really too heavy for me to move around. We still use them for the sink storage and a second one for storage right next to the sink one where it isn't too bad to put in place. You can see the sink one under the bottom arrow and the corner of the other one to the right of it.