..................
...........................................--- V-Berth Storage Part II ---
..............
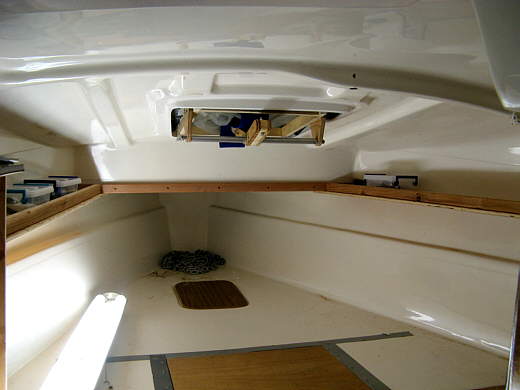
Along with the other clothes storage and other storage for the V-Berth area we discovered on out first two trips that some high side storage along the sides of the v-berth would be out of the way and would increase the space for clothes and other personal belongings.
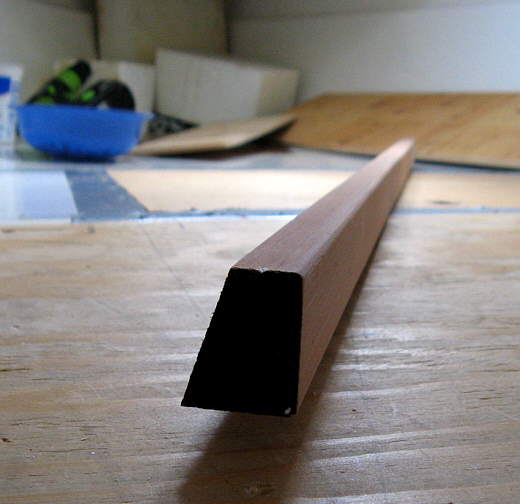
To accomplish this a piece of 2 X 2 redwood was cut at an angle along its length.
..............
It would fit across the forward area of the v-berth on the dropped section where the flotation is located.
..............
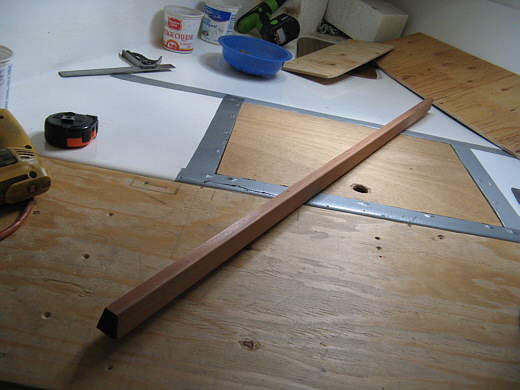
It was held flush with the bottom of that area with a piece of plywood and then a pilot hole was drilled into the fiberglass and a grabber screw was used to secure it to...........
..............
......the bottom of the flotation compartment. It will support one end of the side shelves and will visually tie the two shelves together.
..............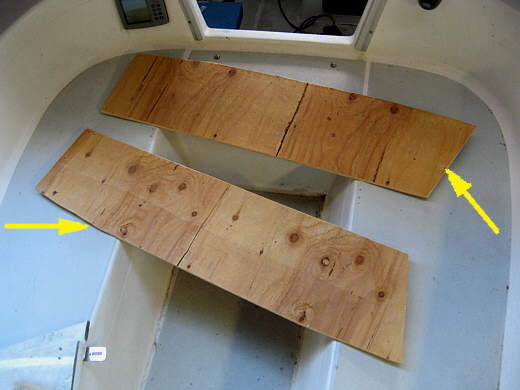
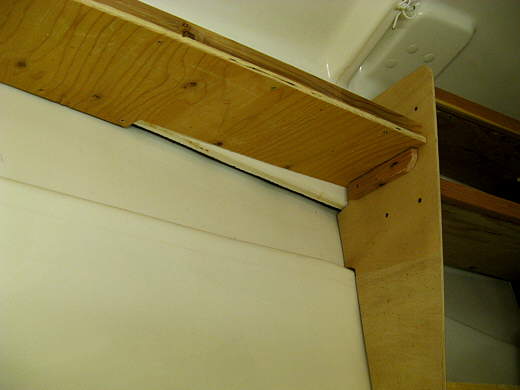
Next two pieces of 3/8 inch plywood were cut to a rough size, one for each side. At this point the ends to the right have the right angles cut on them to fit the ends of the previously built storage cabinets. They will stay that wide there, but will taper in width when done towards the forward end. The left arrow points to a slight curve cut into them to fit the hull.
..............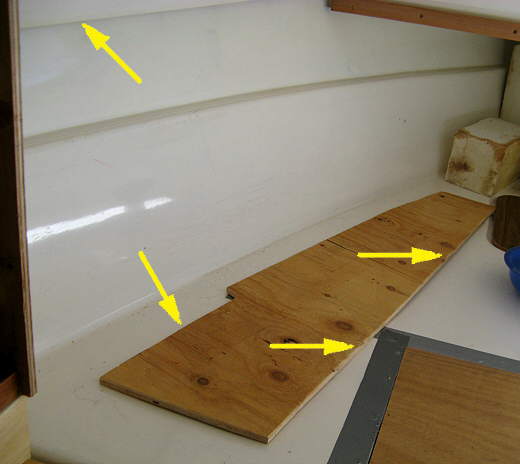
After some trial and error fitting they were cut at an angle along their length (right two arrows) and get narrower towards the front of the boat. This is for leg room when you have your knees up in bed. The left arrow on the bottom points to a notched out area that had to be cut into them to clear the molding by the upper arrow. This molding is at an angle to the bed platform. The shelf is parallel to the bed.
..............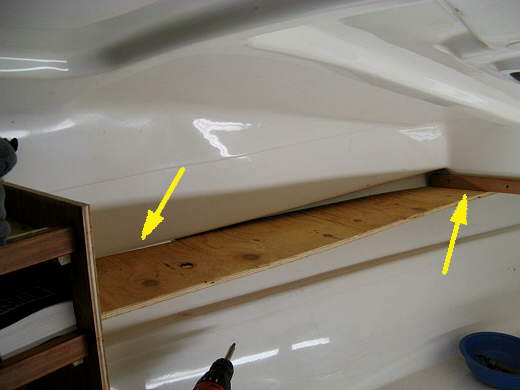
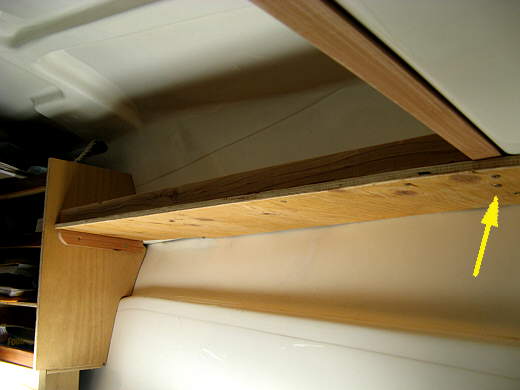
The left arrow shows the need for the cutout. The shelf is attached to a support on the existing shelf to the left and with a screw to the right of the left arrow up into the inside molding there and also screwed to the transverse piece of red wood (right arrow).
..............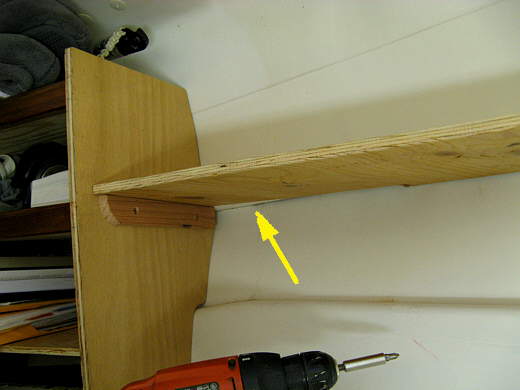
A view of the aft support and the clearance cut.
..............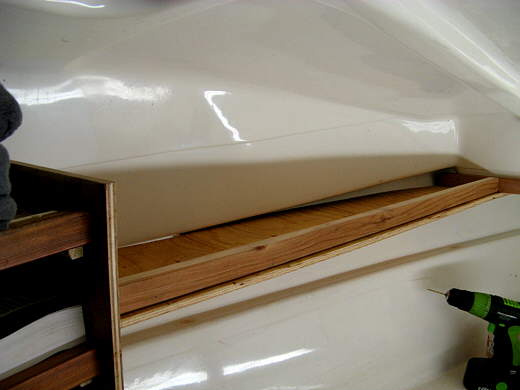
Here a forward support board of 1 X 2 redwood has been added along the length. This stiffens the whole shelf and prevents items from sliding off the shelf in most boating conditions. I rip 2 X 2 redwood pieces to make the 1 X 2's used throughout the boat.
..............
A view of the shelves in place.
..............
The starboard side attach point to the other storage unit there.
..............
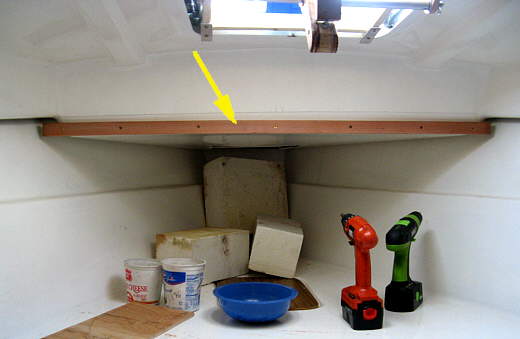
The arrow points to the screws that hold the shelf to the transverse piece of redwood at the fore part of the V-Berth.
..............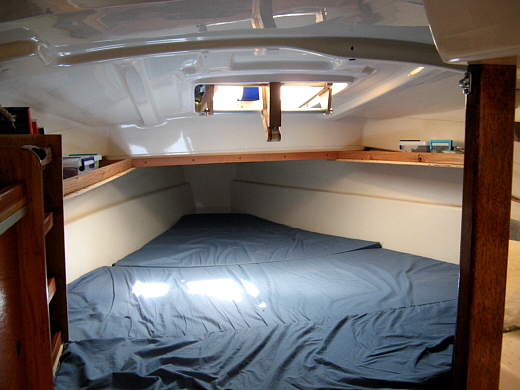
The sides were stained and cleared after the above shot. This added considerable storage to the V-Berth without infringing on the sleeping space. On our next trip we came to immediately appreciate this upgrade.
..............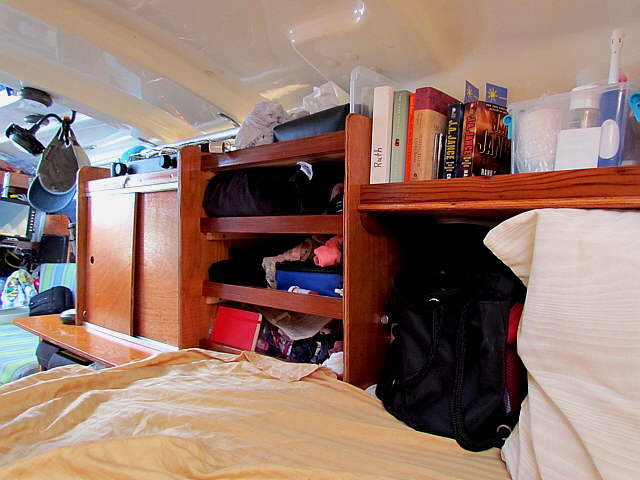
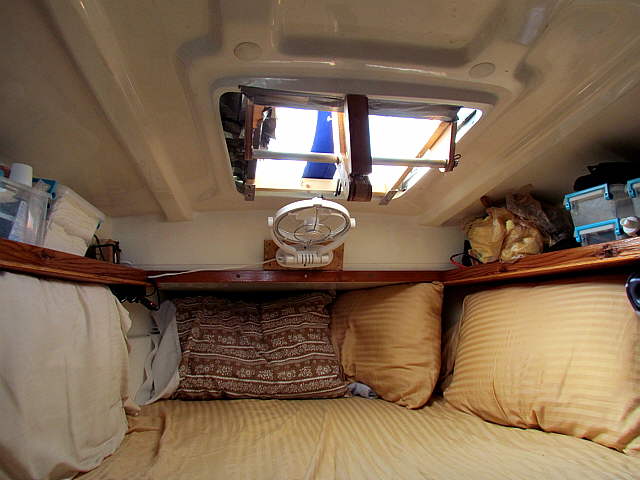
Here are 5 pictures of the V-berth area from our Spring 2011 trip to Florida. Above is the port side with Ruth's belongings with....
......
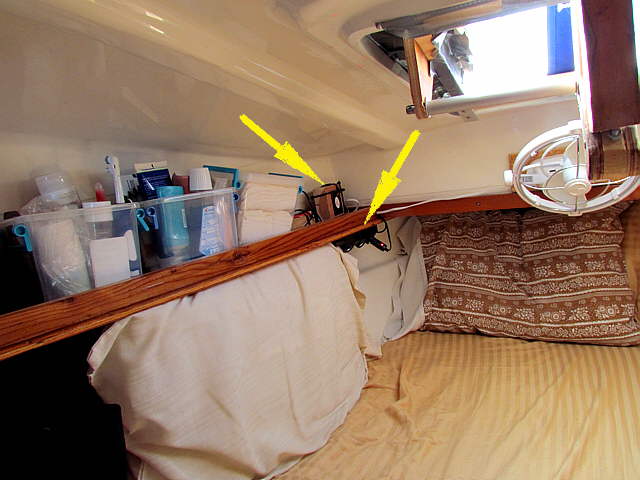
... more on the port side here. You can see the outlet for the larger fan, right arrow and the left arrow points at a smaller computer fan that I would not recommend. The large fan is great.
......
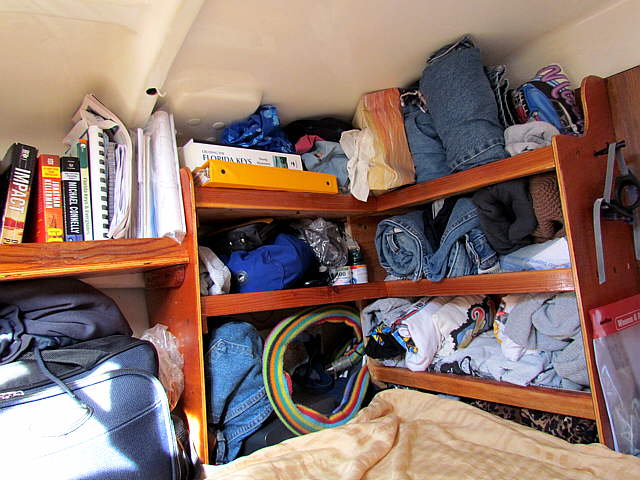
My side of the V-berth. Roll your cloths us and you can get a months worth in this much space. We also wash on the water.
..............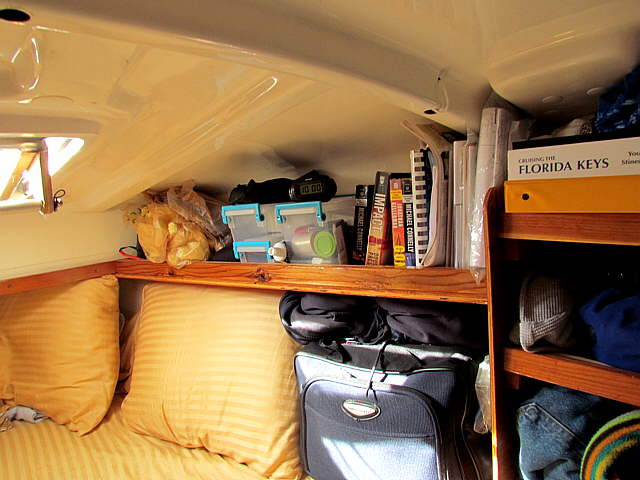
More of the starboard side.
..............
The V-bert goes ahead up into the area where the pillows are and now with the added length to it there is about 14 inches of storage room ahead of our feet up there also.