..................
..............................................................--- Bug Netting Page 1 ---
There are a lot of pictures on the next 3 pages and I won't be able to document them all at this point so here is a short overview.
We spent a lot of time making a full cockpit bug screen for the Mac and only used it one night in 3 months in Florida in 2010/2011. For some reason we never ran into a lot of bugs due to cooler weather and such. Still since the Endeavour will almost always be in Florida or Gulf waters we want a full cockpit bug screen for it and proceeded to make one.
One problem with making these is getting around physical obstacles on the boat and how to deal with them. We overcame most all of that by hanging the netting under the bimini and dodger using webbing common sense fasteners that were on the webbing.
We haven't tried it on the boat in Florida, but here at home the netting goes up or down in just a few minutes with the easy to use fasteners. The netting is long on the sides and the plan is to bring it down just inside the cockpit coaming and put the cushions on top of it.
There are a total of three zippered doors. One on each side of the forward part of the cockpit and one centered on the stern to get to the dinghy. It seals inside the sides and top of the dodger and the dodger has a screen front for ventilation from that direction. I'll try and document some of the following now and more later,
Sum
..............
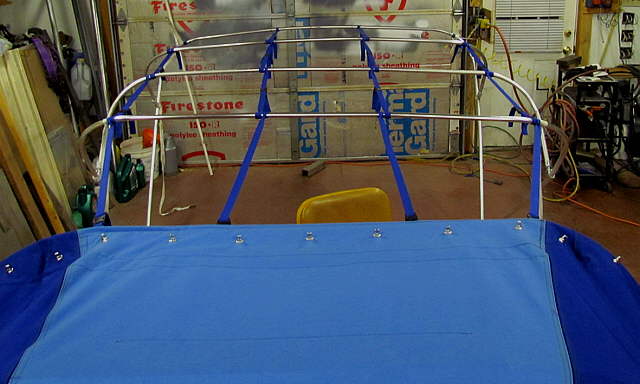
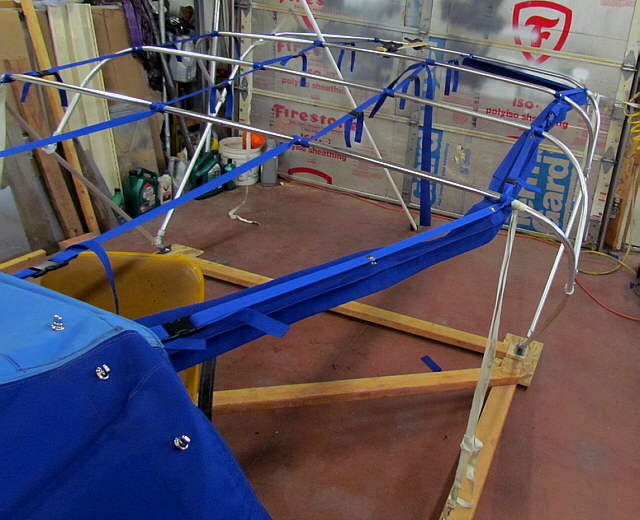
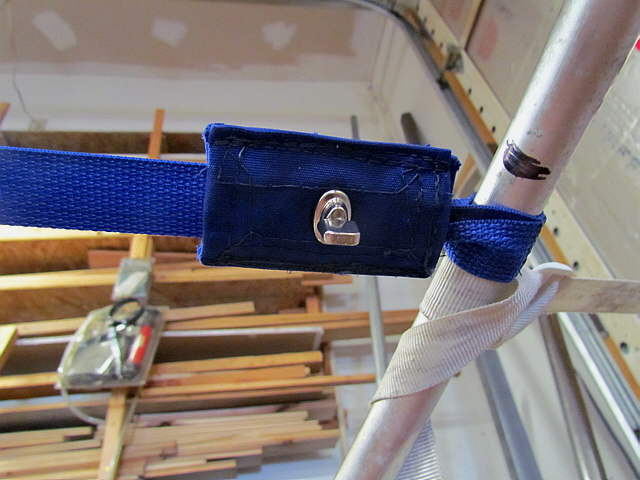
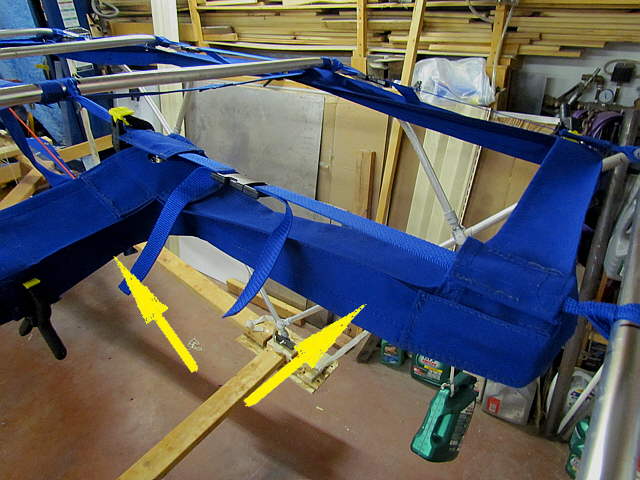
The supporting webbing that is left in place on the bimini and the part between the bimini and dodger can stay in place or be unbuckled and folded back if desired.
..............
...another view.
..............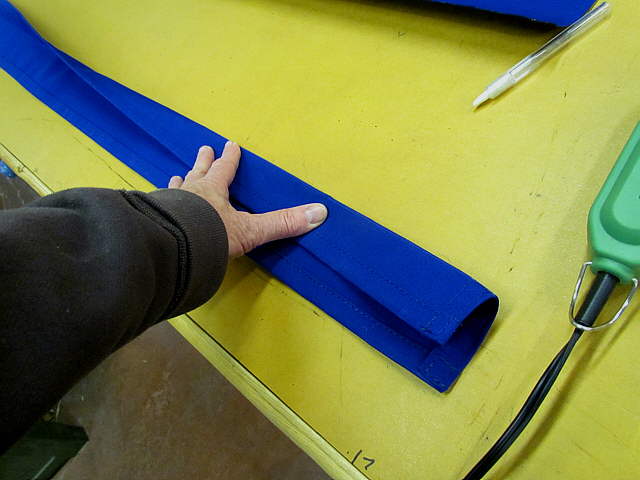
Making the angled top...
..............
... piece that will go ...
..............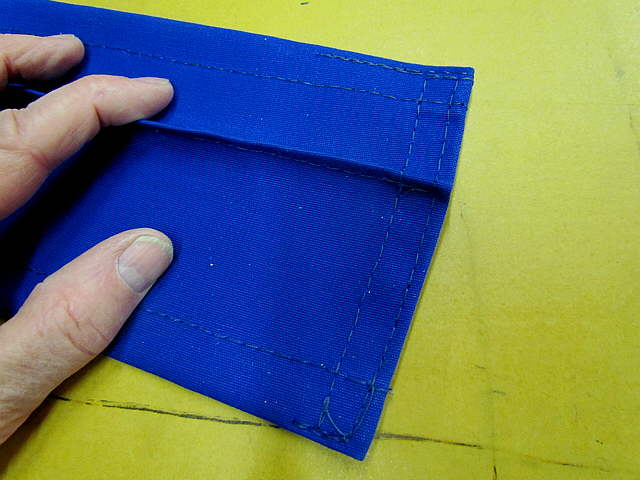
.... around the top of...
..............
... the enclosure.
..............
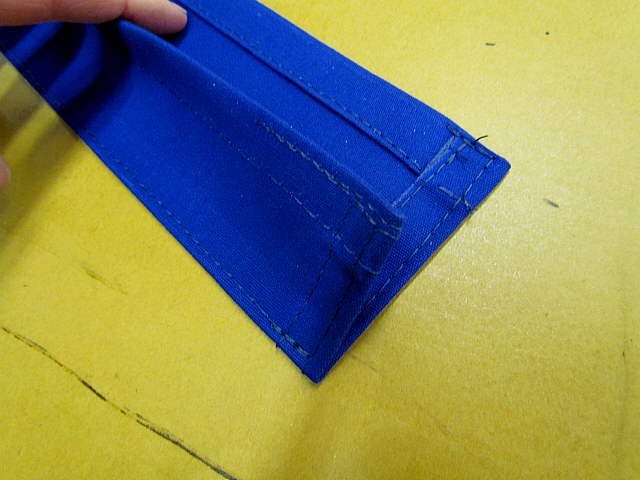
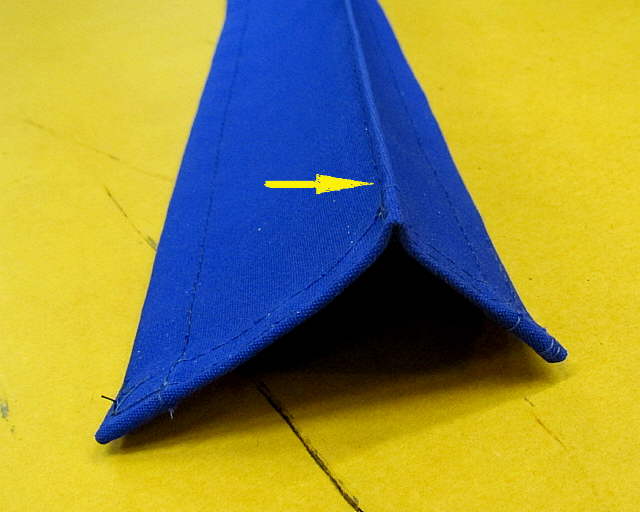
Above you can see the angle piece and at first I started with...
..............
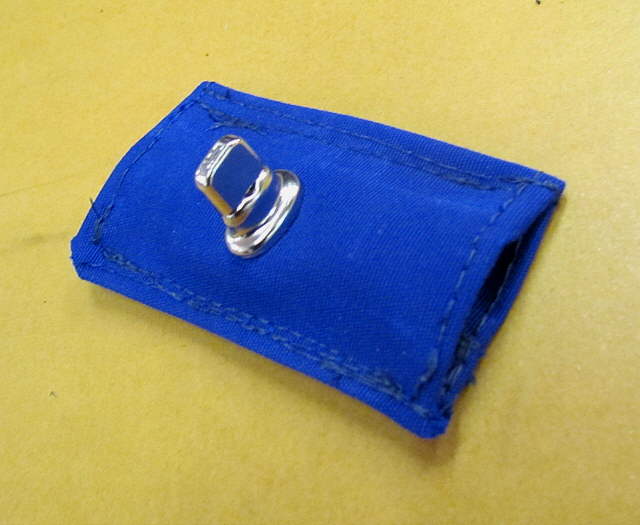
... the common sense fasteners attached to the webbing, but later changed that to short sleeves that slide onto the webbing that you will see later.
..............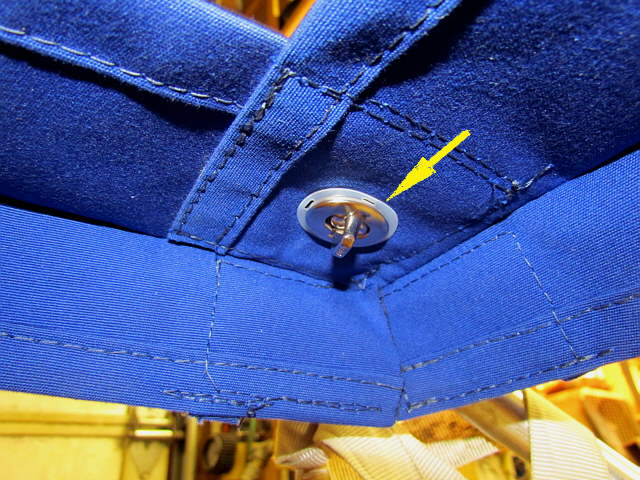
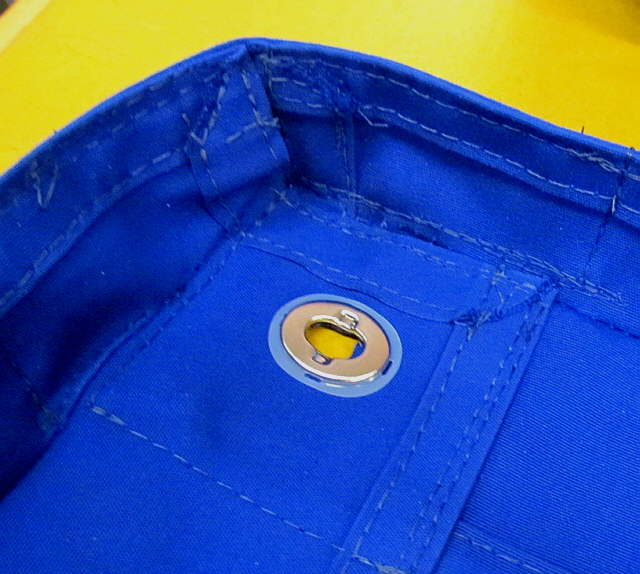
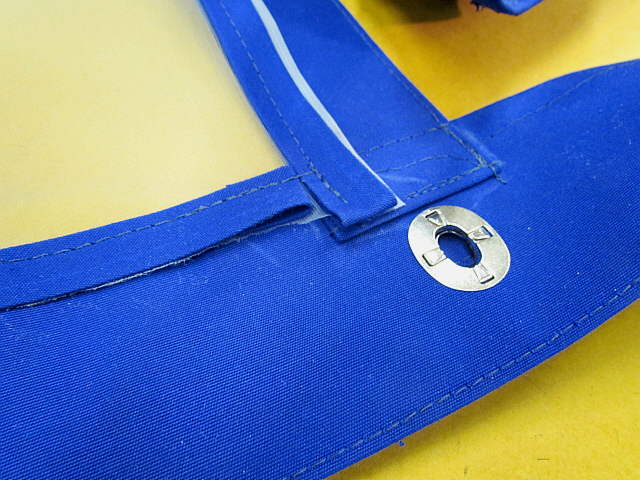
The female part of the common sense that is attached to the netting framework.
..............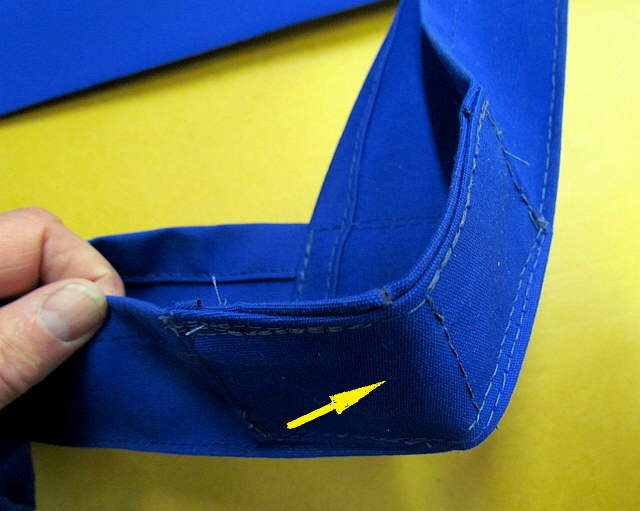
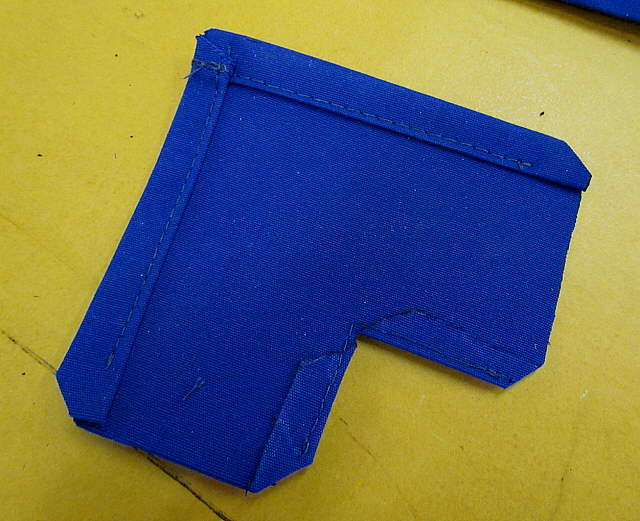
A corner piece sewn on to join the sides to the back.
..............
Some progress on the top sides.
..............
A dart, fold, for a turn in the top at the bimini.
..............
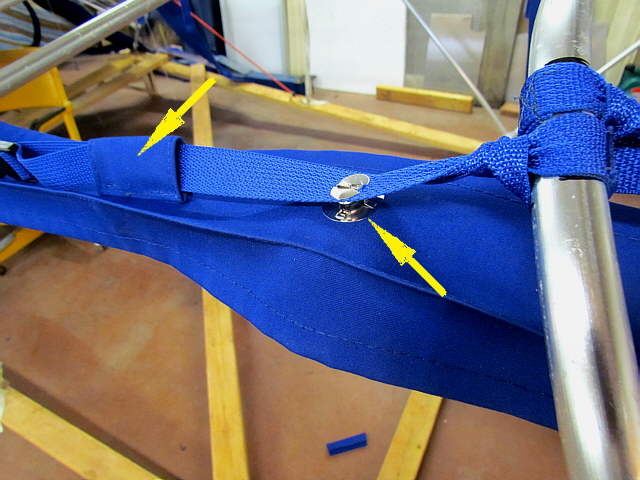
The sleeves...
..............
.. for the male common sense fasteners...
..............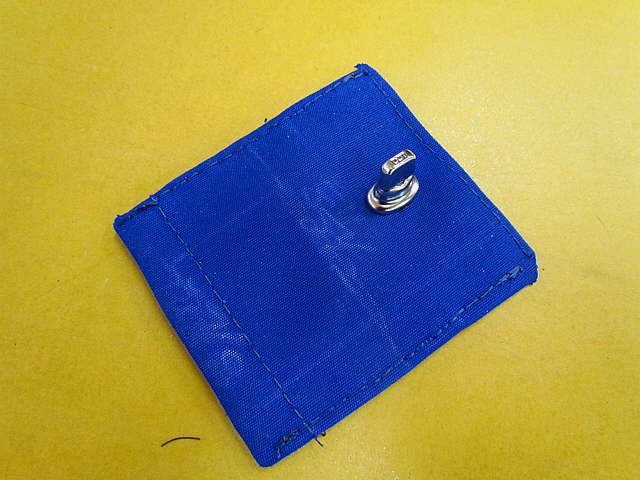
.... slide onto...
..............
... the webbing.
..............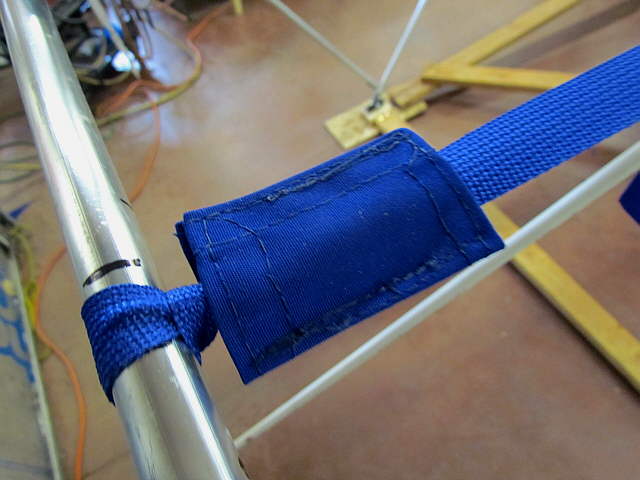
With these you have some leeway for construction errors and you can always replace worn webbing as needed.
..............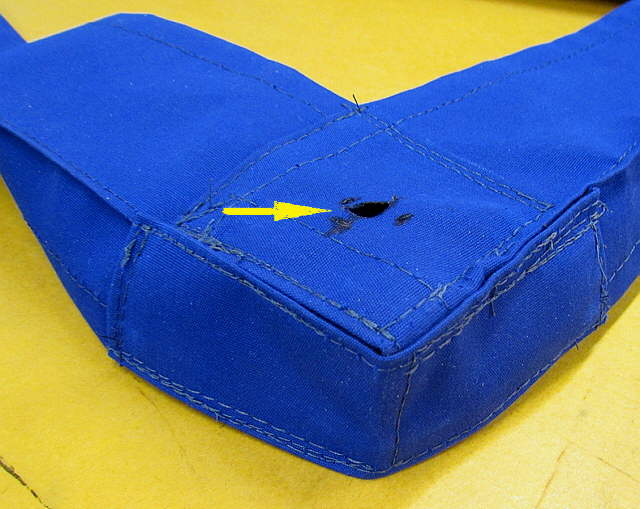
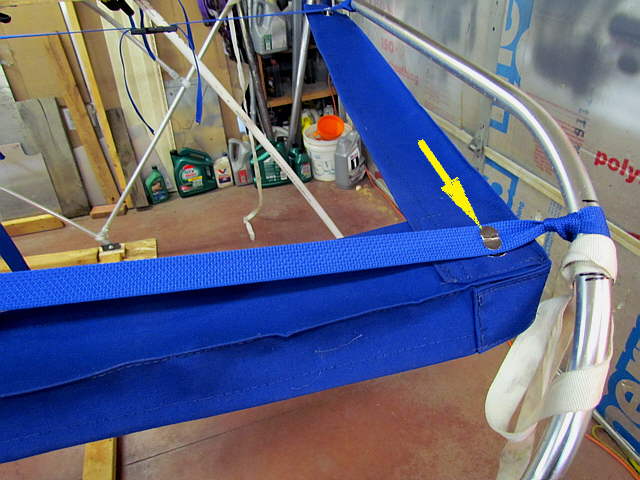
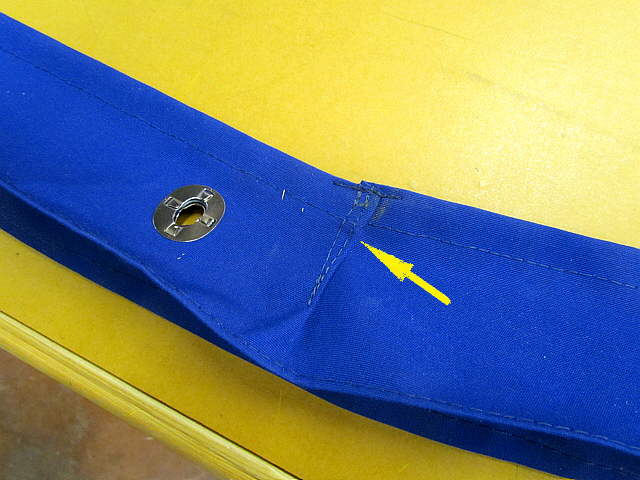
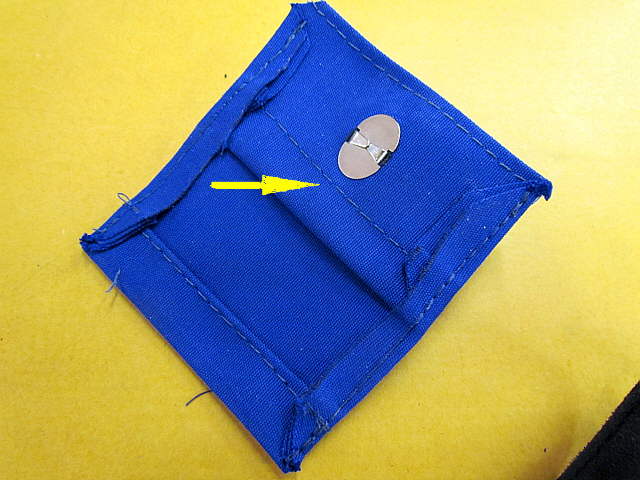
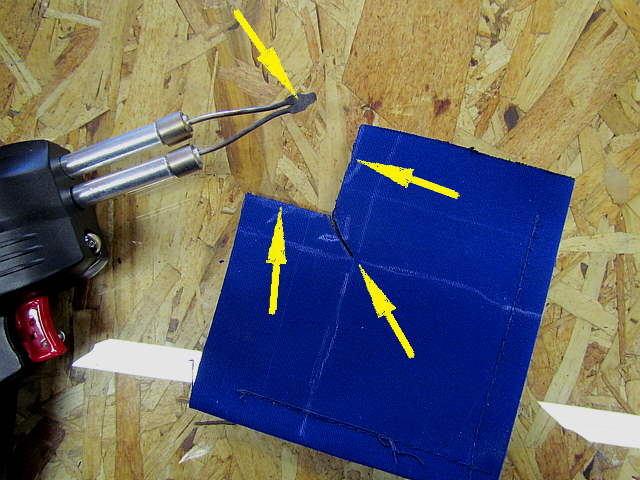
Installation of a common sense..
..............
... fastener. More on how to do this ( HERE )
..............
..
..............
Making a top corner...
..............
... piece...
..............
... and sewn in.
..............
The netting jogs in at the stern to clear the backstay on the inside of it.
..............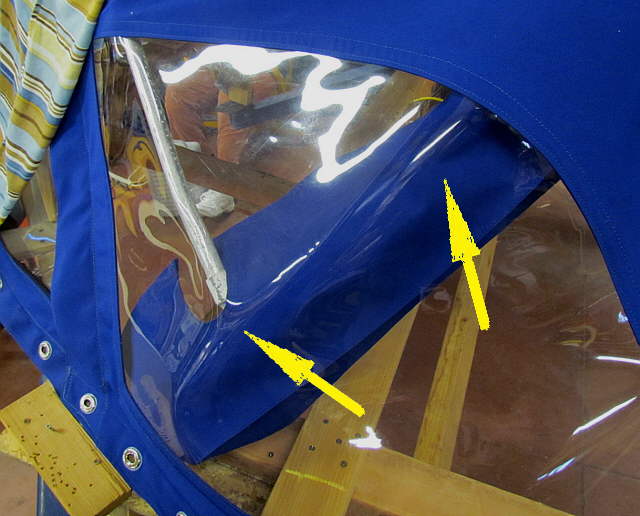
To seal the dodger a piece was made that is pulled between the dodger side and the dodger support tubes. Later netting is sewn to it on the aft side.
..............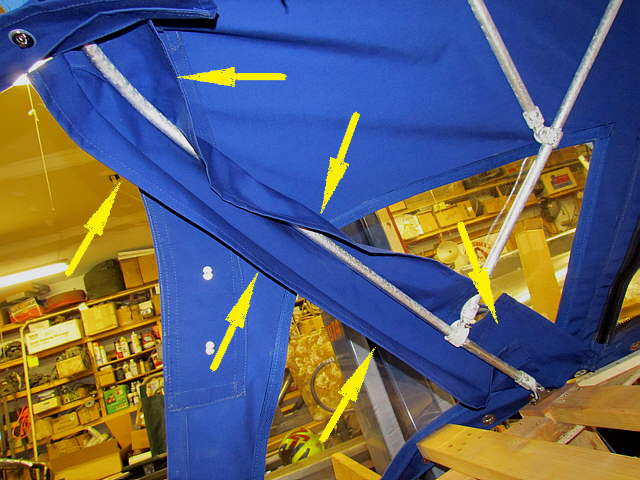
The same piece from the inside. The 3 bottom arrows point to the side the netting will be sewn to.
..............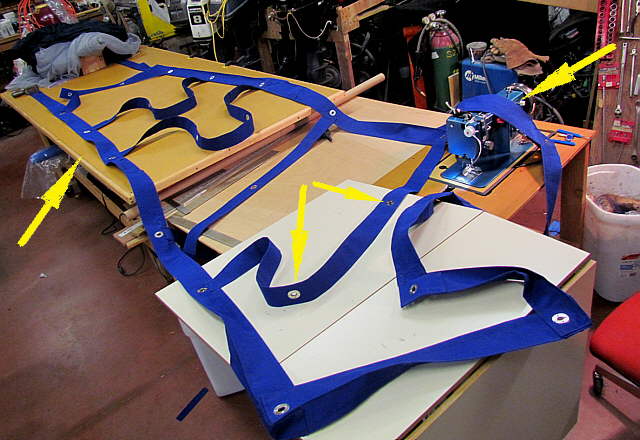
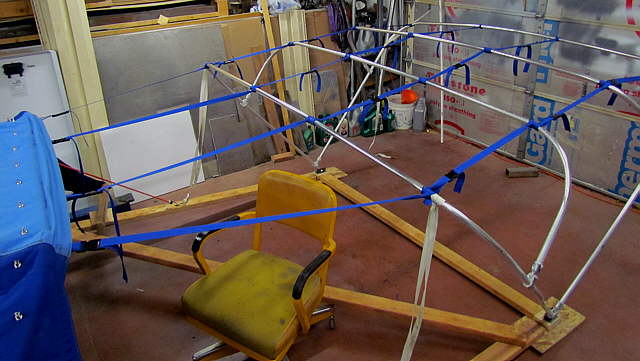
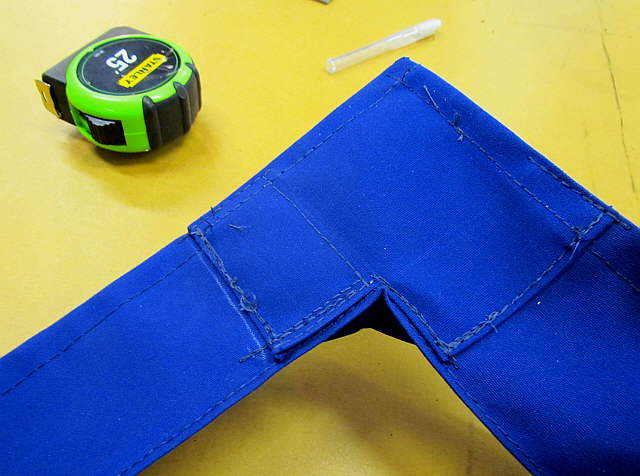
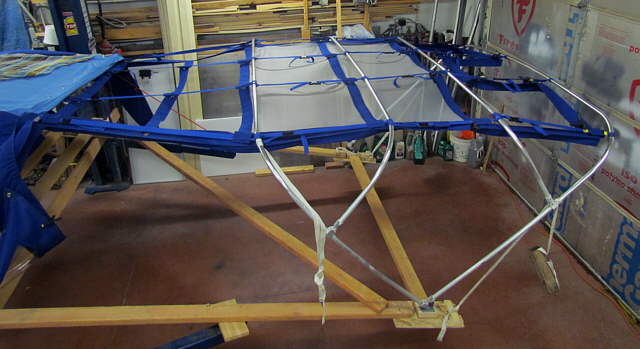
The top netting structure with the cross pieces added. The left arrow points to the table that is 8 feet long to give you an idea of how big this project is.
..............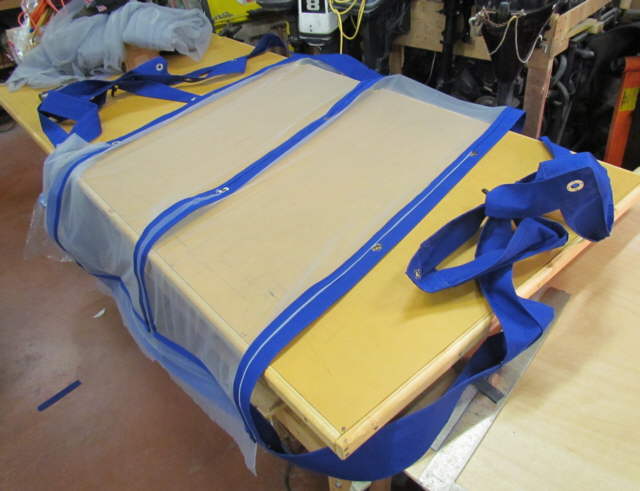
Here netting has been pinned and sewn to the framework with one row of stitching on the binding that holds the netting to the framework.
..............
Next the netting is cut from the ...
..............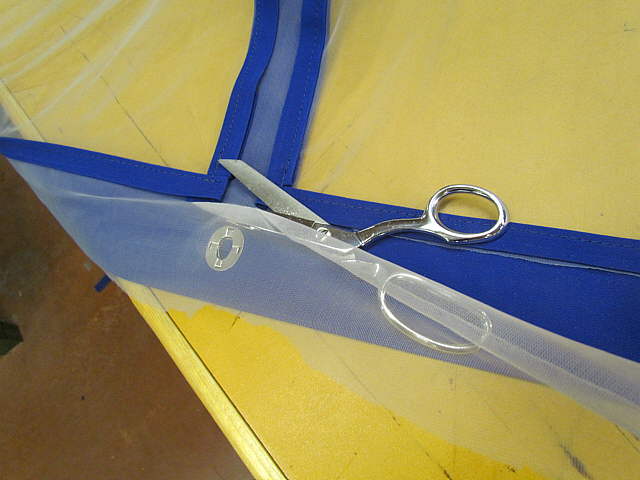
parts of the structure that are solid.
..............
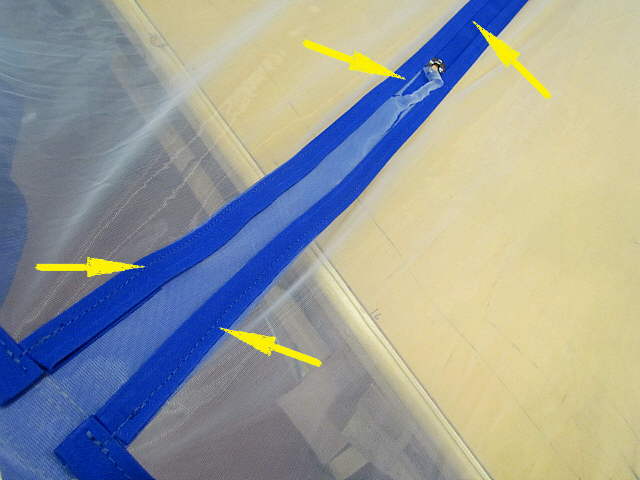
You can see the one row of stitching above and the netting cut line. Next it is pushed under the binding material and another row of stitches is laid down to hold it there.
..............
The start of the netting for the top.
..............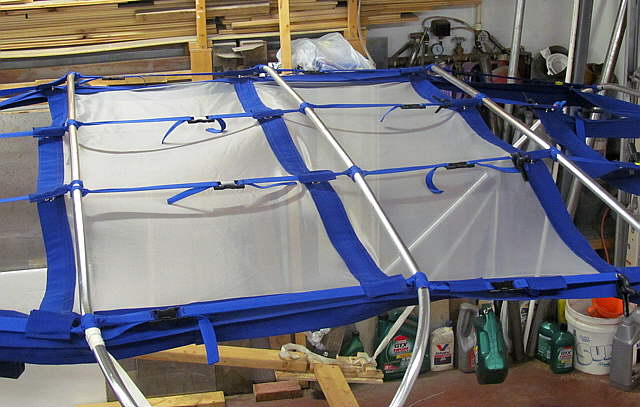
Another view. All of this doesn't weigh much, so puts no strain on the support webbing.