..................
..............................................................--- Bug Netting Page 2 ---
..............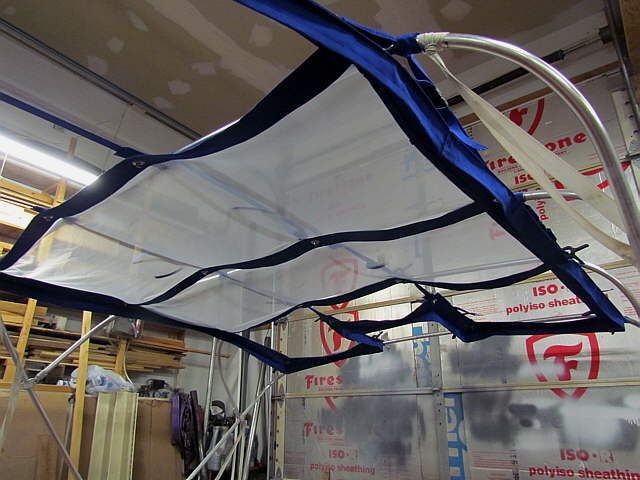
A view from inside.
..............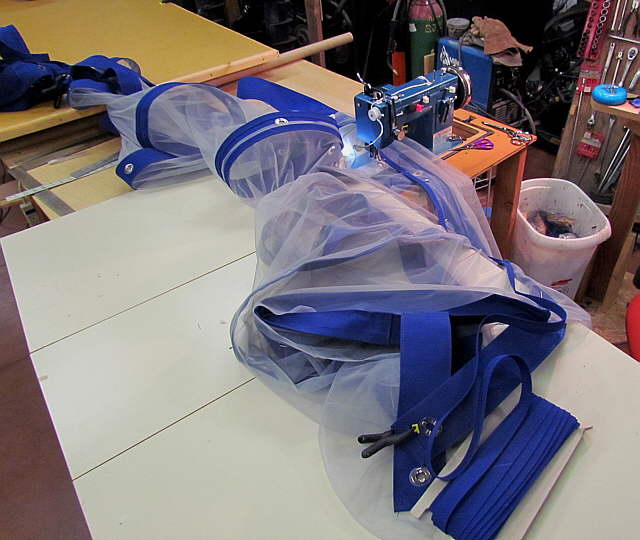
Sewing....
..............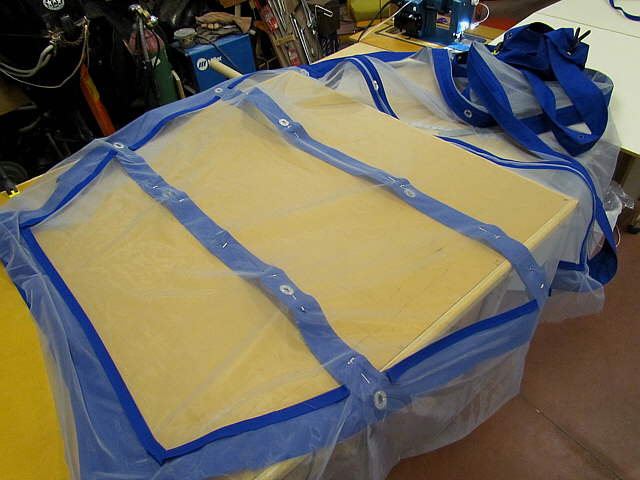
...more netting in place.
..............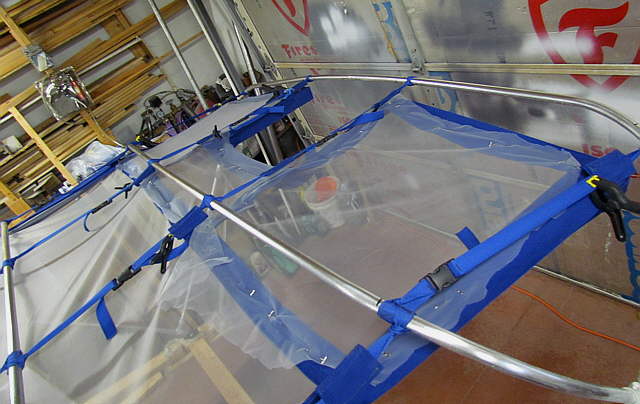
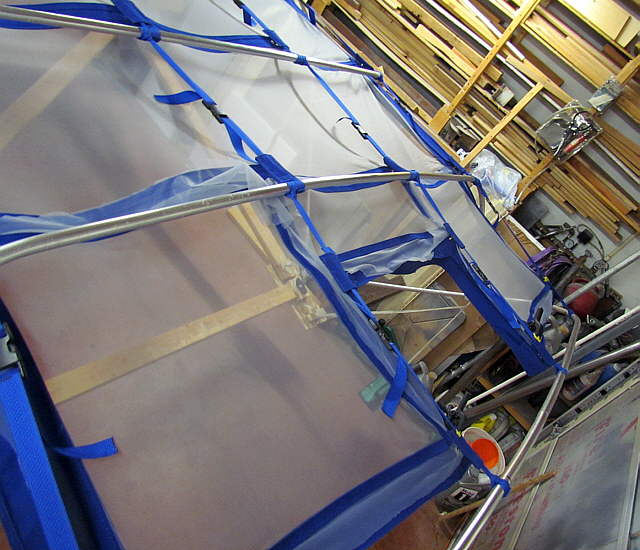
The back...
..............
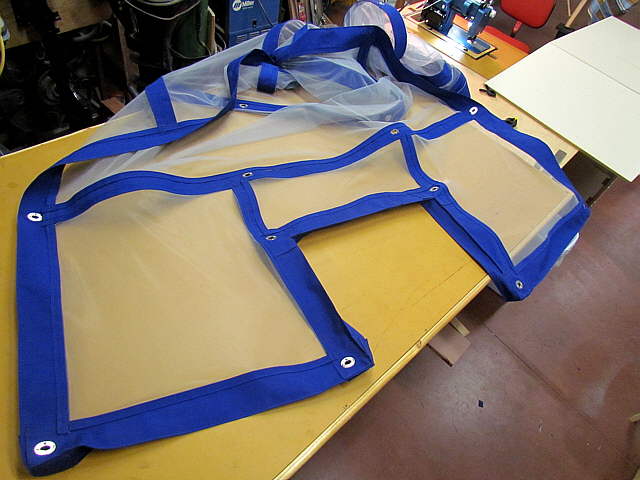
...sections that jog...
..............
..around the back stay.
..............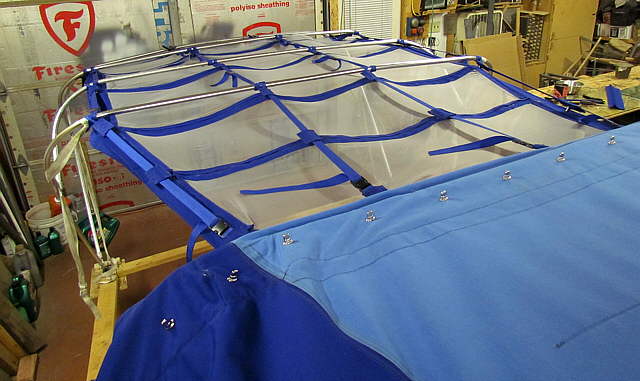
The top finished.
..............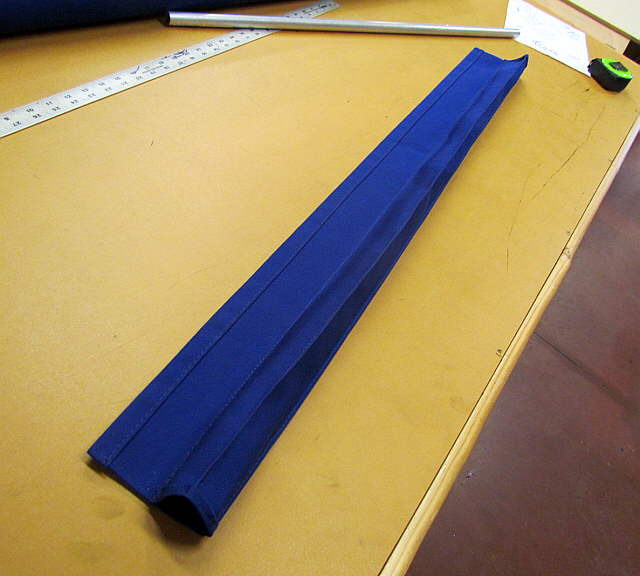
This piece fits at the front top of the netting and ...
..............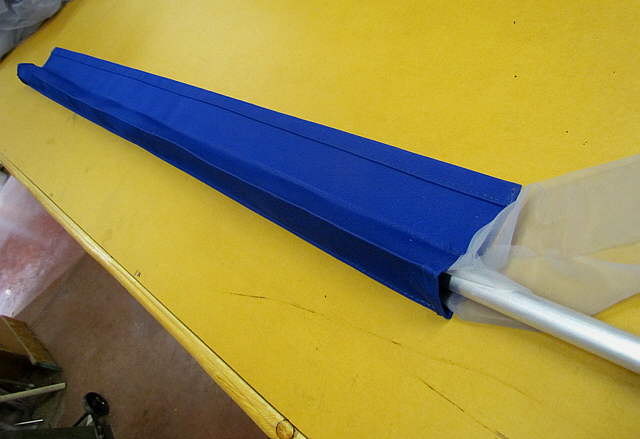
... was stuffed loosely with netting to keep it puffed up.
..............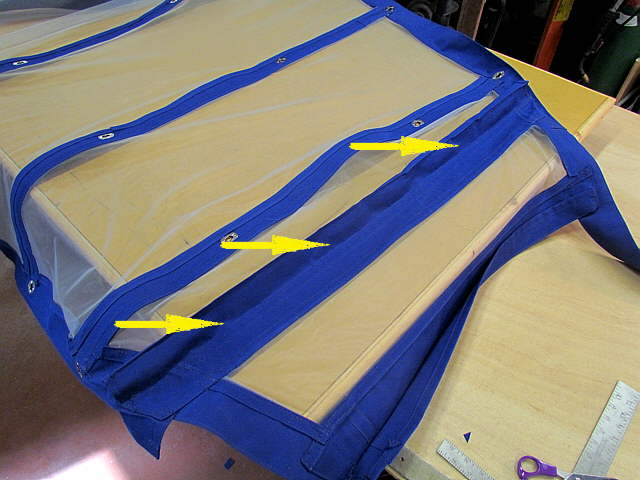
Here it is sewn in place and it makes a seal under the dodger at that point.
..............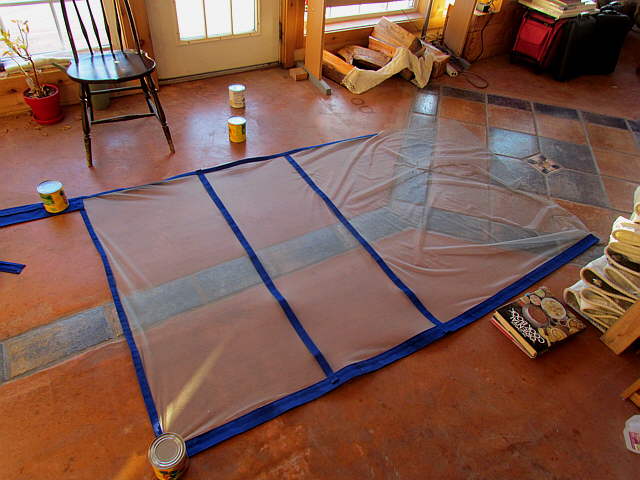
Here we are started on the side panels. The netting above is about 60 inches top to bottom, full width of the roll.
..............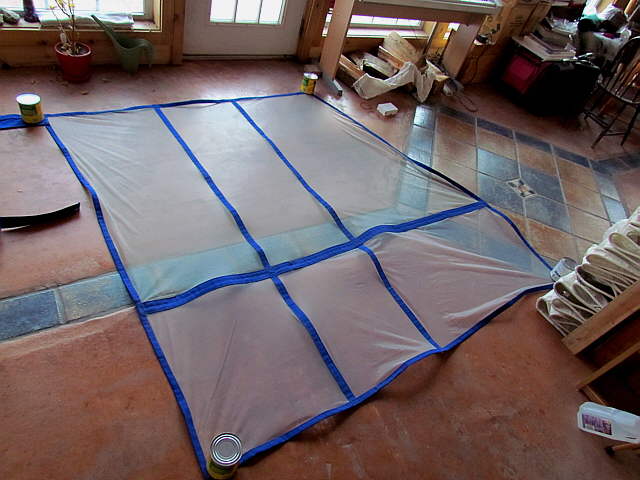
Here another 30 inches is added on the bottoms, 1/2 the width of the roll. It is a lot longer than needed, but will come down inside the cockpit and rest on the seats and the cushions will go on top of it to seal it off.
..............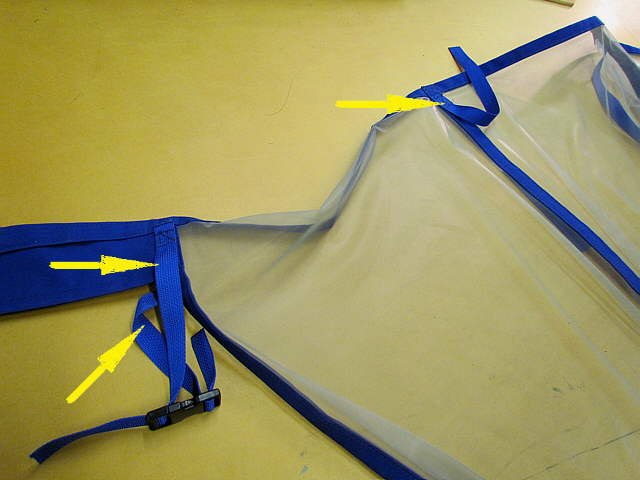
The arrows point to straps, inside and out with buckles. The netting on the sides can be rolled up and held up by the straps around the top perimeter.
..............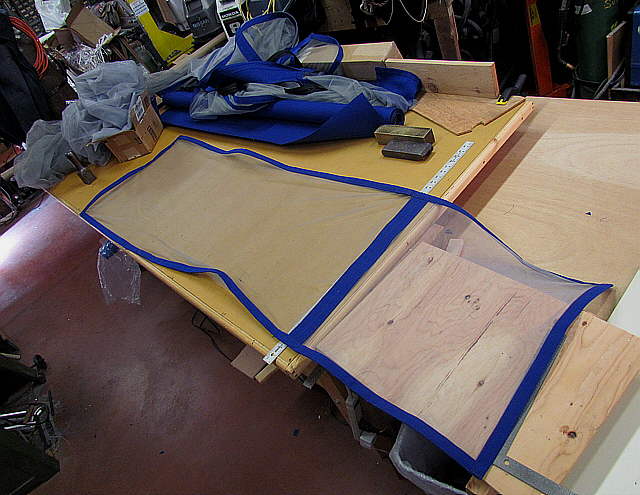
One of the two forward zippered doors.
..............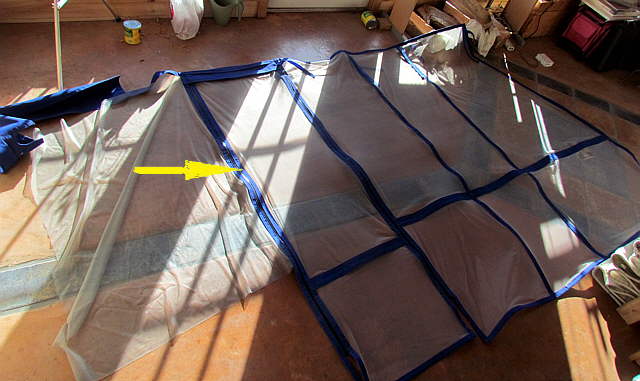
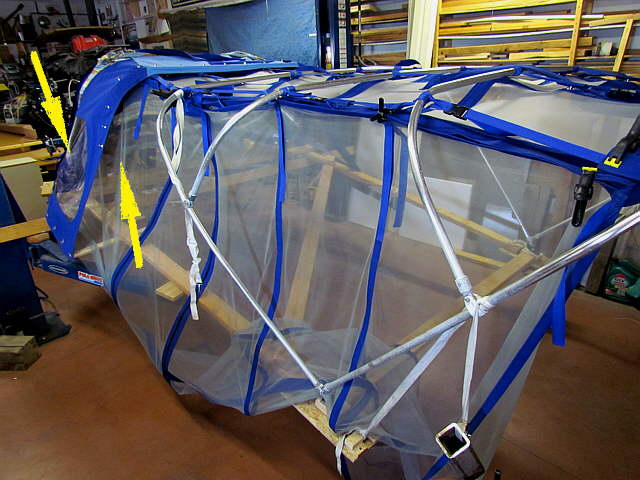
The arrow points to the door and the netting to the left will attach to the piece that seals the netting to the dodger as shown...
..............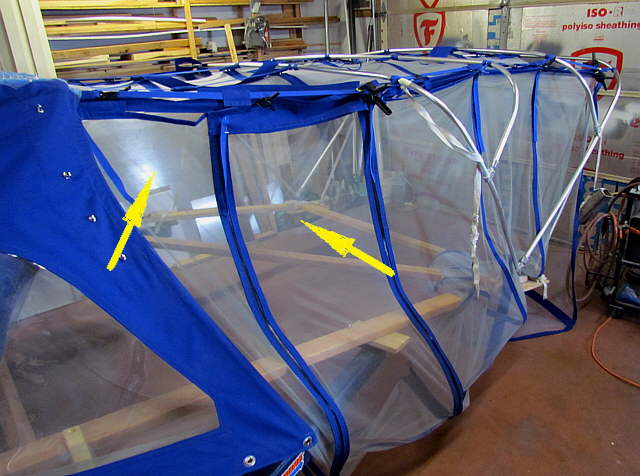
... above by the left arrow. The right arrow points to the door that zips open from the top down. The bottom will stay tucked under a cushion there.
..............
Another view showing the netting and how it ...
..............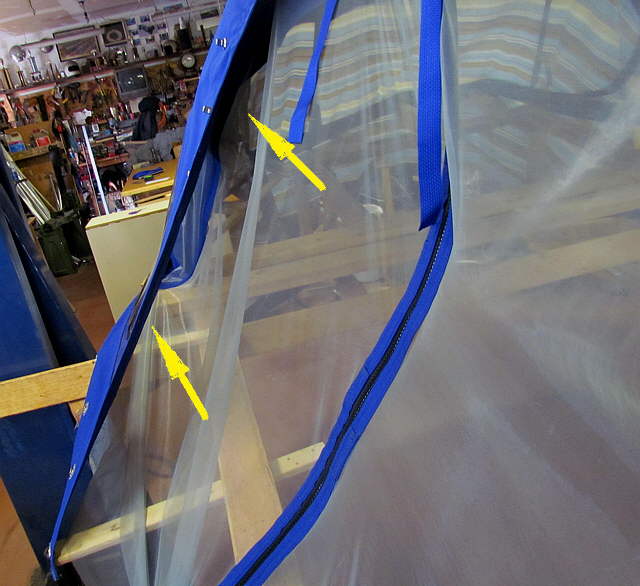
... tucks in at the ...
..............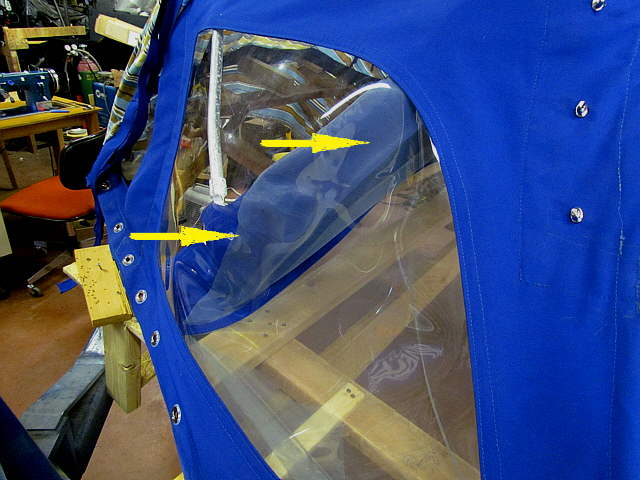
.... dodger on the sides.
..............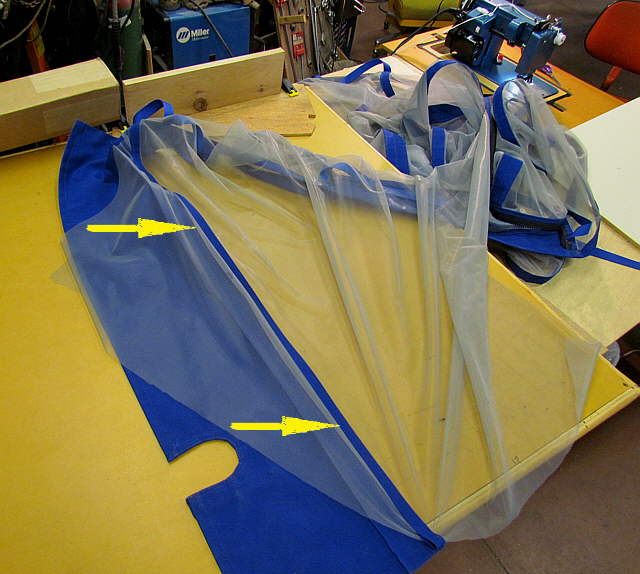
Here that part of the netting is being sewn...
..............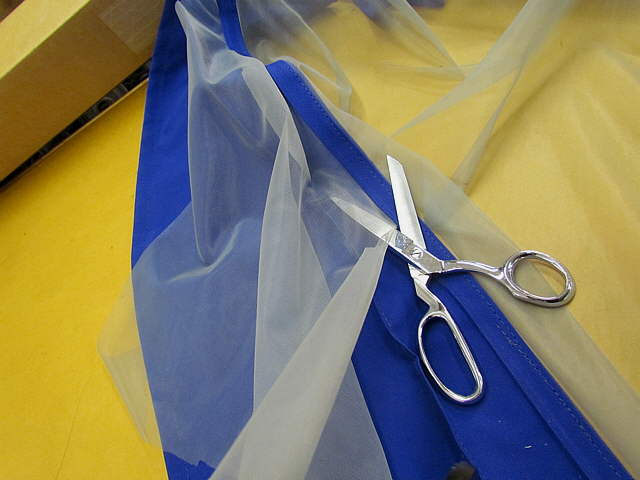
... and cut and finished sewn to the dodger seal piece of fabric.
..............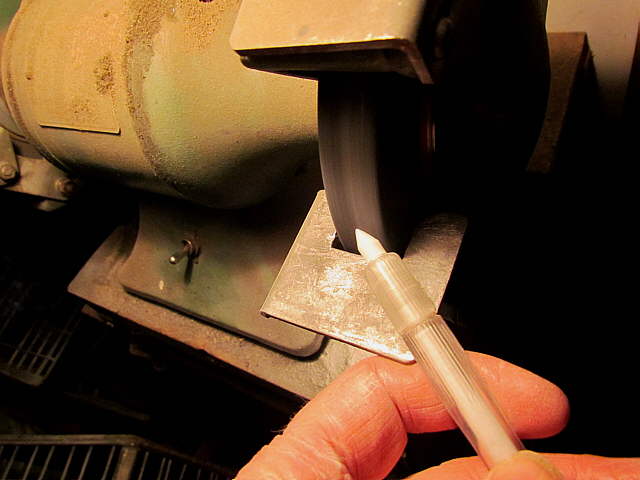
How to sharpen a soap stone marker in a few seconds.
..............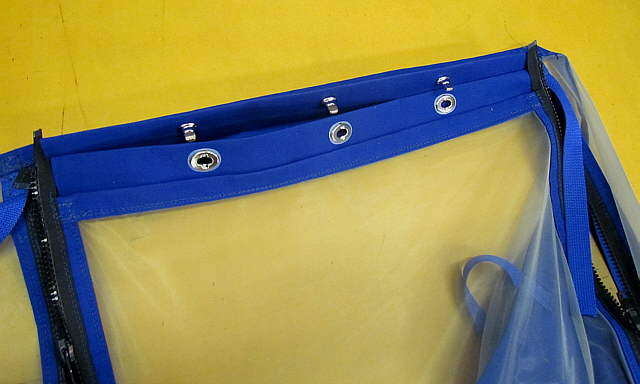
To seal the top of the door there are two flaps, one on the door and one on the structure.
..............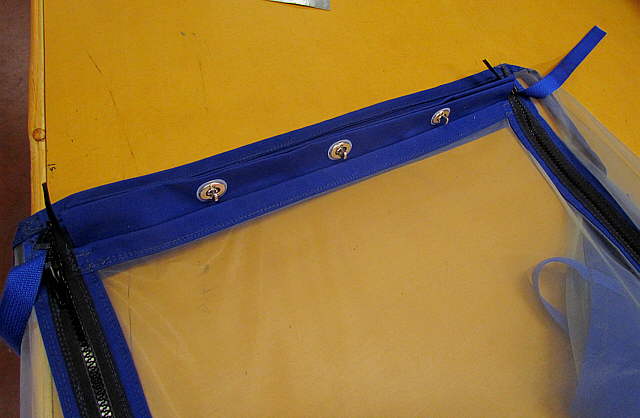
Common sense fasteners pull the two flaps together to make a seal at the top of the door.
..............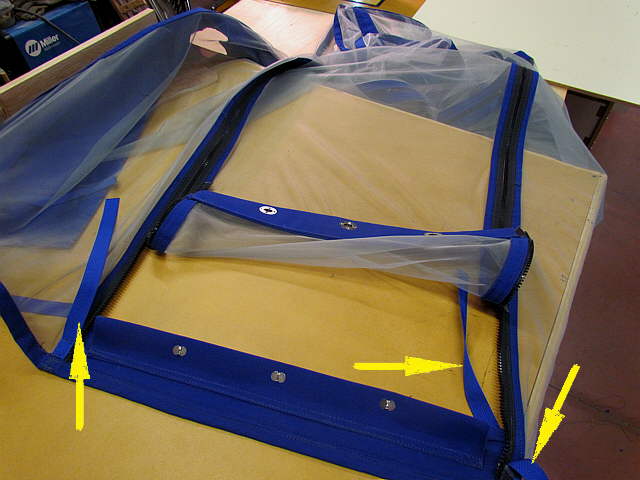
Here the door is open a little. The arrows point to the inside/outside straps that can hold the netting up if desired.
..............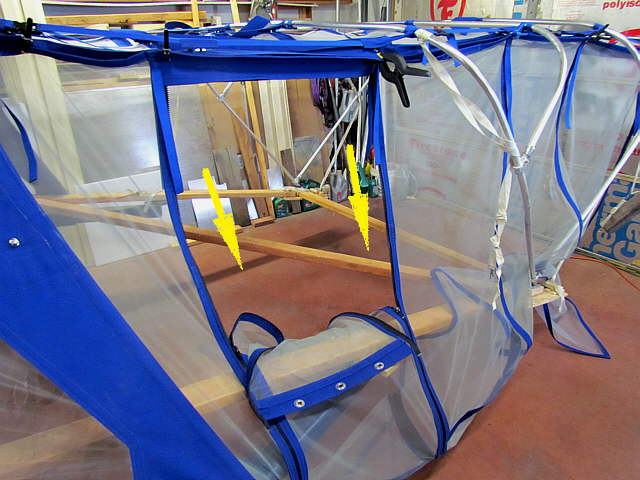
The door zips down to enter or exit.
..............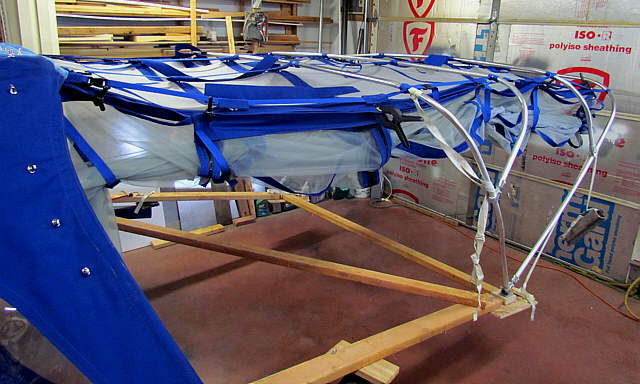
Here the netting is rolled up and ...
..............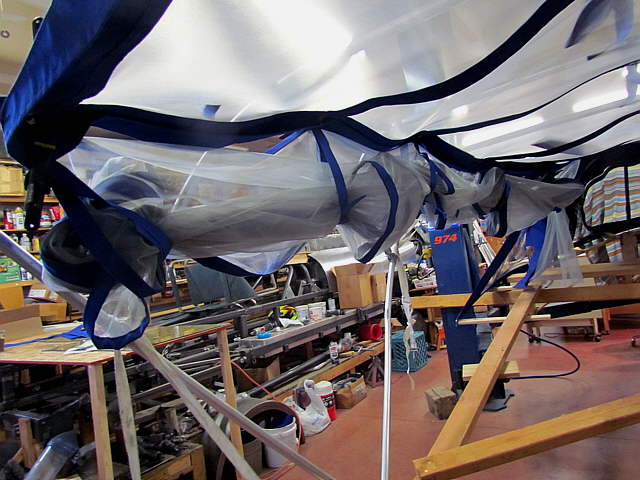
.... held by the straps.
..............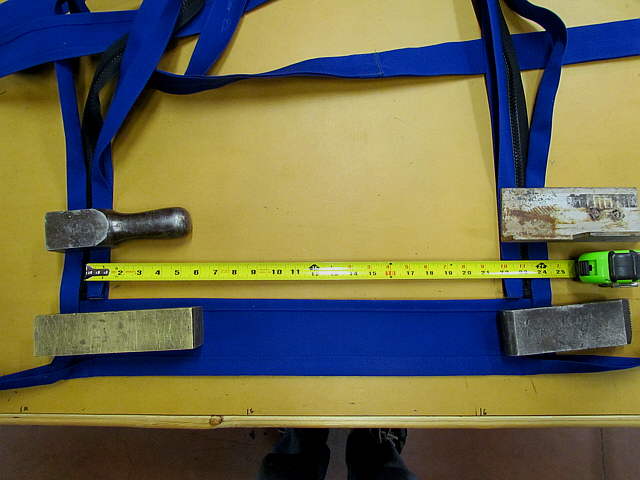
Laying out the zippers for...
..............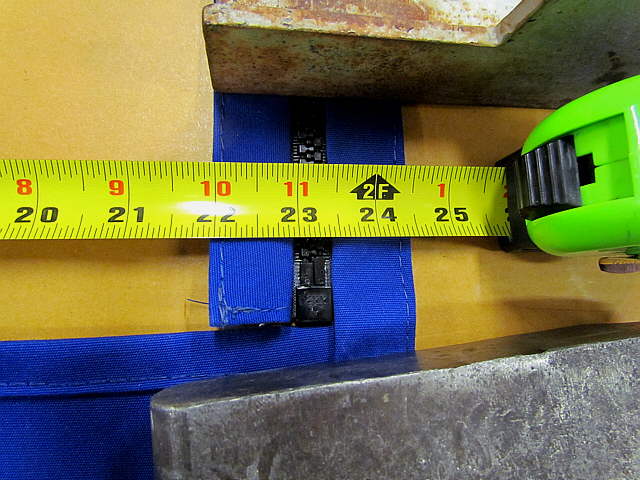
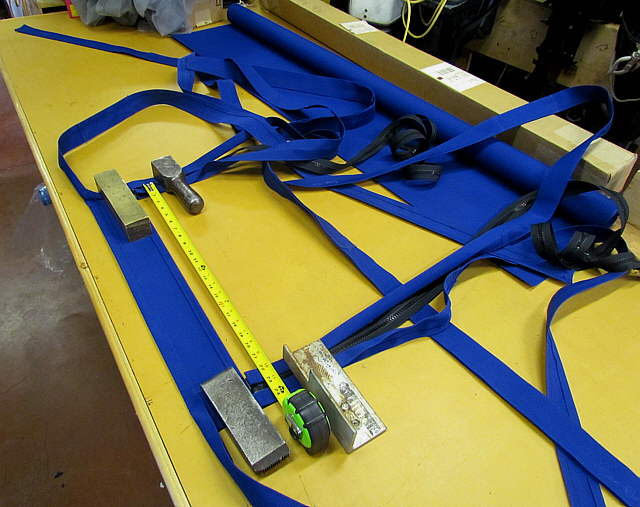
... the doors.
..............
The same door construction was used for the stern door by the dinghy.
..............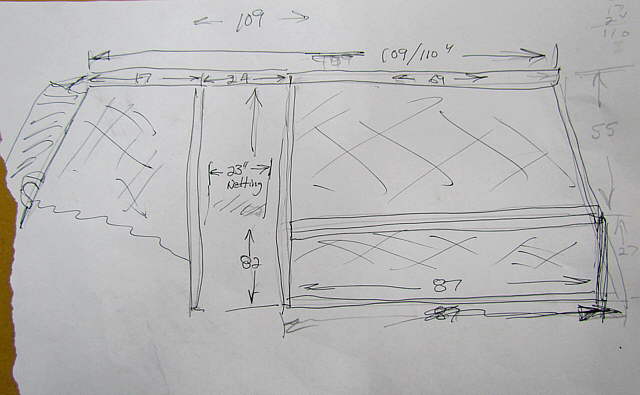
The rough sketch of what I wanted to do at the beginning of this project. From there I just designed pieces as we went along. I design and mark and cut and Ruth sews and I sew when she gets tired of sewing. We really enjoy working together on these projects.