..................
..........................................................--- Bug Netting Page 3 ---
..............
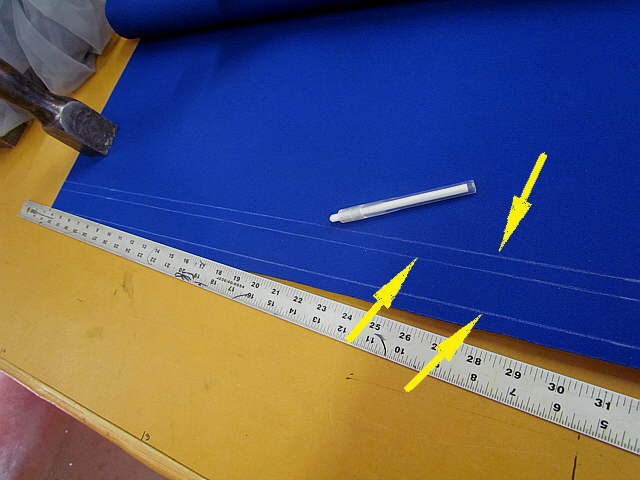
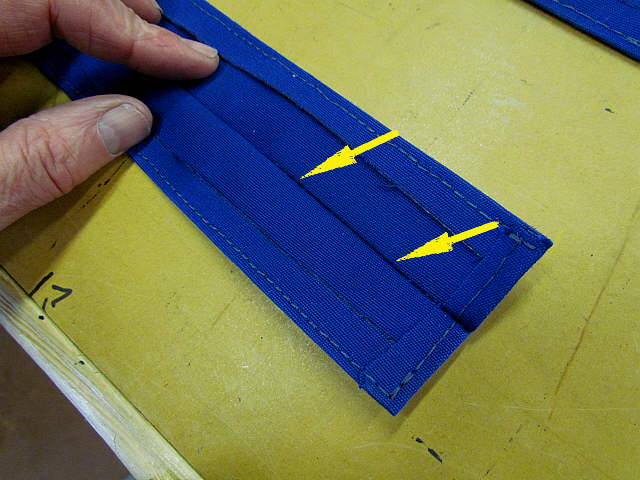
Here I'm laying out strips. The two bottom arrows point to fold/hem lines and the top arrow points to ...
..............
... the cut line. The hot knife above is not cheap, but I probably cut a couple hundred feet of material for this project alone, so it paid for itself.
..............
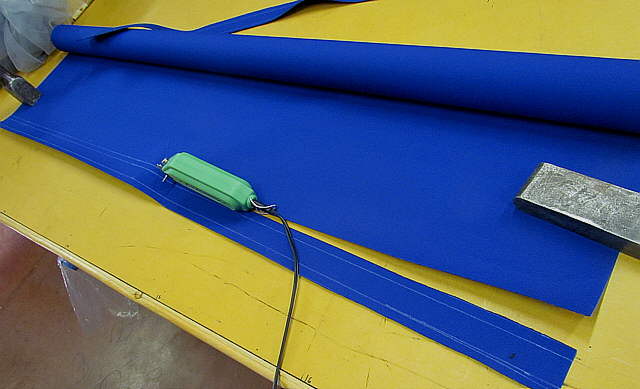
Here you can see the tow hem lines.
..............
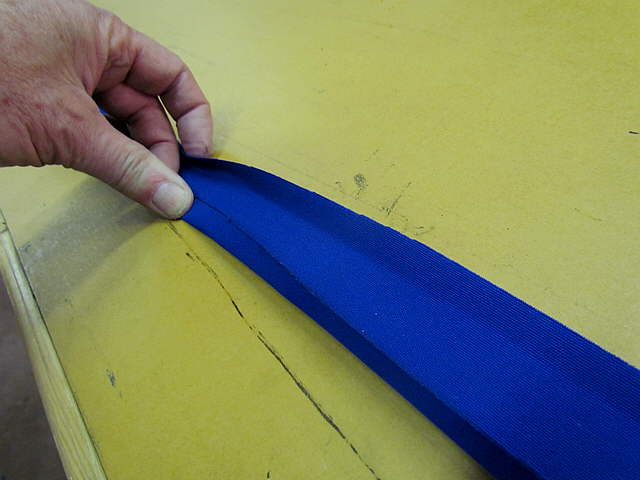
I fold the first couple inches by hand and then put a weight on it and ...
..............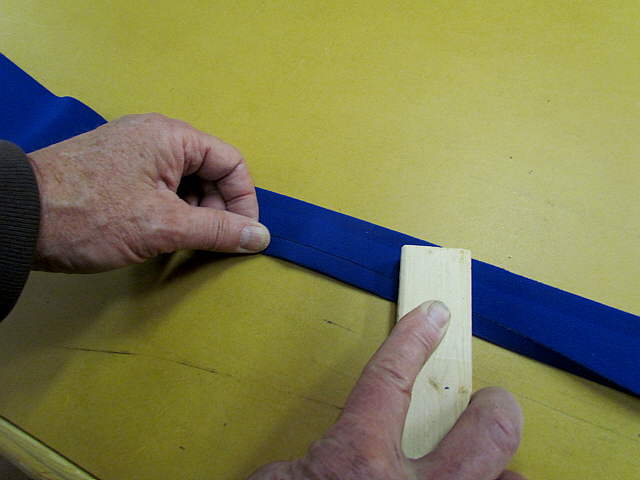
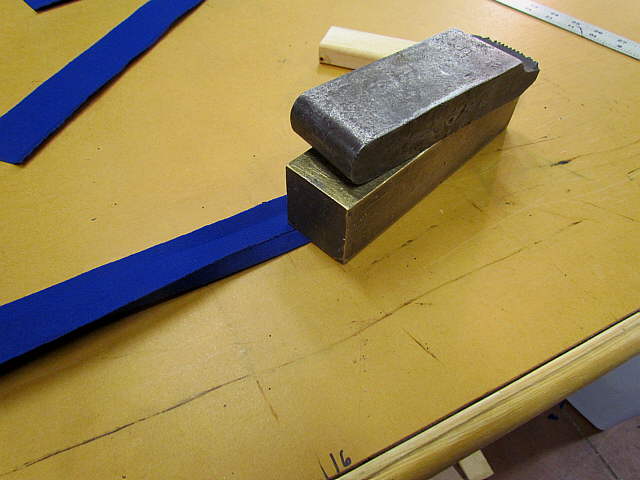
.... bend and crease the rest with a block of wood. Goes fast. Then Ruth will sew the hem down.
..............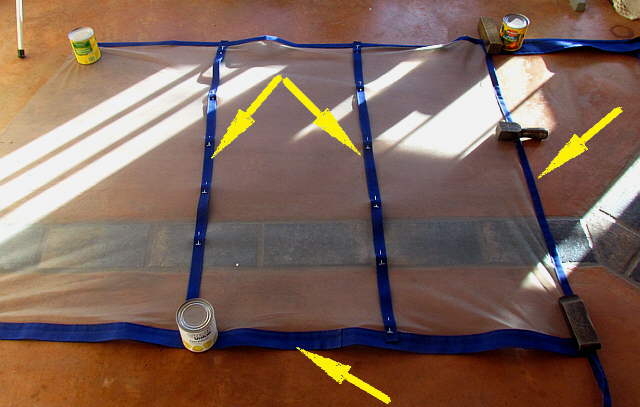
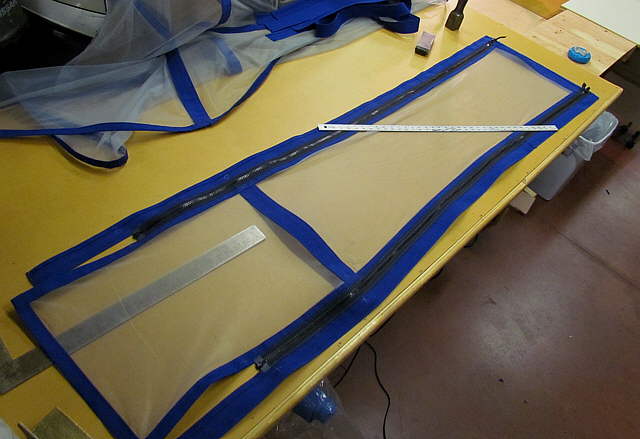
We used these strips everywhere. The top middle arrows point to strips that are on the inside and outside of the netting and are sewn together. The right arrow points to a strip that is folded in half and captures an edge of the netting and is then sewn together. At the bottom two strips are sewn back to back down the middle for their length and one side catches the top netting and the other catches...
..............
... the bottom netting. Above the arrow points to another one folded in half that forms the very bottom of the netting.
..............
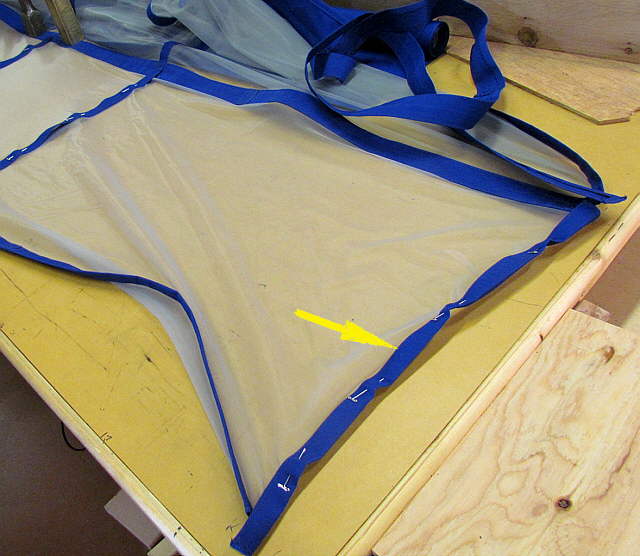
Here I'm cutting netting that had strips sewn...
..............
... to it to form the pieces where the netting jogs around the backstay.
..............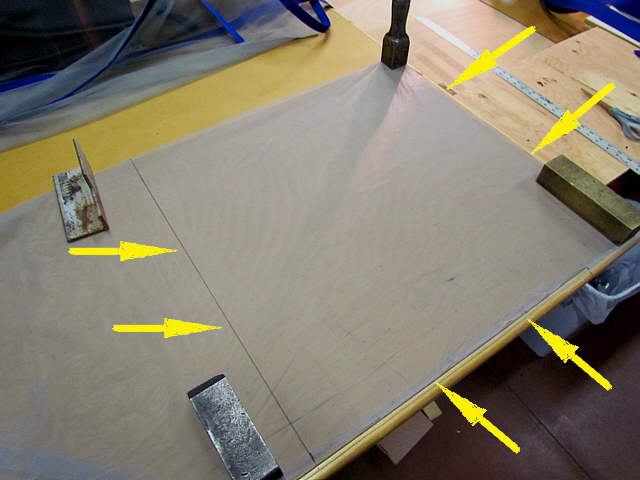
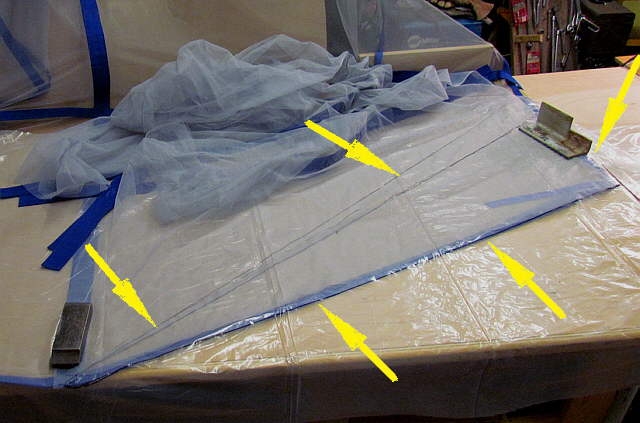
To cut the netting I use the edge of the table to square it up and hold it with some weights and mark the cut line, left arrows, and cut it.
..............
Here the netting is in the door.
..............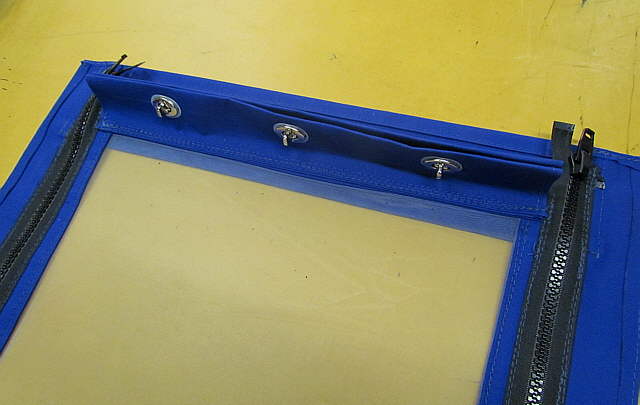
Another view of ...
..............
... the top of the door from the inside and ...
..............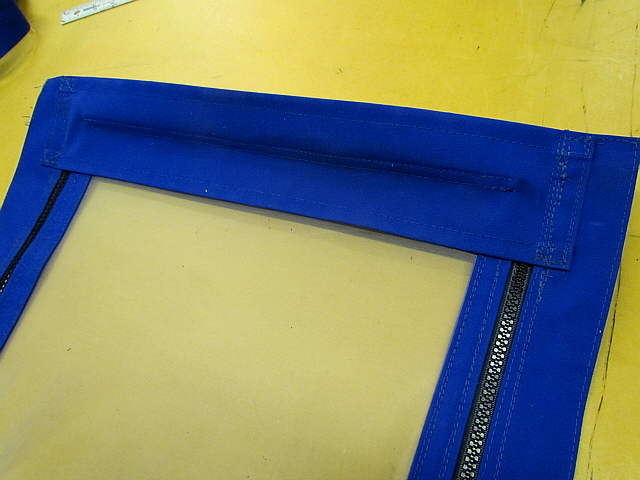
... from the outside.
..............
The panels were made in sections and just pinned to the top at this point.
..............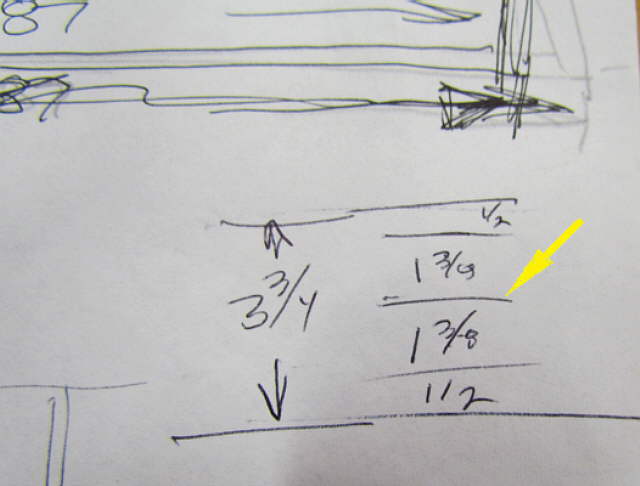
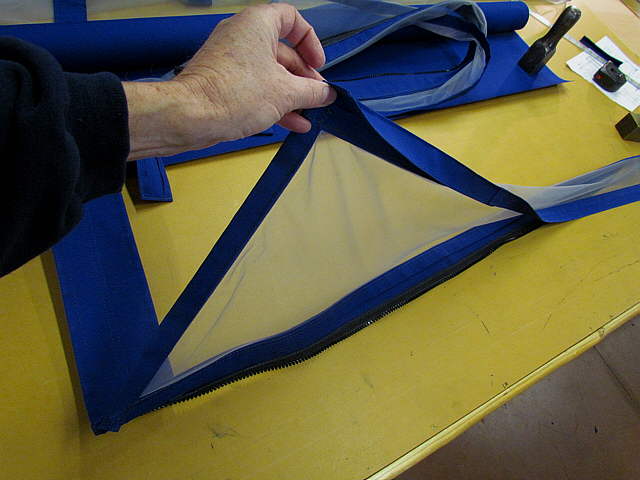
Here is the measurement used for the pieces that will be formed into angles to ..
..............
... attach the panels at the outside corners. First the piece had the hems sewn down. Then it was folded in half and a stitch line is sewn in right at the crease.
..............
Next it is bent open can creased from the inside on that stitch line.
..............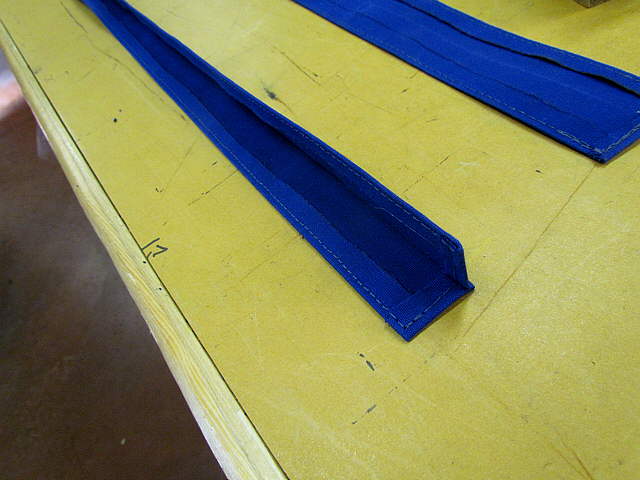
You end up with a nice right angle piece.
..............
Here the piece has been sewn on one panel and the next panel that is at right angles will be sewn to the other leg.
..............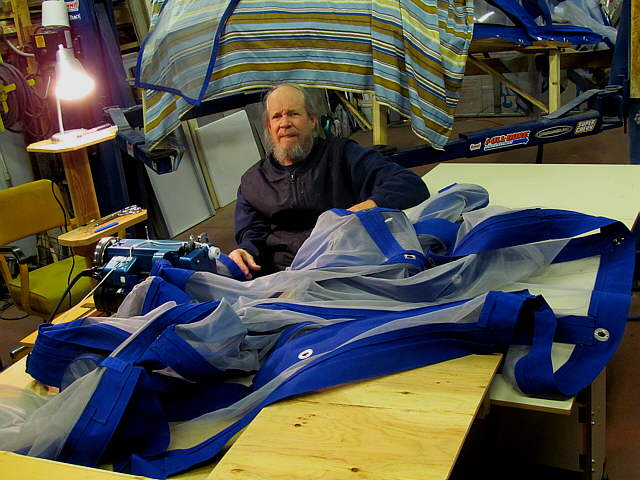
Here I've started to sew all of the pieces together. At this point with this much material to deal with Ruth usually heads to the kitchen.
..............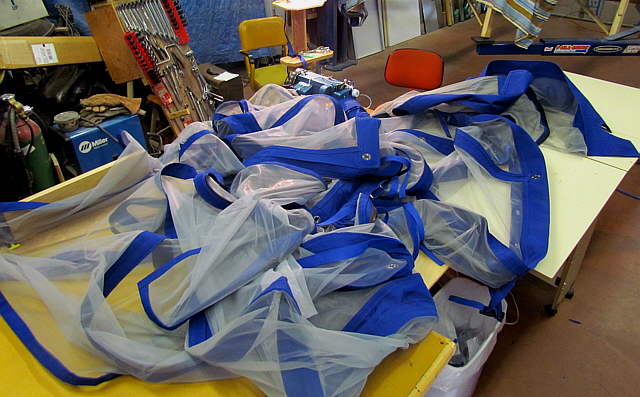
There is a lot of netting and material...
..............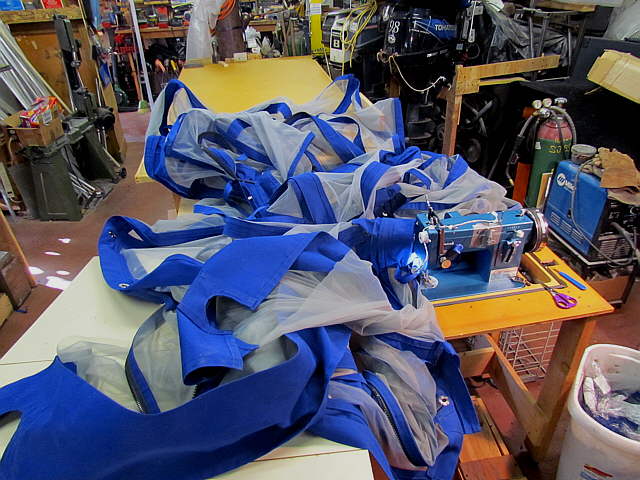
....that all has to be sewn together and two rows of stitches were put in at all of the seams.
..............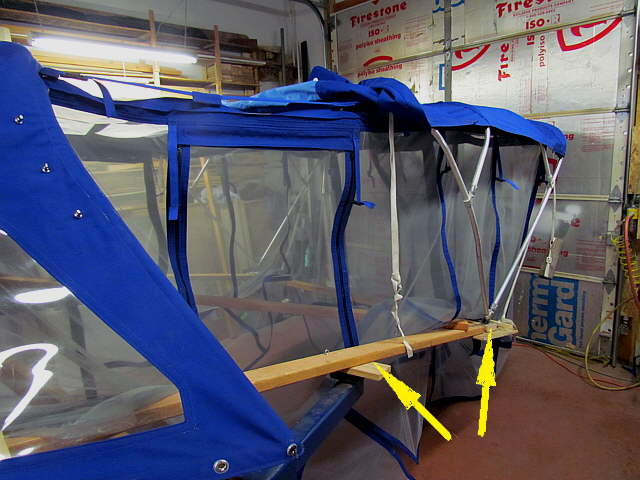
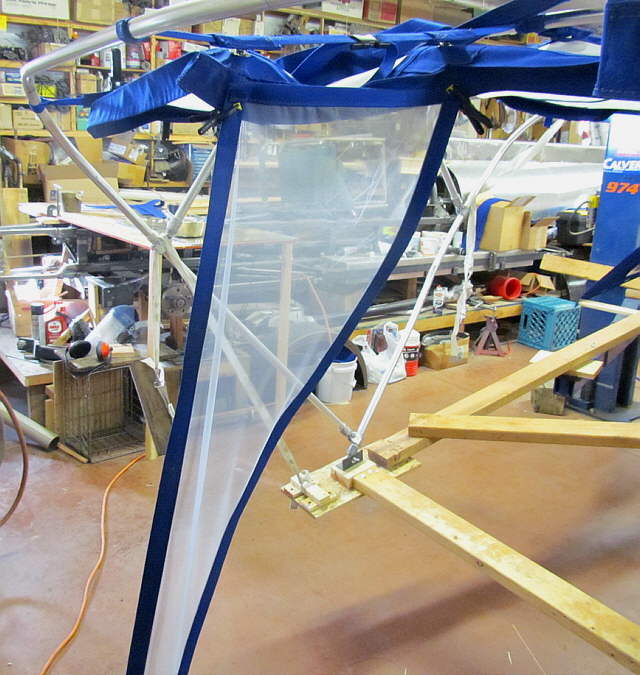
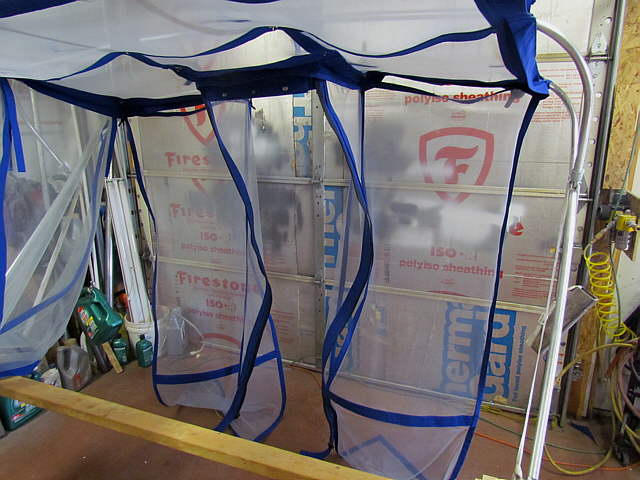
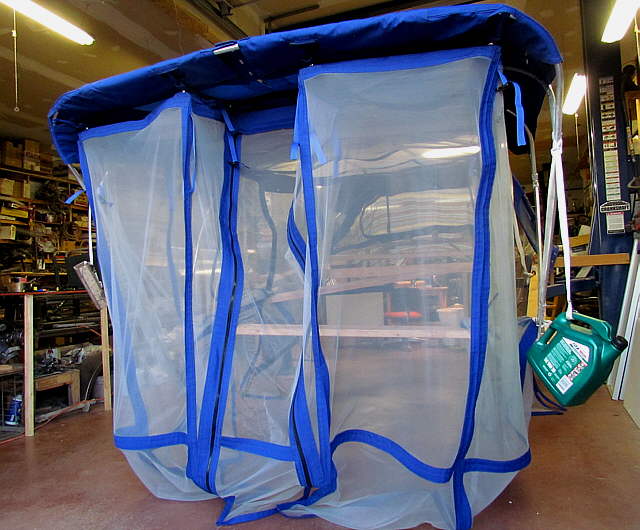
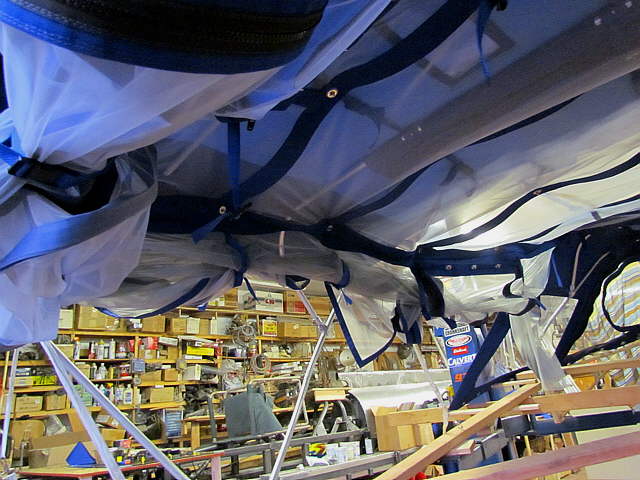
The effort is worth it when it all finally comes together. The long 2 X 4 above is about the top of the cockpit coaming so you can see there will be a lot of netting that can tuck under the cushions.
..............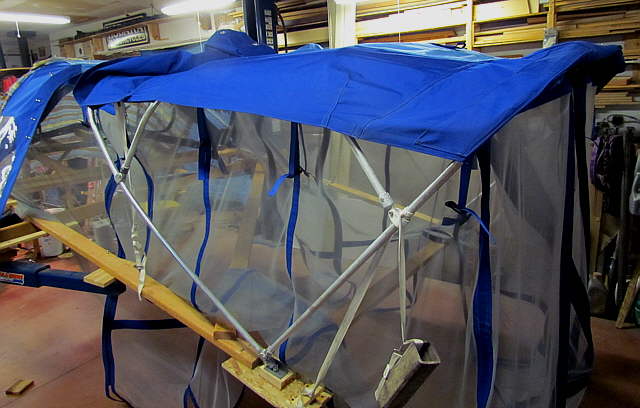
The side and ...
..............
.... back.
..............
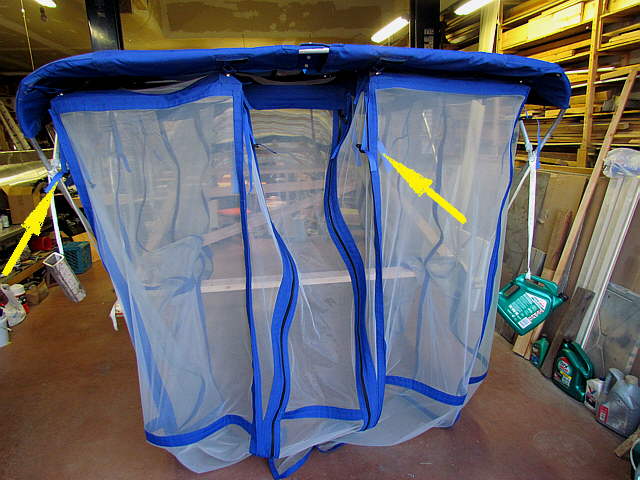
Another view and also one of
..............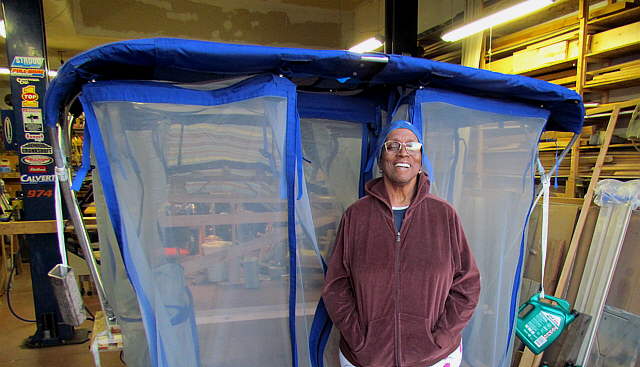
... my wife and best friend.
..............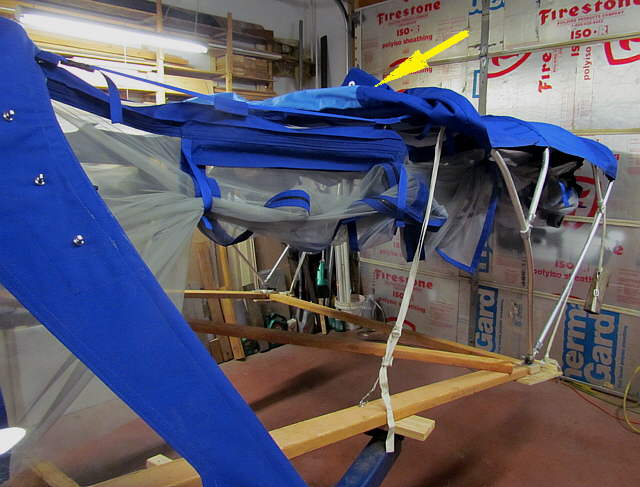
The netting can be rolled up and ...
..............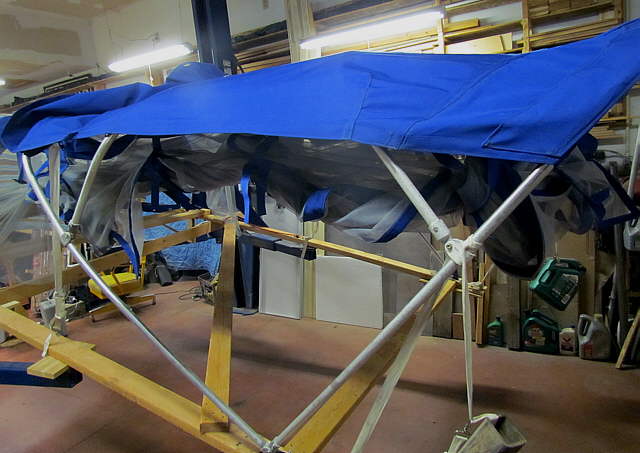
... strapped and ...
..............
.... buckled in place ...
..............
... in just a few minutes. At this point just start at the back and unfasten the common sense fasteners and ...
..............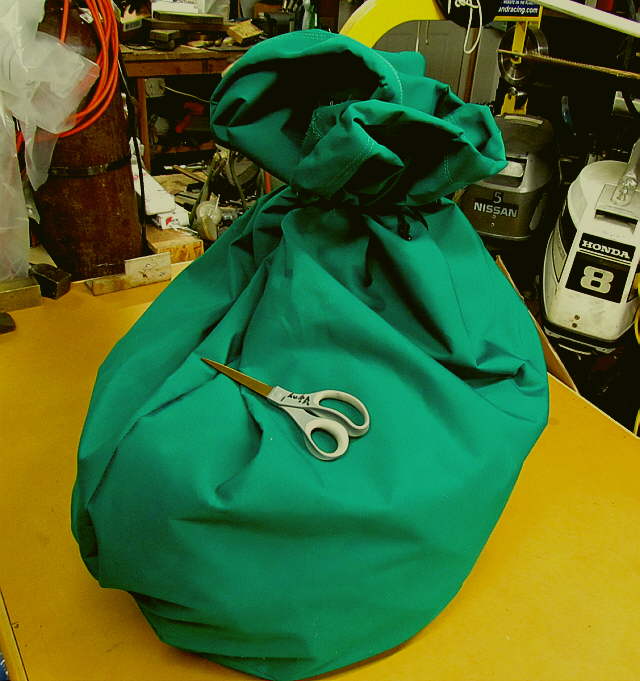
... stuff it down into this large bag we made. To put it up just reverse the procedure.
It will be a month or two before we find out if it works or not.