..............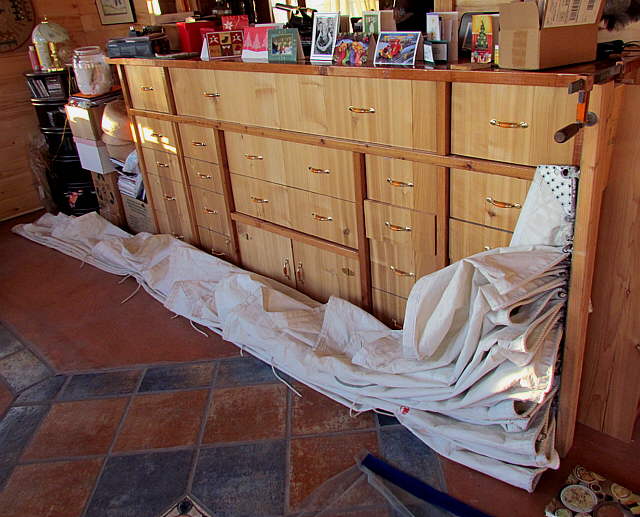
The above picture is at home in the sun room in Utah. The Endeavour was 2200 miles away in Florida. We had brought the main home hoping to make a sail-pack.
..............
I took a 2 X 4 and routed a groove in it for the slugs and then screwed some scrap peg-board outside the groove to capture the slugs. This was all necessary to take some measurements to know how to cut the material.
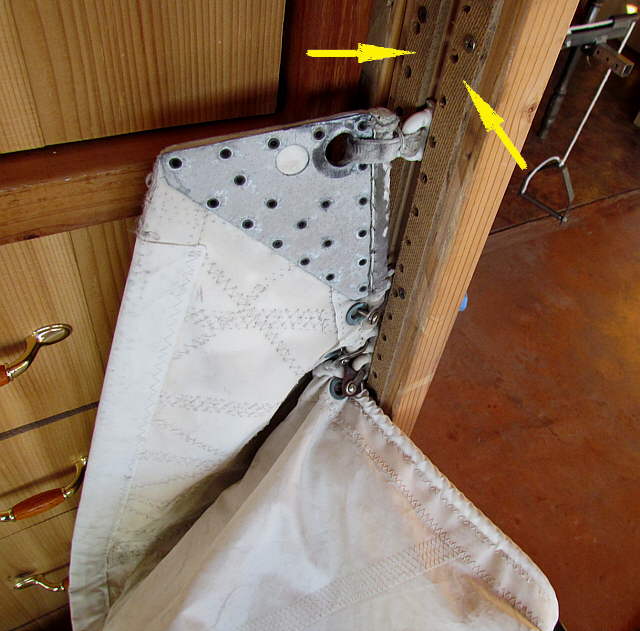
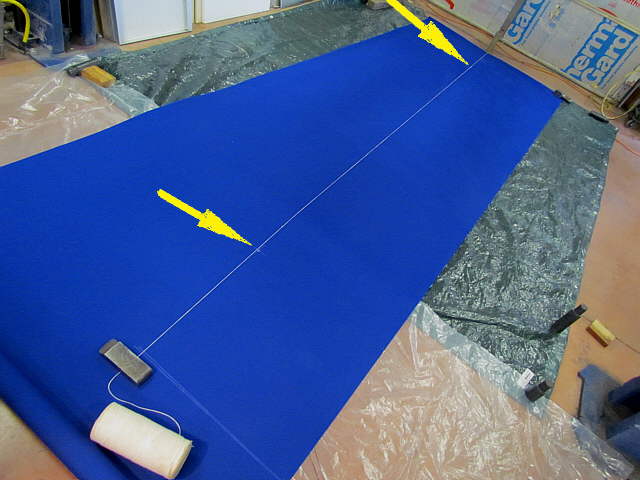
This is where we deviated from Sailrite's plans. They want you to take a circumference measurement around the sail 2 feet in from the aft end and where it stacks at the mast. This gives you the angle of the sail-pack and the height of the two side panels. We didn't want the sail-pack that high on the mast as it makes the pack a lot higher and larger than is really needed as you are just covering the sail that is stacked on the slugs at the mast.
We took our measurements 2 feet forward of the aft end of the mast, but also about 2 feet back of the mast just prior to where the sail starts to stack up on the slugs. A separate cover will be made to cover the stacked part.
Now the sail-pack will lay just above the boom on the lazy jacks while sailing and still be able to collect the sail during reefing and when the main is lowered at the end of the day. A few other deviations will also follow later on in the pictures.
..............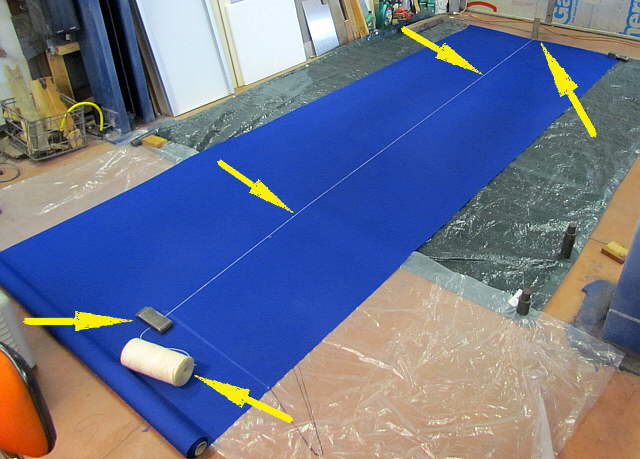
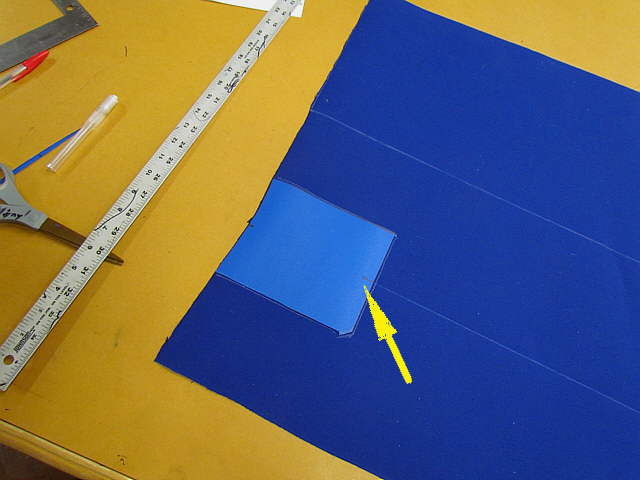
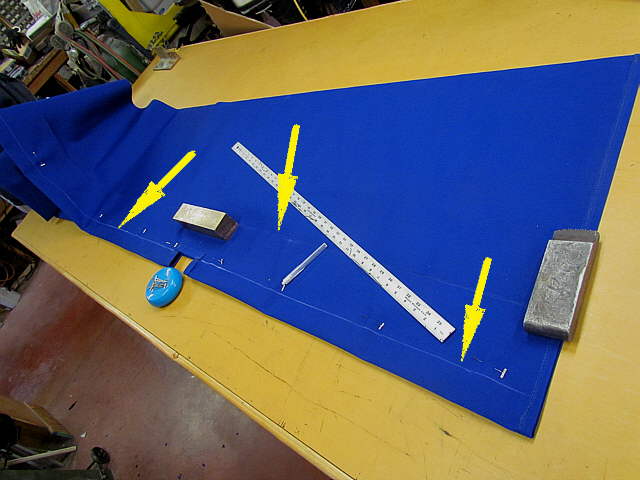
Making the measurement change also resulted in us using less material as we managed to get the two sides of the pack out of one length of material. The top two arrows show marks that were determined by Sailrite's formula that is based on the two circumference measurements. I used some string, bottom left arrow and a couple of weights to move the string around to create the angle for the cut for the starboard side above.
..............
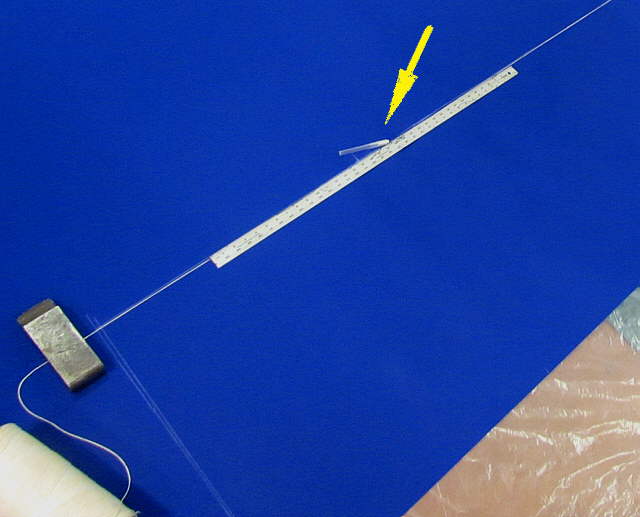
Above you can see one of the reference marks approximately 2 feet back from the mast.
..............
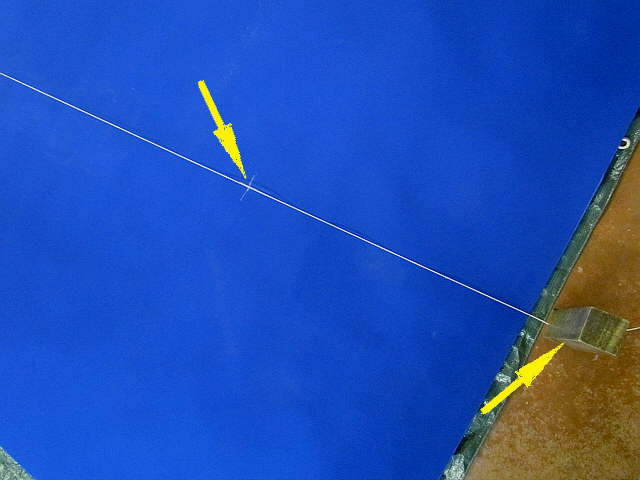
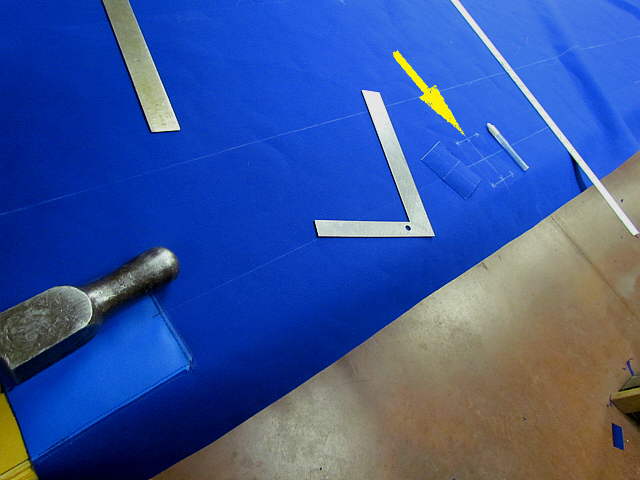
After the cut line was established with the string a ...
..............
... line was marked along the string line with a soap pencil.
..............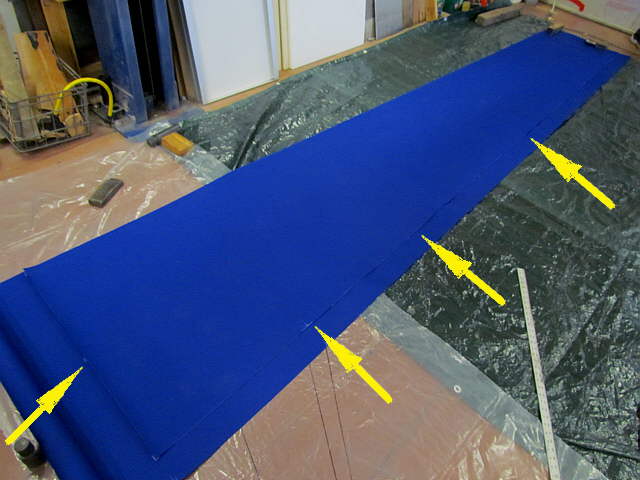
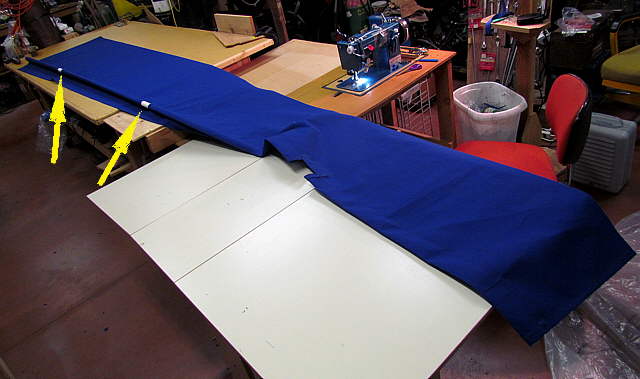
The one side was cut out and then flipped over to the other part of the material and used as a template for the port side of the pack.
..............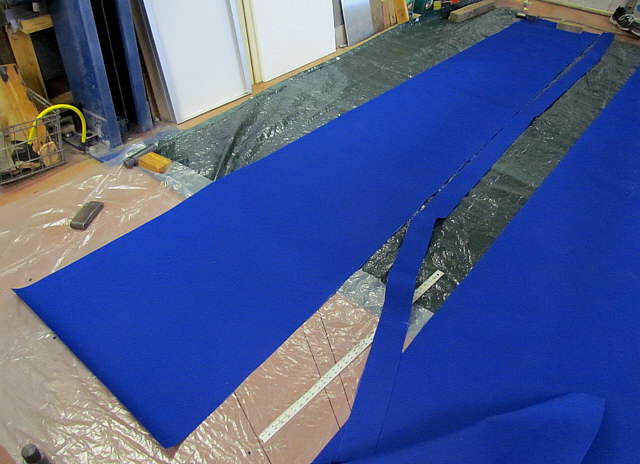
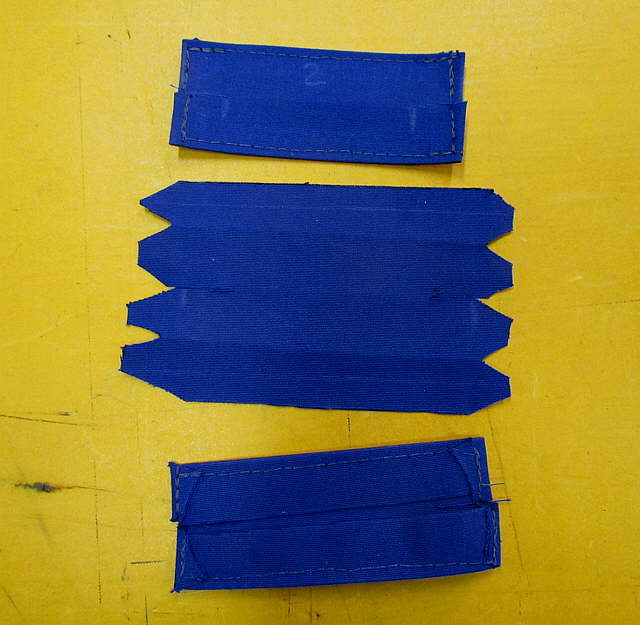
That side was also cut out and a small strip remained that could be used for something else.
..............
Using the stock instructions now a piece of top gun was cut to be sewn in to protect the aft end of the pack from the end of the batten that will be inserted at the top of the pack.
..............
Again we deviated from the stock plans that had taps sewn onto the top of the pack for lazy-jack line to be attached to. We decide to instead attach the lazy-jack lines to straps that would go around the battens for a couple reasons that will be explained later. For this to happen openings...
..............
... were cut into the pack in three location along each side where the batten would reside after more sewing is done.
..............
Protective reinforcement strips were made and sewn in ....
..............
... around the ...
..............
.... openings.
..............
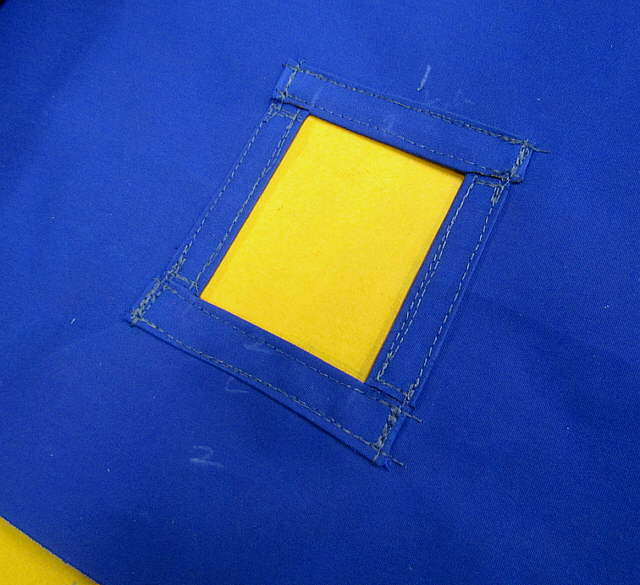
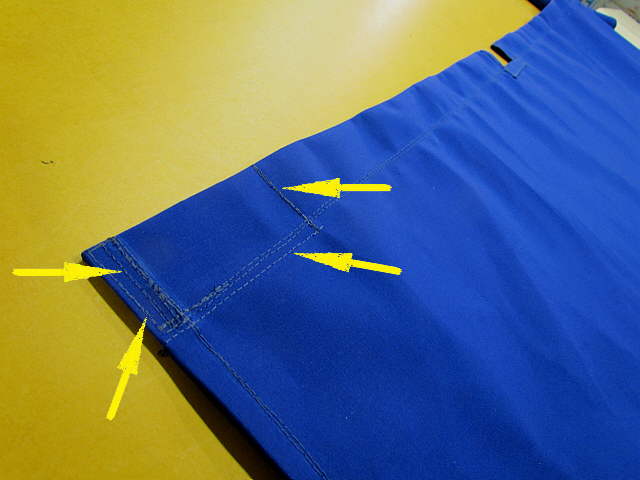
Next the top of the pack was folded over and sewn to make the longitudinal pocket for the pack on its top. You can see the pockets...
..............
... for the battens. Above part of one batten has been inserted part way up the pocket and you can see 2 of the openings where the lazy-jack line will attach.
..............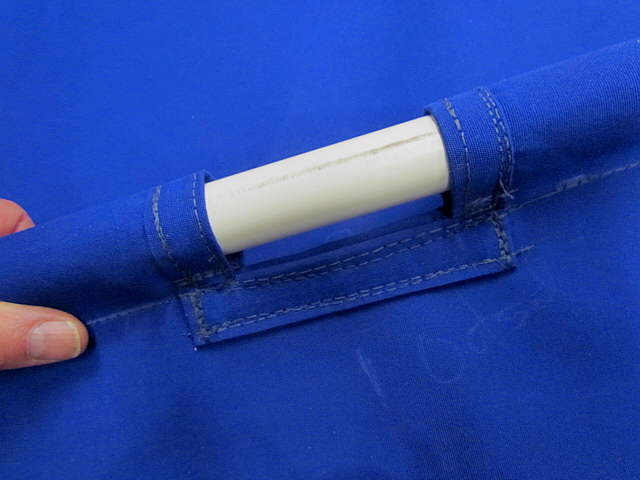
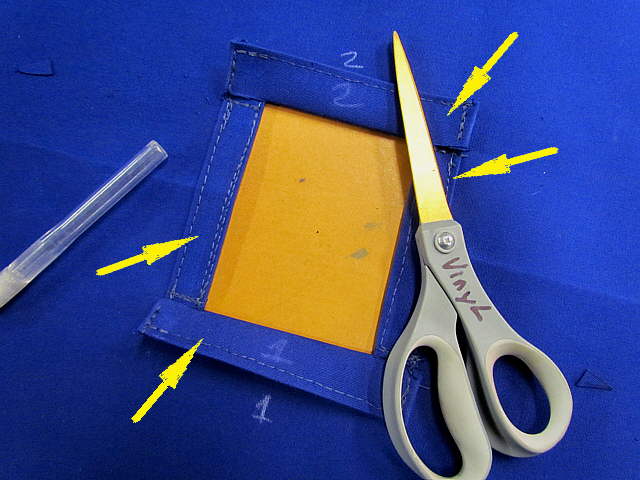
A close-up of one of the openings. We started with all PVC battens like the plans called for but you will see that we later changed to a combination PVC/Aluminum tube batten arrangement. The sail-pack on the MacGregor had all aluminum battens.
..............
The two left arrows point at stitching that closes off the aft end of the batten pocket so that the batten can't slide out this end. The right arrow points to the stitching that attaches the protective Top-Gun material inside the pocket and the batten slides into that area.
..............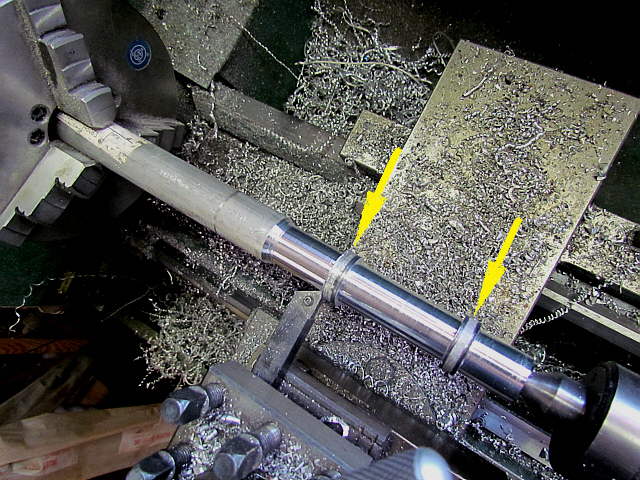
The pocket is over 10 feet long and that is the length of the PVC pipe locally. Some connectors are being machined above from aluminum and ..
..............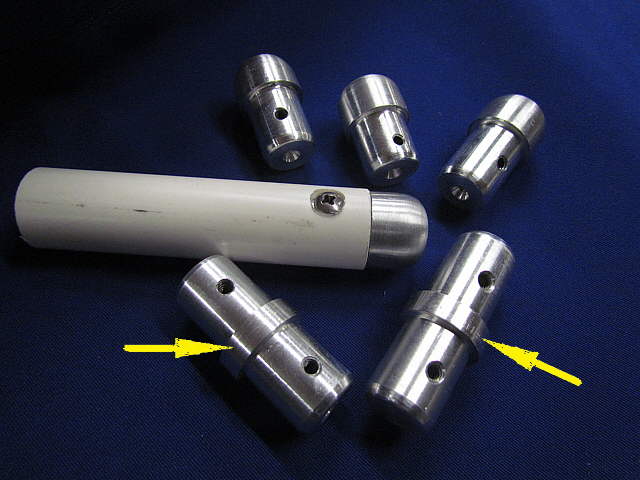
... are show above at the bottom of the picture. Also some rounded ends were machined to help avoid chaffing at the ends of the batten pockets.
..............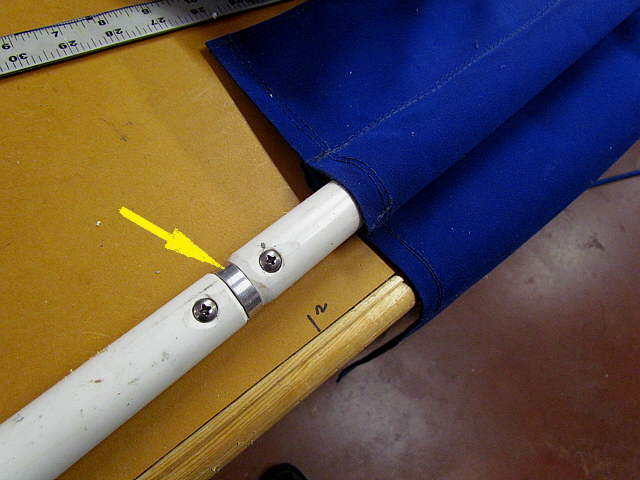
The connectors slide into adjoining pieces of tubing and set screws were inserted.
..............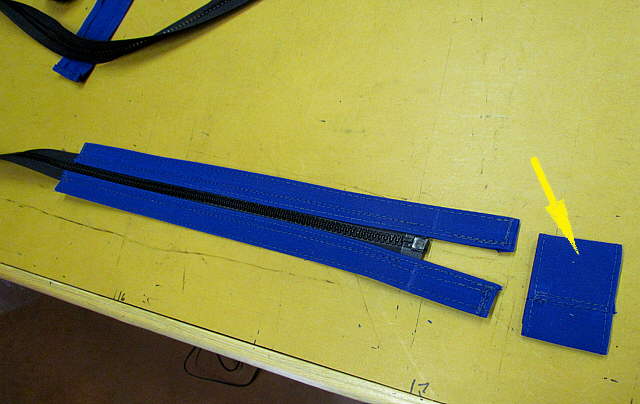
Next the zipper for the top to the pack was started. Normally, and we did this on the last sail-pack, you just leave a tail of zipper hanging off the end of the pack so that you can unzip the back back far enough to release the sail, but the zipper stays zipped out on the tail.
We sewed some additional Sunbrella out onto the tail and mad two overlapping pieces just ...
..............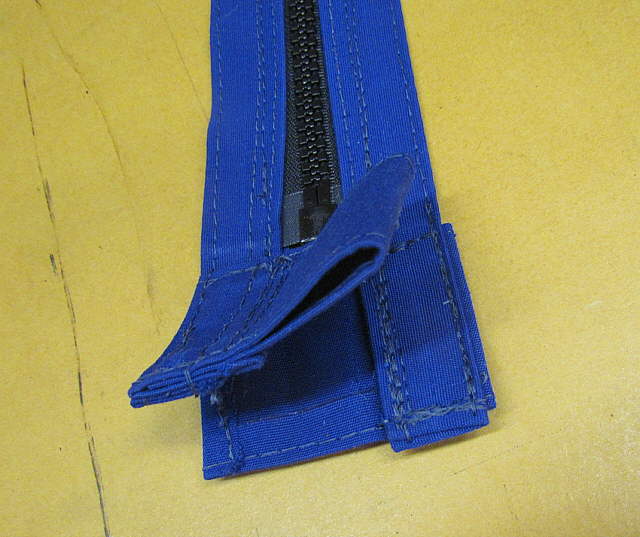
... past the end of the zipper. A common sense fastener...
..............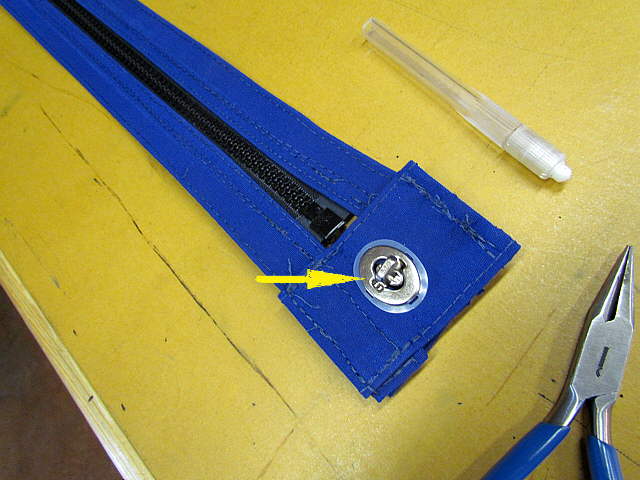
... was installed in the two pieces. This isn't really needed, but we felt it would ...
..............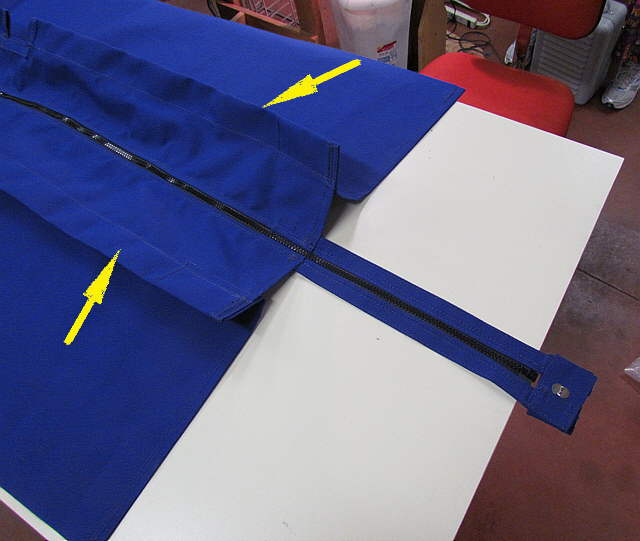
... help in not going to far when opening the pack and ....
..............
... the common sense fasteners just kind of look cool ;-).