..................
..............--- SailPack/Sail Cover/Lazy-Jacks Part I ---
NOTE: Below is how we made a sail-pack for the MacGregor, but we also made one for our Endeavour...
.....................................
....and you can find that info ( HERE ). Now on to the sail-pack for the Mac.
When we bought our Mac the sails were pretty worn out, probably original, and we had no sail cover. The lack of a cover didn't bother us much with the old sails, but it was pain to flake the sail each night and put straps around it. The last problem was that it wasn't that easy to reef the sail and required a lot of effort and more than a minute or so.
To fix all of the above we decided that a sail-pack/sail cover/reefing/lazy-jack system was in the stars. I looked at all of the options I could find for the above on the Internet and we ordered Sailrites DVD on making your own sail-pack. I wasn't impressed much with it or the ones you could buy ready made. They were ok, but were made so as to cover a large cross section of boats and thus compromises were made, especially in the way they fitted and looked. Madguy from England posted pictures of a really nice sailpack/lazy jack combo that he had made and I liked it as it was small and fitted well. We used it somewhat as a basis for what we made on the following pages and also borrowed other ideas from others and maybe came up with a thing of our own that I hadn't seen.
If you are going to make a sailpack based on the following be aware that this fits our boat and our sail and our slug height, so make changes where needed. Our sail is from Somerset Sails and is a full batten main with 3 battens. I made a .....
.......
...slug gate. Click ( HERE ) for how it was made. It allows the......
.......
.............slugs to go down very near to the boom and is the secret to the low front height on our sailpack.
Also our main is "loose footed" with no bolt rope, so if you have a bolt rope you are going to have to make some changes as we use slugs on the bottom of the pack to hold it to the boom there. Maybe get Sailrite's video and see what they suggest in that case.
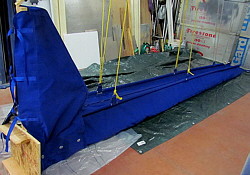
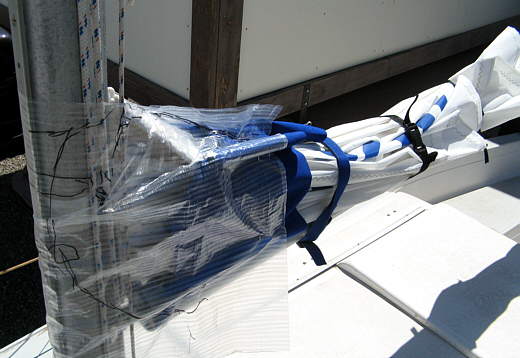
Before starting on the construction of the sailpack lets look at some pictures of the finished product. Usually I don't do this, but I think having a picture in you mind of what it is going to look like will help to better visualize what is going on in the construction process, so let's begin.
.......
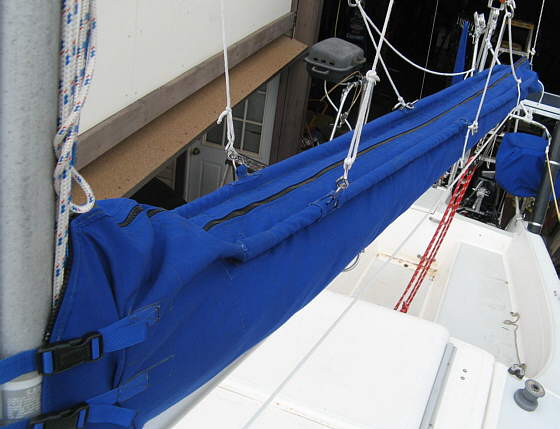
The sailpack has two aluminum tubes in it that transfer the lazy-jack load to the material and they also help the sailpack hold its shape, both closed and open.
.......
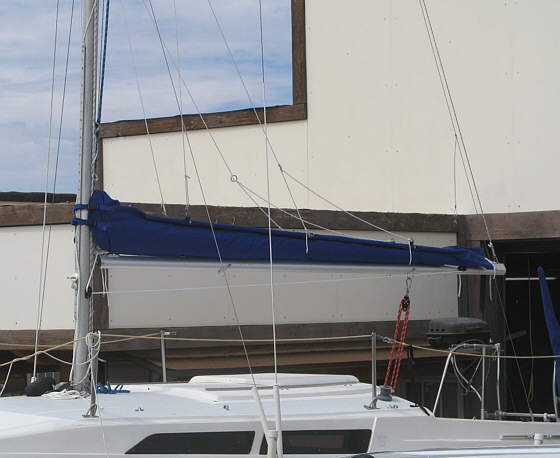
The front of the pack is held to the boom with two straps that have male buckle halfs on both ends of the straps. They snap into female buckle halfs on the pack. This is quick and easy to button up at the end of the day. You don't have another piece of canvas that has to be wrapped around the mast and fastened to the pack in some manner. Madguy did this and I really like it. You will see later that the two straps are used for another purpose when the pack is open and you are sailing.
.......
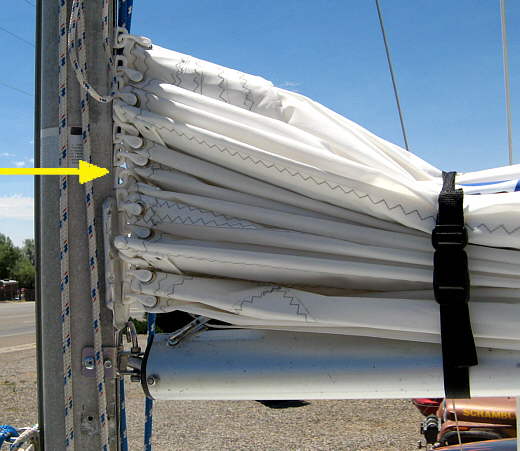
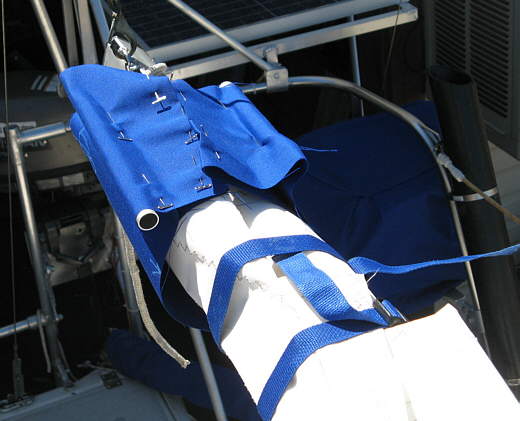
A top view looking down the full length zipper. It is a finish zipper like a jacket zipper and can come apart at the aft end to install the pack on the boom initially. Then it is zipped up about 4-6 inches while sailing or all the way at the end of the day. It is very quick to stuff the self-flaking sail down into the pack and pull the zipper up. A one person job.
.......
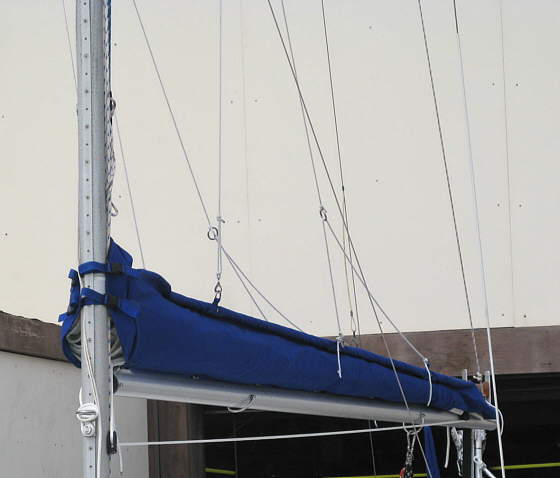
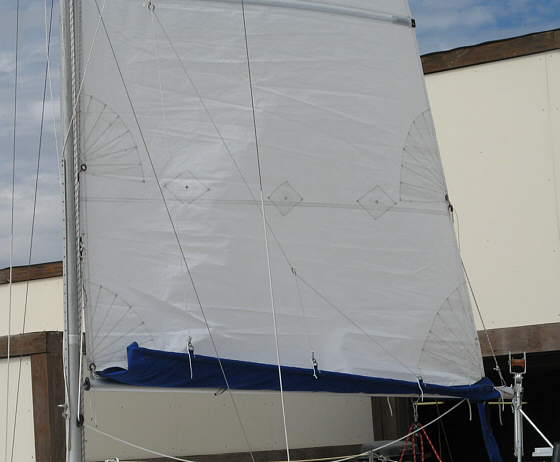
Here the sail is up and the sailpack is open and supported by the lazy-jack lines. The pipe in the sailpack helps to hold it open. The low height should help to hardly effect sail performance. If it does a little it is no major concern of ours as we are cruisers and the finish sailpack has so many things going for it for the cruiser that has to button down the boat each night on anchor.
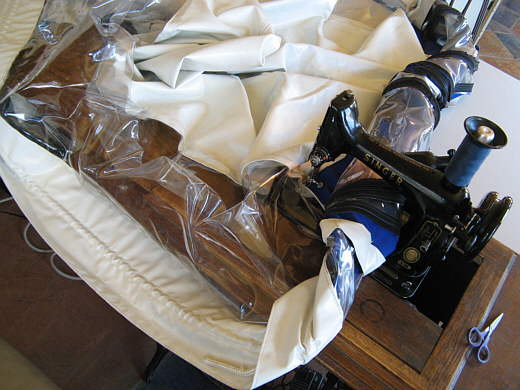
Ok let's start building this pack. Ruth and I collaborated on the design and she did all of the sewing. I helped laying out the design on the Sunbrella at times and cut a few pieces for her, but she did the majority of the work as you will see. As you will see she knows her way around a sewing machine. Talking about the sewing machine, you need some form of industrial machine to sew multiple layers of Sunbrella. We broke down and bought a from Sailrite since besides this project there were a number of other ones that we wanted to do. It could of been sewn on the ....
.......
.... older industrial Singer we had bought the year before and which Ruth used for a number of projects, including the ....
.......
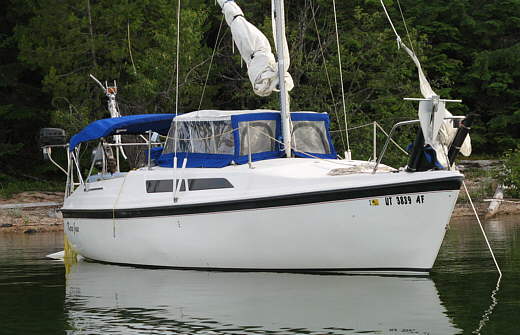
.....pop-top cover that was a big improvement over the original. We have the Singer for sale at $200 plus shipping and if interested e-mail us at:
contact20 (at) purplesagetradingpost (dot) com. It will handle the Sunbrella.
.......
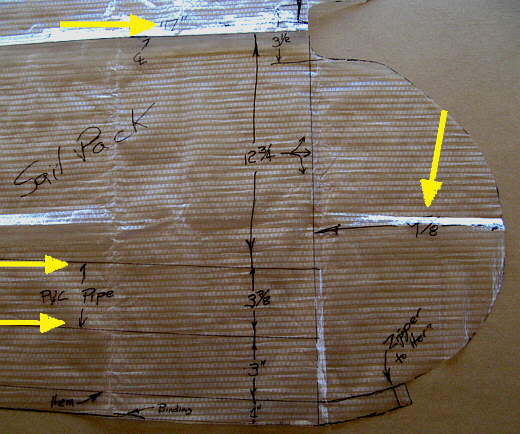
The first thing we did was take some pattern material (from Sailrite) and used it to deterring the size for the front. I used two short pieces of pvc pipe to represent the tubing that would go in the sail pack.
.......
We did the same for the aft end of the sail/boom using some scrap Sunbrella we had.
.......
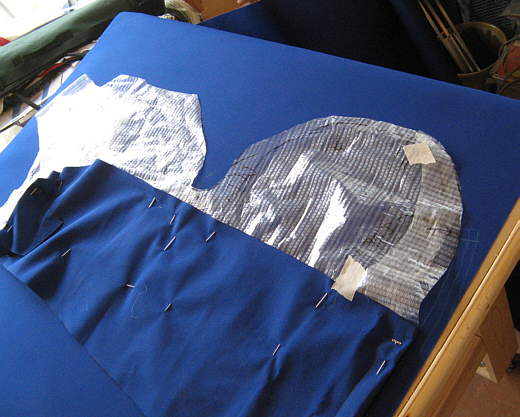
This was transferred to the Sunbrella. We picked just one side of the pattern and put a mark down the centerline and once the one side was cut out then it was folded over on the centerline and copied to the other side.
.......
Here you see one side. The bottom arrow is pointing to the edge that runs to the back of the pack. Binding will be put on the edge and then it will be hemmed back to where the front curve blends into it (see next page). The front edge going up around the curve to the bottom center of the pack will not be hemmed back, but will be edged with binding that will wrap around the edge and is marked by the arrows and the word "bind". Once the double hem is finished it will transition from the binding back to the hemmed area.
.......
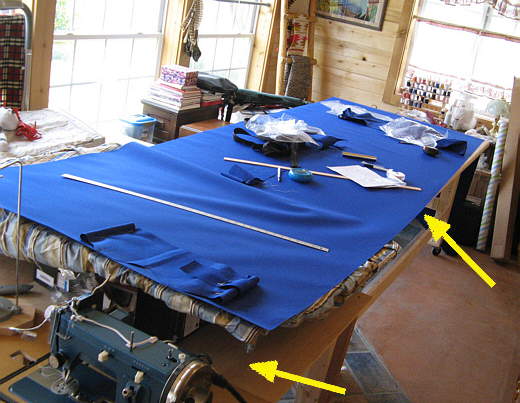
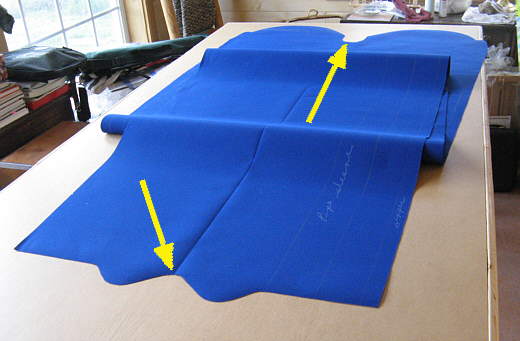
Here the material is stretch out on the work area. I put up a temporary extension (left arrow) to the main 8 foot work table (right arrow) for just a bit while we laid out the pack prior to cutting it out.
.......
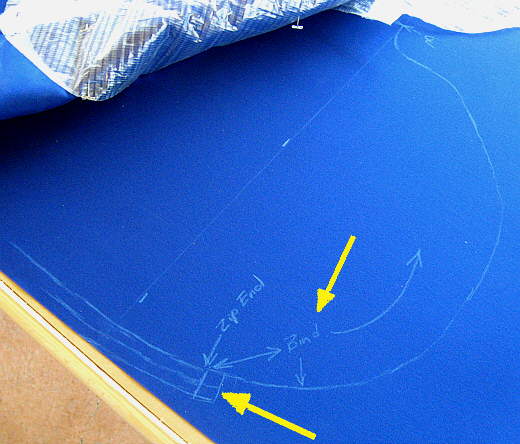
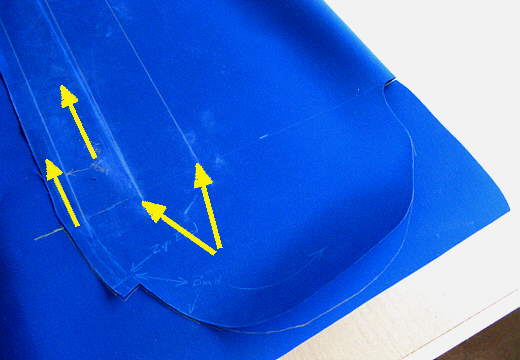
Here it is folded back on itself to mark the opposite side. The left arrow is the part that will be hemmed back and where the zipper will attach. The second arrow is the flat area from the zipper over to the tube. The right two arrows point to the lines that will be sewed together to form the pocket for the tubing.
.......
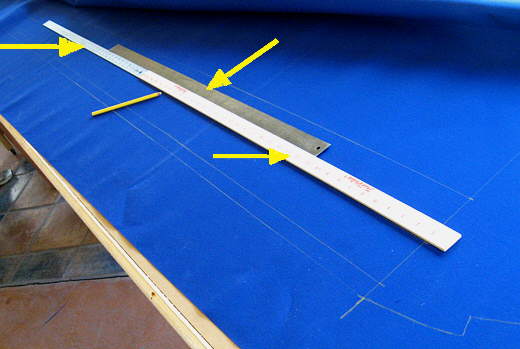
I used a marking pencil and two straight edges pushed against a third (right arrow) to put the cut and sew lines down on the material.
.......
After marking and.....
.......
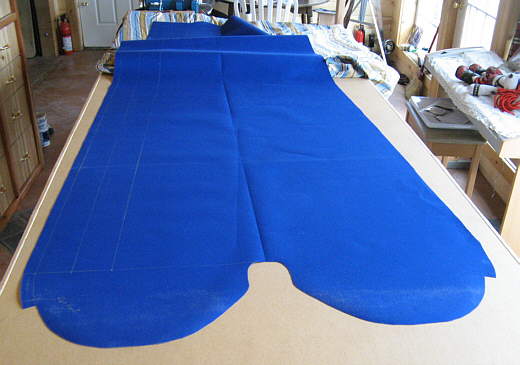
.... cutting. The two rounded areas that the arrows are pointing to were later cutout square to ease sewing the binding there as it is hard to get it to go around a very sharp bend (Ruth has now learned a trick to help with that, but it decreases the protection it gives to some point).
.......
Now for some pictures that give the dimension we used. Note be sure that these will work with your sail and and boom. Also note again that our main is "loose footed" with no bolt rope, so if you have a bolt rope you are going to have to make some changes. Maybe get Sailrite's video and see what they suggest in that case.
.......
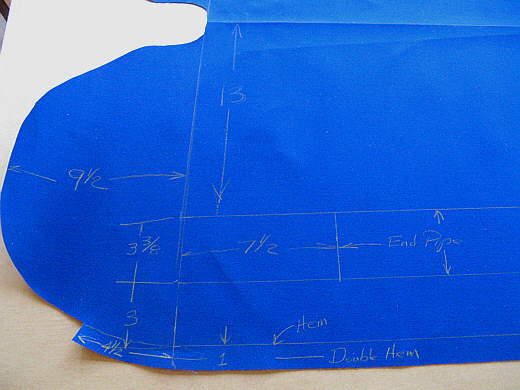
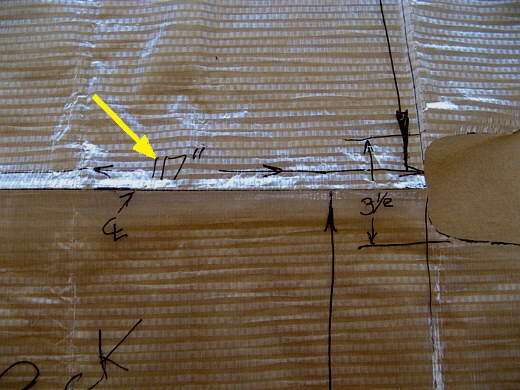
I suggest marking the measurements we used for the front and back on some pattern material or other material and trying them on both ends of the boom/sail before cutting any material. The rounded area (right arrow) is 9 5/8 inches if you are having a hard time reading that. Also the distance (top arrow) from the front to the back at that bottom of the pack is 117 inches in our case.
.......
I determined the distance considering that the back of the sail (the clew) would need to slide forward some on the boom for different sail shapes.