..................
.............--- Sail-Pack/Sail Cover/Lazy-Jacks Part II ---
.......
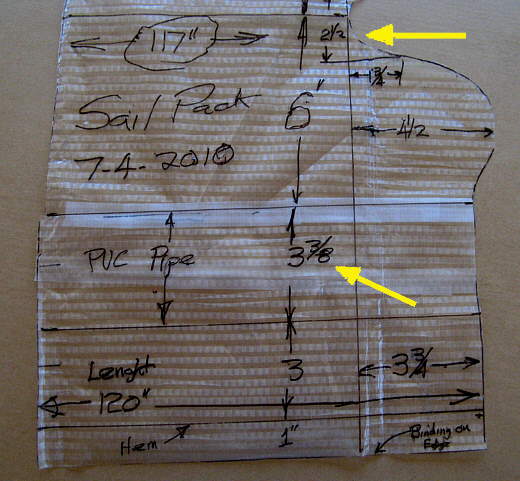
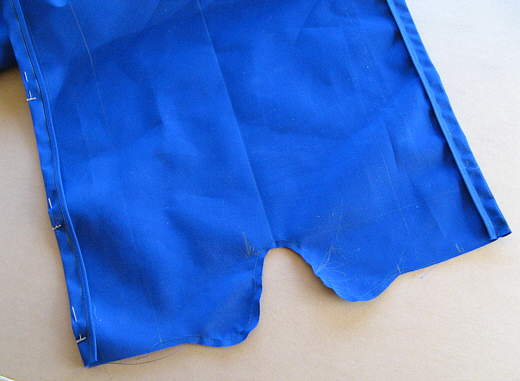
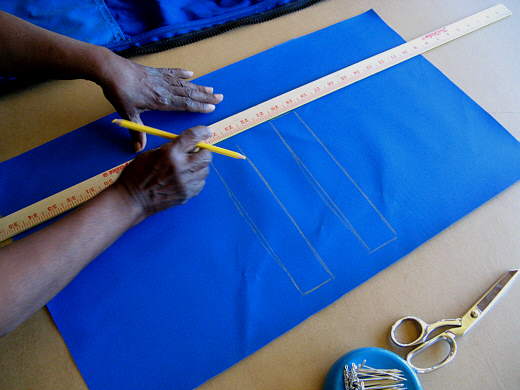
Above are the dimensions for the rear. Remember these dimensions are one side and need to be copied to the other side. I marked off the front and rear and then connected between them. The arrow pointing to the pipe pocket showing 3 3/8 inches is not quite what we used. When it came time to sew in the pipe pocket by sewing the two lines together we moved each line out about 1/8th of an inch for a width of 3 5/8th inch between them. You might just want to use 3 5/8th for the pocket to begin with if you use the same diameter pipe.
.......
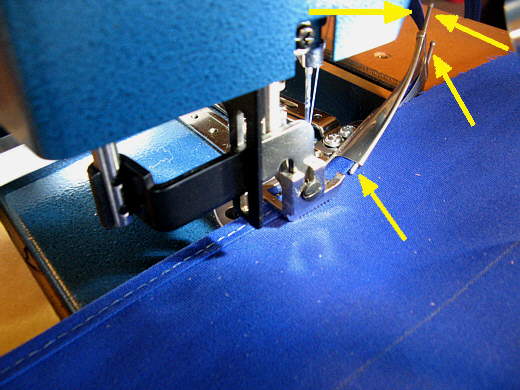
Here Ruth is using the binding attachment (arrows) that she bought as an accessory with the sewing machine. The problem we had with it was that it was for 1 inch binding and they only had 3/4 inch binding in the Ocean Blue Sunbrella we are using on the boat. They have the attachments for 3/4 binding, but they are pretty expensive. I put some finish nails (arrows) in the 1 inch one to narrow it up and that seemed to work fine.
.......
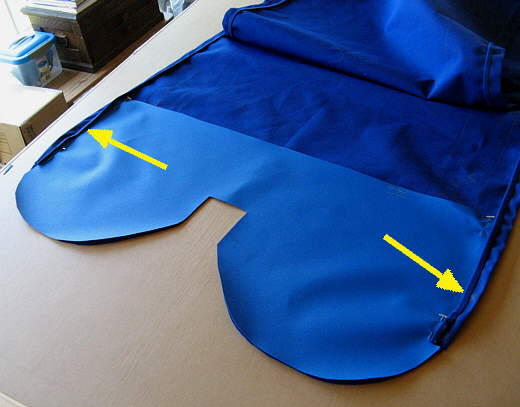
The left arrow points to the edge from the front of the pack to the back where Ruth put the binding in the previous picture. Of course all of this is repeated for the other side.
.......
The edge with the binding was then hemmed over (arrow) and.......
.......
.... sewn. This is the edge that the zipper will attach to.
.......
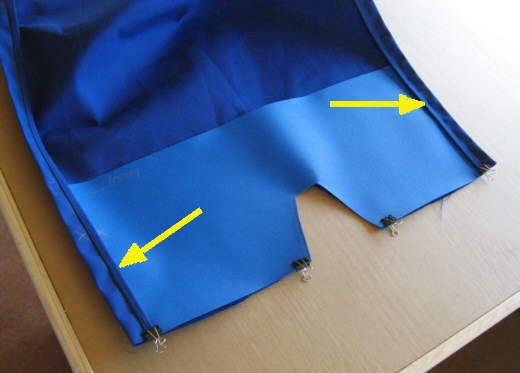
In the picture above the other side has been pinned prior to sewing. Notice that this edge where the zipper attaches goes all the way to the back of the pack.
.......
Next some Top Gun anti chaffing material (Sailrite) was cut to cover the front as the area by the mast will receive more wear and tear. It was tucked under the previous sewed hems on the side. In retrospect it would of been easier to of cut it and slid it totally under the hemmed area and then it would of been sewn in with the hem. Learn from our experience.
.......
The same for the rear where it would of also of been easier to have cut the Top Gun and inserted it prior to sewing the hem in. It still came out nice though.
.......
Here the anti-chaffing material has been sewn in. Also note that the rounded area has been squared off at this point.
.......
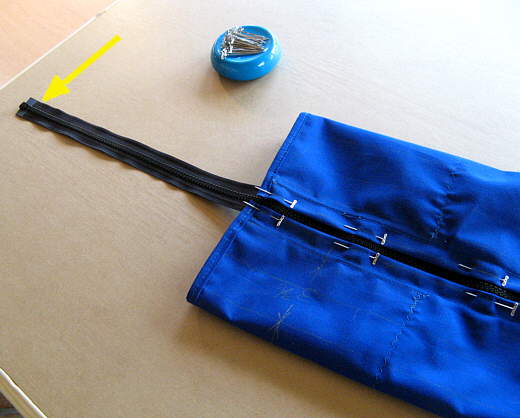
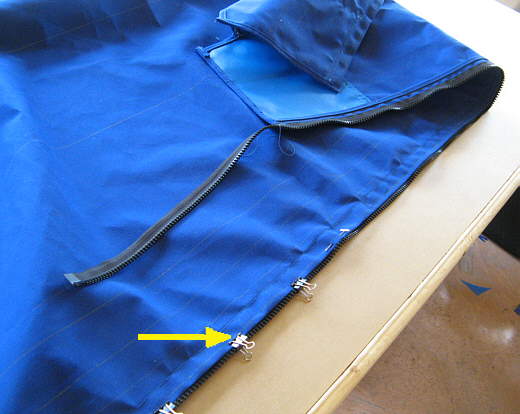
Next the zipper was pinned in prior to being sewn. The tail is so you don't have to totally un-zip it once it is installed on the boat. We made it long enough so that when the pack was open while sailing there was no pressure on the zipper pull.
.......
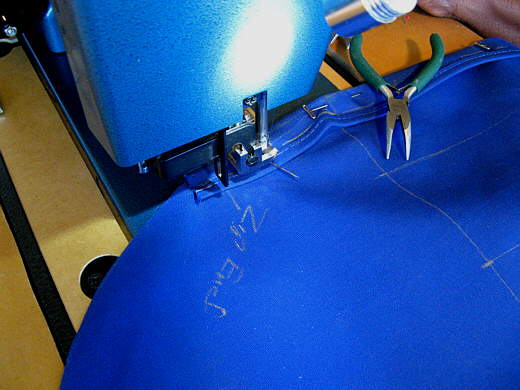
Ruth also likes to use these binder clips (arrow) that you can get from an office supply store.
.......
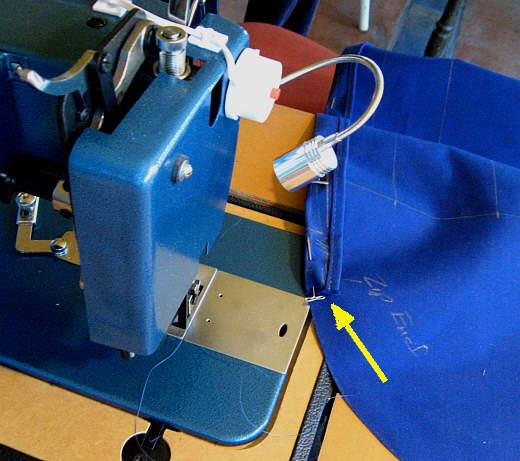
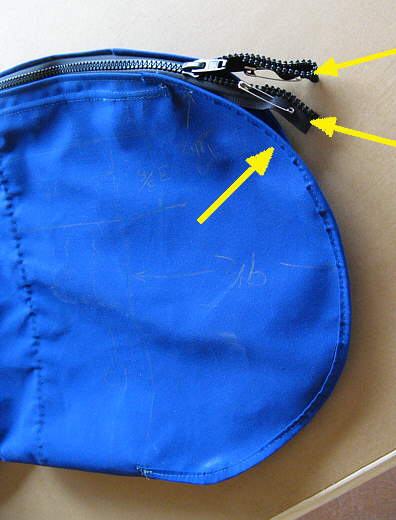
The zipper we bought from Sailrite was 180 inches long. Ruth left it long for a while and then we decided to take it further forward than what was first planned and shown on the patterns. We ended up with it ending about where the bottom arrow is. This isn't critical as you aren't going to pull it that far with the mast being in the way, but you can if you pull the boom off the boat while traveling and want to leave the sail on it (we plan on doing just that). You need to also get 'zipper stops' for the zipper and pinch them on with pliers at the end of the zipper so that you don't pull the 'pull' off the end of the zipper.
.......
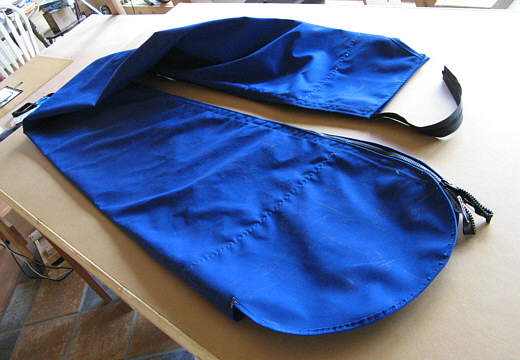
The pack to this point. Time for......
.......
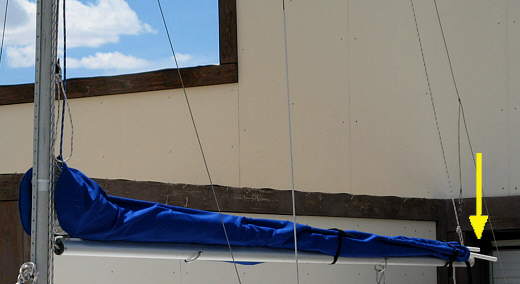
... a trial fit. At this point we were using 3/4 inch pvc for the tubes as that is what some others use. We didn't sew the pocket at this point (best to do it last) so we pinned the pocket so that we could try the tubes. We found out that they will work, but we didn't like them that much. We left the pack outside on the boat for a day and the heat warped the pipe to some degree and it wasn't nice and straight anymore. Further down I'll show you our fix for that.
Another reason for the trial fit was to take care of the reefing lines and where they would enter/exit through the pack. I installed a single line reefing system at this point, but it isn't shown above. We noted where the aft line that pulls the sail down at the back of the boom was with the sail up and with it reefed down. This requires a slotted area in the pack for the line to pass through from and back to the boom so that it pulls the sail down into the pack.
.......
Above the 4 left arrows point out the two reef slots right after they had been cut. The two right arrows show how Ruth had sewn in binding on the rear of the pack.
.......
Here she is laying out more Top Gun that will be used to help protect the Sunbrella in the reef area of the pack.