..................
........................--- Supports for Bug Netting - Part I ---
Over the next couple pages I'll document a bug netting that Ruth and I made to go over the cabin area and the cockpit. We were hoping to spend some extended time in Florida and we kept hearing how bad the bugs could be there especially in the 10,000 Island/Everglades area that we wanted to visit.
We wanted the netting to be high enough and big enough that we didn't feel trapped in the boat and yet a main concern is that if it couldn't go up and down quickly we might hate having to use it. I made the support system on this page and helped Ruth where I could, but she sewed on this for about 2 months almost every day some. I knew it would be a huge project, but neither of us realized how big and complicated it would get.
We are glad to say that at this point we are extremely happy with how fast it goes up and comes down and the nice feeling you get sitting inside of it. I guess the final say will come down to, will it keep the bugs out? We think it will.
.......
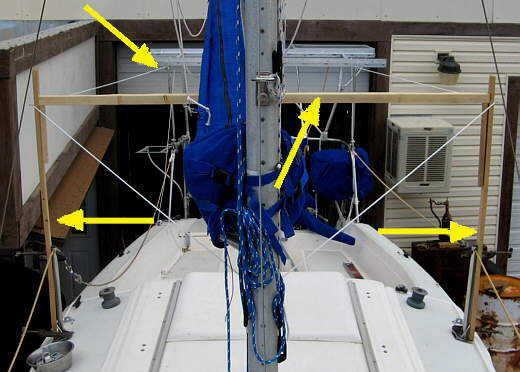
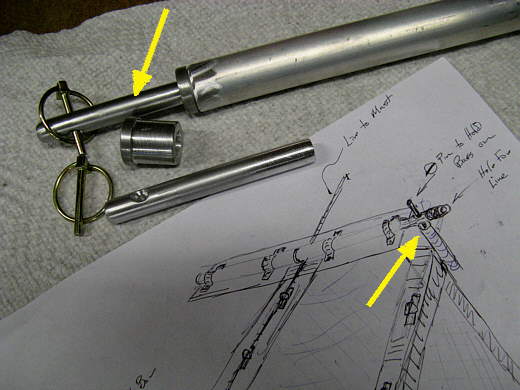
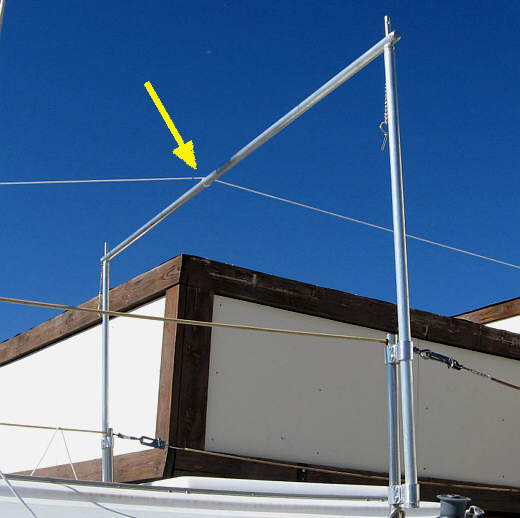
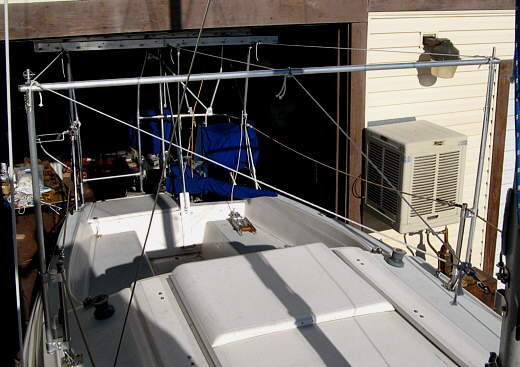
First I mocked up an idea for the forward supports out of some 1 X 2's (lower 2 arrows) and a 2 X 2 (middle arrow). Lines to support the netting would come from the mast and go to the high support by the cabin/cockpit junctions and then back to the solar array framework.
.......
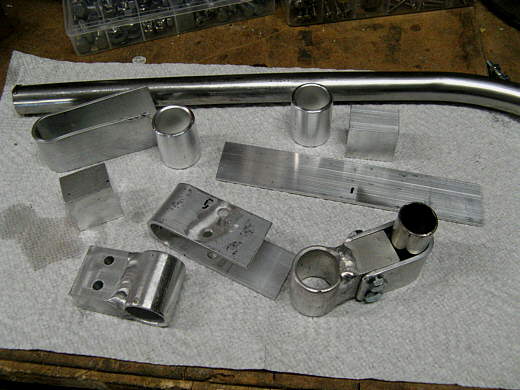
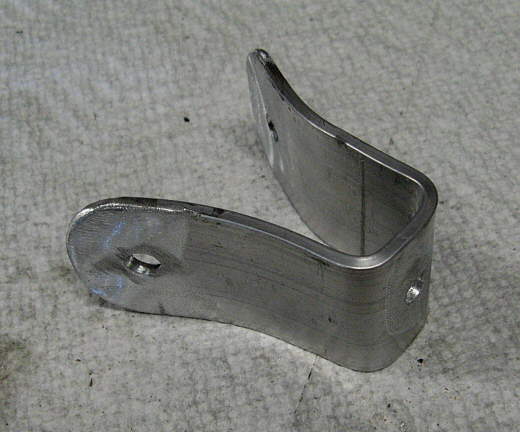
This is the start of brackets that mount to the stanchions at the head of the cockpit.
.......
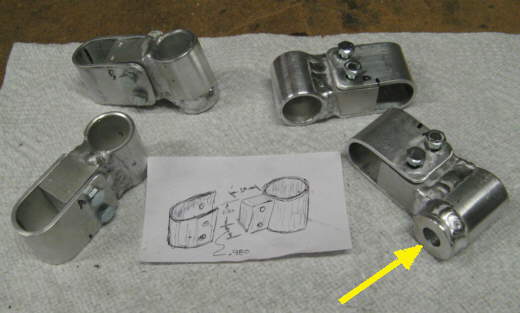
Here they are finished. Two are closed, except for a drain hole, at the bottom (arrow) and are the lower brackets and two are open for the top brackets.
.......
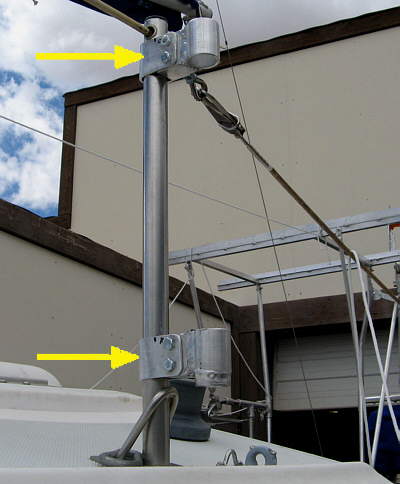
Here the brackets are mounted to the stanchions. They will always be attached.
.......
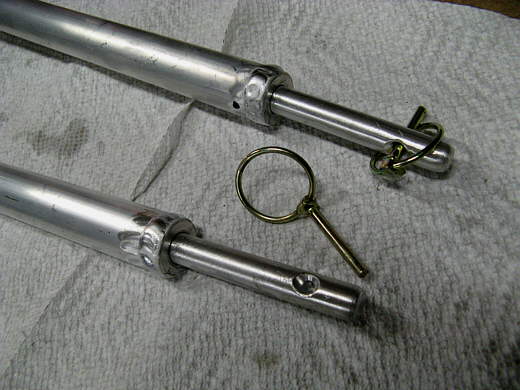
Next came two poles that slide down into the brackets above.
.......
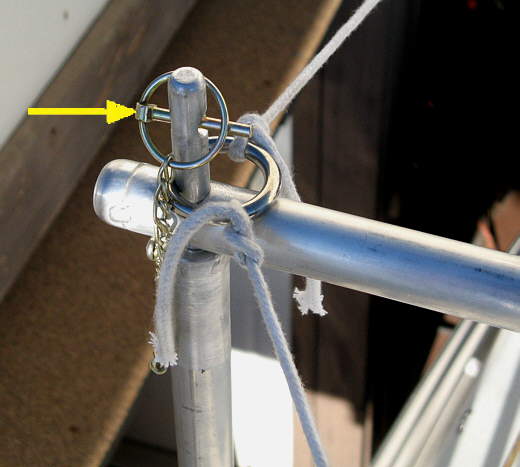
I ended up not needing the lock pins shown above and ....
.......
...also shown here.
.......
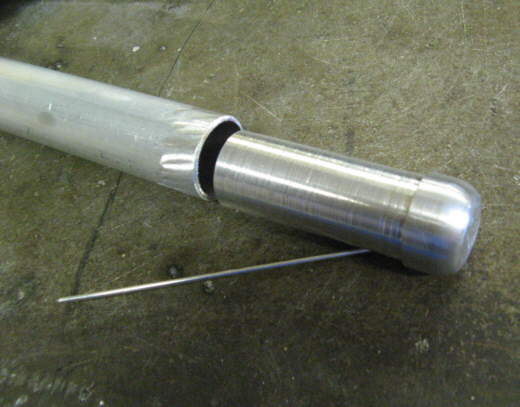
Some aluminum round stock was turned to fit into the ends of an aluminum tube and holes were then drilled in each end of the tube, so.....
.......
That it would slide down onto the uprights.
.......
This bracket was made and ....
.......
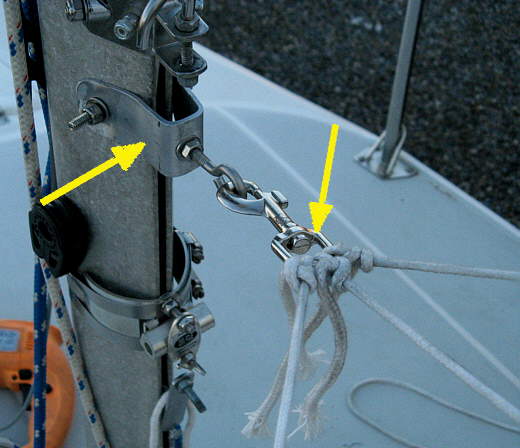
...it bolts to the mast just under the gooseneck and also stays on all of the time.
.......
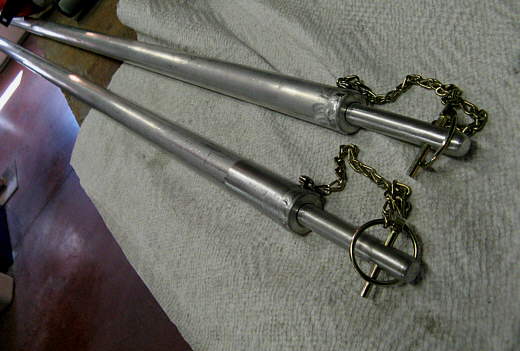
3 lines run aft from the bracket on the mast back to the solar array framework at the back of the cockpit. This lines stay attached to the snap hook that connects to the mast and will stay attached to the netting. Each line has a ring on it at the cross-bar location. The cross bar goes through the center ring and the rings on the outer lines go over the top of the uprights and are why not lock pin is needed there.
.......
Besides holding the netting up they also keep strain off of the uprights and stanchions by locating them fore/aft.
.......
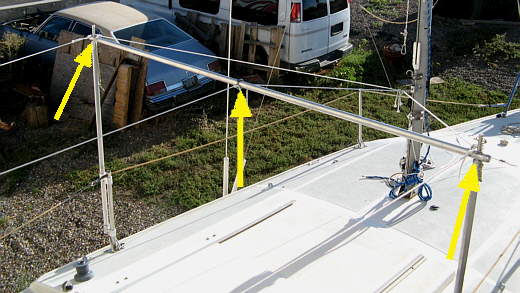
Here is the starboard upright and the arrow points to the pieces that aren't needed. I used cloths line for all of the mockup work, but it will be replaced with 3/16 or /1/4 braided line.
.......
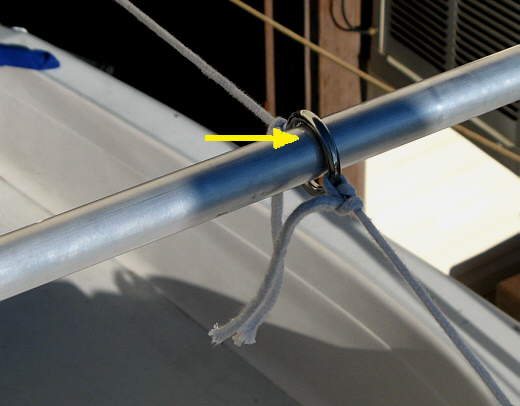
Here is the center ring. Since the line is tied aft to the solar framework and forward to the mast there is no fore/aft pull on the crossbar.
.......
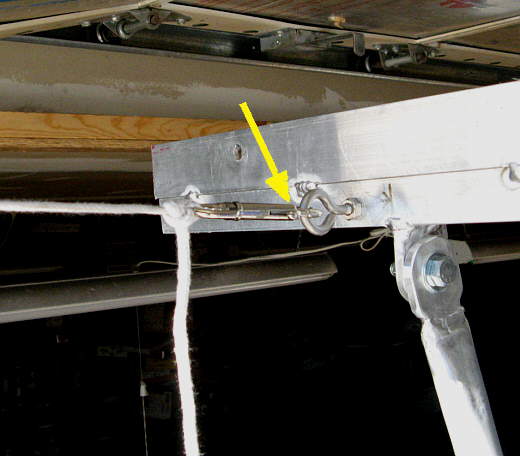
The lines attach aft with more snap hooks. Putting the netting up mainly consists of sliding the side supports into the brackets on the stanchions and then putting the cross-bar on them. The netting is attached to and stored with the netting most of the time. Then snap the line on the mast and the 3 lines on the back solar framework and the netting is basically up. The first time I took the finish netting down it too 3 1/2 minutes and I wasn't rushing. Going up is about the same.