..................
..........................................................--- Dinghy Chaps Page 1 ---
On our travels we had seen a dinghy at Marathon, FL that had dinghy chaps (a term we found on the Internet while searching for pictures). We liked the idea better than a cover that we would have to take on and off. They would give sun protection all of the item and also some puncture and chaff protection.The dinghy is a Zodiac Zoom that we bought used in 2010 from an individual in Florida off of Craig's list. It is a 2006 that was in very good shape and since we only have it out in the sun on trips seems to be staying in good shape. Since it is PVC realized that the sun was doing its thing on her. We have a little over $100 in the chaps and hope that they protect the dinghy well enough that we will still get a number of years of service from her.
We read where one couple made patterns one day and sewed up the chaps the next. We aren't that fast and we have about 8-10 days in these, but are very happy with them at this point.
.........................................................................YouTube Videos:
Overview: http://www.youtube.com/watch?v=01ZIdhxPv7Y&feature=channel
Bottom Pocket and Strap: http://www.youtube.com/watch?v=Ww1WPUTmdZw&feature=related
Under Seat Storage: http://www.youtube.com/watch?v=YrrUjnW3IEU&feature=youtu.be
..............
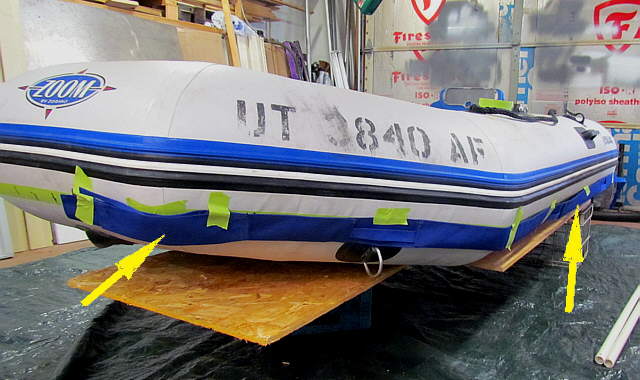
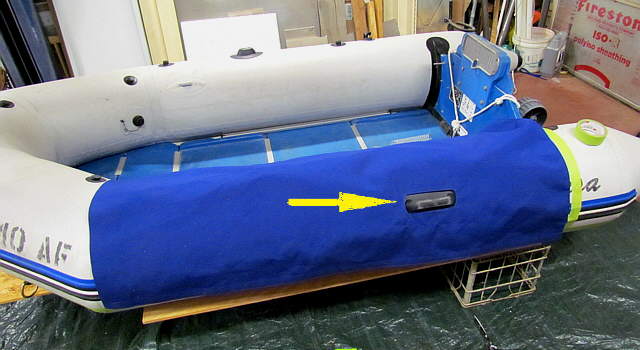
To start with a reference line from tape was made around the dinghy where the chaps would drop to. The line is below the centerline so that a strap at this level can assist in keeping the chaps on and also to cover the tubes from the sun.
..............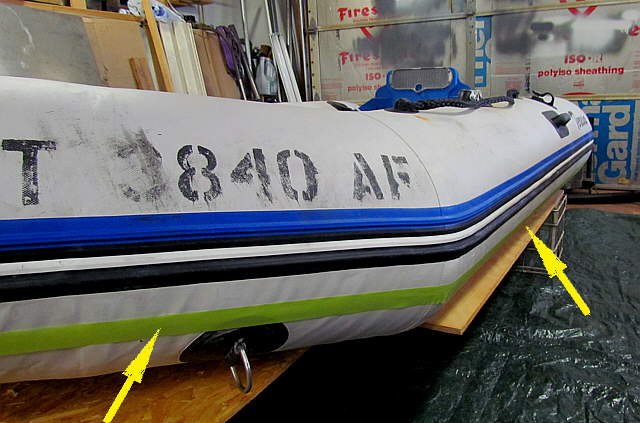
A close-up of the tape.
..............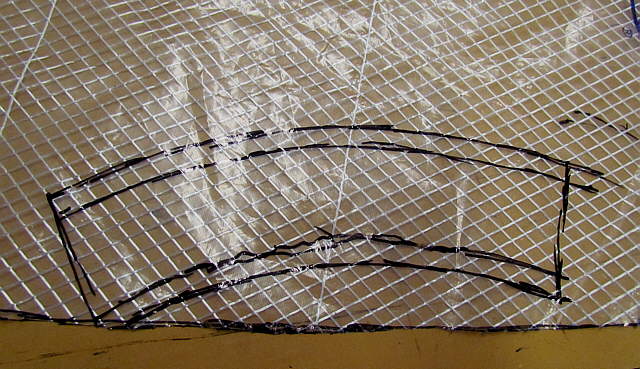
Patterns were made for the pockets for the strap at the bottom by holding pattern material (Sailrite) on the dinghy where the tubes turn at the front.
..............
The pattern was turned over on itself and then transferred...
..............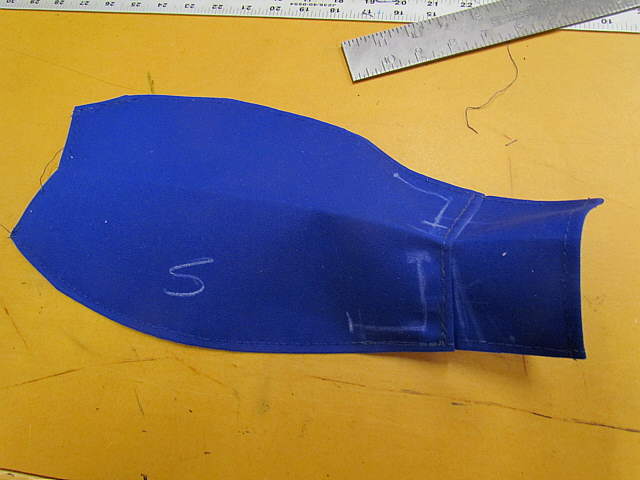
.... to Sunbrella.
..............
The strange shape is needed to make the turn at the front and still stay on the taped line.
..............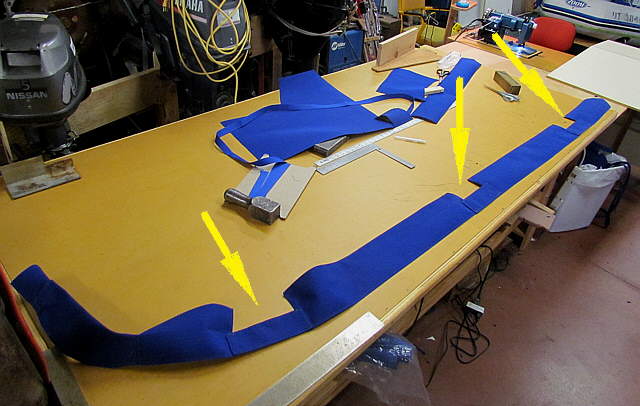
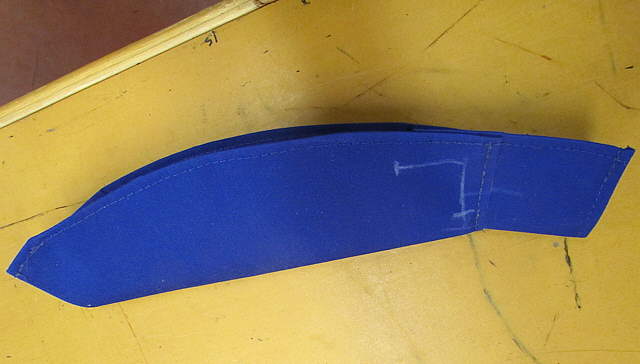
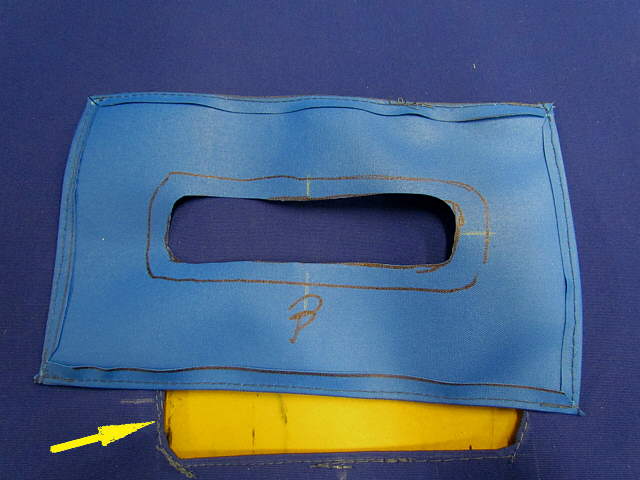
The piece described above is on the left. The pocket for the bottom strap at this point (above) has not been folded over yet. The arrows point to parts of the pocket where the strap will be visible.
..............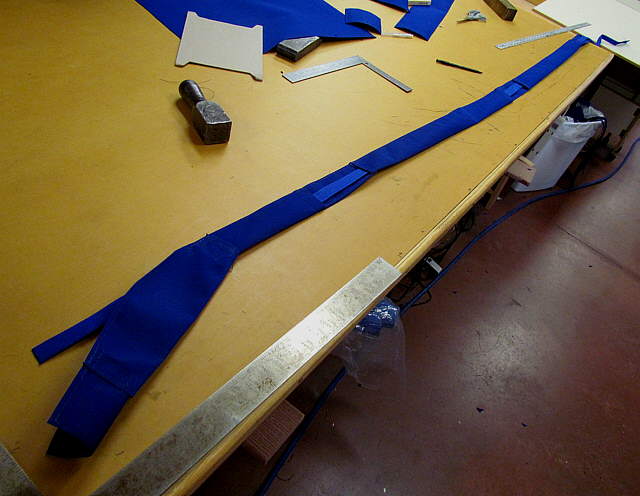
The main purpose for the openings is to ease installation of the strap into the pocket as it can be pushed from opening to opening with a straight edge.
..............
Here the bottom pocket is taped to the dinghy for a trial fit. It will now be set aside until much later in the build.
..............
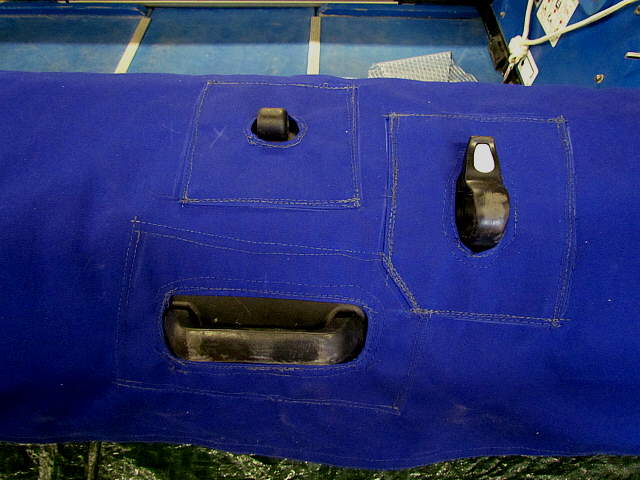
The side chaps were cut and hemmed top and bottom and will wrap from the tape line up over the tube and down inside. The chaps need numerous holes cut in them for parts of the dinghy to protrude through. Above a hole was cut for the handle on the side of the dinghy. It was cutout in the center and hemmed in.
..............
The piece of Top Gun was cut for inside chaff protection and was sewn on the back side of the Sunbrella.
..............
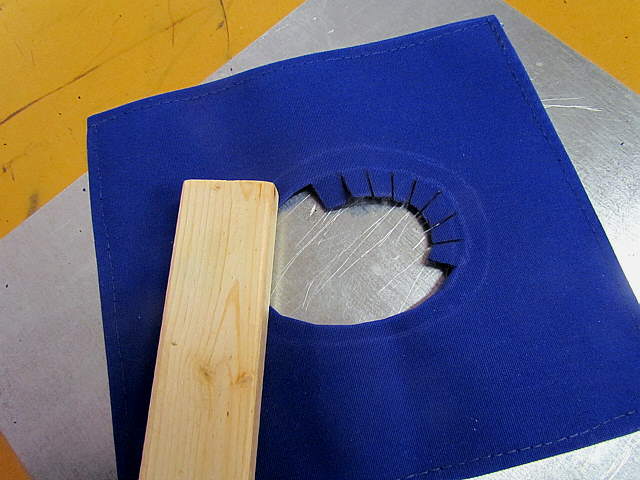
Above we can see the first hole after it has been made in the chap. I didn't like this approach as it was hard to easily position the holes and make them look nice so I switched methods for all the rest of the openings.
..............
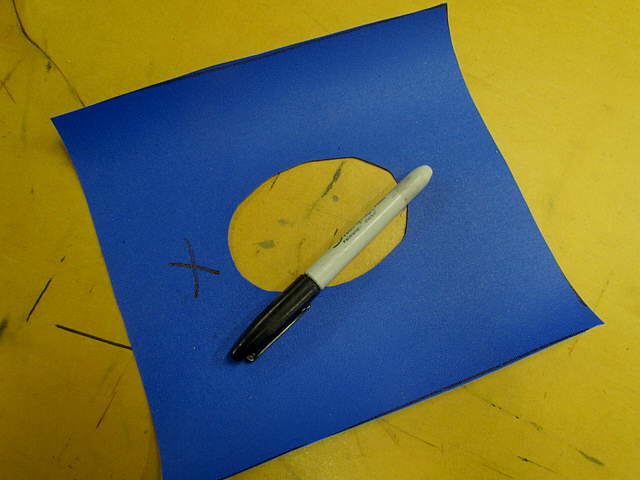
I would pull the chap over an area that needed and opening and then start to cut it out until the chap settled into position. This went very fast as I didn't have to be as accurate. Next a separate piece of Sunbrella was cut and hemmed around the outside and around the hole and placed over the chap...
..............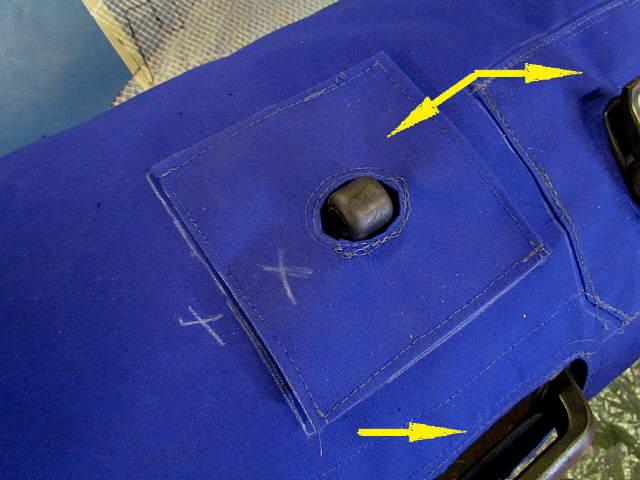
....like above and then it was sewn in place. The X's just help to remember the proper orientation for the piece after it arrives at the sewing machine. The bottom arrow points to the first hole where no piece was used.
..............
The new method made it much easier to deal with the openings as it wasn't as important that the first opening in the chap Sunbrella didn't have to be right on the money.
..............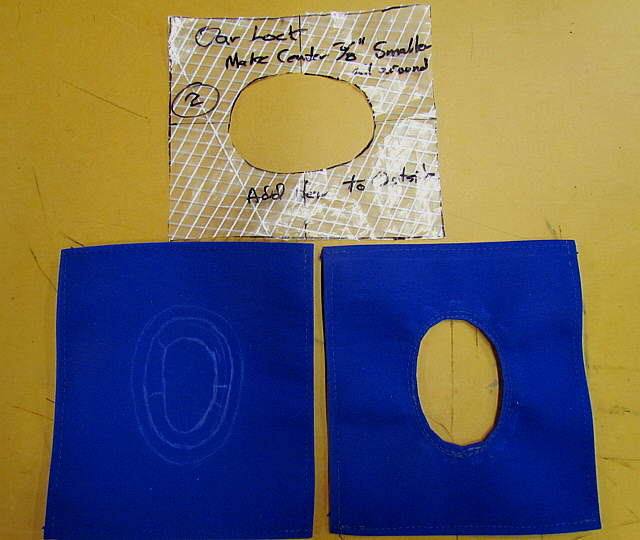
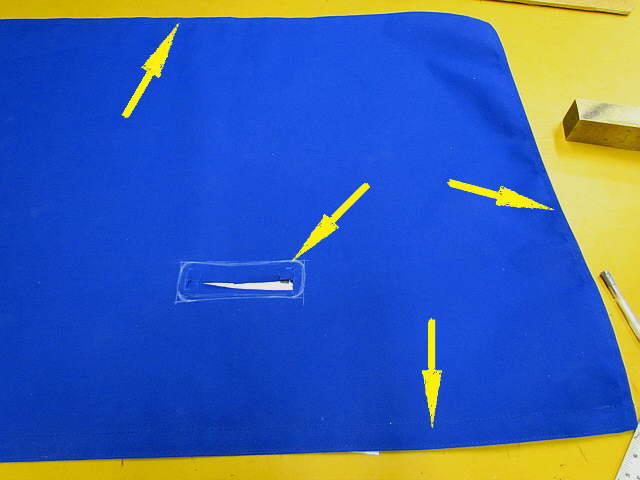
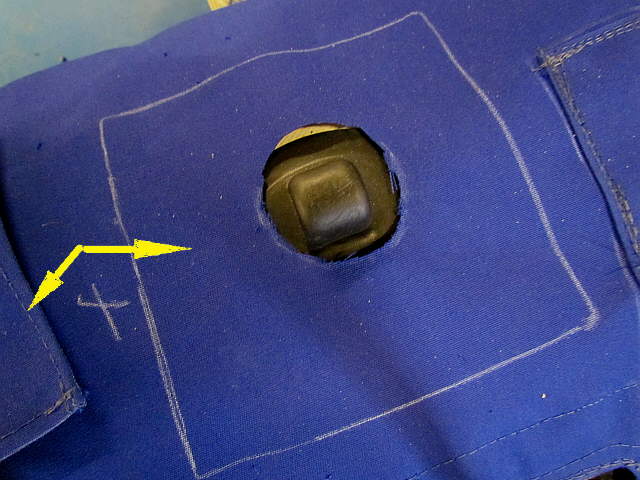
A pattern using clear pattern material was made for each opening (some where the same). That was transferred to the fabric.
..............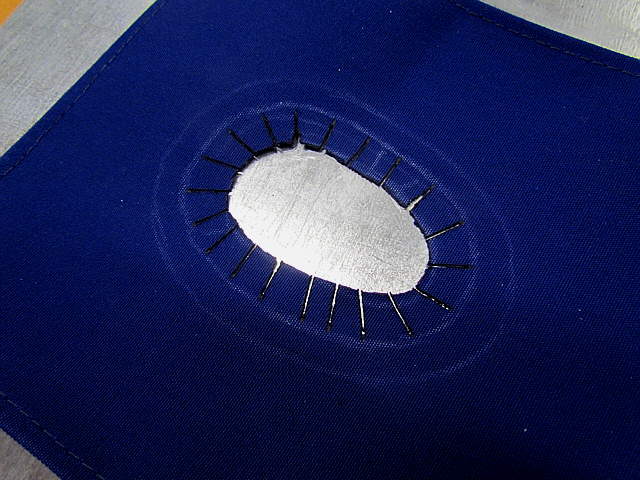
The opening was cut using the solder gun with a cutting tip.
..............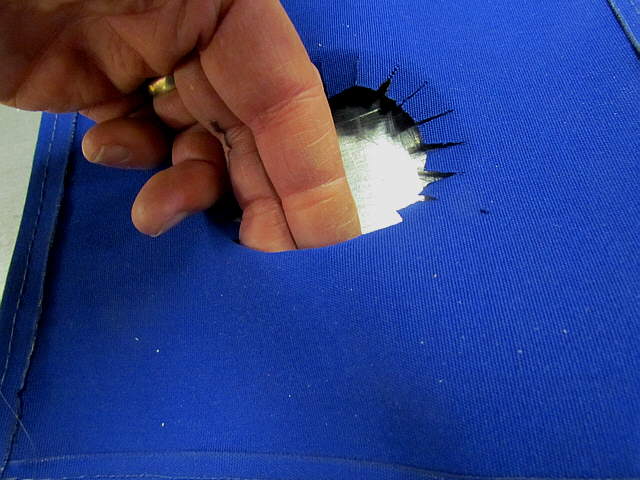
Then the fabric is bent in. Note above the material is being bent in the wrong direction (see side hem in photo).
..............
Now it is bending the right way. I'd crease it with a piece of wood and note that it is on the piece of sheet metal that I use when cutting with the solder gun.
..............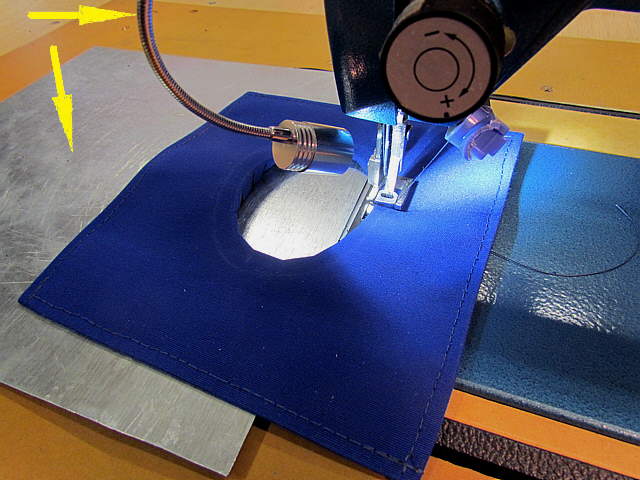
It is taken to the sewing machine on the metal and then slid off under the arm of the sewing machine and ...
..............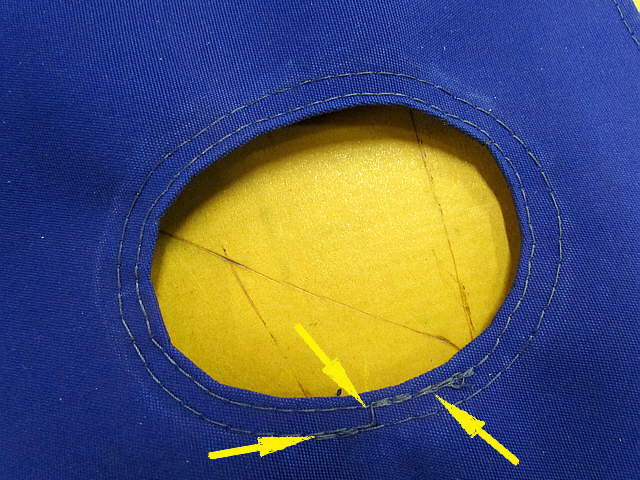
...sewn around the perimeter. The right arrow shows the beginning of the stitches and you can see where the machine was reversed to lock the stitches in. When you sew around once and get back to the center arrow you turn the material and go over a stitch and then go around again and again reverse at the end of the pass, left arrow, and lock the stitch in.
..............
Above is the back side of the opening. Further on I'll show an easier way to hold the material down while sewing.
..............
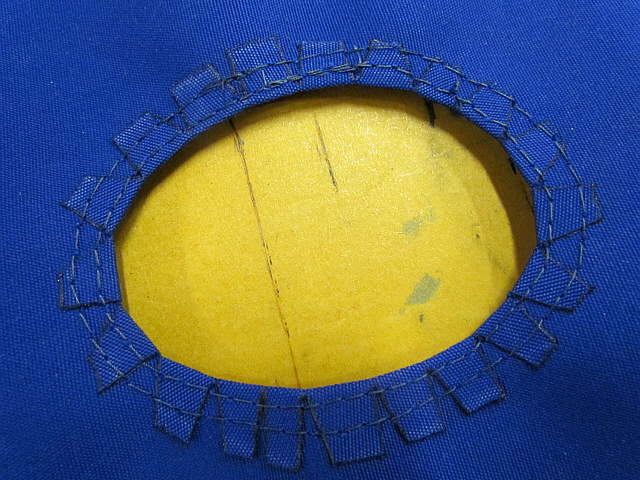
Next a piece of Top Gun was cut and sewn on the back side over the opening.
..............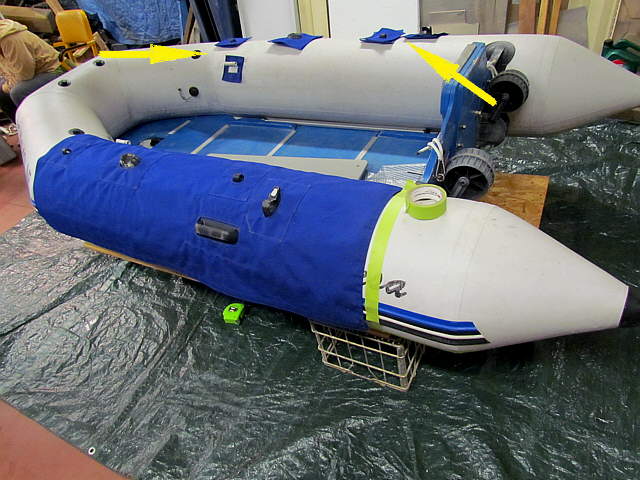
AT this point one side is about done and pieces were made for the openings on the other side, top arrow.
..............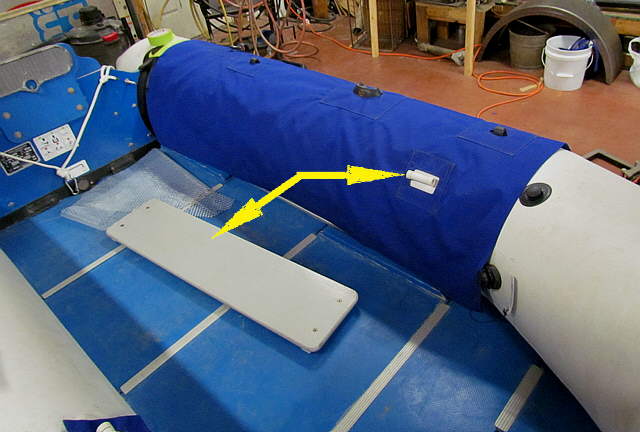
The arrows point to the seat and to the seat mount on the tube.
..............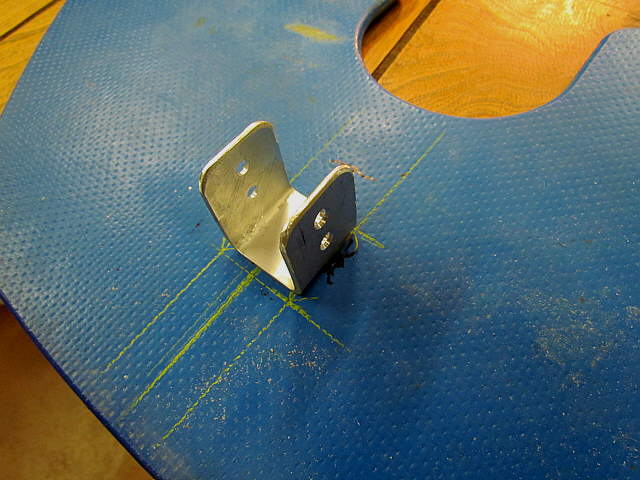
I needed a way to hold the chaps on the inside at the bow. The piece of aluminum above was cut and bent and the hard floor was marked where it would be situated and ...
..............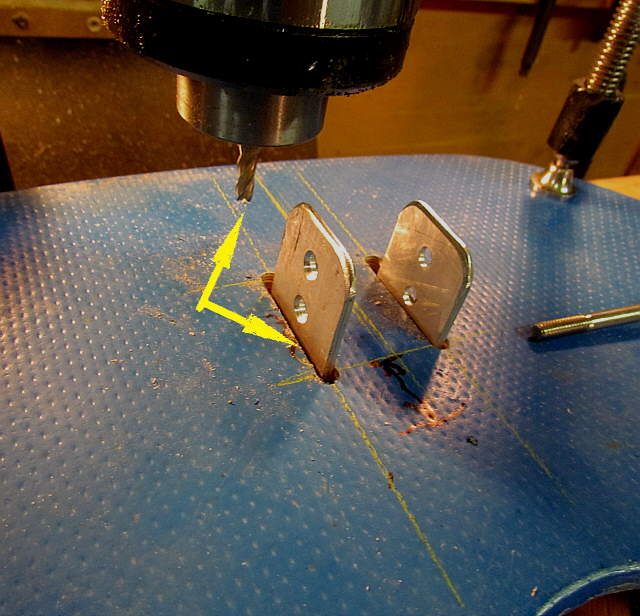
... slots were routed into the floor for the piece.
..............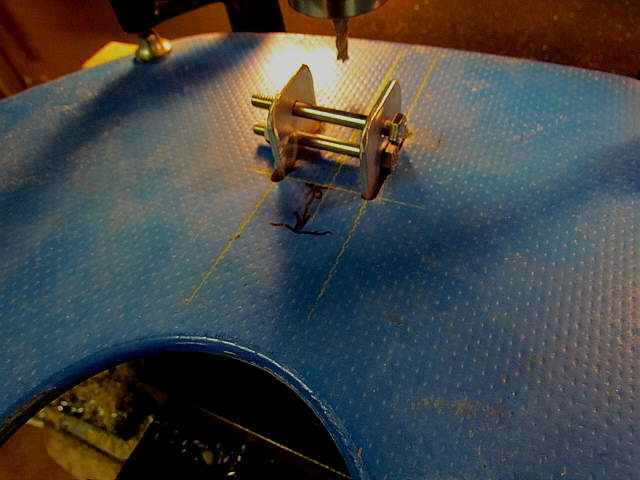
The bottom bolt just keeps it from falling down during installation and the top bolt is used to tie the chap to.
..............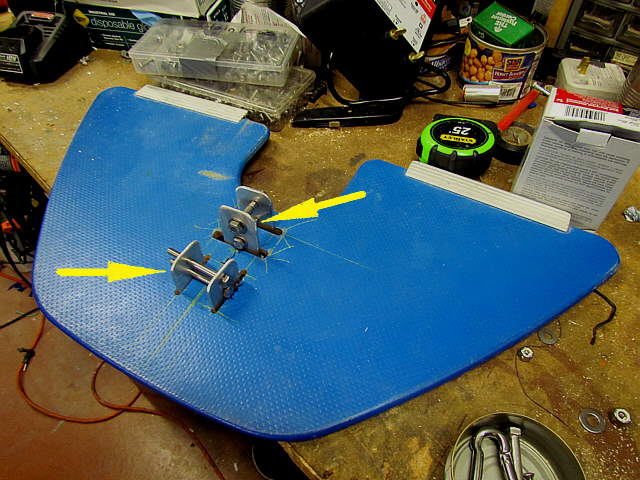
The Endeavour has dinghy davits and we wanted to try and lift the dinghy higher that we had been so I also made a mount that hopefully will provide a lift point down in the dinghy. The floor extends under the tubes a ways and I think the lifting forces will be spread over a lot of tube area and work. Won't know until we try. At the same time we will still use lines that go to D-rings on the side of the dinghy at the bow.
..............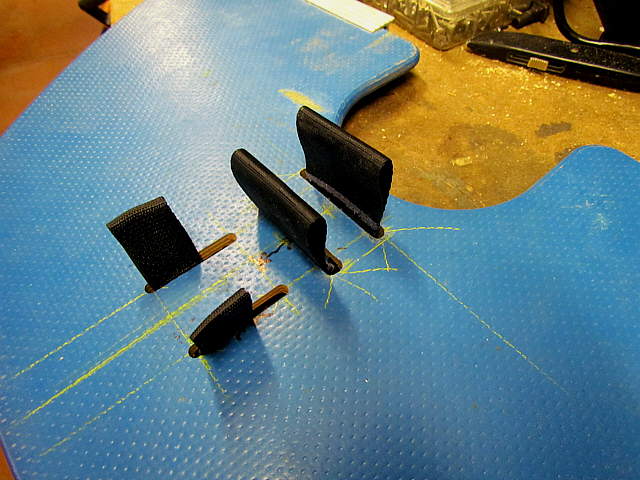
We also sewed up some straps out of very strong webbing to use for a lift point and tie point in case we didn't like the aluminum pieces.
...........................................Next Page If There Is One
....................................................YouTube Videos:Overview: http://www.youtube.com/watch?v=01ZIdhxPv7Y&feature=channel
Bottom Pocket and Strap: http://www.youtube.com/watch?v=Ww1WPUTmdZw&feature=related
Under Seat Storage: http://www.youtube.com/watch?v=YrrUjnW3IEU&feature=youtu.be