..................
..........................................................--- Dinghy Chaps Page 2 ---
..............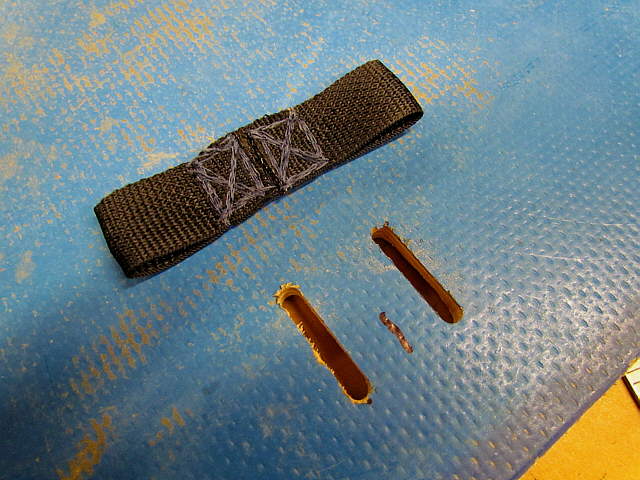
The back side of one of the straps.
..............
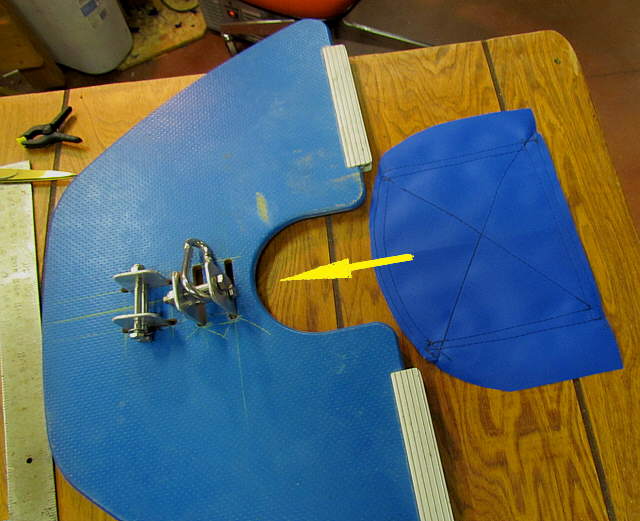
A similar approach was used on one of the forward floorboards for another attach point on each side.
..............
A piece of Top Gun was cut and hemmed and slid under the front part of the floor to give more protection under the aluminum pieces. Probably not needed.
..............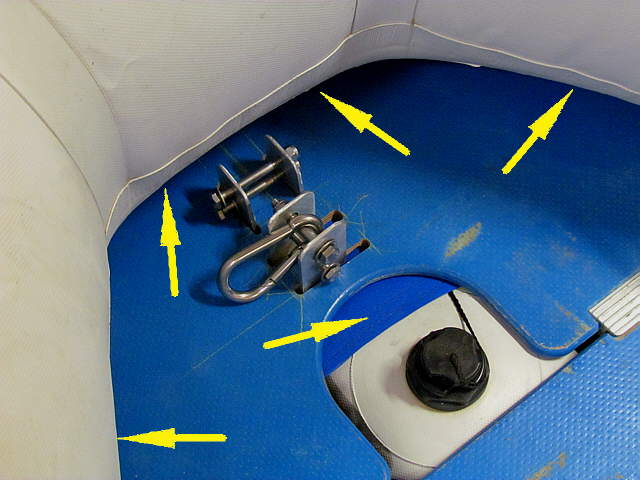
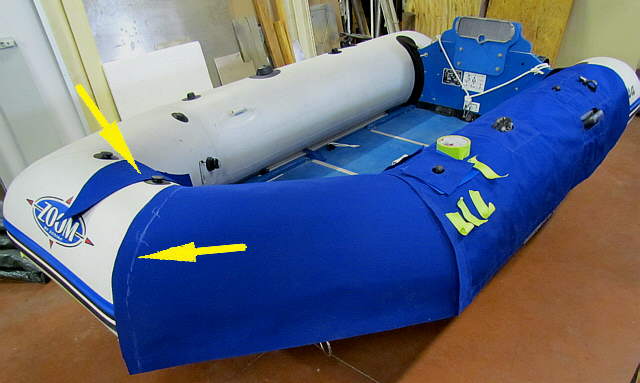
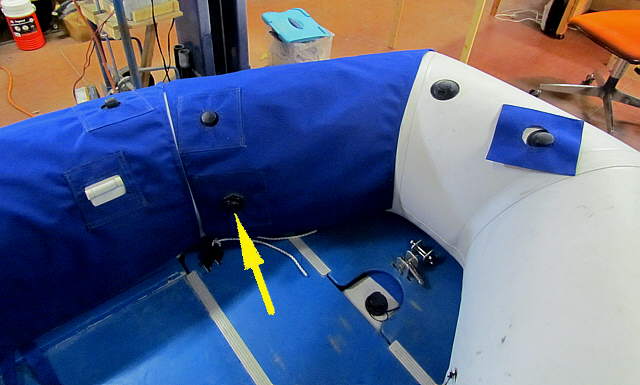
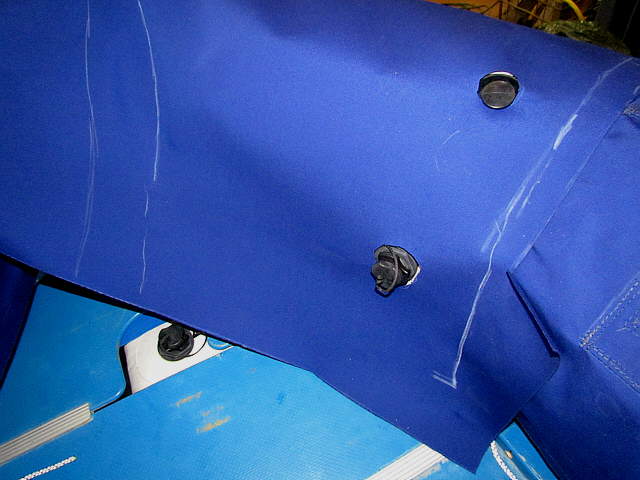
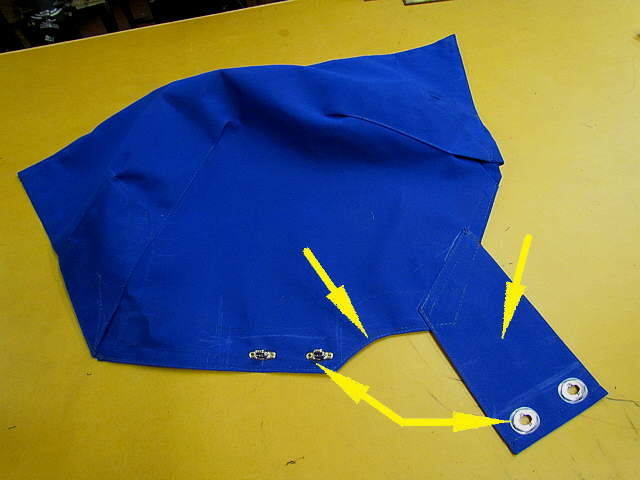
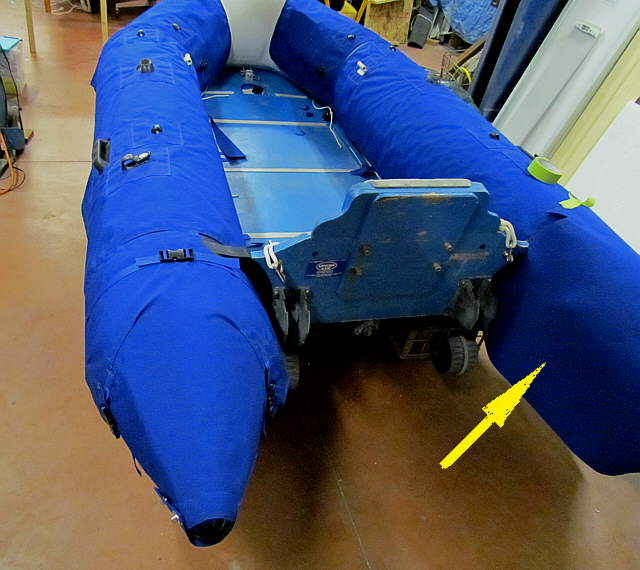
The center arrow shows the Top Gun in place. The other arrows show how the floor is trapped under the tubes in this whole area. You can see a carabiner at the lift point. As mentioned on the other page if this is used there will always be backup lines on the bow of the dinghy.
..............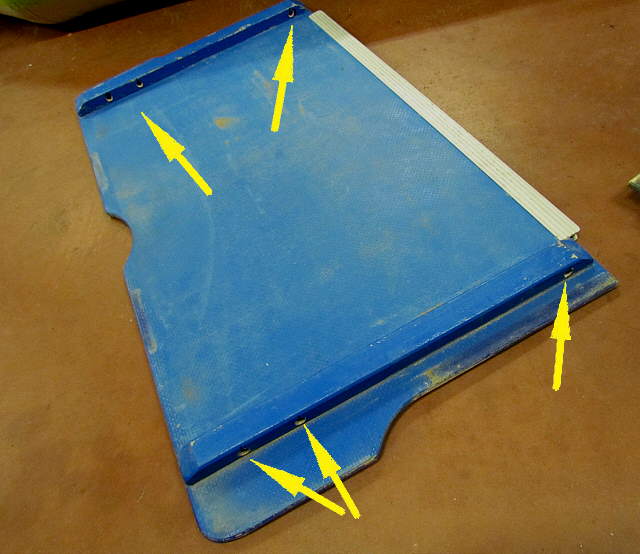
More holes were drilled in the braces on the floor pieces to be used as 'tie' locations.
..............
If you use some of the double sided basting tape from Sailrite to hold the fabric in place...
..............
... until it is sewn down . The picture above is before it is sewn.
..............
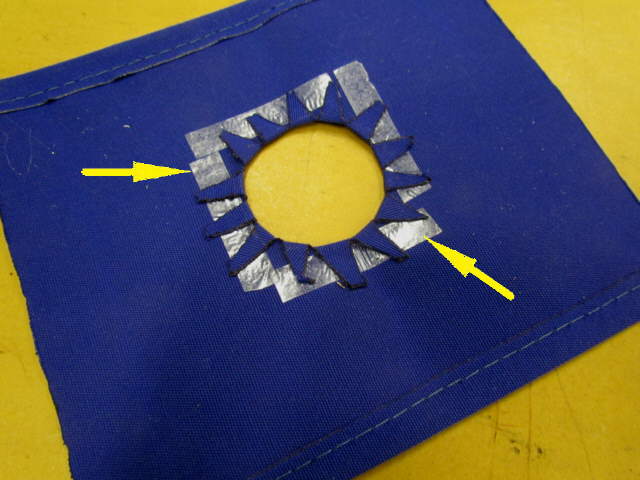
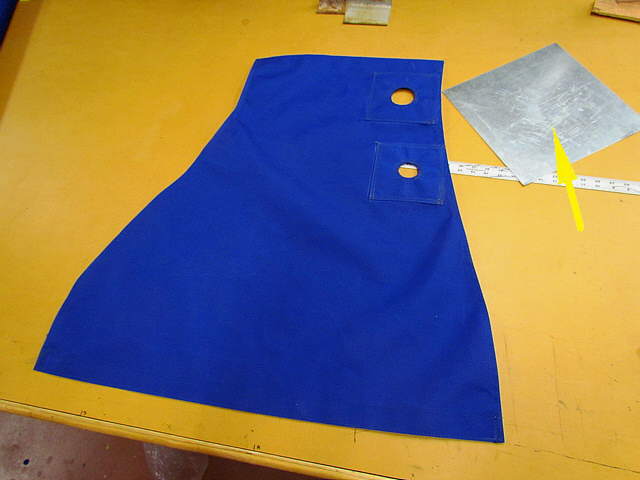
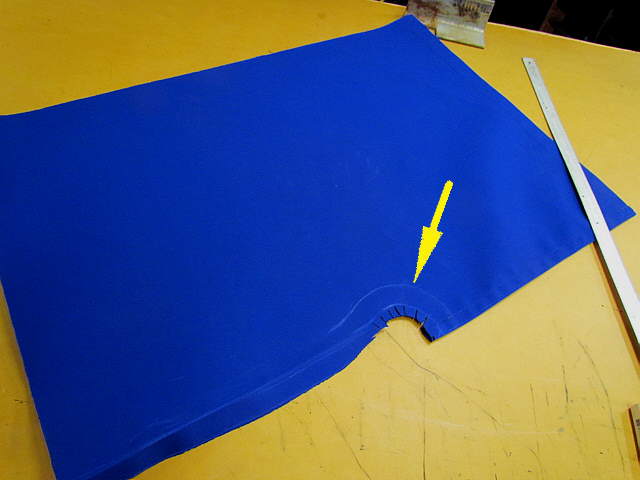
There are a lot of openings to deal with. We wanted these to fit as close as possible to keep the sun off of the PVC. They also make it very easy to install the chaps as they locate the chaps.
..............
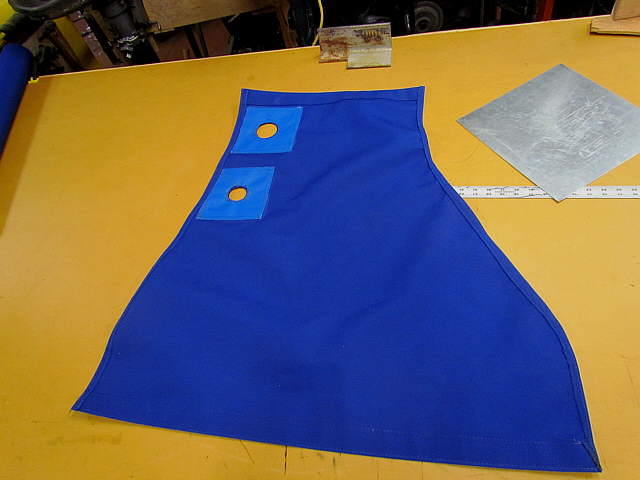
Top Gun has been added to the inside of the chaps around the openings for added protection.
..............
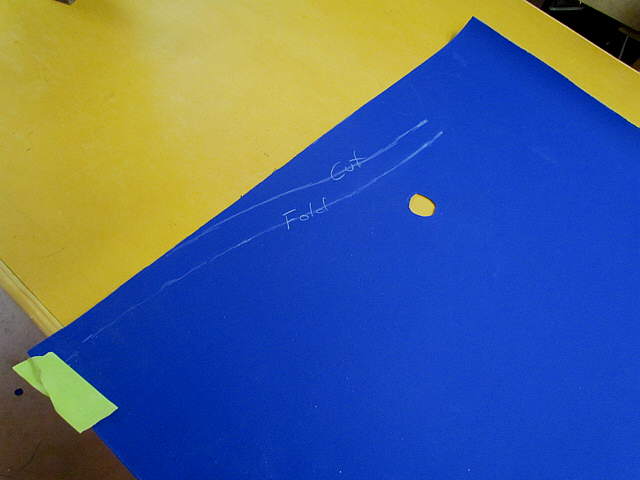
Next came the pieces going forward towards the bow. We could of made patterns of these pieces, but actually just putting the material in place with the bottom on the tape line and then folding it over and marking the seams in the dinghy with soapstone worked well. I left plenty of material to hem past the actual end of the finished piece, right arrow. I'd mark and then cut with the hot knife, left arrow.
..............
Marking some and then cutting allowed the piece to be folded over in increments over just a few moments.
..............
Here is the finished section showing the outside and ...
..............
.... then the inside.
..............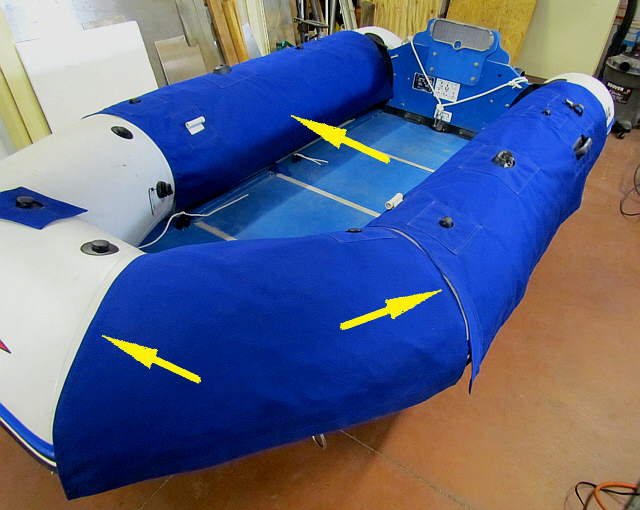
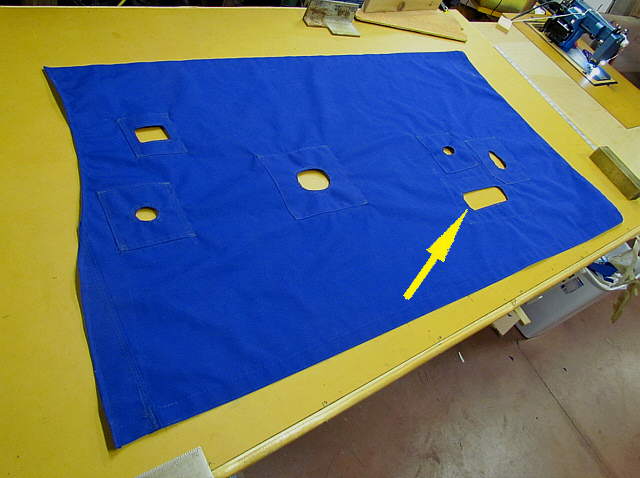
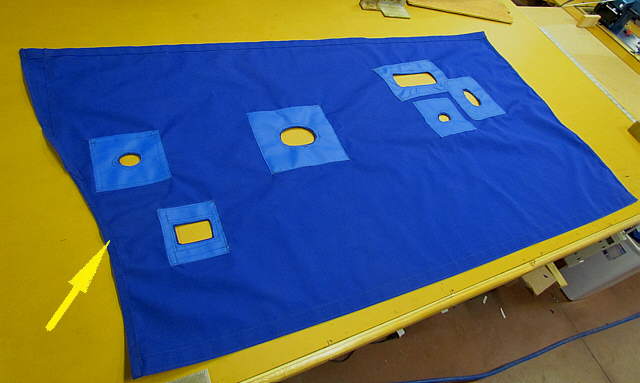
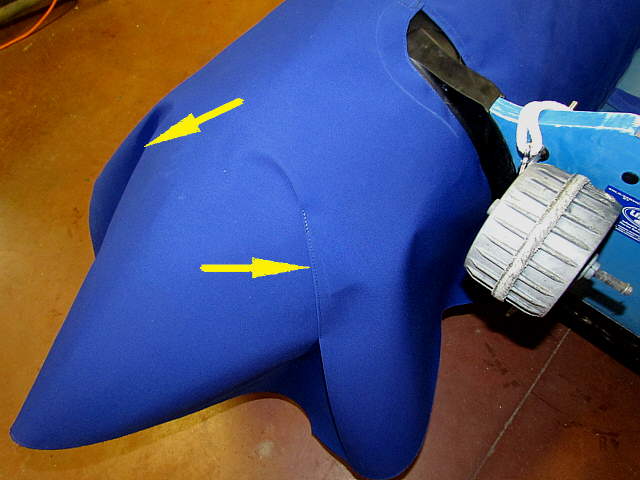
The separate pieces for each section just need to come close to the proceeding piece, right arrow.
..............
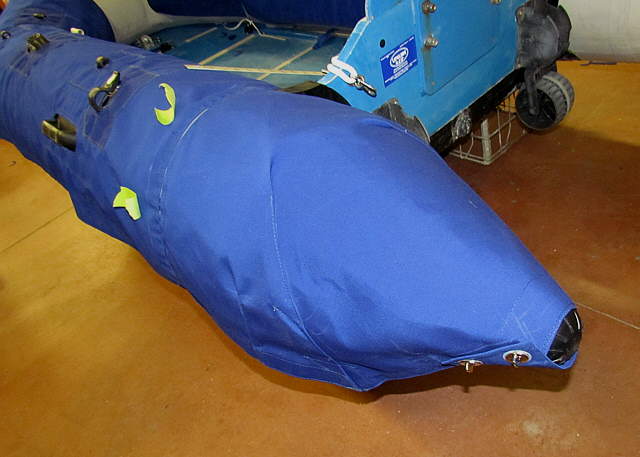
The arrow points at the air fill on the port side with another on the starboard side as well.
..............
Next the starboard side was started. Making the cover pieces, arrow, made for a faster better looking and stronger cover.
..............
Above the bow section on the starboard side has been started with ..
..............
... a cut line and a hem line. The hems were doubled in.
..............
There again, mark some, cut to the mark end and fold in more and mark and cut more.
..............
While you are marking tape the bottom of the piece to the tape line for consistency.
..............
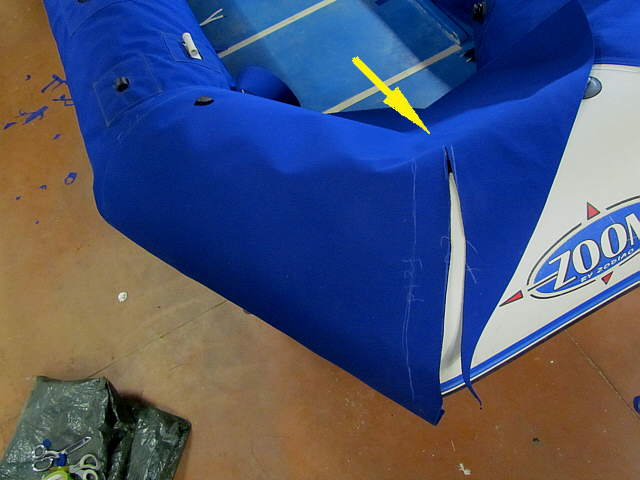
As you mark and cut you will get to where an opening is needed in order to fold the fabric flat. Just start cutting the opening and try to get is close to where it should be, but remember you are going to cover the area with another piece so don't spend a lot of time on this.
..............
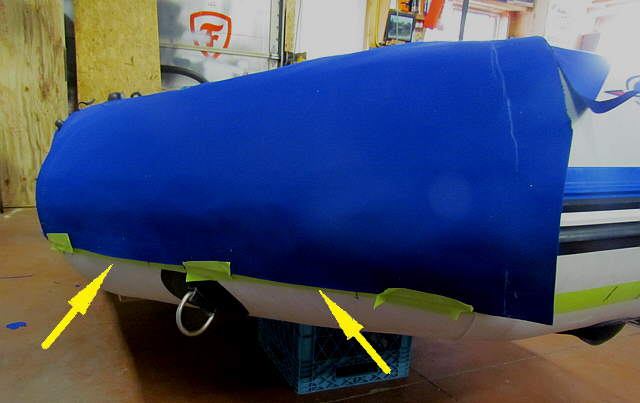
Cut the initial fabric 'long' and then when you get near the floor you can mark the inside bottom and hem it back to your marks. This way the bottoms of all the panels will line up.
..............
Next we moved to the stern and the area above fits...
..............
... around the transom end where it meets the tube above. The fabric was folded in and pleated and the pleat sewn most of the way. That sucked the fabric down onto the top of the tube end.
..............
Here the fabric is being marked for the end cut-out and for the bottom cut and hem line.
..............
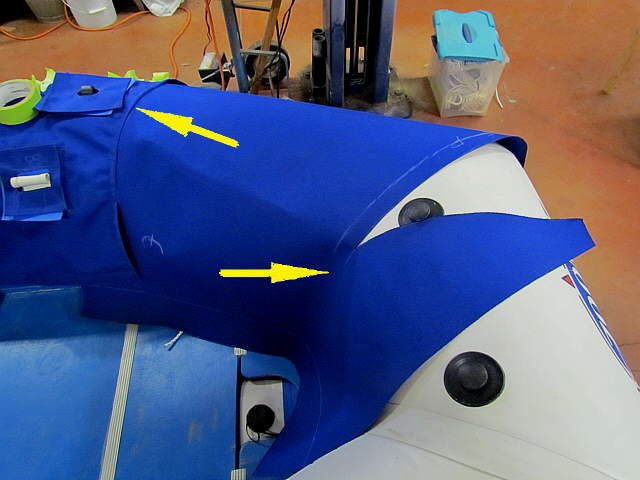
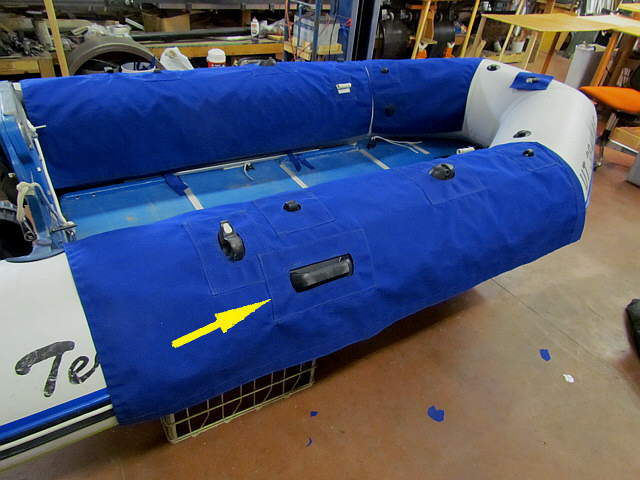
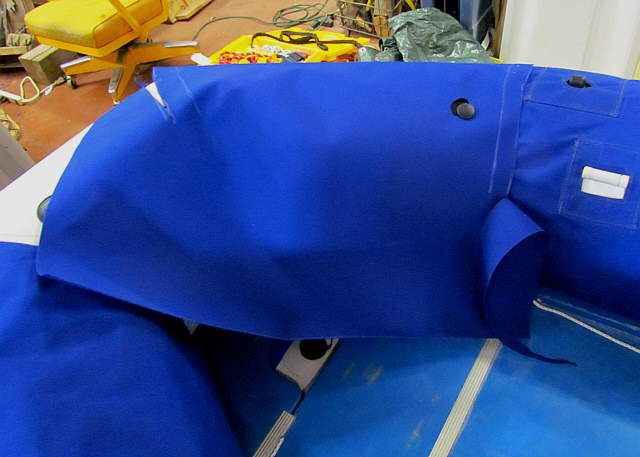
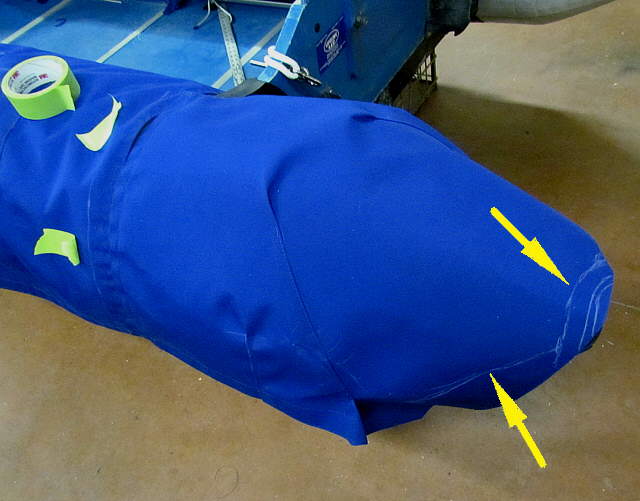
The piece cut and hemmed. Top middle arrow is where the fabric wraps around the very back of the tube. The right arrow points to a piece that was made to wrap under the tube and attaches back where the common sense fasteners are located on the left.
..............
The piece in place. Next ....
..............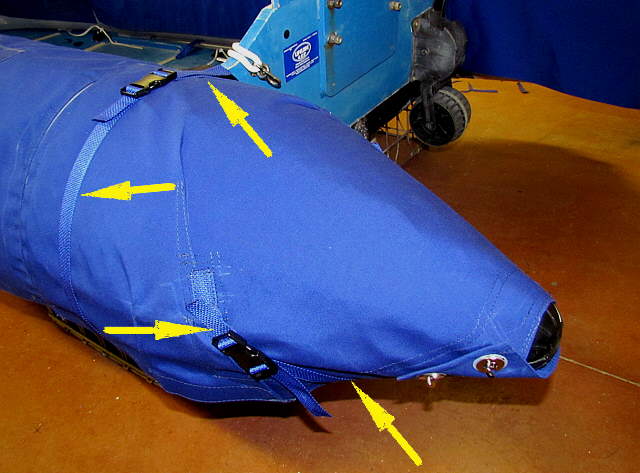
... a strap was cut that wraps around the front of this section and also pieces of webbing were sewn to both sides...
..............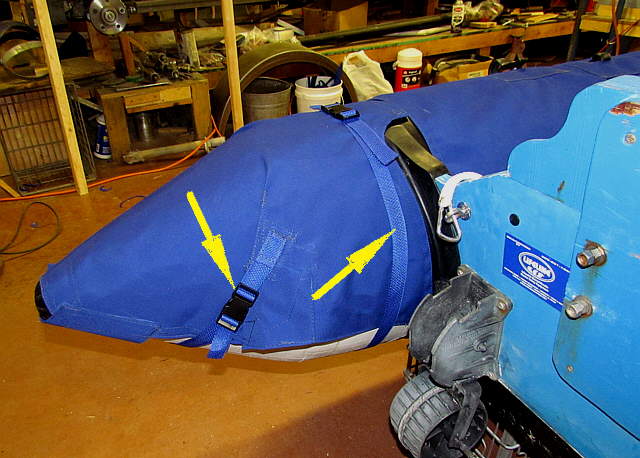
... at the back and buckles attached for another strap there. The straps going under the tube can easily now be replaced as they wear or get dirty. The webbing is less than 10 cents a foot from Sailrite.
..............
The ports side is starting to come together and it is on to the starboard side.
...........................................Next Page If There Is One
....................................................YouTube Videos:Overview: http://www.youtube.com/watch?v=01ZIdhxPv7Y&feature=channel
Bottom Pocket and Strap: http://www.youtube.com/watch?v=Ww1WPUTmdZw&feature=related
Under Seat Storage: http://www.youtube.com/watch?v=YrrUjnW3IEU&feature=youtu.be