..............
.......................................Endeavour Index Page.................Canvas Mods Index Page
....................................................Previous
Page..............................
Next
Page If There Is One
==============================================================..................
..........................................................--- Sail Pack/Cover Page 3 ---
..............
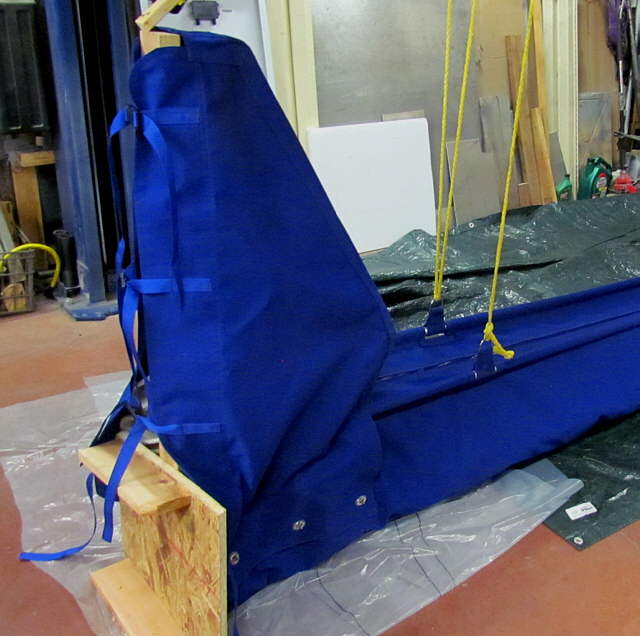
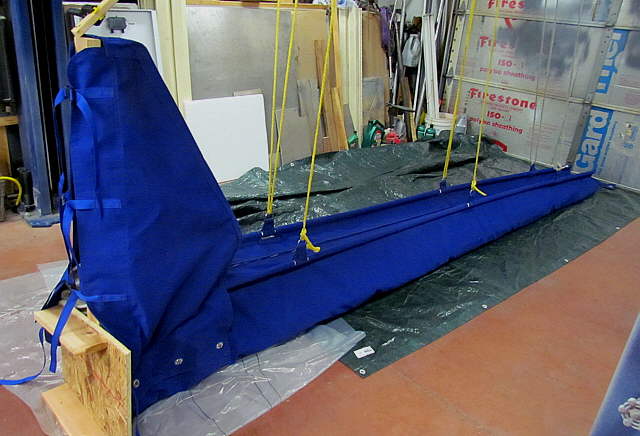
Above is the finished front cover in place. It goes one or off in under a minute (see videos)
Placing Front Cover On Video....
http://www.youtube.com/watch?v=TIBK7MHi_xU&feature=related
Removing Front Cover Video....
http://www.youtube.com/watch?v=T5DMgV2bzHs&feature=related
..............
.....
..............
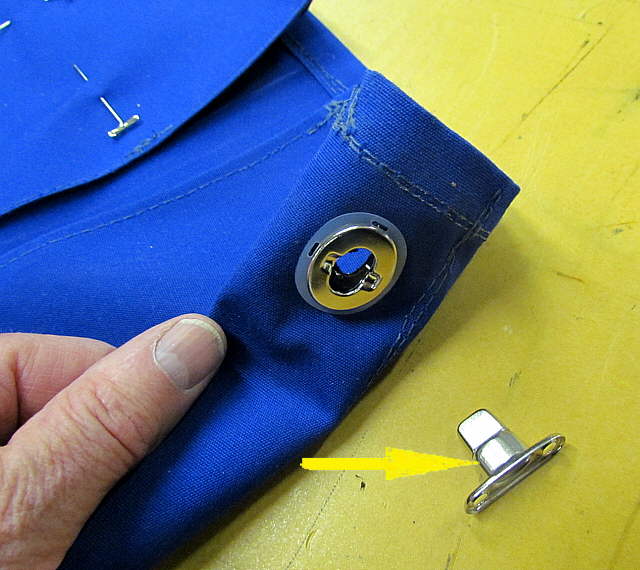
The aft end of the batten pockets at the top of the pack are sewn shut to capture the battens at the aft end of the pack. The fronts are open to allow insertion of the battens. Sailrite suggests hand sewing these shut after you have inserted the battens.
We want to be able to easily remove the battens so that we can put things away when we leave the boat as it might only get used for one long trip a year. To accomplish this female common sense fasteners were install opposite each other at the the head of the pocket on each side. Sailrite has male common sense fasteners that are 'extra deep', shown above, that will go through two female pieces.
..............
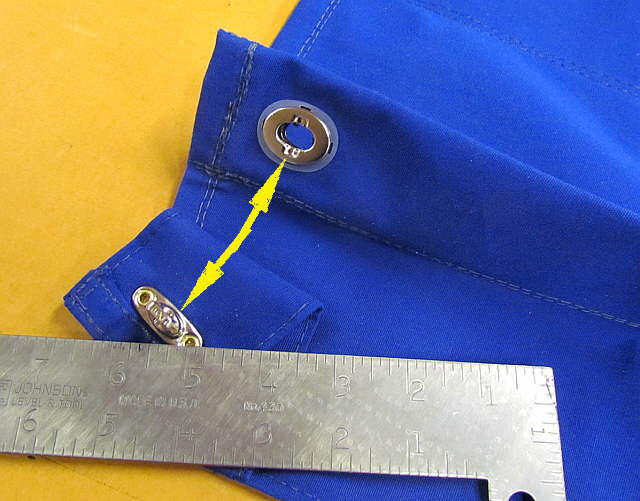
Here you can see the second female piece on the opposite side, inboard side, of the pocket. A male piece was attached to a flap of Sunbrella sewn to the pack on one end.
..............
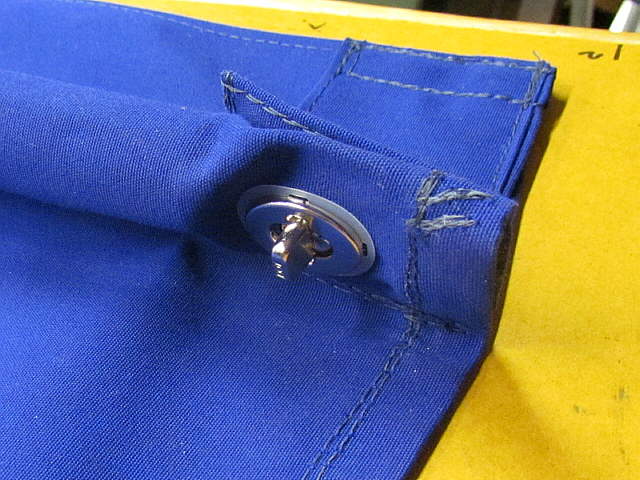
It was also riveted on and it goes through one female piece, then through the pocket and...
..............
... then through the other female piece on the other side and snaps shut closing off the end of the pocket.
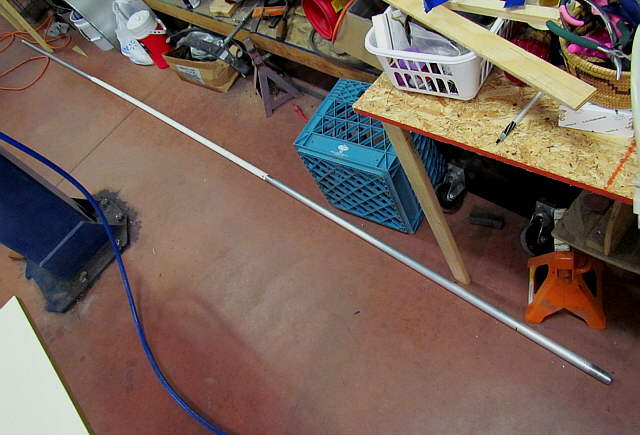
At this time we decided to rethink and redo the battens and make them with aluminum ends with a PVC center section. The reason was to simplify the pack rigging. Sailrite suggests that if you use the PVC that you put "D" rings or straps at the ends of the pack to hold them up. The front is then attached to a point on the mast and the back can be attached to the backstay. We wanted to be able to raise or lower the pack with the 3 lazy-jack lines on each side and not have to mess with forward and aft lines.
The sail-pack we made for the MacGregor had aluminum tubes for the battens that are stronger and won't flex like the PVC will that needs more support. To keep costs down we decided that if the fore and aft ends of the battens where the fore and aft lazy-jack lines attached were aluminum that might do the trick and keep the cost down some just requiring 2 ten foot pieces of tubing.
..............
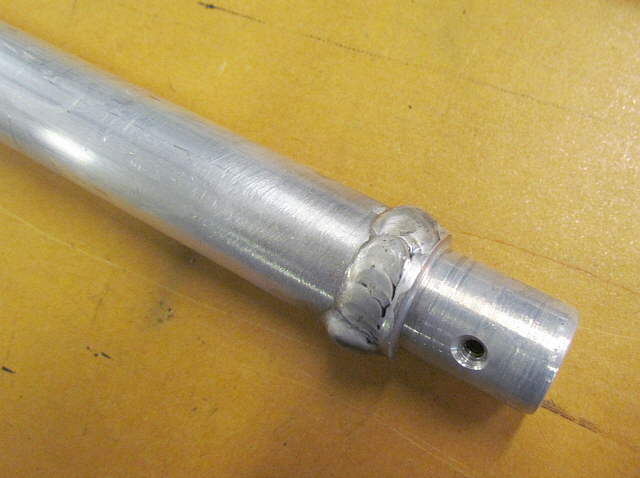
I welded the fittings I had made before that joined the PVC sections to one end of 5 foot lengths of aluminum tubing. I also had to make 2 more.
..............
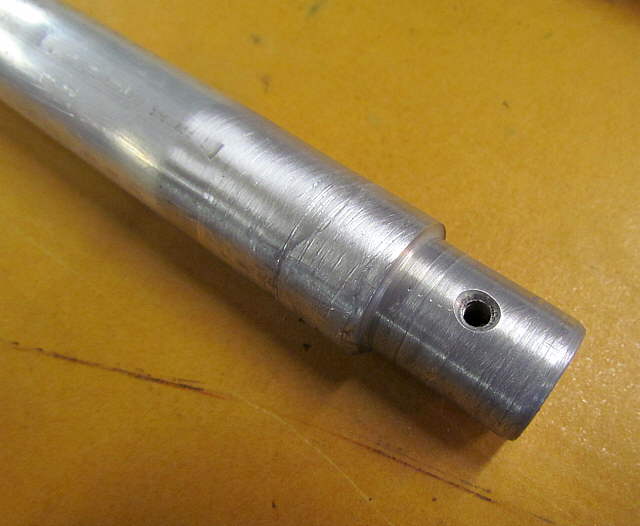
Then I turned the end down fairly smooth in the lathe.
..............
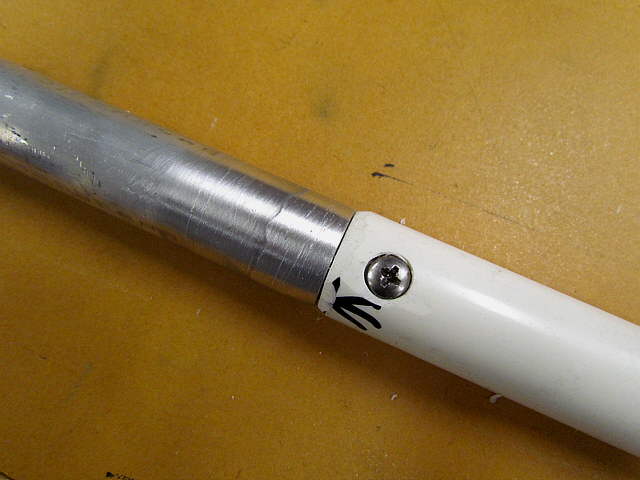
The other side then attaches to the PVC that makes up the middle section of the long batten.
..............
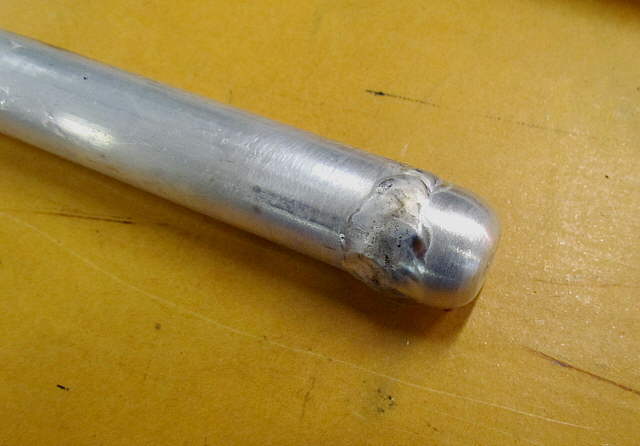
The rounded ends were then welded on and also turned down (not show).
..............
Above is the new batten with the PVC center section that is supported by the middle lazy-jack line.
..............
Here the batten has been installed in the pocket and the pocket end closed with the common sense fastener.
..............
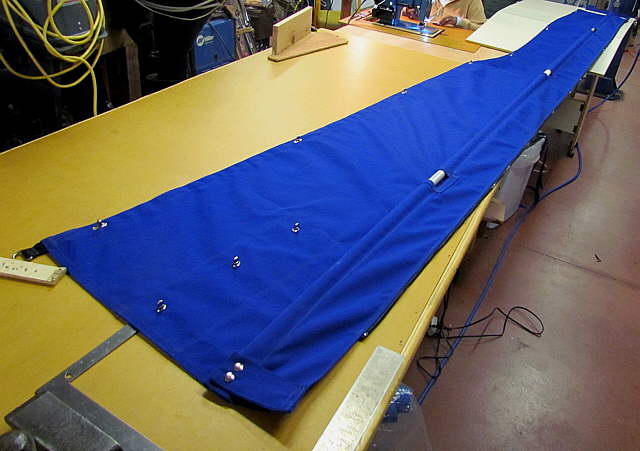
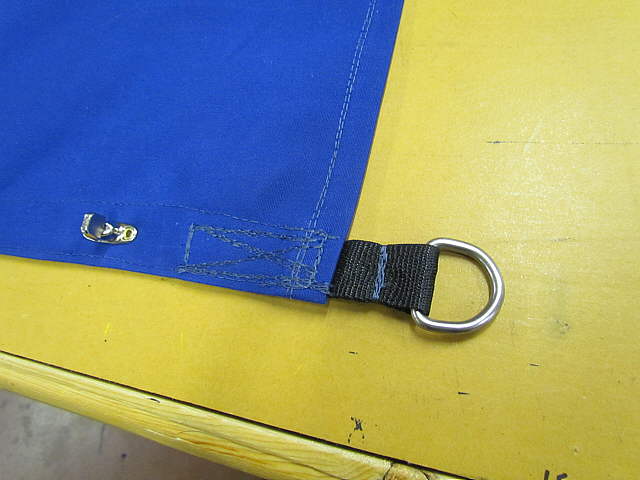
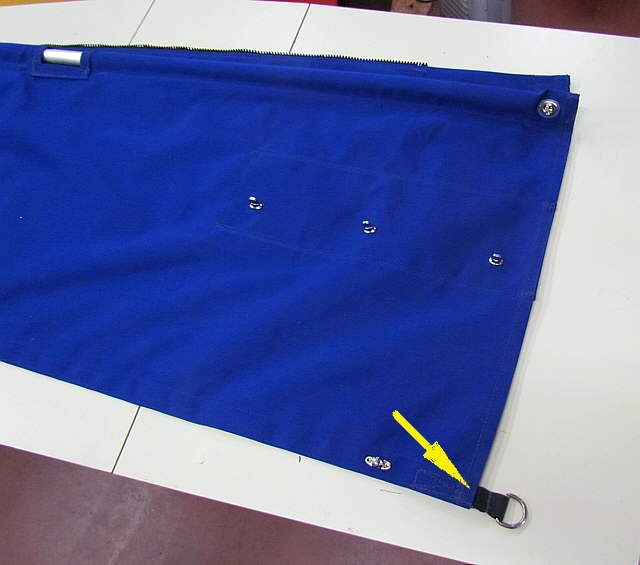
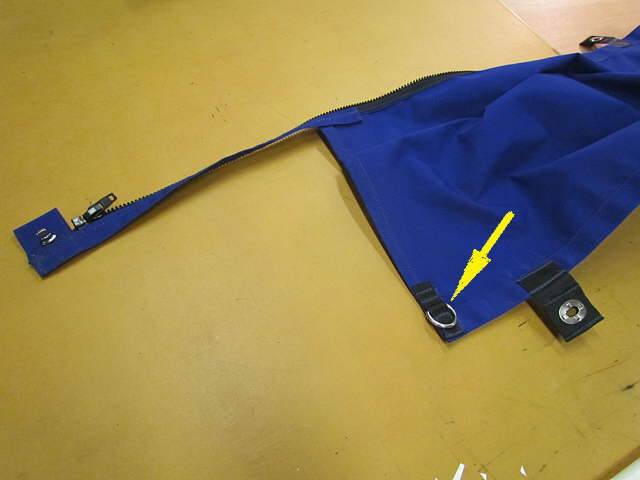
D-rings were installed to the ...
..............
.... front bottom ...
..............
..... of the pack and to ....
..............
...the back bottom of the pack. These help to located the pack fore aft and can be tied to the boom in the back and to the boom or mast in the front.
..............
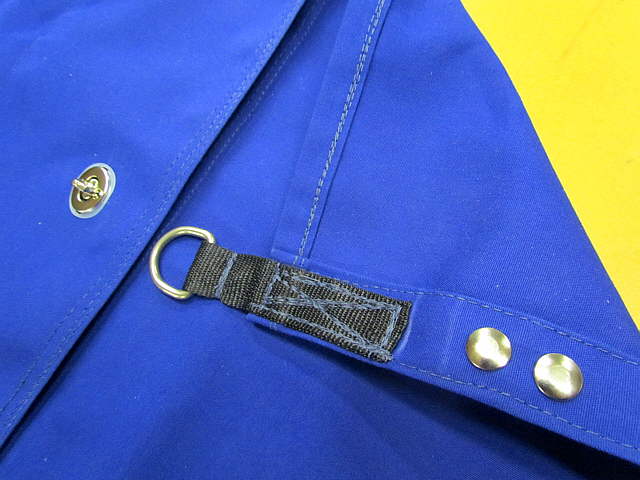
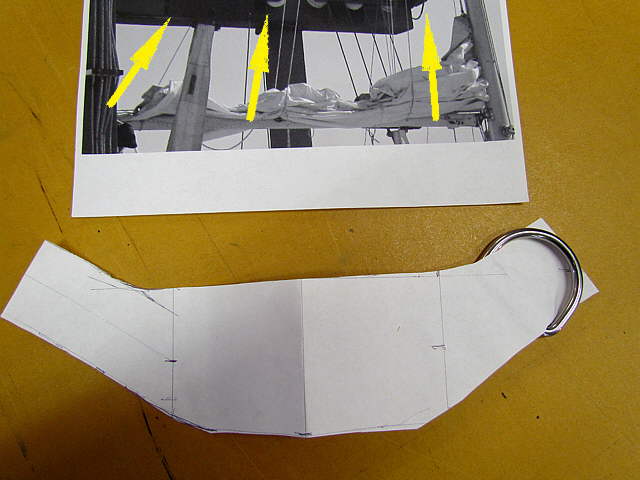
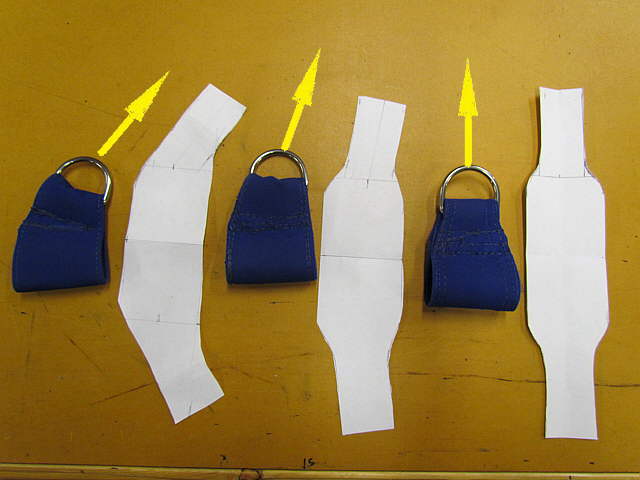
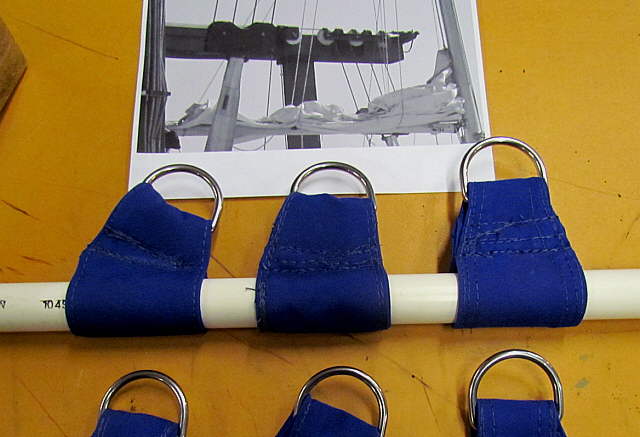
Next straps had to be made to go around the battens that the lazy jack lines would attach to. We used 1 1/2 inch D-rings on these. Ruth had taken some pictures when the boat was being hauled out at Port Charlotte Boat Storage and I used them to get an approximate angle for the lazy-jack lines.
..............
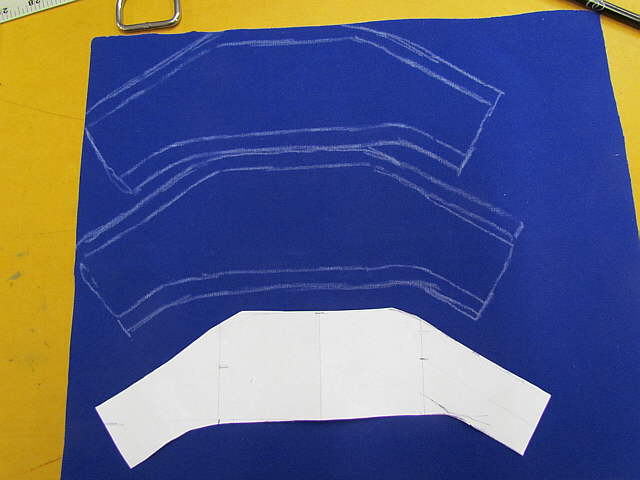
A pattern was made to an angle, here the rear most strap, and traced onto the Sunbrella and hem lines added.
..............
Three different angles were decided upon and patterns made for each and ...
..............
... Ruth sewed them up in pairs so that there would be one for each side of the pack at each location.
..............
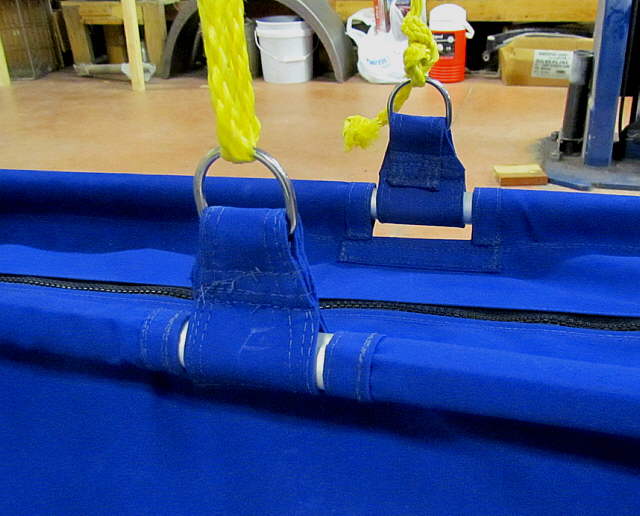
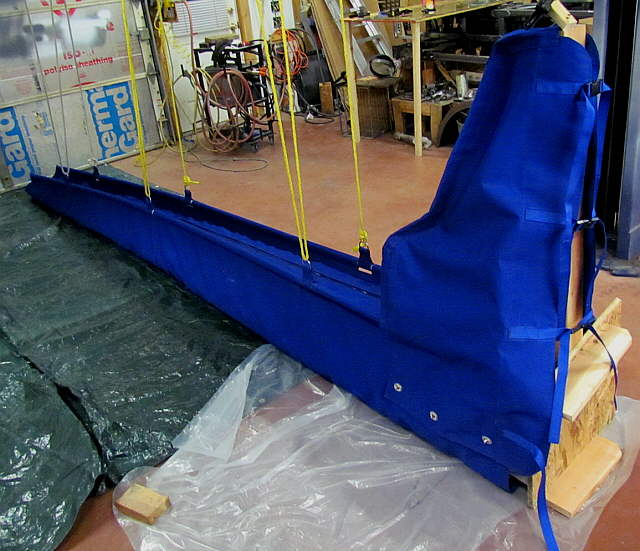
Here is the forward set in place and ....
..............
... the rear set. Since the front and rear sets are wrapped around the aluminum tubing we hope that no additional lines to hold the battens will be needed. This has so far worked fine on the Mac.
..............
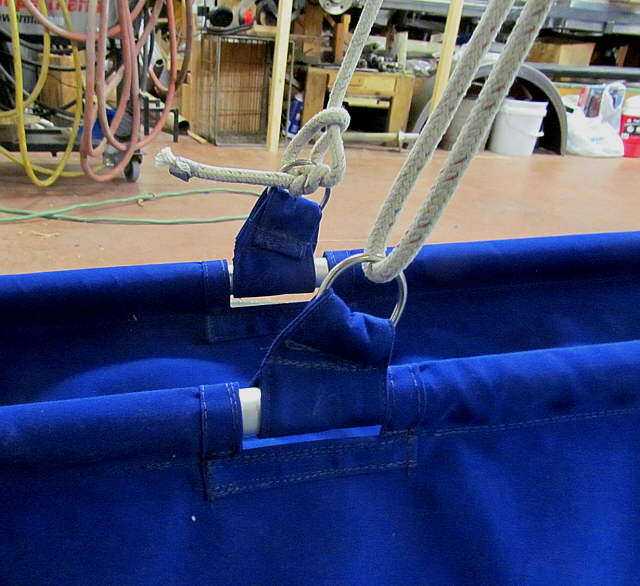
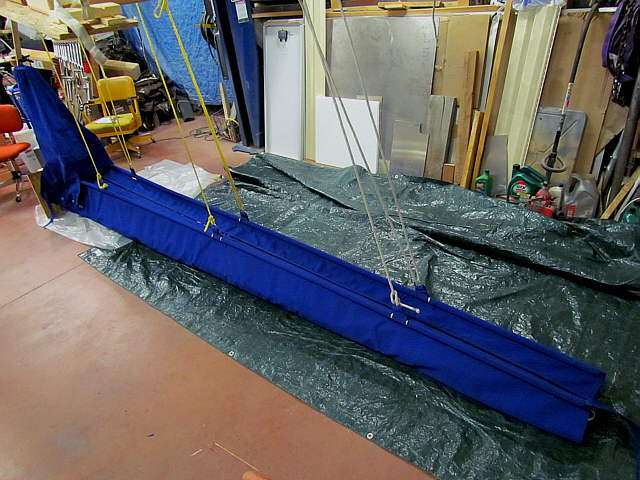
A picture with the lazy-jack mock-up lines in place and ...
..............
... another and finally one ...
..............
.... last one from the other side. Notice how low this pack is thanks to the removable front cover. There is a walk around video here....
Sail-Pack Overview Video.....
http://www.youtube.com/watch?v=mopJzlPOXYs&feature=youtu.be
..............
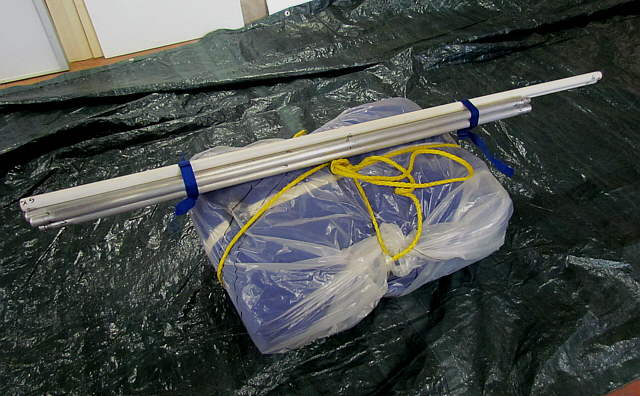
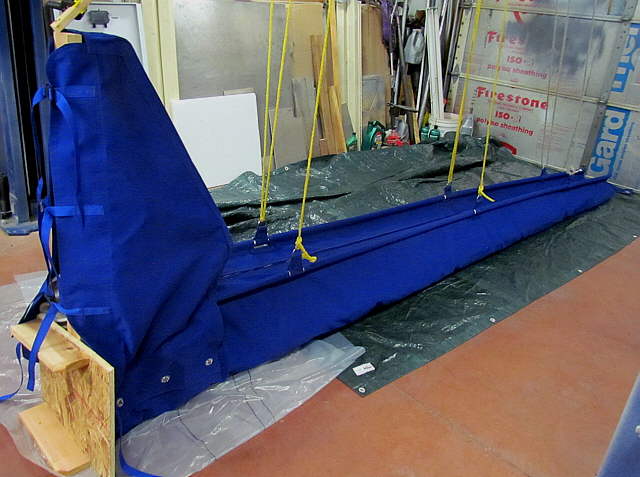
Here the sail is in the pack folded up with the battens broke down and the whole mess waiting on us to finish some other projects before returning to the boat.
==============================================================.
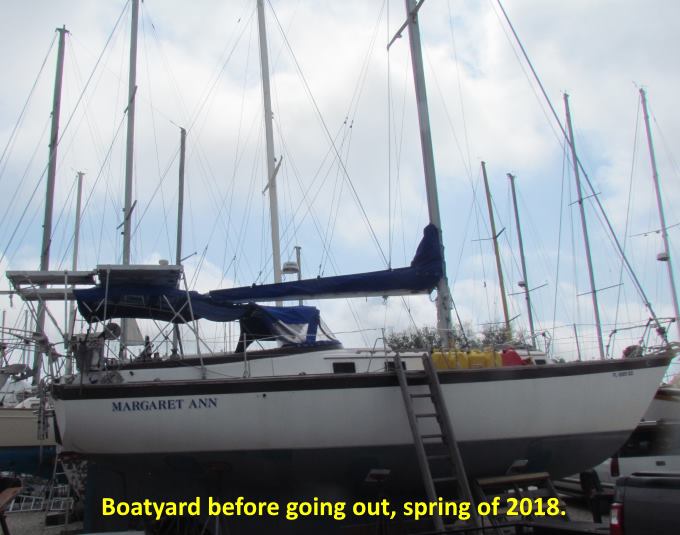
......... Update 2018:
We finally got the boat on the water in 2018 and put the main and the sail pack on just before the boat was put in the water.
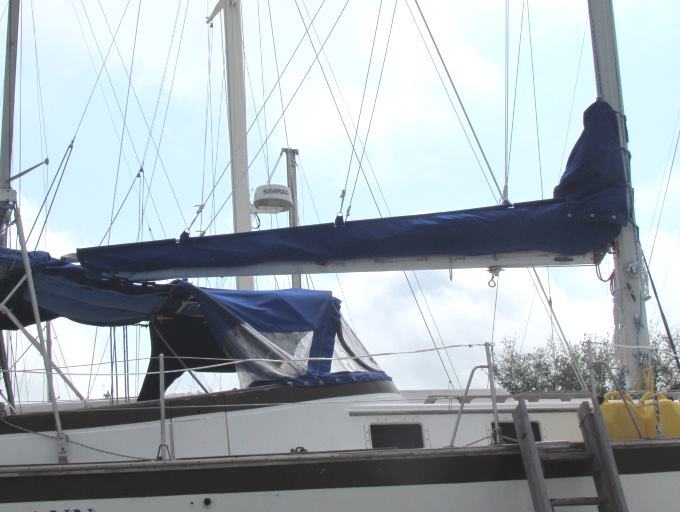
We bought and installed all new lazy jack lines and they connected to the sides of the sail pack and worked great on the water. No problems at all raising and lowering the sail.
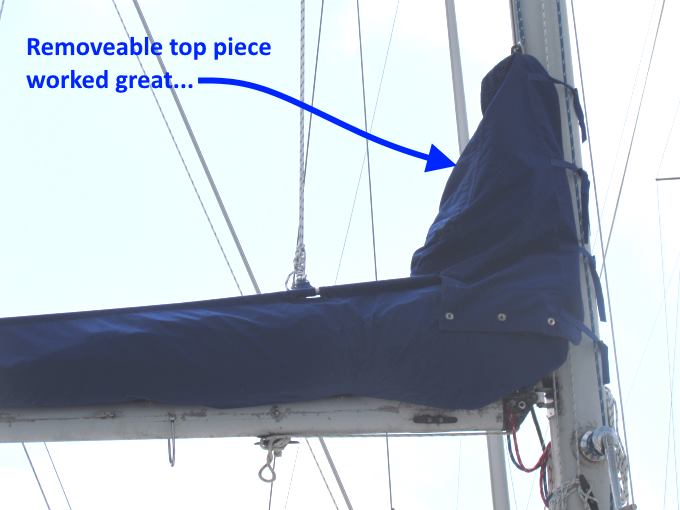
The removable front cover worked well also and was quick to put on and remove. It really helps keeping the sail pack profile down so that it isn't near as high as most that you see. New reef lines were also run and they worked well. This has been a great mod for the boat.
==============================================================.
Sail-Pack Overview Video.....
http://www.youtube.com/watch?v=mopJzlPOXYs&feature=youtu.be
Placing Front Cover On Video....
http://www.youtube.com/watch?v=TIBK7MHi_xU&feature=related
Removing Front Cover Video....
http://www.youtube.com/watch?v=T5DMgV2bzHs&feature=related
==============================================================.
.................................................................................. Next Page If There Is One