.....
................
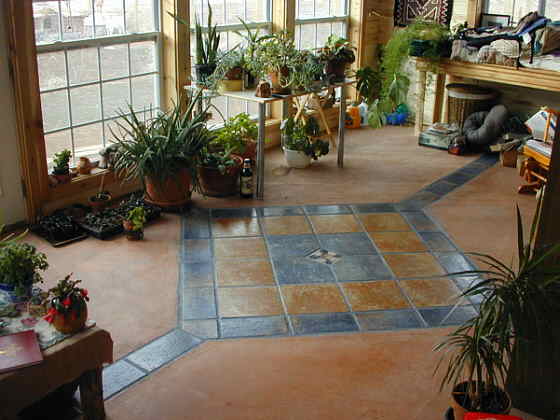
One of the last things to finish in the house was the sunroom. We had been using it as our kitchen while I finished the real kitchen, so I couldn't finish it until the end.
In the picture above we can see where Francois (on the ladder and from Belgium) and Gerard (foreground and from France) helped me put the tongue and groove aspen on the ceiling while they were visiting from Europe in the fall of 2003. Thanks guys.
................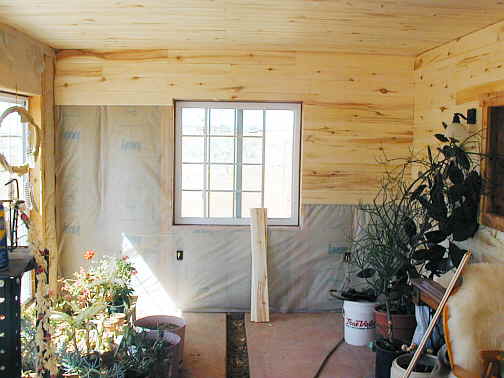
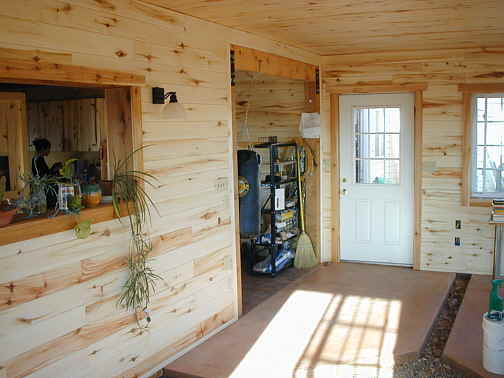
In this picture I had already finished the wall to the right that separates the sunroom from the living room. Since we were living in the house at this point I had to work around a lot of potted plants that now live in the sunroom.
.................
Before applying the tongue & Groove I covered the walls with a plastic vapor barrier. It is visible on the back wall in the picture. At this point I had finished the T & G on the right wall, but the windows still need trimmed out.
.................
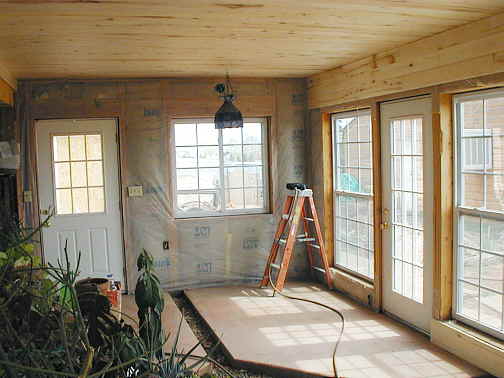
Another picture of the south wall.
................
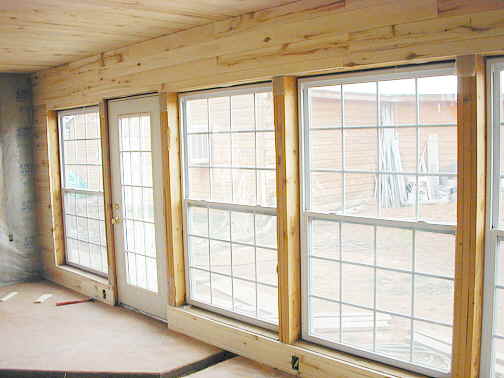
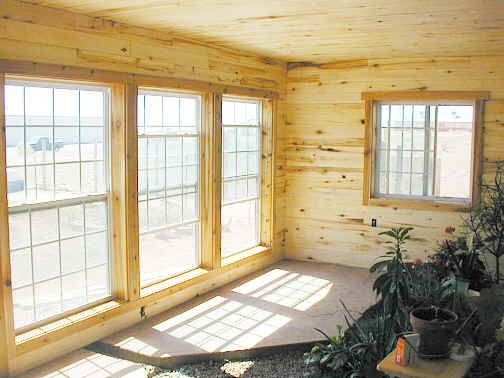
Here is the finished west wall and the north wall. The opening in the north wall lets more light into the living room area.
................
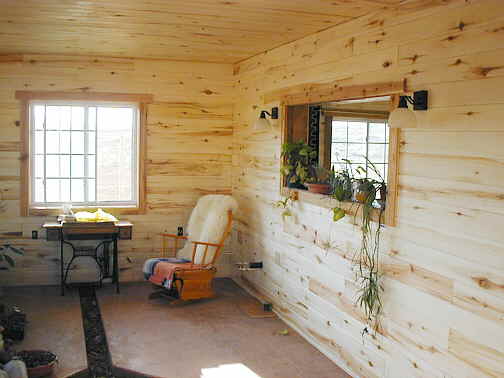
The finished north wall on the end that goes into the living room and the east wall with an entrance door.
................
The west end of the south wall and the west wall with the cedar trim on the windows.
................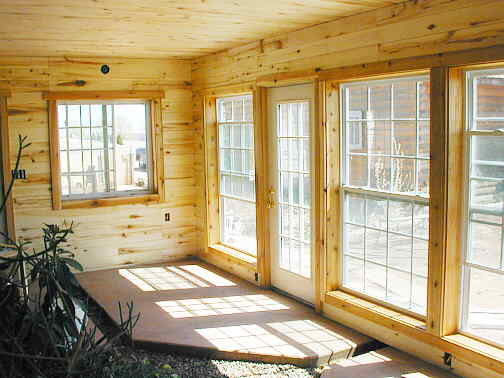
And finally the east end of the south wall with the door that goes out to the patio (not finished) and the garden.
... .....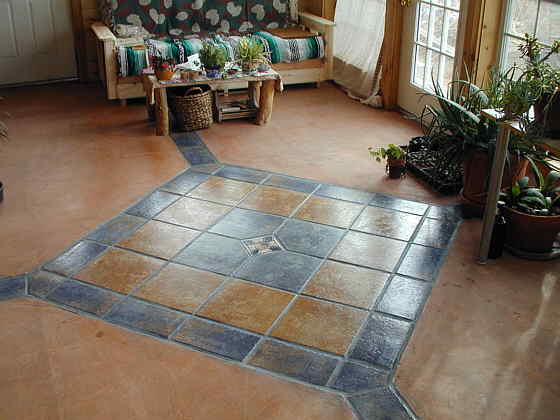
It is the end of October of 2004 and I finally got the tile laid in the sunroom. Look at the couple pictures before this and you can see the hole that was in the floor that we had been stepping into and out of for almost a year. It seems funny now to have a flat floor :-).
...........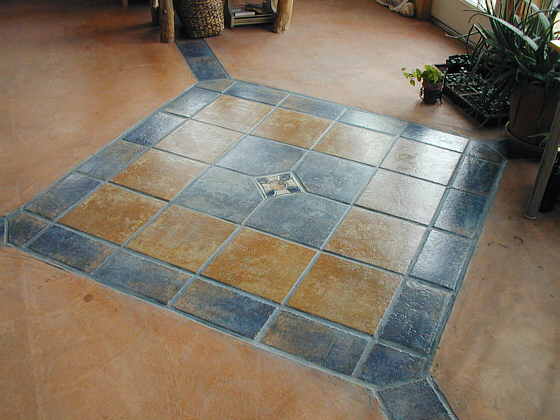
First I filled the hole with concrete (sack type mixed in a wheelbarrow). I filled the hole to about 3/4 of an inch from the top and leveled it out. I should have probably filled it to about 1/2 to 5/8 inch and that would have worked fine.
...........
I had to cut all the large tiles on two sides to get them the correct size for the grout seams to work out. I did this with a $60.00 tile saw from Harbor Freight and it went much faster than I thought it would. I laid strings across the center of the diamond shaped opening and started laying the center tile and working out from it.
I had pre-fit all the tiles before I started. I mixed bedding mortar and would spread it and lay tiles and kept doing that till I was done. Then after about 4 days I finished up with the grout. I kept it moist for 3 more days.
We are quite happy with the way it turned out.
Now the only thing left in the house is to sheetrock the short hallway back by the bedroom/bathroom going to the shop (finished in Dec. 04) and I will finally be done except for some sheetrock in the garage part of the shop.
................................................................Next Page
.................