.....
................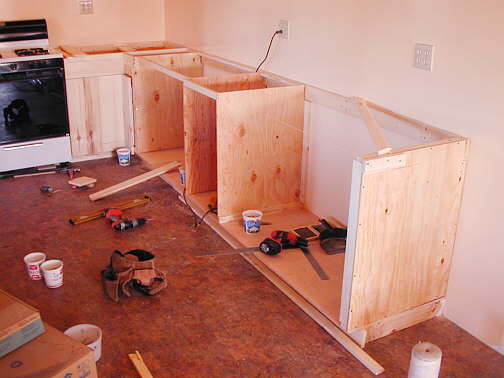
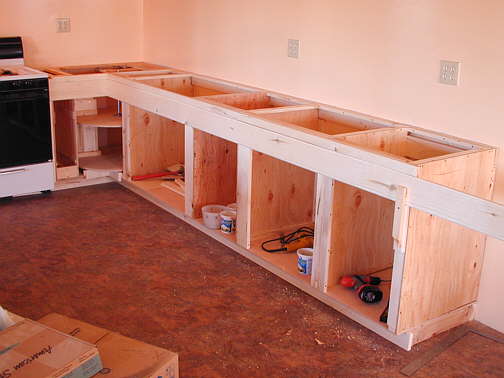
After finishing the lazy susan I started on the rest of the base cabinets. First I snapped a chalk line on the back at the right height and past where the last cabinet would be and screwed a 1 X 4 on the wall at that line. Then I finished the side of the last cabinet on the right side of the above picture. Next I ran a string line from the front top edge of that cabinet side back to the lazy susan. This gave me a reference to work off of to line up the front of all the cabinets. You can barely see the string line above and in the next picture.
................
I started to build the cabinet sides in place on the base that I had already put down on the floor. The sides are 1/2 inch CDX plywood. In this picture you can see the stubbed in plumbing for the sink.
.................
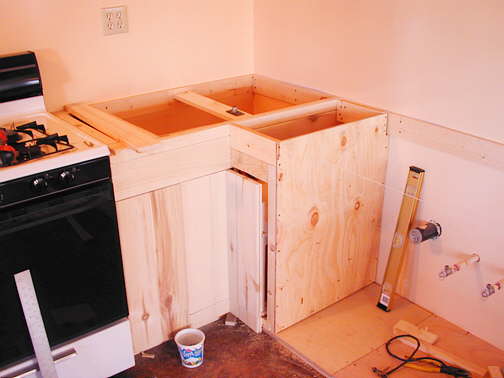
To firm up the 1/2 inch plywood I screwed 1 X 2's and other 1 inch lumber along the bottoms, tops, backs and fronts. The piece running across the sink opening is just temporary in the picture above and is gone in the picture below. There will only be the face boards in front of the sink opening. This will give me the most room possible to work with front to back when I have to cut the opening for the sink in the countertop.
.................
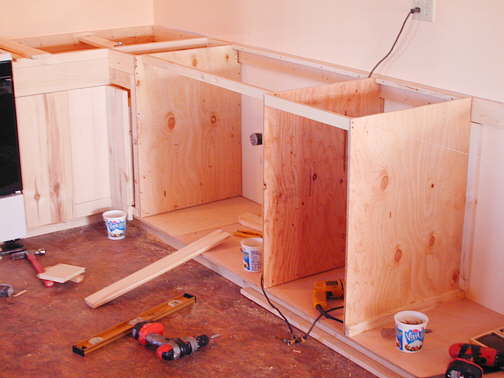
At this stage I have all the cabinet sides in place along with some of the other bracing.
................
Right under what will be the bottom of the counter on the front is a narrow board that is the top facing board for the cabinet fronts. Below it is the second horizontal facing board, a piece of tongue and groove that I ripped the tongue off of. It is just a little over 5 inches wide. In this shot it is temporarily in place so that I can place the vertical facing boards in place. As I move along with the vertical facing boards I will cut the long horizontal board off as needed. This way when I get done the grain will match for the whole length of the board.
................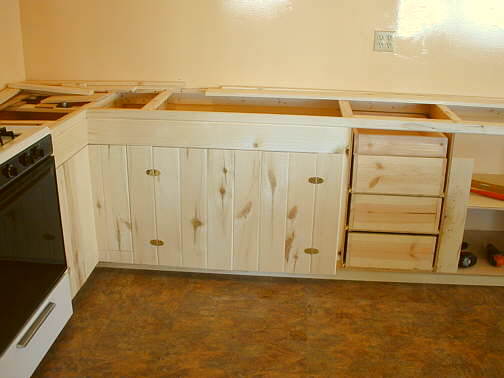
I started facing from the lazy susan as the first board has to fit just right with the right board of the lazy susan. After I had the fixed vertical boards and doors in place I knew exactly where to cut the horizontal facing board off.
................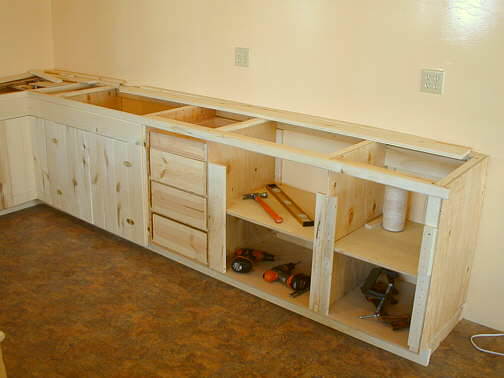
After the sink opening the wide horizontal board will be cut for drawers for the next three openings. You can see I made four drawers for the opening next to the sink opening. I also made shelves to fit into the base cabinets. I have multiple holes drilled into the vertical pieces in the corners of the cabinets. This will allow me to move the shelves up and down or add shelves with those shelf supports that snap into the holes.
................
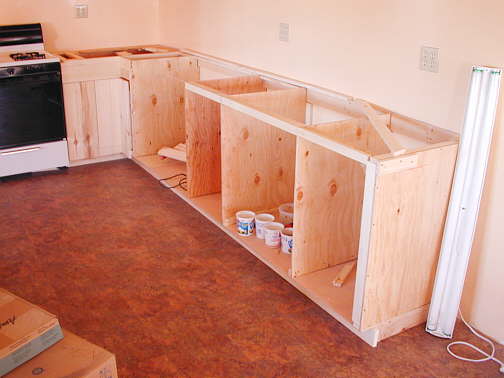
Here are the finished base cabinets waiting on the countertop.
................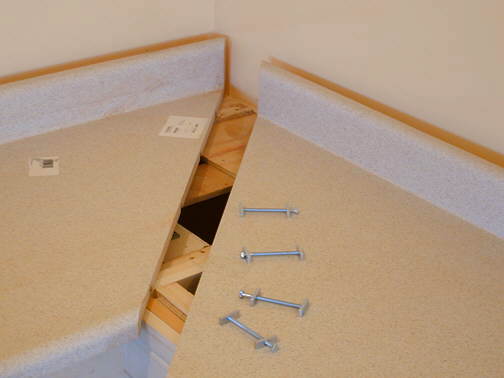
I bought 2 12 foot sections of countertop with a 90 degree junction on them. The one on the right I used at the full 12 feet. The one on the left I cut to fit from the wall to the stove and then I cut another straight section to fit to the left of the stove (see first base cabinet). This still left me with about 6 feet of that countertop left that will be used for the top of an island in the kitchen. The 90 degree bolted together with the hardware in the picture above.
................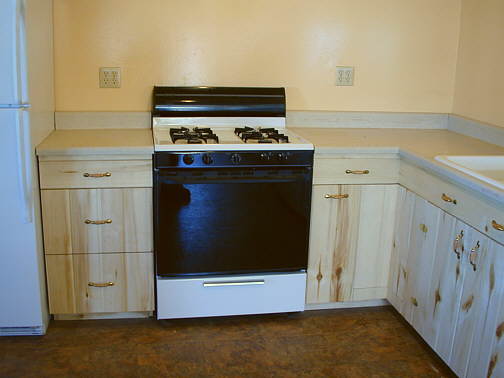
The finished base cabinets on the north wall of the kitchen.
................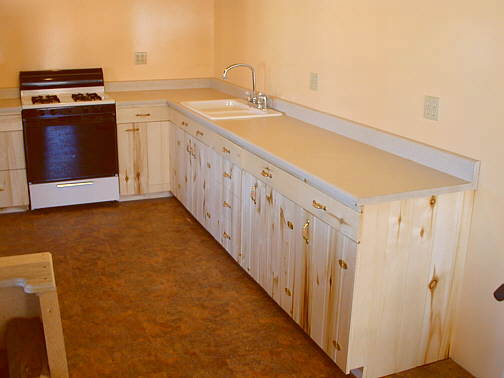
The finished base cabinets with the sink opening cut and the sink installed on the east wall of the kitchen.
Now on to the wall cabinets.
................................................................Next Page
.................