.....
................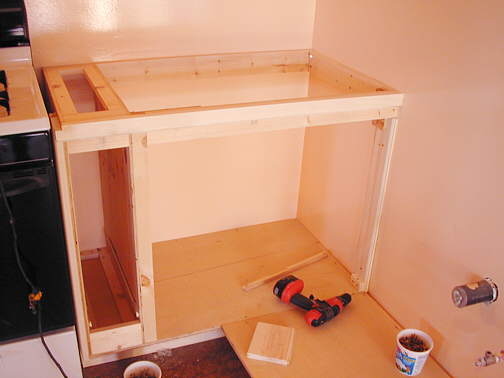
After finishing the cabinet to the left of the stove I started on the right side of the stove next and then down the wall to finish the base cabinets. I wanted a "Lazy Susan" in the corner to optimize that space and that left just a small area to the left of it and to the right of the stove.
................
I built in a narrow deep drawer to make the best use of that narrow area. It will be good for cookie sheets and the like. I built the drawer similar to what I did on the previous page (cabinet to the left of the stove).
.................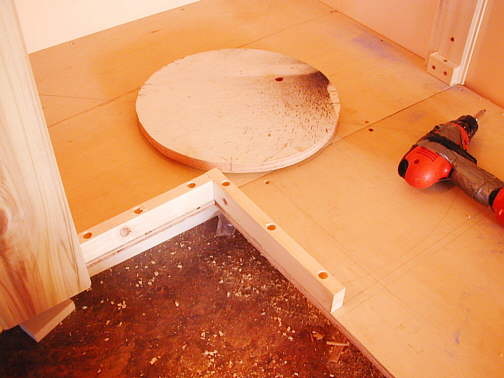
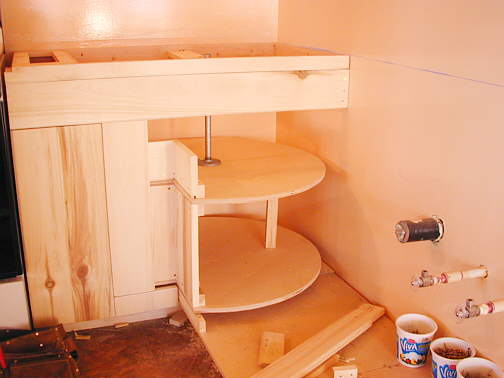
Next came the turntable for the "Lazy Susan". I have never built one of these before so I just had to plan as I went along. I got a ball bearing plate from the hardware store that are made for these. They have different sizes and the one I got was about 6 inches in diameter and is suppose to support 500 lb. It is mounted to the base of that round piece of plywood and then screwed to the floor of the cabinet. In the round piece you can see a small round hole over by the paint over-spray. I screwed the bearing to the base through that hole and then rotated it to put in the other 3 screws.
.................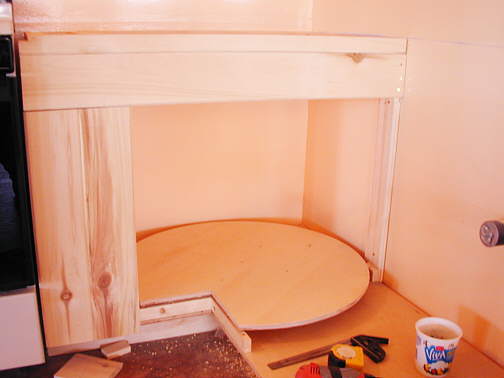
Next I built the final base and screwed it to the round piece in the last picture.
................
Then came the 2nd shelf which was held up by the boards in the front and two other legs which were attached to the bottom.
.......................................................................................................................
................
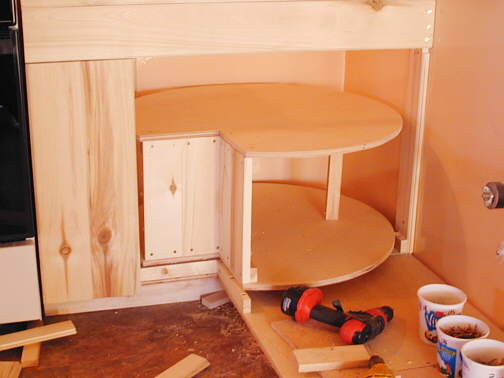
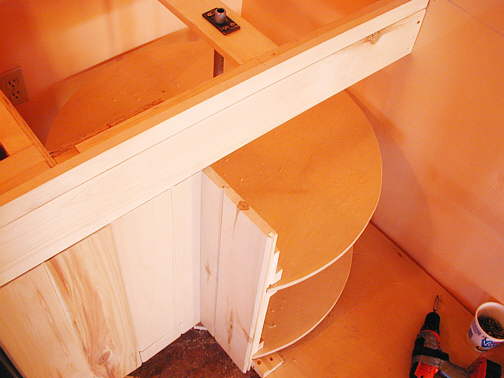
I added a pipe to the top shelf with one of those bases that you can screw a pipe into and that have holes in them to screw the base to something (like for closet bars). The pipe then went through a cross board at the top of the cabinet. Without the pipe at the top the lazy susan would rotate fine, but would tip just a little. The pipe on the top secured the top and cured the tipping problem.
I then started to attach the facing to the lazy susan by screwing from the back side of the support boards to the top shelf and into the facing pieces. In the picture above the first board is attached on the left of the lazy susan.
................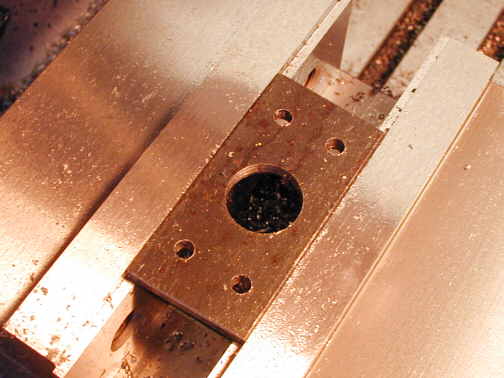
I was worried about the pipe eventually wobbling out the hole in the wood cross-member so I made this piece with my mill. It was the first large hole I bored with the mill and I was able to make it just the right size for the pipe.
................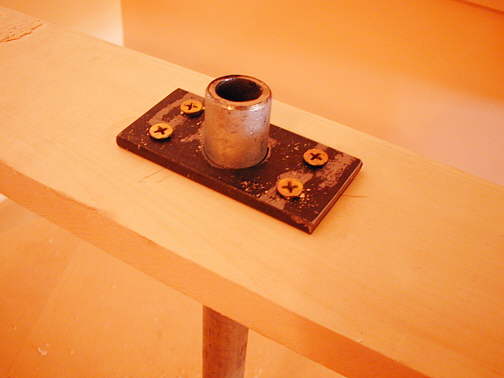
Here is the piece mounted on the top cross board. Not a perfect bearing, but it should last a long time.
................
The finished lazy susan with all the facing boards attached. This will make a lot better use of this corner than shelves would have.
................................................................Next Page
.................