.....
During November one of the first things I had to do was finish
insulating the attic space above the shop and living quarters. We were heating with only a wood burning stove and
the morning temperatures in the house when we got up were in the low 50's as we lost all the heat out the ceiling
during the night after the stove burned out.
After I spent a couple days doing some final wiring in the attic I got over 100 bags of insulation and the machine to blow it in from the lumber yard and myself and one other guy blew it in over 2 half days. It wasn't fun, but not as bad as I though it would be. After blowing in 10 to 12 inches of insulation the house was totally different. Now the whole house maintains a nice even temperature with just the one wood stove. With the nighttime temps in the low 20's and high teen's and daytime temps in the 30's and 40's we usually just have a fire the first thing in the morning and then again in the evening. Overnight with no heat the temperature in the house will drop from about 68-70 to about 62. A lot of mornings we haven't even started a fire and the sunroom has kept the house nice during the daytime. This is going to be an easy house to heat and cool. I will still be installing a natural gas stove (with the fake logs) to supply heat if we don't have the wood burning stove going.
I'm also using a barrel stove I made a long time ago in the shop. I usually start a fire in the morning and let it burn out and then let the greenhouse continue to heat the shop. Morning temps in the shop have been around 50 and it will heat with just the greenhouse heat to about 60 or so during the day without any other heat. About right to work in.
..............................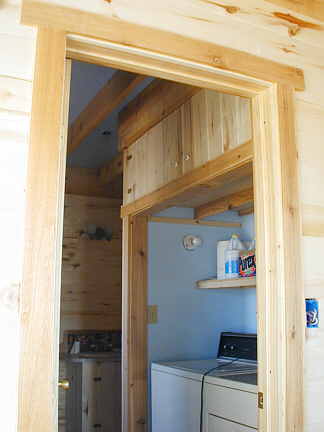
The washer/dryer area with the finished woodwork above and around it. There is additional storage behind the doors above this area. We will install a curtain to close off this area.
..............................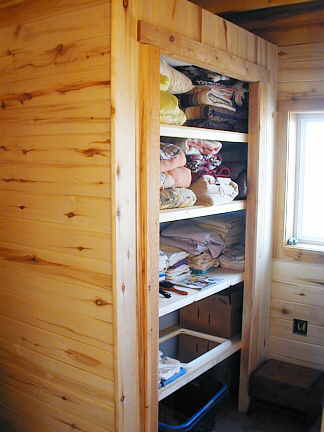
The storage unit opposite the tub/shower. Since the last pictures I had also finished this area off and it will also receive a curtain over the opening.
.................................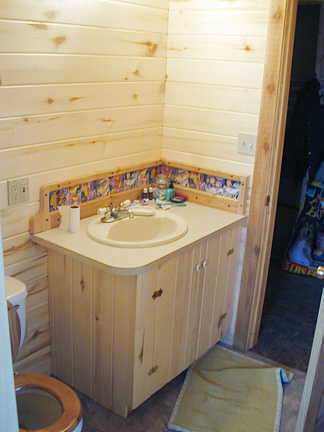
I made a counter for the bathroom sink from some particle board and Formica and also a cabinet for that to sit on. I will also make a magazine rack for the end of the cabinet.
.................................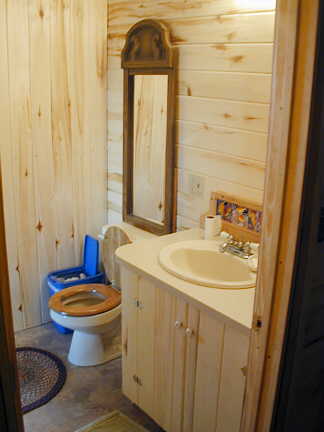
I put some ceramic tiles decorated with fish around the counter top and above those I'll make a medicine cabinet with a mirror and shelves on the sides.
.................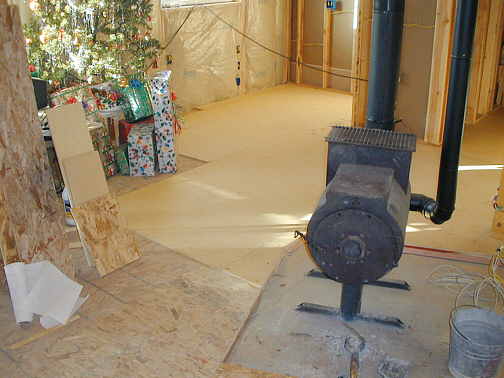
Next came finishing the living room and kitchen area. I decided to finish the floors in this area before I finished the walls. We were living in the house and it was getting old walking on the wafer board floors and hard to keep clean. At this point Julie's daughter Natalie was living with us and she helped (a lot) laying these floors. We began by screwing 1/2 inch particle board to the wafer board. I used screws that went through the 5/8 inch wafer board and into the 2 X 2 redwood furring strips that were on the concrete slab.
.................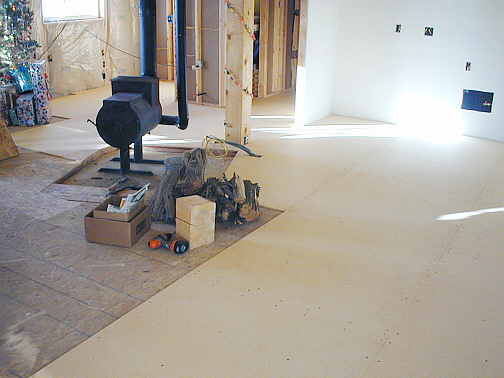
Another view with about 1/2 the particle board down. We did 1/2 the area with particle board and then tiled it. Next we moved the furniture over to this side of the room and did the other side of the room. It will be nice when we aren't living in a construction zone.
.................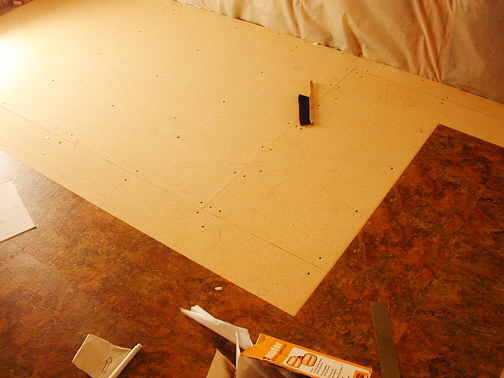
The tiles we chose for the entire house have a self-adhesive on the back and were pretty easy to work with. We used one color for the bath/bedroom and this color for the rest of the house. Before laying the tile I primed the bare particle board with a sealing primer that enhances the contact of the tiles.
.................
A view of the finished floor. You can also see the stove that heats the whole house (1300 sq. ft.) just fine. I made the stove years ago in Wyoming out of a discarded water heater. It was my sole source of heat for that house and will probably serve us for many more years heating this house.
For more information on this stove and how it is built ( GO HERE ).
You can see the cold air intake coming down from the ceiling next to the stove pipe. The stove has a valve in the back that is controlled from the front and it controls the amount of air the stove gets from the cold air intake. There is also an internal baffle that directs the exhaust heat and smoke from the fire to the front of the stove before it can return under the flat cook top to the stove pipe. That baffle has a door in the back of it that is also controlled by a rod on the front. To start the stove you open the baffle and leave the door slightly open. Air comes in to the fresh fire and the exhaust goes up the back of the stove and up the stove pipe. Once the fire is going you close the door in the baffle and open the cold air inlet at the bottom back. Now the air comes to the fire from the bottom back of the stove and burns and has to go toward the door and the front of the stove since the baffle is closed. The hot gases then go up inside the front of the stove and back above the baffle to the stove pipe and up the chimney.
..........................................................................Next Page
.................