............................... Previous Page.................................................. Next Page If There Is One
..................
..................................................--- New Side Bunks Part I ---
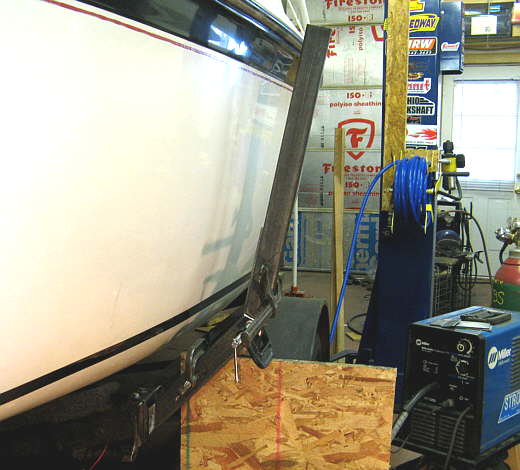
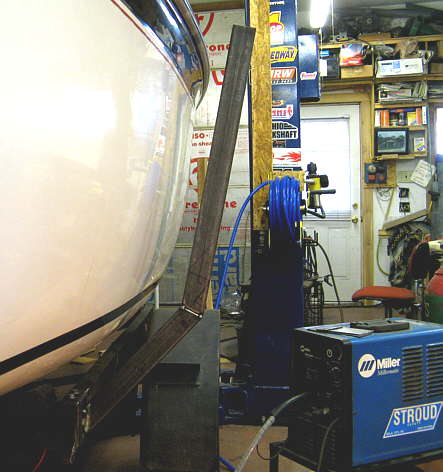
When we got our Mac one of the rear goal posts was broke off the trailer and the other was so rusted that it was barely on and it got ripped off before it fell off. I've heard all the horror stories about loading boats at ramps, especially in the wind, so I decided to try and improve on the stock trailer's 2 goal posts at the back. I was going to add side bunks like you see with some boats and then Bob out of Ottawa mentioned that a rope leading from the bunks to the "V" at the front of the trailer also helped. I then decided to do something like the rope, but something that could be on the trailer all along. This and the following pages will tackle this issue. Time will tell if these mods helped or not.
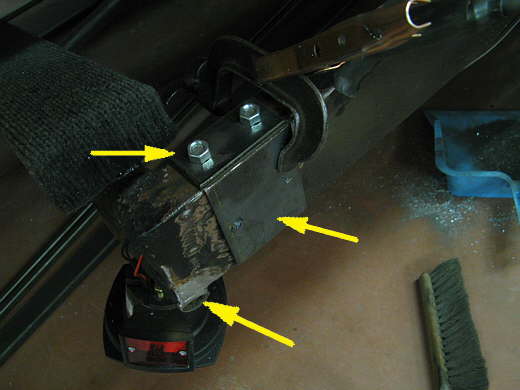
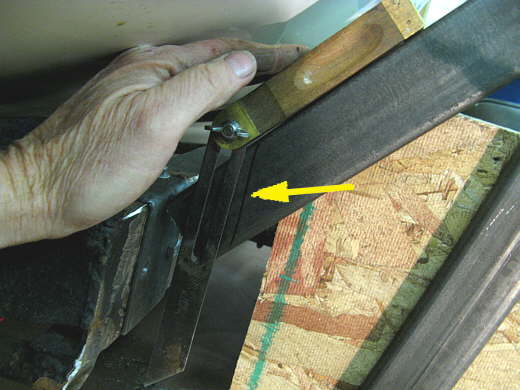
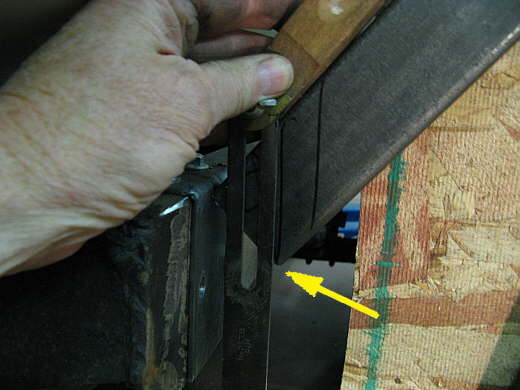
..........The bottom left arrow points to where the tube for the original goal posts came off the trailer. These tubes are pretty flimsy and didn't last on this trailer. I started by dropping the taillight out of the way and then made some plates (4 sets) to mount on the rear trailer side rail. Here I have the top one bolted in place and I'm drilling holes in the bottom one through the frame to mount it also.
..........
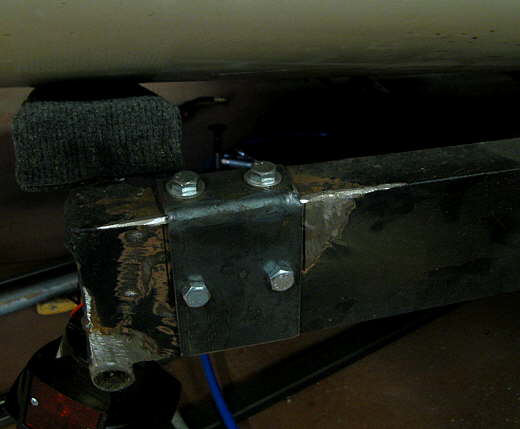
I tack welded the two plates together and then took them off and finished the complete weld with the TIG welder, but the Mig could have been used. After they were welded I remounted them on the trailer. I did this for a back one and one further forward on both sides of the trailer.
..........
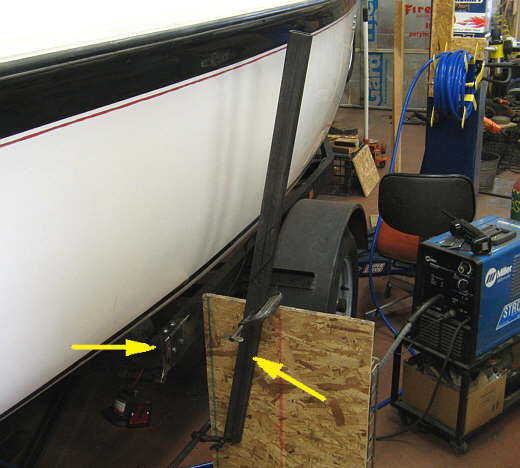
To make the new goal posts I took a metal milk carton and put a piece of wafer board on one side and screwed a second one to the first from the back with the milk crate sandwiched between. This gave me a moveable vertical platform. The left arrow points to the bracket I made above and the right arrow points to the new goal posts. I'm making these out of 1 X 2 X .120 wall rectangular tubing. I have the 2 inch width oriented in the direction to take what I feel will be the biggest load on them. I clamped a "too long" upright (a piece I had left over from another project) to the stand and moved it around until I liked the angle and where it sat in respect to the boat.
..........
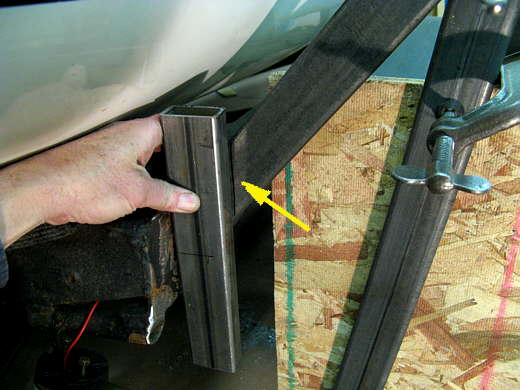
Next I took another piece that I had and clamped it at an angle to the first and to the bracket. At this point it is not cut to the bracket angle. I'll show you how I do that next.
..........
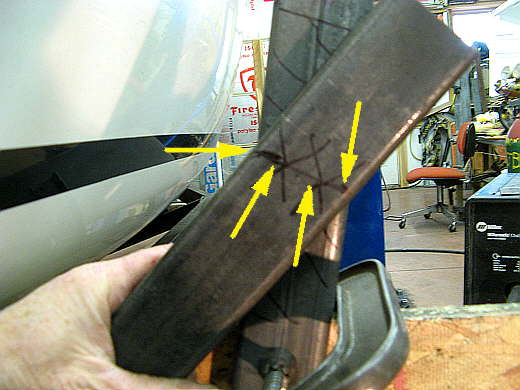
I took another piece of scrap and held it against the frame bracket and drew a line with a black magic marker down the angled piece.
..........
Next I set my angle tool (forgot what they are called) to the marked line and....
..........
..........then I slid it down and made a new line parallel to the first down at the end of the tubing. This way I have no waste.
..........
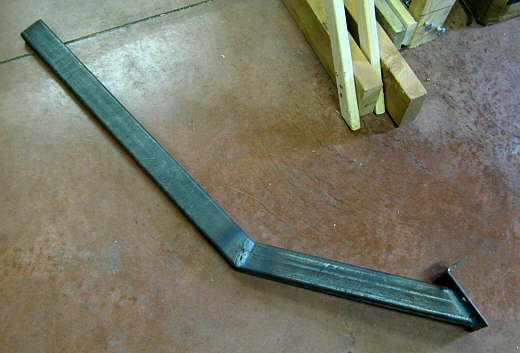
I cut the tube on the line and pushed it down against the bracket and to ready to mark the other end for cutting. If you have two pieces meeting at an angle the easiest way to figure where to cut both is to put them together like this and then draw a line across from the point on the left were they pass each other and you could lay a straight edge across both front to rear. Then mark the right side at the same location. Draw a line on the front one between the two points and do the same for the rear one and you will have the angled cuts figured without doing any figuring.
..........
After cutting both I clamped them together with some clamps and a piece of scrap steel across the joint and tacked them. I also tacked them to the bracket at this time. Also the top of this goal post is still tall and will be cut to height later.
..........
Here is the piece tacked together.......and.....
..........
........... finished welded off the trailer.