..................
...................................................--- More Cabin Storage ---
We like everyone else have small items that we needed to store, yet get to easily, like our camera, GPS, pills, etc..... To take care of that I made some storage units that mount on each side of the companionway inside the cabin. There they are easy to get to from either the cockpit or the cabin.
..............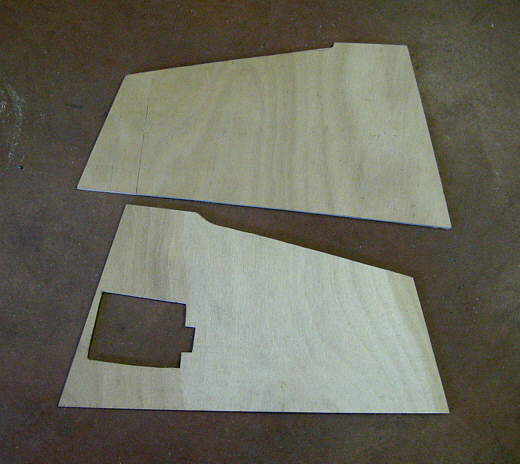
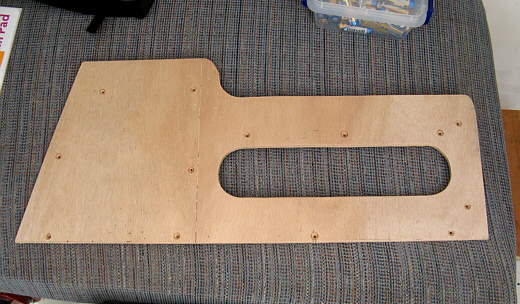
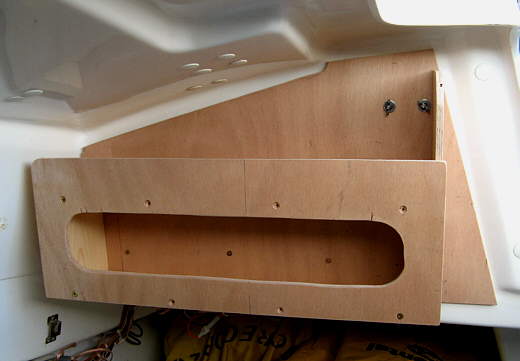
I started by cutting out these two pieces to fit against the cabin/cockpit bulkhead on both the port and starboard sides. The cutout in the lower one is for the depth finder that is in the bulkhead on the cockpit side, but comes through the bulkhead into the cabin. These are pieces of 3/8 inch good one side plywood.
..............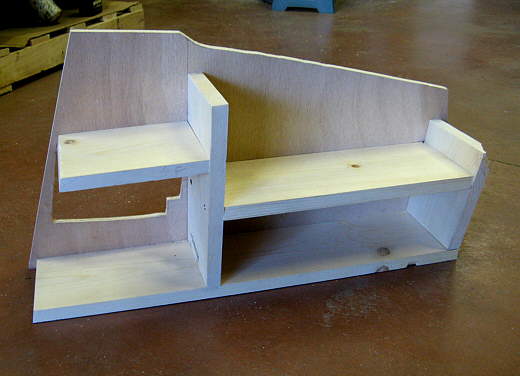
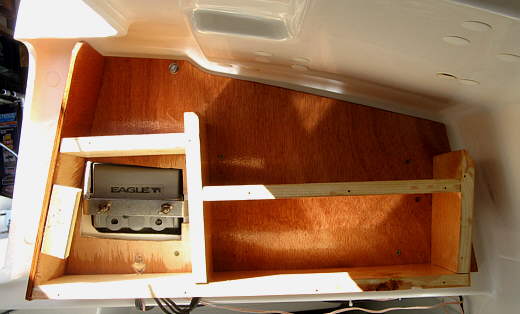
Next pieces of 1 X 6 (actually 5 1/2 inches wide) were cut and placed for the self bottoms and sides ......
..............
............and were screwed to the plywood..............
..............
........with the screws going through the plywood into the 1 X 6's.
..............
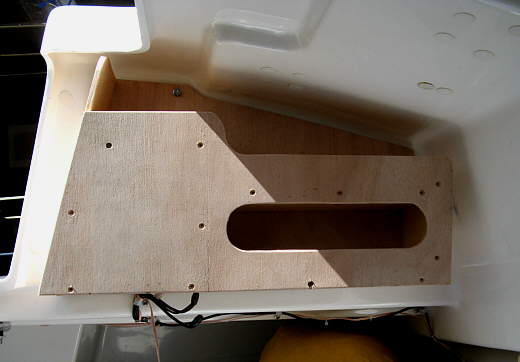
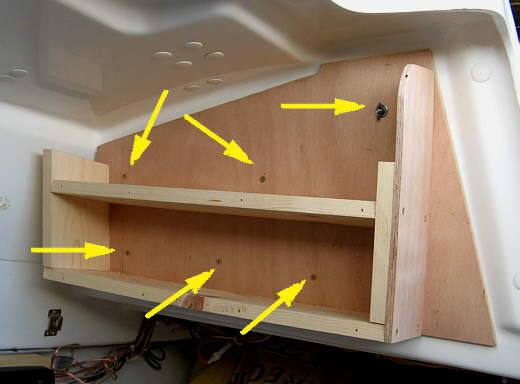
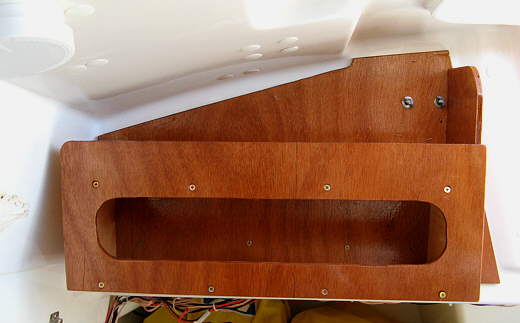
then the resulting structure was screwed to the cabin wall with grabber screws. Be careful here as the left side of this wall is also attached to the cockpit wall on the outside and there isn't much distance between them. You only want the screws to go through the inner wall. These screws will be supplemented with a bolt shown below that will take the main load of the weight of the shelving and what is stored on them.
You can also see the back side of the depth finder in this picture.
..............
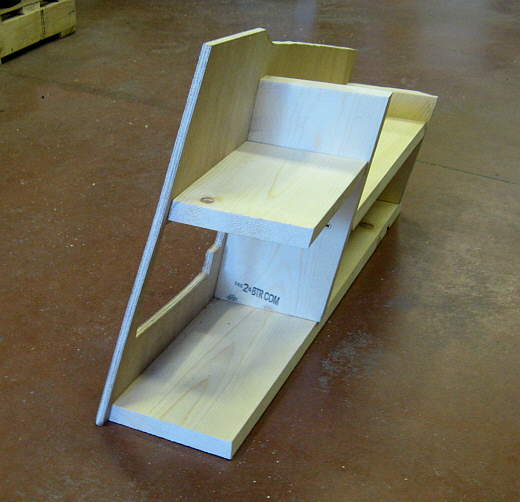
Next a facing was cut out also from 3/8 inch good one side plywood and ................
..............
....... screwed to the shelves. The depth finder back is now covered up.
..............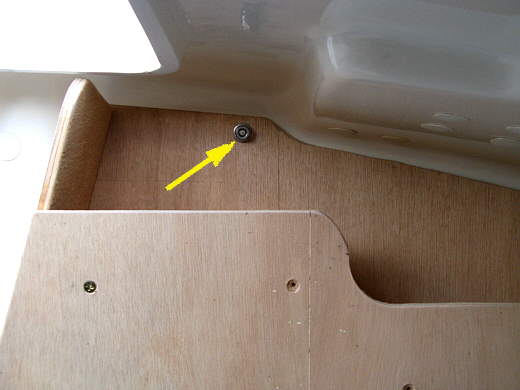
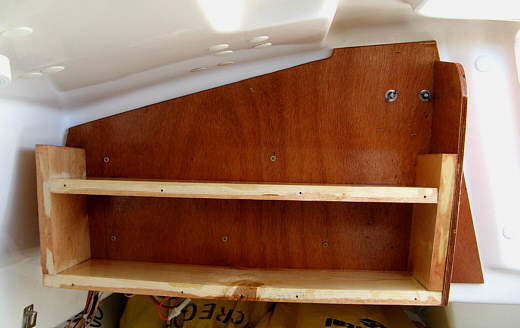
The arrow points to a 1/4 inch stainless bolt that goes all the way out to the cockpit and is bolted through the shelf back and through the inner and outer bulkhead walls that come together at this point. This bolt takes the load of the shelf on this side of the boat and the grabber screws mainly hold the shelf to the bulkhead and locate it.
..............
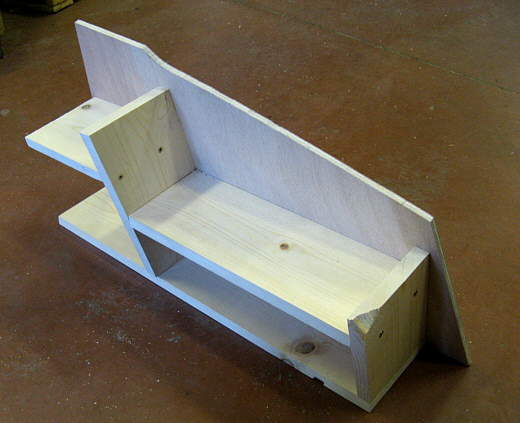
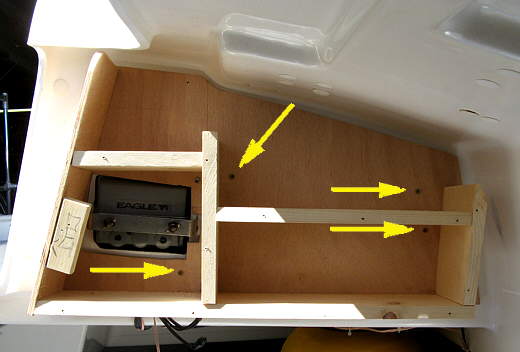
Here is the shelving on the starboard side of the companionway with the arrows pointing to the grabber screws and ..............
..............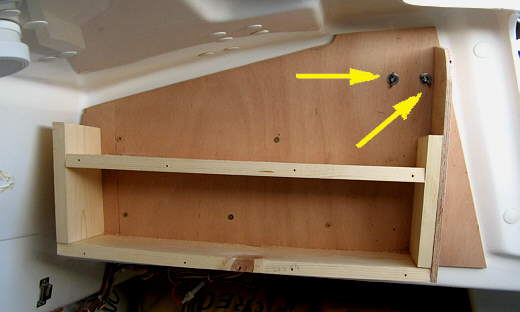
....... these two arrows point to the main support on this side. They are two stainless machine screws that go through the shelf back and hold a compass to the cockpit side of the bulkhead. These were use to hold the compass that was already with the boat when we purchased it.
..............
Here is the facing for this side in place and..............
..............
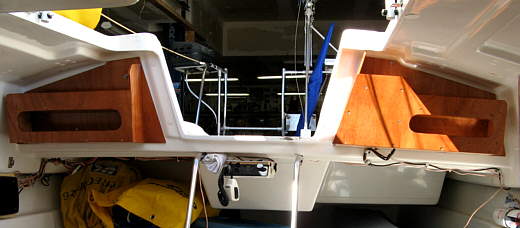
......... here is a view of both sides. At this point the facing pieces along with the shelves were removed and...........
..............
.......... stained and cleared and then.............
..............
put back inside the boat.............
..............
.........for a final time.
..............
..............
An overall view of the finished storage units.
..............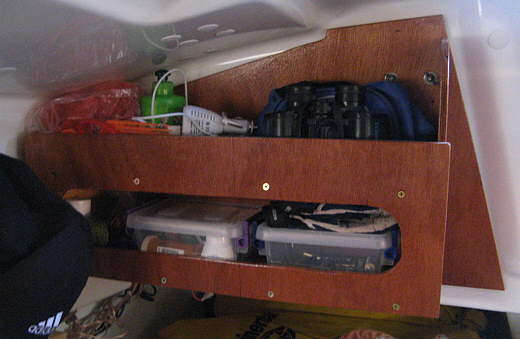
A couple days after finishing them we were on Lake Powell for an 18 day trip and .....
..............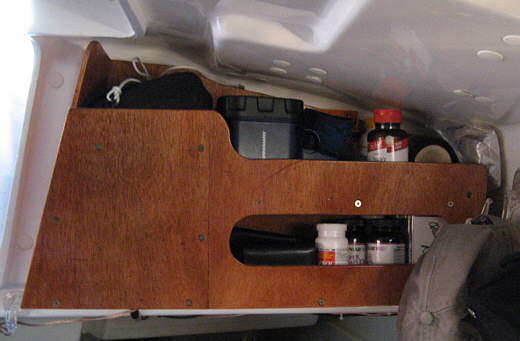
......... they were immediately put to use. They along with the food storage, sink storage and v-berth storage have put most things we use within easy reach. No more getting containers out from under the seats or aft berth and getting in and out of them. We still keep our mast set-up tackle under the port seat along with our sailing gear and a few other things that we only need occasionally.
On this trip I became aware of a couple more places that I can put shelving in the cabin and v-berth that will further help in storing small items we get to often. But at this point the boat is very convenient to use on long trips.