..................
......................................................--- Sink Area Storage ---
..............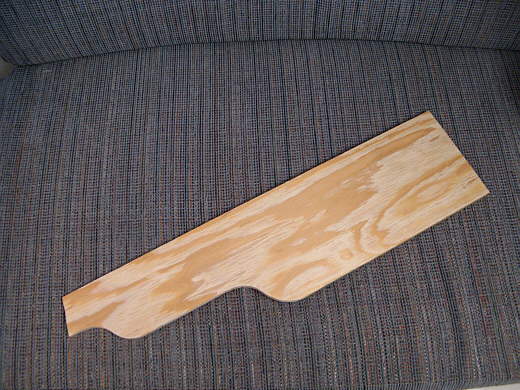
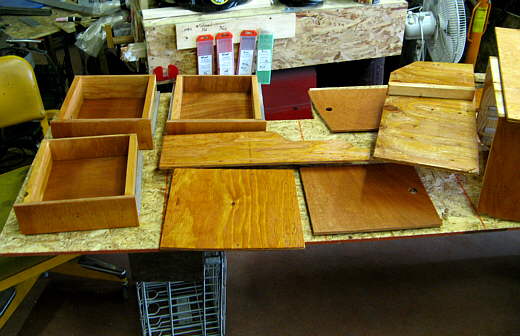
One of the last remaining mods to the the interior was a desire for storage around the sink area for dishes, pots and pan and utensils. On our trips all of those were stored in tubs that had to be gotten out and opened at each meal.
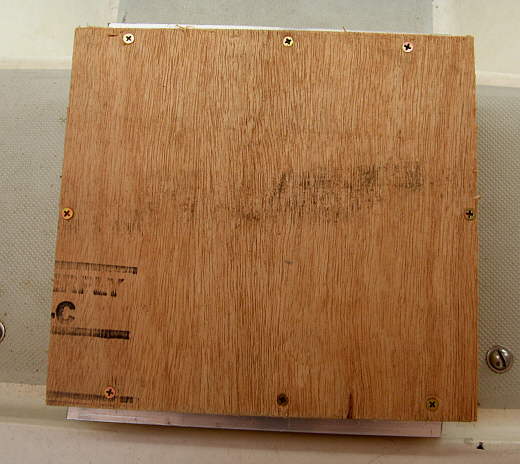
The above piece was the first piece in the new sink area storage.
..............
It was installed to the compression post on the sink with screws.
..............
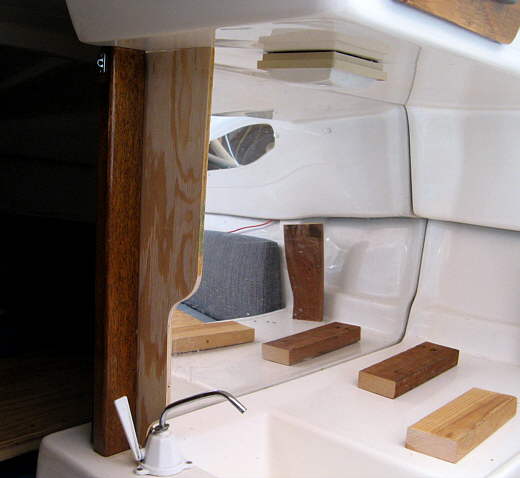
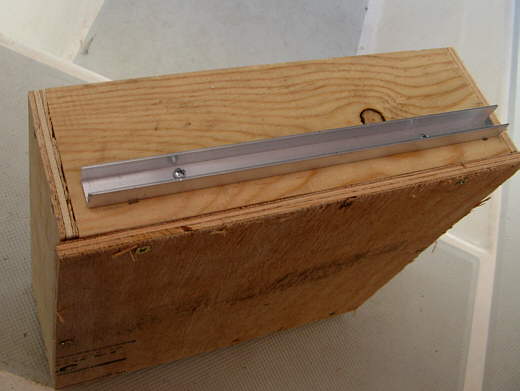
Next a shelf was cut that would hold the upper cabinet. The 2 X 4's are temporary supports at this stage and this piece will be cut down above the sink later.
..............
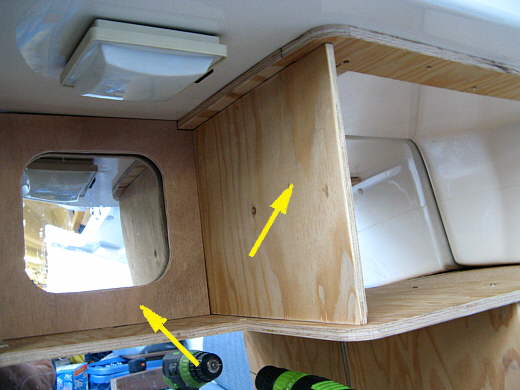
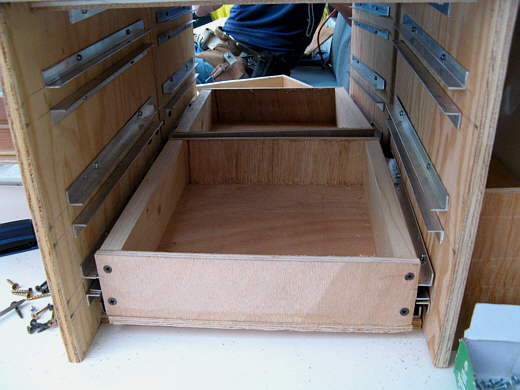
This box was constructed to hold 3 drawers and to support the shelf in the previous picture. The picture is wide angle and the sides really are square.
..............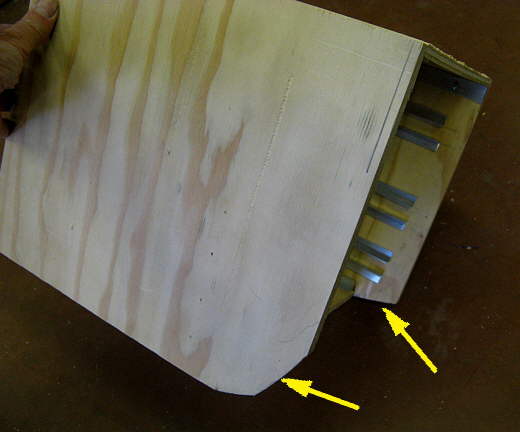
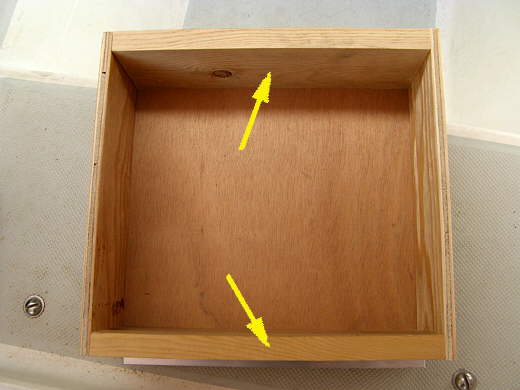
The bottom back corners had to be cut at two different angles to allow this to fit flush against the mirrored wall.
..............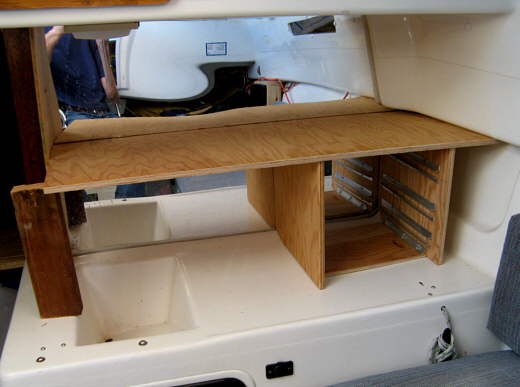
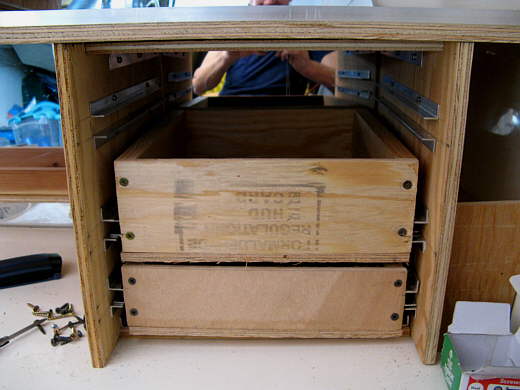
Here it is in place and it replaces the two temporary supports on the right side. Since the hull side angles in towards the bow this piece couldn't fit flush against it. I could of cut a filler piece to finish that area off, but instead.............
..............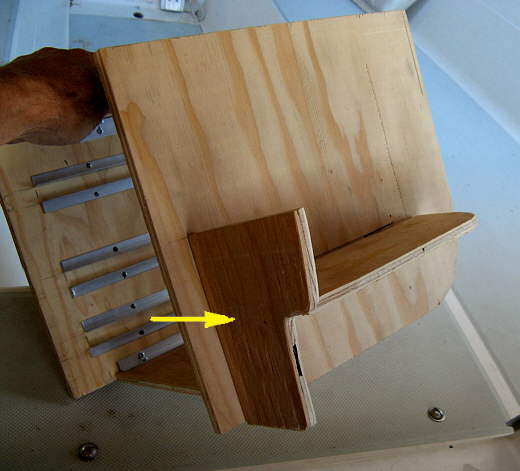
........made a small shelf on the side with a filler piece in front of it.
..............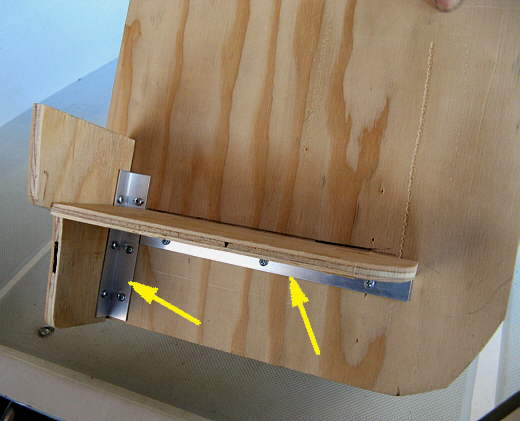
It is held on via aluminum from the hardware store and short screws.
..............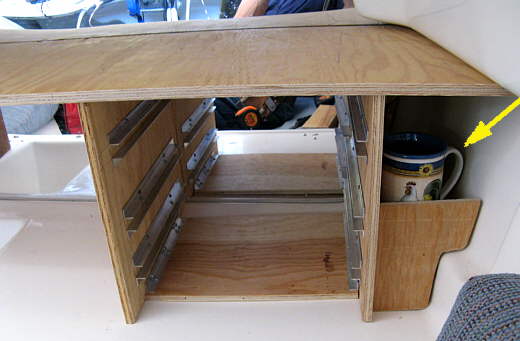
It provides storage for three coffee cups. Might as well use every available space for storage and these are something we are always reaching for. On our long 2009 trip to Idaho/Canada we found that we used this area of the counter very little and usually just had junk piled up there, thus the decision to put drawers in that area.
..............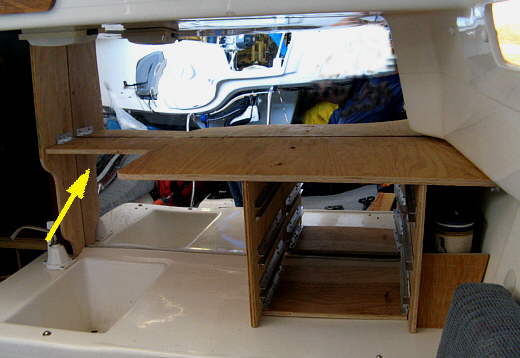
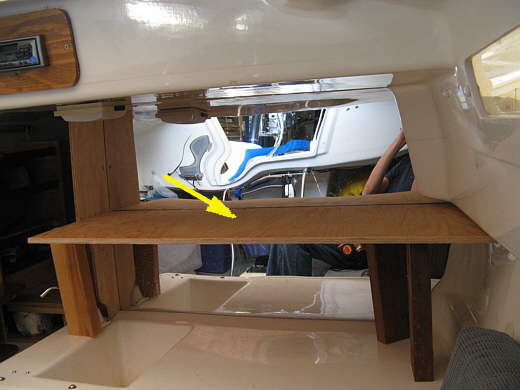
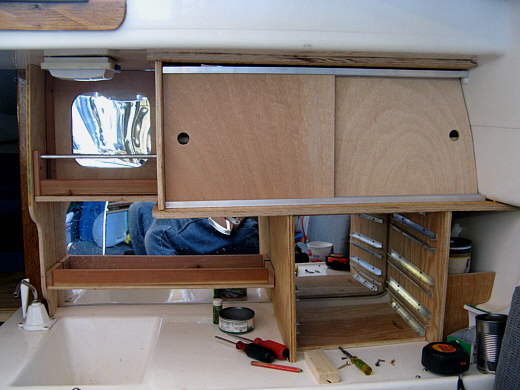
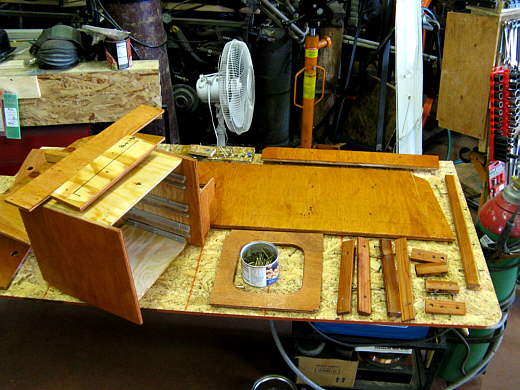
The left side of the shelf was attached to the right side support with another short piece of angle and the area above the sink and below the light was cut out (arrow).
..............
Two pieces of plywood were placed directly above the large part of the shelf. It looks like more, but that is the reflection in the mirror.
..............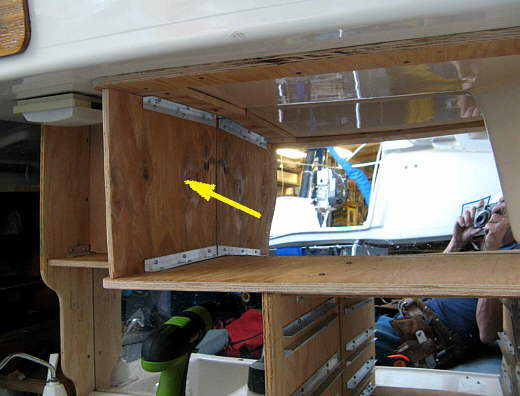
Next a wall was placed on the left side that connected the shelf to the plywood that was put into place in the previous picture.
..............
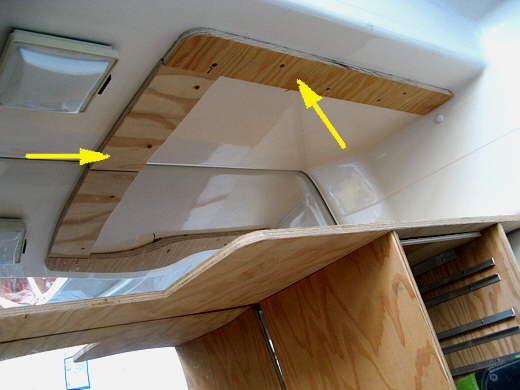
To the left of the wall a piece of thin plywood was cut out in the middle and place to still give a framed mirror by the light.
..............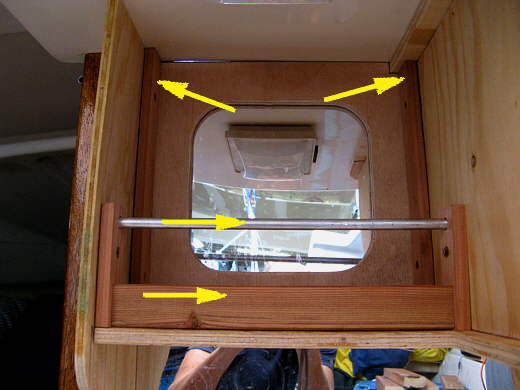
It is held in place by two redwood uprights (top arrows) and the shelf in front of it was finished off with a piece of redwood and an aluminum rod that .......
..............
..........keeps the containers on the shelf under sail.
..............
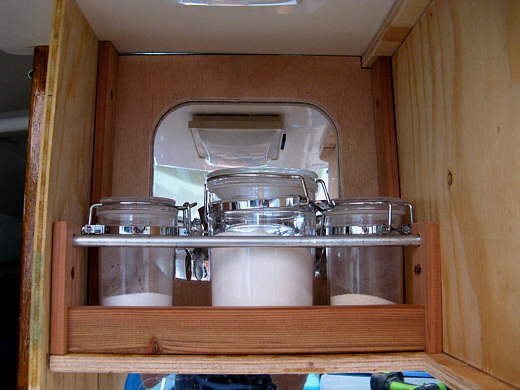
A second shelf that isn't as deep was added under the top one for small containers. It isn't as deep so that we can get to the faucet and the back of the sink.
..............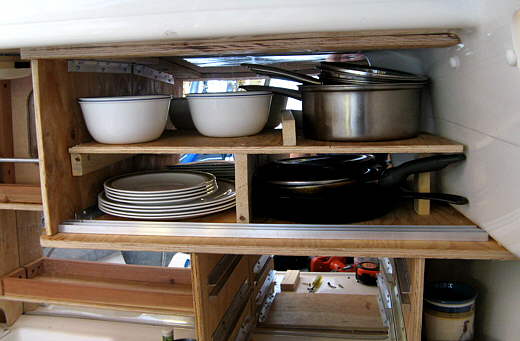
A shelf was added to the top storage area that has dividers to keep the pots, pans, and dishes separate from each other. What you see here is what we take to prepare our meals with on a trip and the pots and pans are the same ones we use at home, so we are use to them. At this point bottom tracks (more aluminum channel from the hardware store) for sliding doors were added.
..............
Two sliding doors were cut and put in place with the top tracks. Later wood stops were cut to length that lay in the tracks and keep the doors from sliding while under way. About all that is left is 3 drawers for the lower unit.
..............
I made these doors in a similar way that I did for my house when I built it. There is no fancy dove joints, but as has been proven in my houses these will hold up just fine. The sides are made from 1 by pine ripped to the height I want and..........
..............
...... the plywood ends are screwed to the sides and...........
..............
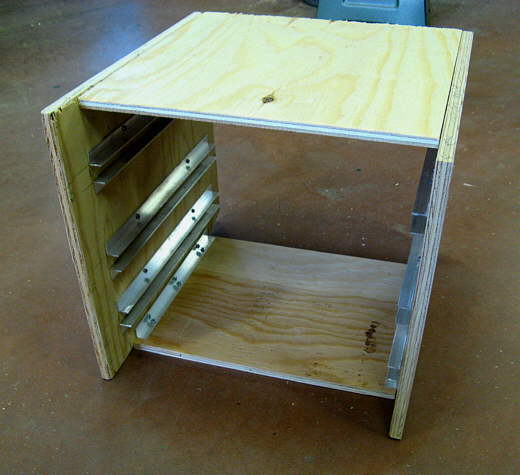
........ thin pieces of plywood cut to size are placed on the bottom and screwed to the sides and ends. Quick, simple and durable.
..............
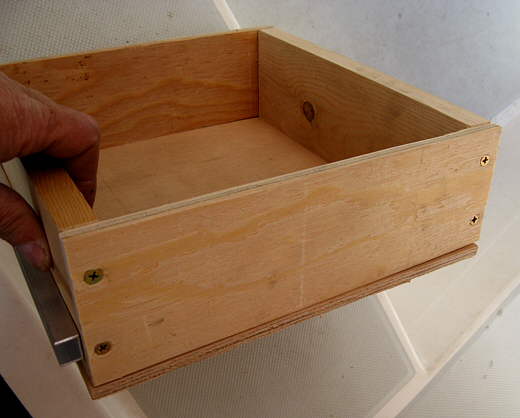
I fitted the drawers into the enclosure and marked where I wanted the side piece of channel to go and screwed them to the sides. They slide............
..............
.......in the tracks made with the aluminum angle in the enclosure. With one door made I moved to the next and determined .............
..............
......... its height and where to place the channel on it. When I put the aluminum tracks in I had decided on the drawer depths, but fine tuned those measurements at this point.
..............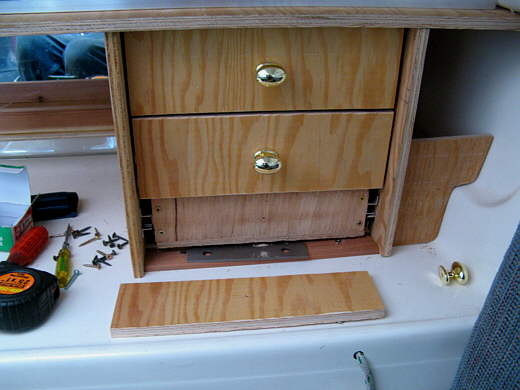
Next I started facing the doors one at a time from the top down. Here I'm ready to put the bottom face on.
..............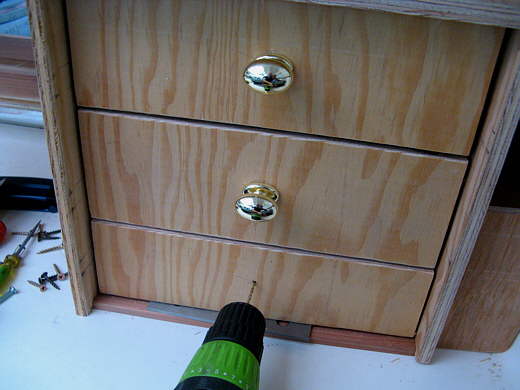
I had a small hole drilled in the center of the face and then held the face in place where I wanted it and drilled through that hole and on through the drawer. Next I drilled those holes out to the size I needed for the drawer pull screw to fit through.
..............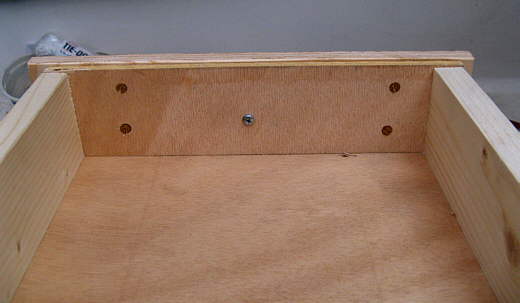
With the drawer pull then holding the facing in place I used 4 short screws to attach the face to the front of the drawer from the inside of the drawer.
..............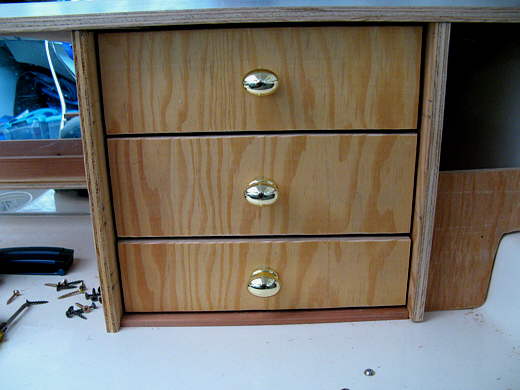
Here are the three finish drawers that will hold all the utensils and more.
..............
With the construction finished it was time to stain and clear............
..............
........the non-redwood pieces and there were a lot of them. All the redwood so far has just been getting a clear finish so that it contrasts with the stained plywood.
..............
Here is the finished storage unit.
..............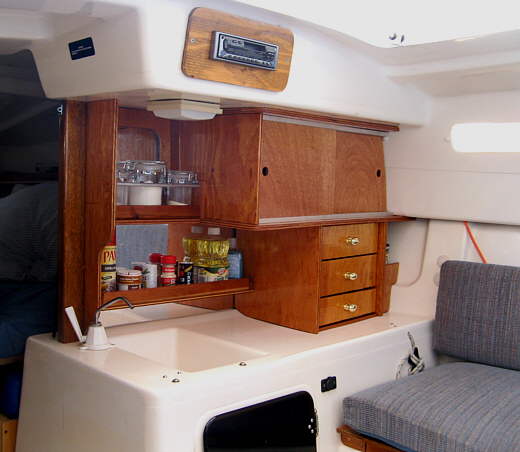
On our first trip we were very pleased with all of this. We didn't have problems with the items on the bottom shelf, but I might put a second aluminum bar there also for rougher water.
..............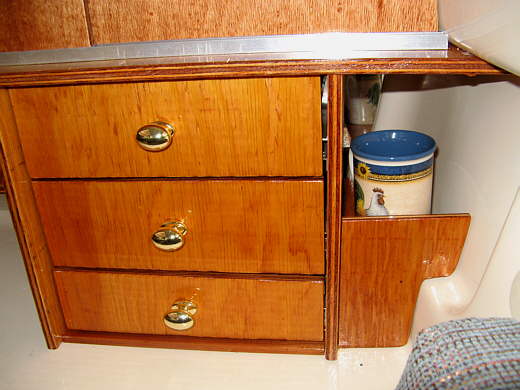
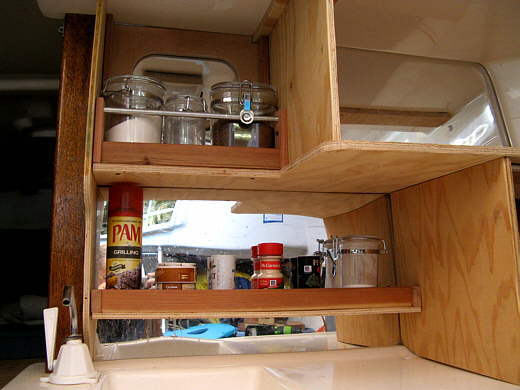
A close-up of the drawer and coffee cup storage area.
..............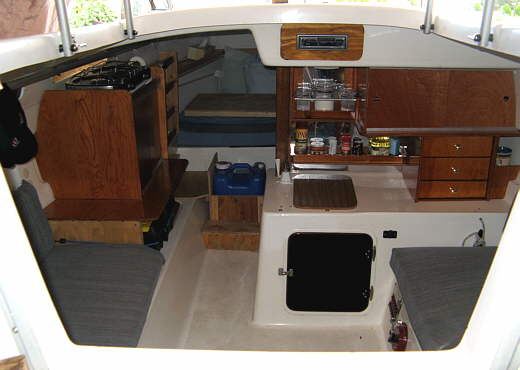
And a view looking down into the cabin from the cockpit. We still want to add some storage along both sides of the companionway going out of the cabin, but other than that we are about done inside except for going back and staining some items and making it a little nicer.