.................Previous Page........................................ Next Page If There Is One
..................................................................--- Daylight Cockpit Display ---
...............................................................--- Overview ---
If you are a current or potential user of SeaClear, Open CPN or another computer based chart plotter and have regretted that you didn't have a cockpit display what follows might be a solution for you and one that costs just a little over $100. It gives you a 7" daylight display that with SeaClear will display up to about a 7 mile wide chart area with detail good enough to see water depths and other needed detail. If you zoom the chart all of the way in you can see sharp detail at SeaClear's maximum chart resolution. Running SeaClear in the "AUTOMATIC" mode SeaClear will keep your boat centered on the screen and move the chart under it.
You don't have to be a computer guru to make this work and you just need 12 volts to the display along with a cheap coax cable that can be run over almost any distance. If this interests you then read on......Sumner
The only drawback we found to using SeaClear for our chartplotter vs. say a more expensive plotter with a screen of at least 5 inches or better was that at the tiller of the Mac or the wheel on the Endeavour we couldn't see the same screen that was being displayed below on the computer monitor.
This was partially solved by downloading the day's trip waypoints into the handheld Garmin Map 76S that was in the cockpit and using it to go from waypoint to waypoint. It only had the base map of the U.S. in it that it came with. We could see rough shorelines and such, but no detail, so we were really just steering to stay on course to the next waypoint and couldn't see depths on our course or off of it. If we wanted to change the route mid-day I could drop below and do that with SeaClear and send the new waypoints to the Garmin as it was always connected to the computer below via the serial cable.
I looked at other options for a daylight capable display for the cockpit, but the monitor type that could use a VGA signal were very expensive. So expensive that we might as well pay and buy a dedicated chart plotter. The only problem with that besides the cost was that if we wanted a screen over 5 inches diagonal we would start paying $1000 or more and I still loved SeaClear and would still be using it to send waypoints to a very expensive chart plotter.
Then in the search for something with a reasonable price that could be viewed outside I came across the portable TV's that are designed to be used at sporting events or out on the patio. You could buy one cheap at well under $100 and they had a 7 inch diagonal screen. A chart plotter with a screen that large would be over $1000. They had two main problems.
One was the resolution is only about 480 X 234 which is similar or better than some of the sub $600 chart plotters, but that resolution is spread over a wider screen, so not as sharp in all cases. The other problem was the type input signal they would work with. The ones I found only accepted an over the air digital TV signal or a composite input like the older TV's and what you can input from say a cable connection at home (not HDTV). I figured out how to get the VGA output from the computer converted to a composite input for the TV and decided to try this approach out.
What follows documents what was used and shows the results. Not on the boat yet, but I feel in a similar environment. Is all of this marine rated equipment? No, but it is cheap and I feel that it will last as 2/3's of it will be inside the cabin and the TV connects with just two cables and can be disconnected anytime and taken below. I plan on making a protective box for it at the helm, one that it can be removed from easily and it will also be used under the bimini on the Endeavour at all times and most of the time on the MacGregor. Worst case is that it breaks, but we still have the computer below and the handheld in the cockpit. We also have backup for all of that, plus large paper charts.
Let's start with what it looks like outside. The next views are of the NOAA chart by Charlotte Harbor, FL and SeaClear is zoomed in so that we are seeing about 2.4 miles horizontally and 1.9 miles vertically. As you will see later zooming out further ends up with a fuzzy display, but you can zoom in much closer for a very detailed look where you are if you are in a tight channel with shallow water or obstacles nearby. If you zoom in all the way you would be looking at about 1.5 miles horizontal and 1.2 miles vertical of chart. That is as far as SeaClear will zoom in, but you see a lot of detail putting that on a 7 inch screen vs. say a 4 or 5 inch or especially our handheld's screen.
.........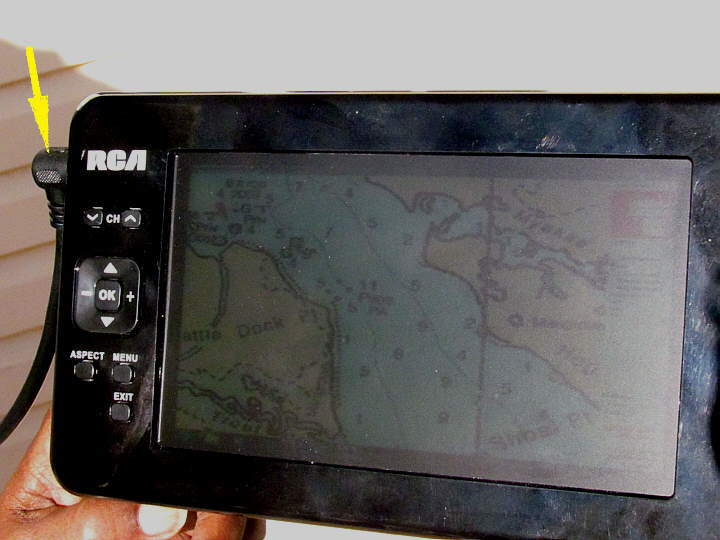
Above is worst case and actually a little worst than worst case. I'm out in full sun with the sun as direct on the screen as I can get it. The only problem is if I move the camera up to get a head-on look at the screen then it blocks the sun and you don't get to see the full sun. So the picture if you are looking at it is about like on the left side of the screen and you don't see the glare on the right side that the camera did at the angle that it was at.
It would be hard to get the picture this bad as if the sun was coming right into the screen at a 90 deg. angle and you were looking at it at the same 90 deg. angle you would be shading the screen some with your head or body and the view would be better than above. Still even viewed like this you can see the chart and would see the symbol for where your boat was.
.........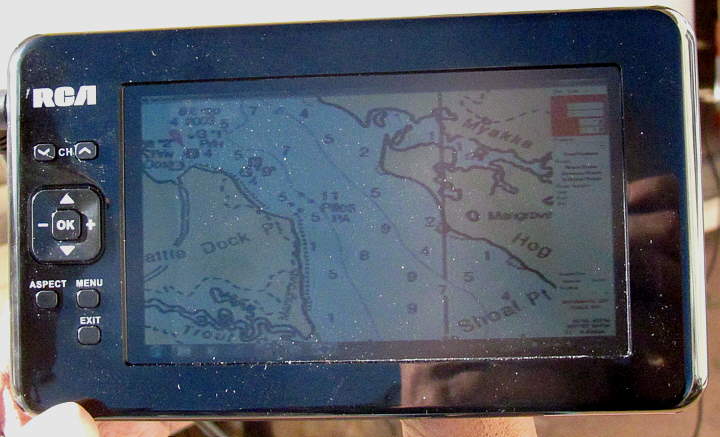
Now we are in full sun again, but the sun is coming in directly from the side parallel to the screen.
.........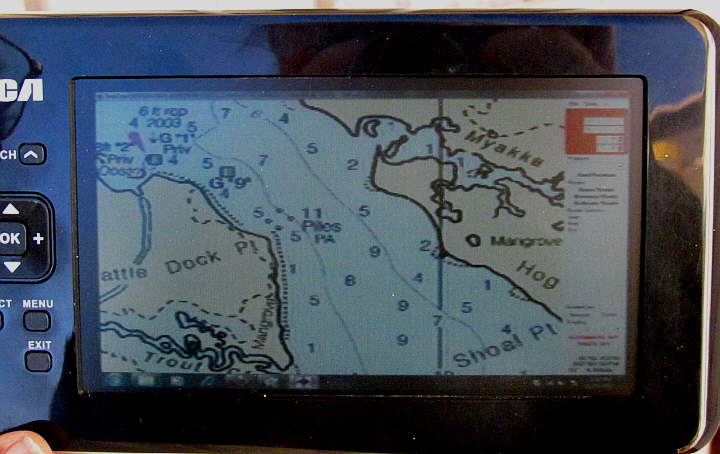
Now I moved over just a couple feet from the last two views and have the TV in the shade provided by the overhang of the house, but direct sun is just a foot or so from it. This is still a very bright situation. I think under the Bimini it will even be better than this.
The 10" monitor I have been using with the ship's computer is a bright 10" LCD screen and if I had it outside in any of these conditions I wouldn't be able to see the chart. That was the reason I gave up on trying to use a monitor.
.........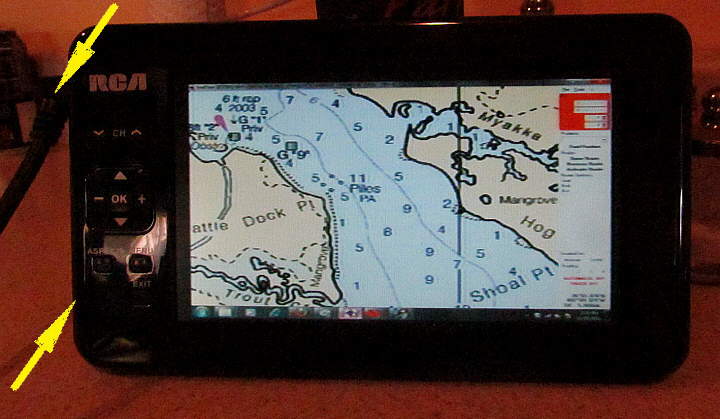
Now we are inside the house. The top left arrow points to a simple coax cable like you use to use for all of your TV's. I was transmitting from the computer over 50' of cheap coax cable and still had good results. The bottom left arrow points to where you plug in a 12v. plug. I made up a cable with the TV input plug on one end and a plain 12 volt cigarette light type plug on the other end. I have a 12 volt socket outlet by the helm. Just plug the power cord into it and the coax into the TV and you are up and running.
The TV does have a battery and I think it will run up to 3 hours on it. All of the pictures above were taken with the TV running on its internal battery.
.........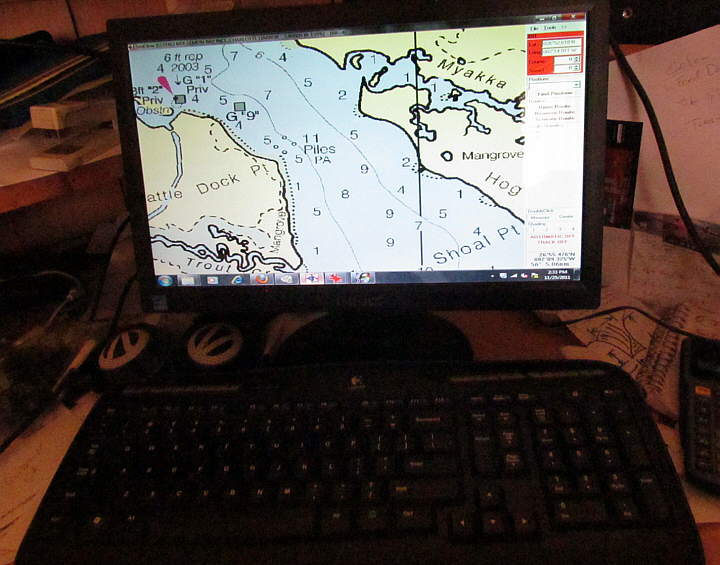
Here is the chart running on the 16 inch monitor that uses only 10 watts and runs on 12 volts. It will be used on the Endeavour since it has more room below. We will still use the smaller 10 inch screen shown on the other web pages when the computer is on the MacGregor.
Notice that the TV was showing the same view that was running on the main computer running SeaClear and the free NOAA charts.
.........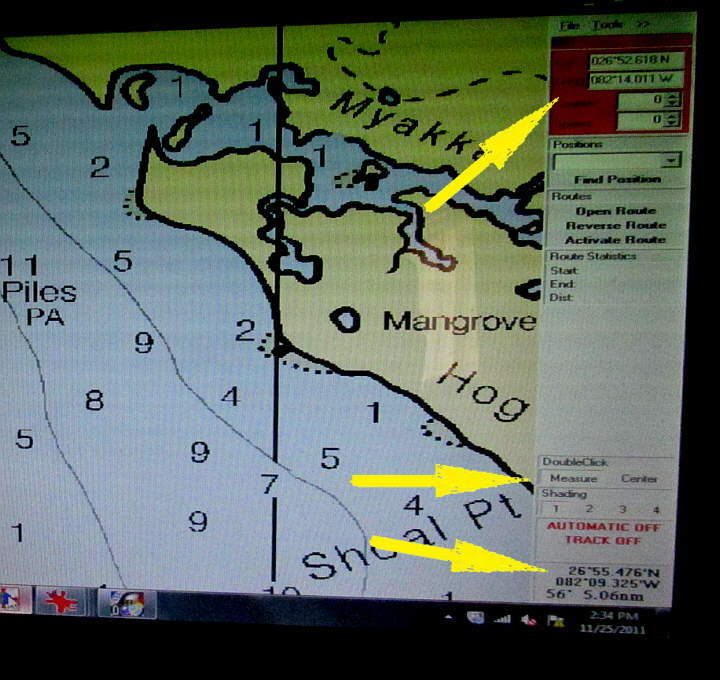
The one main drawback to the TV and SeaClear is that SeaClear will zoom the chart in and out making it readable on the TV, but not the 'dashboard' shown on the right with the data that it displays. This isn't that big a deal as we don't normally look at that info once underway. We just want to know where we are, water depths and our course and nearby obstacles.
A very important fact at this point is that if you have "AUTOMATIC", lower right above, turned on SeaClear will constantly update the chart and move it keeping your, your boat, in the center of the screen. This means that once under way you don't have to control SeaClear from the cockpit, just keep an eye on the display (TV).
.........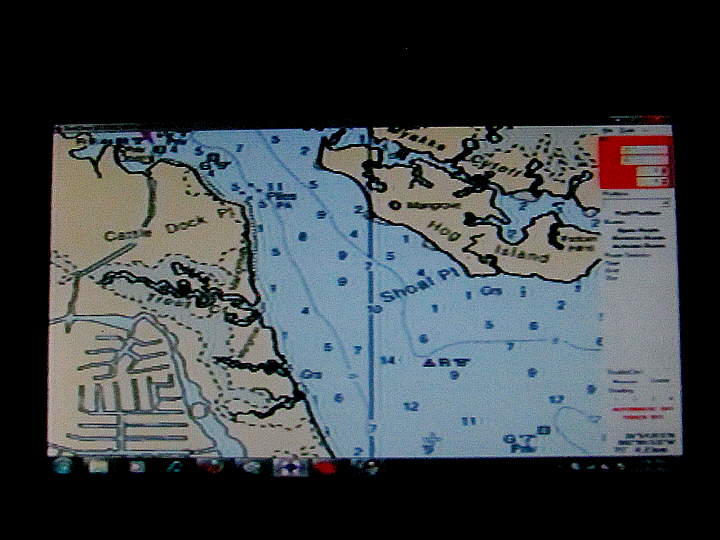
Above is a view on the TV with the chart zoomed out to display about 7.3 miles horizontal and 3.8 miles vertical in the viewing area. You can still see depths, but things are starting to get fuzzy. If there is shallow water nearby you probably wouldn't want to zoom out much further, but then again you would probably be zooming in to get detail by the boat.
So lets see what it takes to do this and about how much it costs.
.........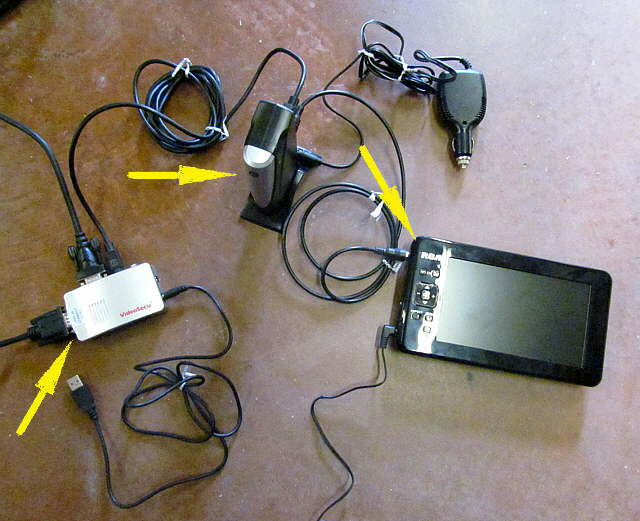
The VGA output from the computer goes into the converter box, lower left arrow. The box has a VGA out that you then hook your monitor to. Next to the VGA out cable is a S-Video cable. The converter box converts the VGA signal into the S-Video or RCA signal.
The problem we now have is that the TV doesn't have an input for S-Video or RCA only coax. To solve that unless I can find something else the S-Video signal goes to another converter box, top middle arrow that will convert a S-Video or RCA signal into a composite signal for a coax cable.
The coax cable signal then goes to the TV.
.........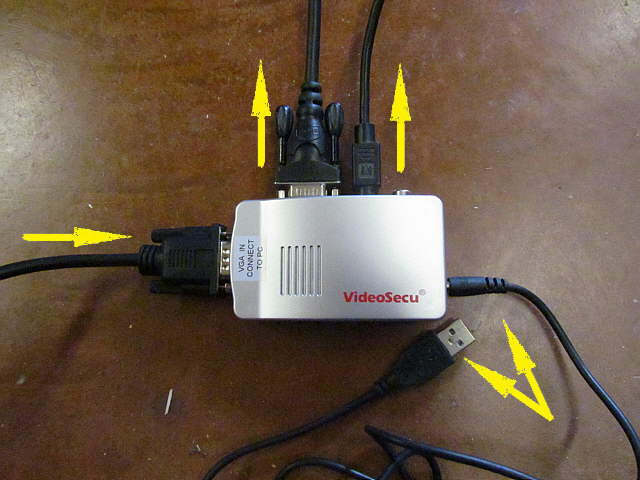
Here is a close-up of the first converter box, with VGA in, left arrow. VGA out to your monitor, top left arrow and S-Video out, top right arrow. The bottom arrows points to the power supply cord which gets 5 volts from a USB port on your computer.
.........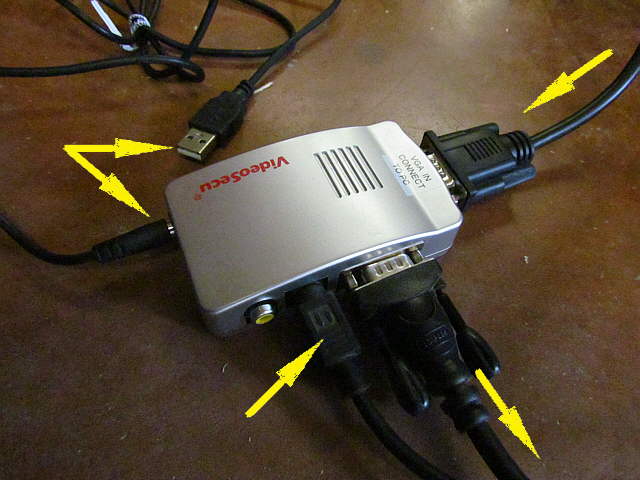
A view of the other side where you can also see the RCA output, which I didn't try.
.........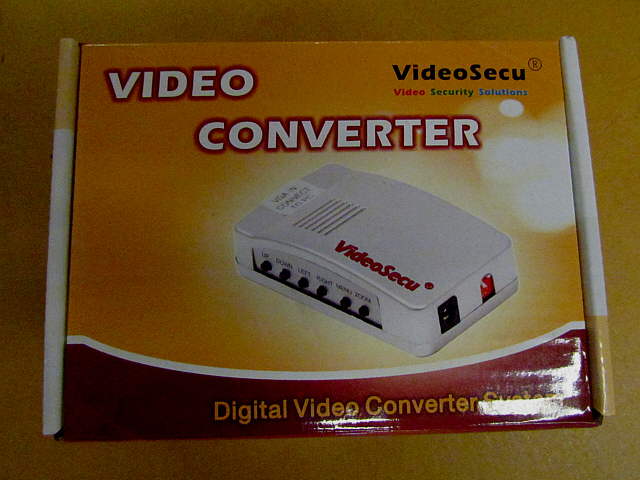
Here is the box it came in and I found it on the Internet.
.........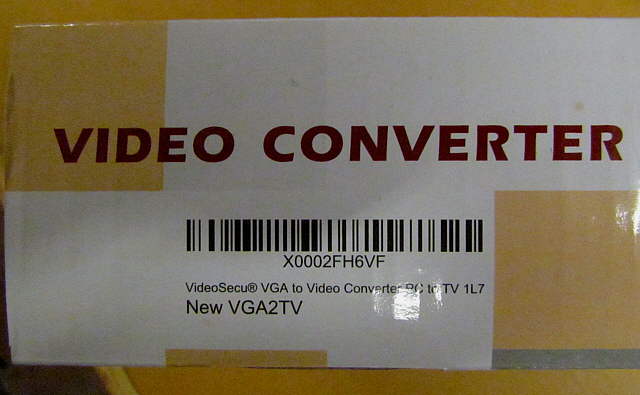
More to help with a Google search.
.........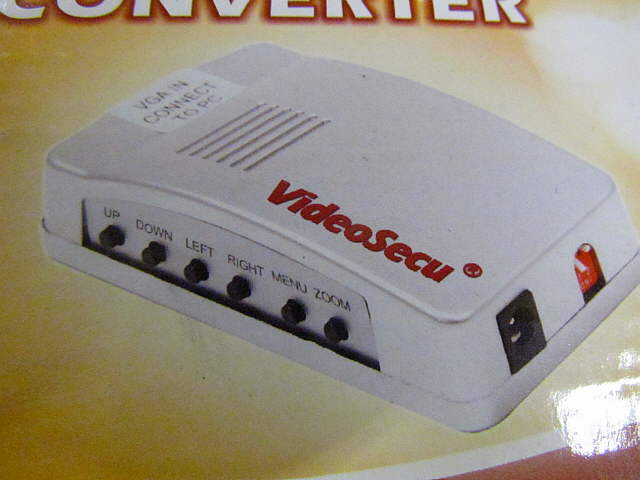
The box also has controls that you will see on the TV screen that help to center the video output on the screen. The box was about $30 and works as advertised.
.........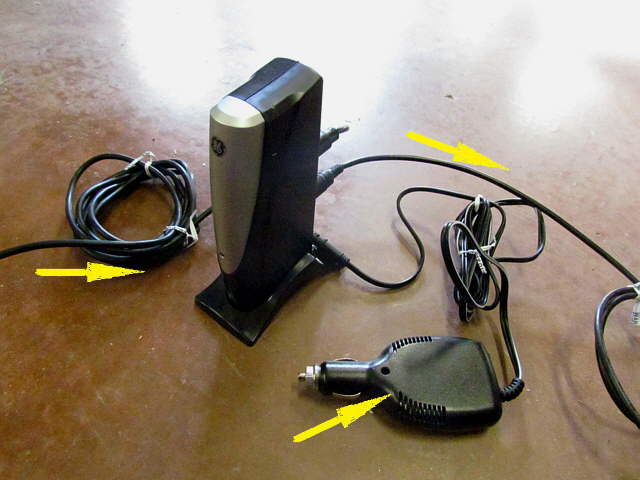
The next converter (S-Video/RCA to Coax) I bought at Walmart for about $16.00. The downside to it is that it needs 9 volts. I supply that with a cheap DC-DC converter that plugs into a 12 volt socket. On the other side is a slide switch that outputs different voltages. You can usually find these for less than $10. I'd like to see if I could find a converter like this that runs on 12 volts. That would get rid of the DC-DC converter.
.........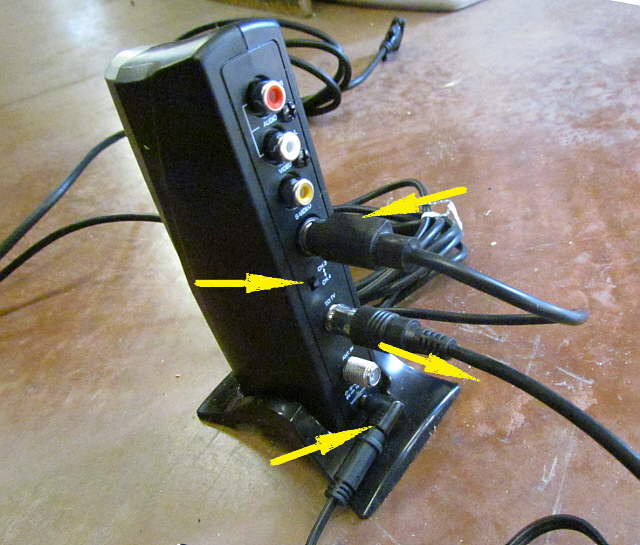
This box is made for people with older TV's that want to connect them to new devices that only have RCA or S-Video outputs. The top arrow points to the S-Video in. The next arrow down, left side, points to the channel 3 or 4 switch for the output. Next down is the Coax output to the TV and at the bottom is the power plug from the DC-DC converter. It comes with a 110 volt AC adapter, but that isn't used. Also at the bottom you can hook an external antenna. The TV came with a small antenna. We bought an amplified antenna that we can attach at this point or direct to the TV.
.........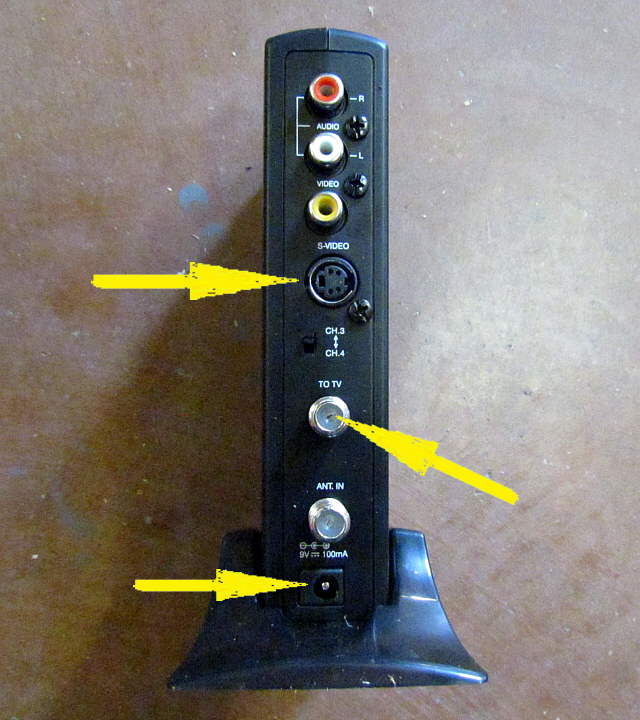
A close-up of the back. All of the above items will be next to the computer inside the cabin and are only connected once. On to the TV.
.........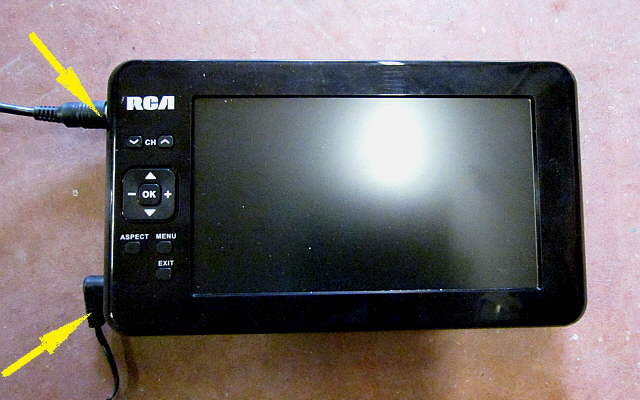
As mentioned before you only need the coax in cable, top left and a 12 volt power in, bottom left and the TV will run without that on its battery for about 3 hours.
.........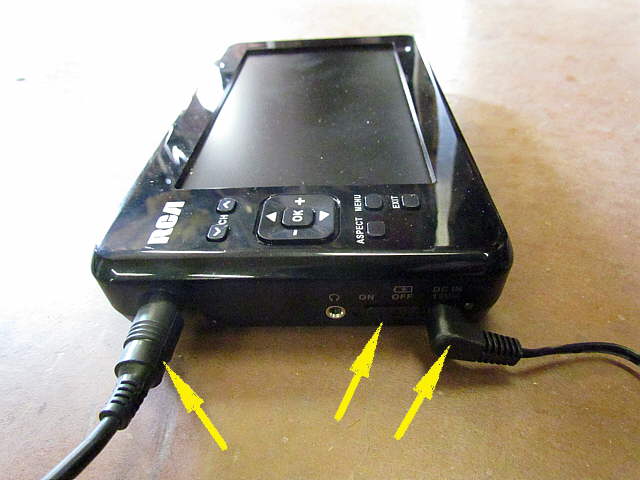
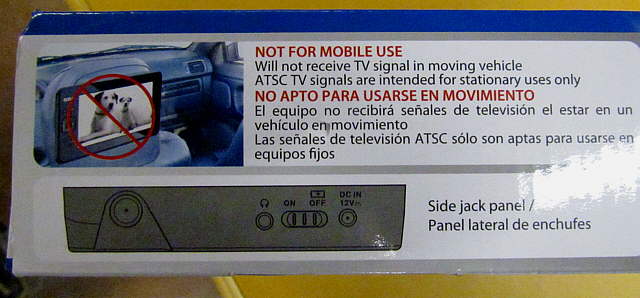
An end view that also shows the on/off switch and a headphone jack if you are watching TV.
.........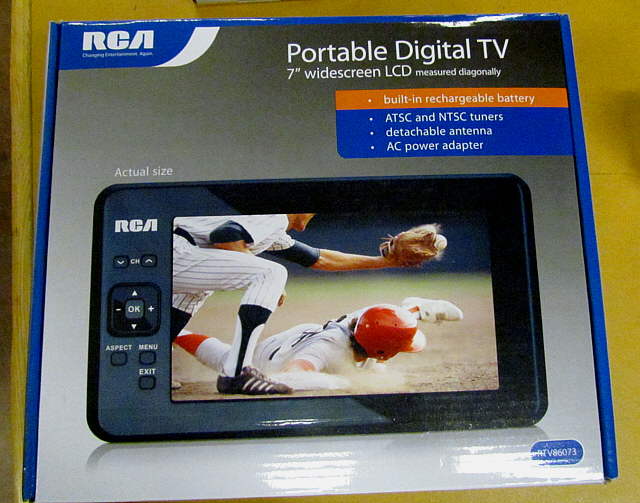
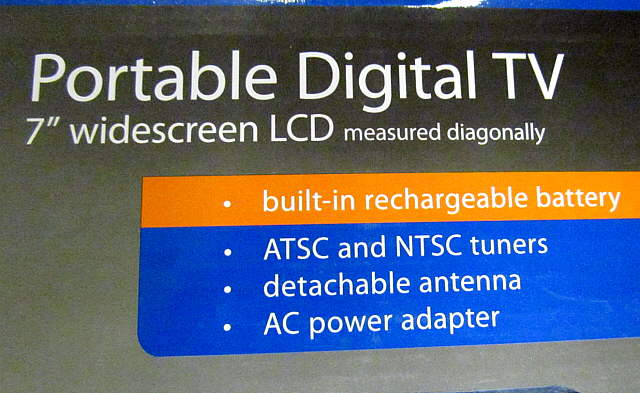
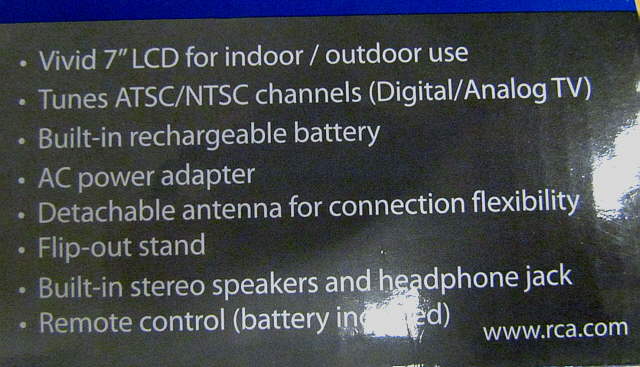
These are views of the box.
.........
.........
.........
.........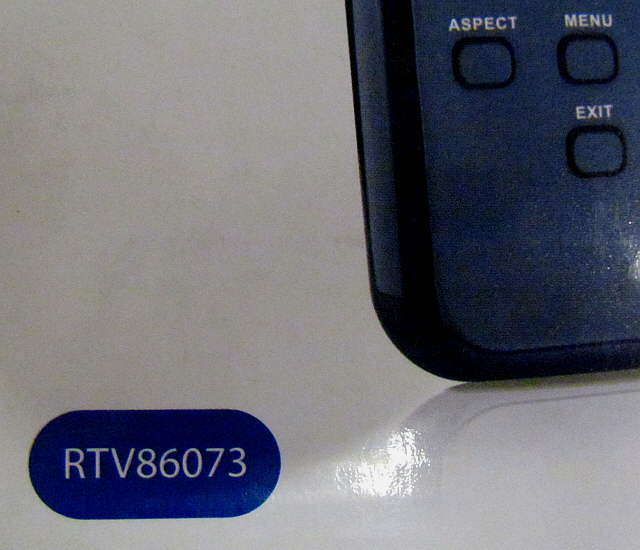
Above is the model number. Google it and you will find it. We paid $80 for it in-store at Walmart, but after that I found it for about $60 on their web site. Even at the higher price you can put all of this together for well under $150.
When we were on a trip to Provo, Utah we picked up 7 stations using the small antenna that came with the TV. Later we bought an amplified larger antenna that we have yet to try out. We don't watch TV at home, but the weather on the boat would be good if we are in range somewhere. The TV had a good picture used as a TV.
I'll post more after this actually gets some use in the boat, but I have a good feeling about it.