..................
..........................................................--- Dinghy Chaps Page 4 ---
..............
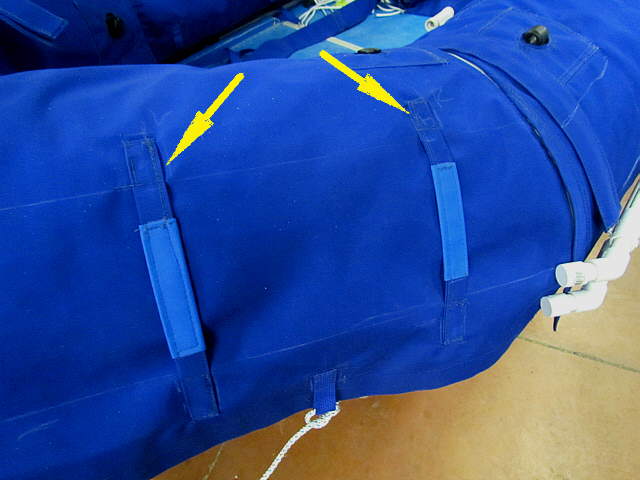
Above the straps have been sewn into place.
..............
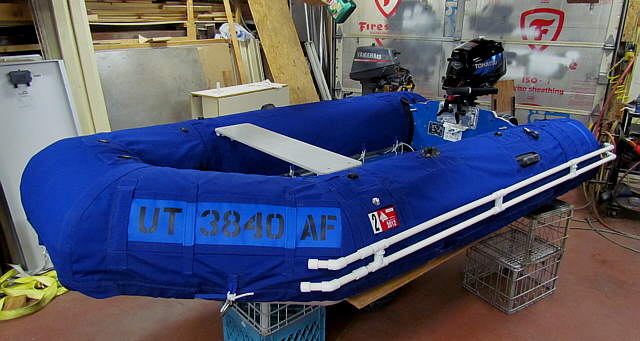
Also an end piece/pocket will be made to capture the number plate.
..............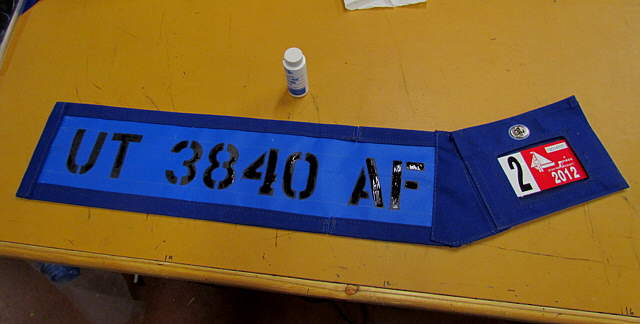
The numbers being painted with the same paint that we got to paint the numbers on the dinghy tubes. We might change the numbers to white. They are suppose to be a contrasting color.
..............
At this point the side chap piece was joined to the next piece with a strip of fabric and the same method was used to join all of the individual chap pieces together.
..............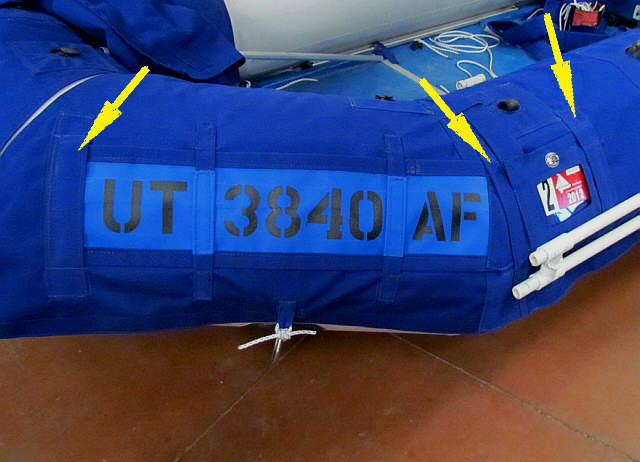
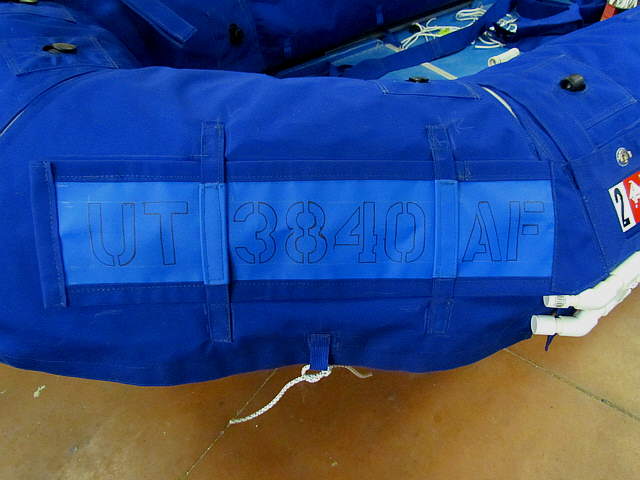
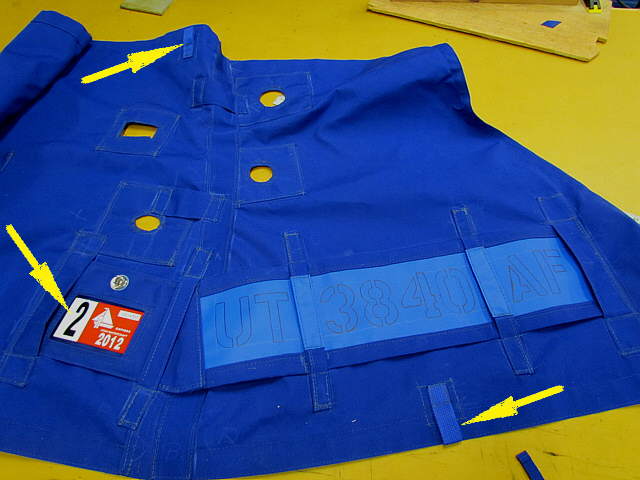
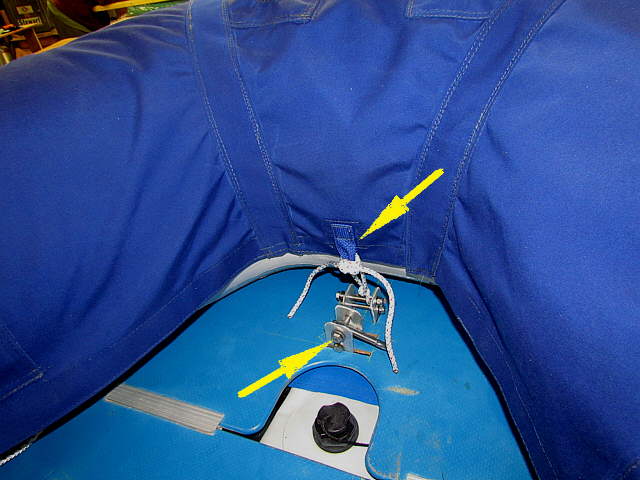
Pockets were made to cover the ends of the number plate/month-date to the sides of the chaps. These numbers can be slid out if required and we will do that when we fold the cover up and transport the dinghy back home. Also another Ocean Blue strap was added, center arrow, to firmly hold all of this to the dinghy.
..............
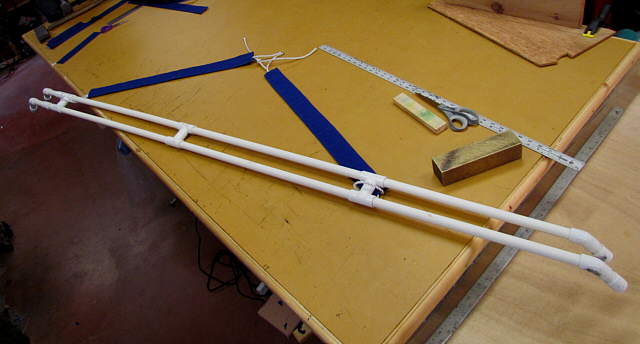
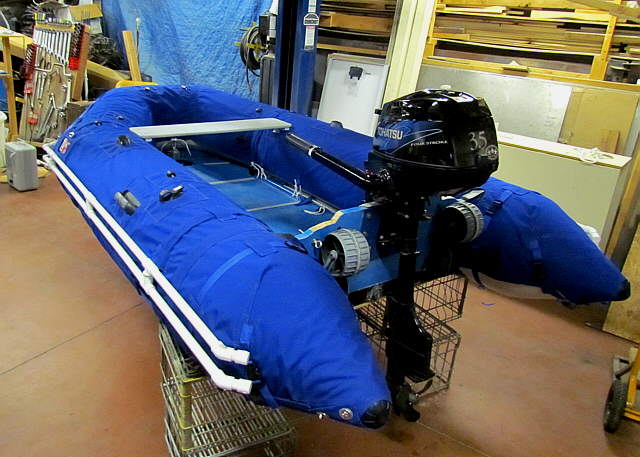
I started with the fenders the length show above, but after some thought ....
..............
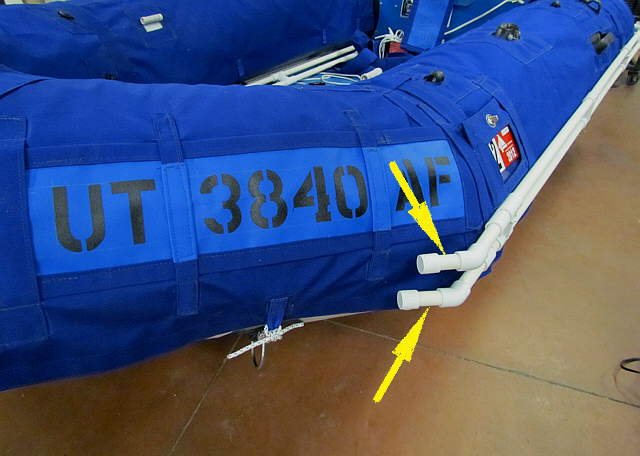
... made them longer so that they wrapped further around the front. We will see how they work. They come off quickly by untying the lines in on the floor and pulling the lines/tubes back out through the ....
..............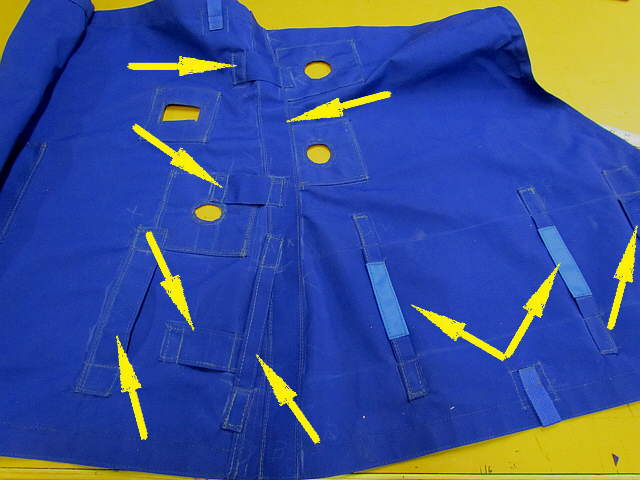
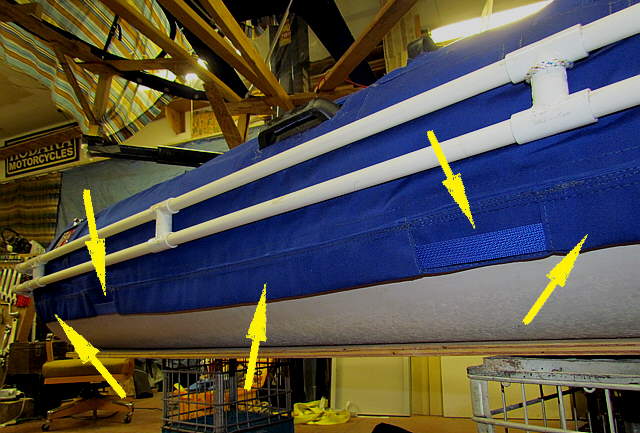
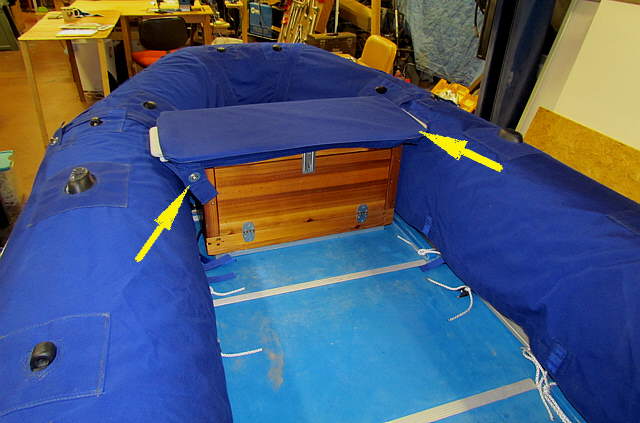
.... fabric strips, 3 left vertical arrows. The bottom arrows point to the pieces that hold the numbers on. The top right arrow points to the strip that joins these two panels.
..............
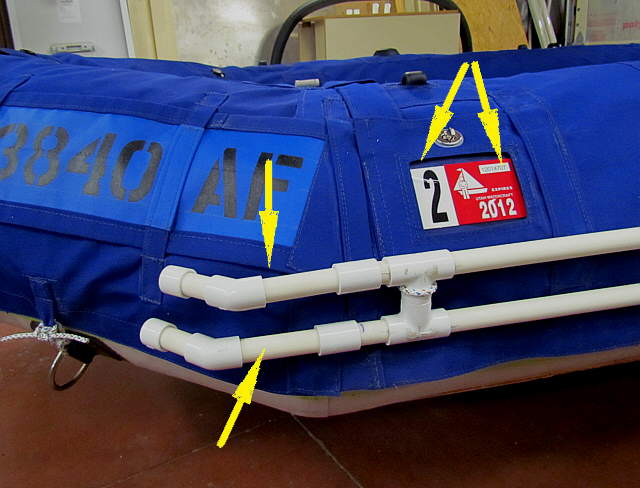
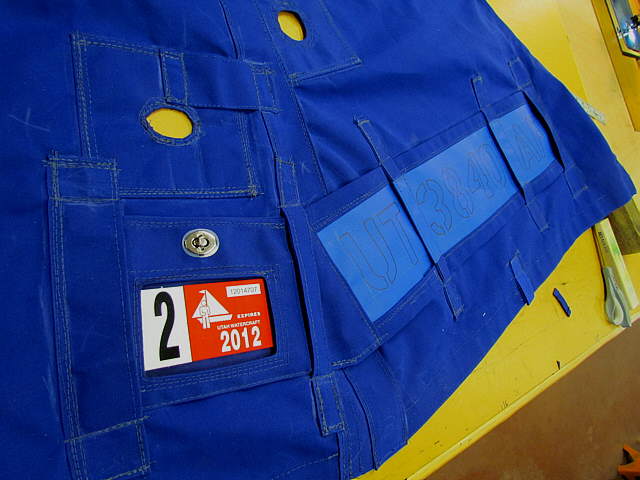
The month number is in the right location here on the starboard side. The other arrows point to webbing used to tie the chaps to the boat.
..............
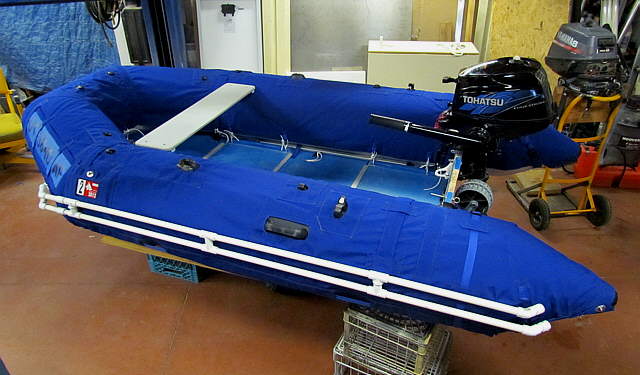
The starboard side.
..............
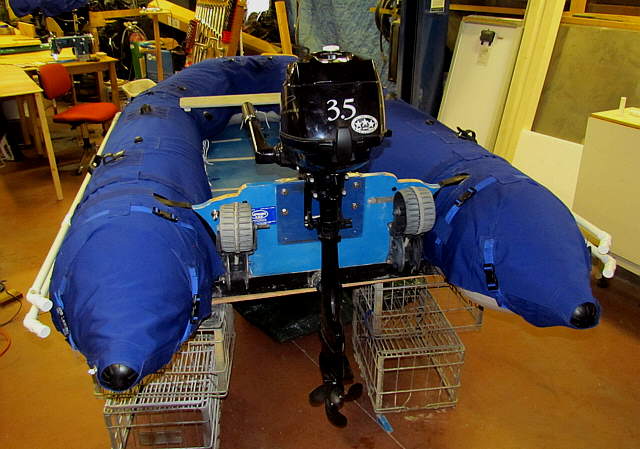
The fenders, lines and tubing off the boat.
..............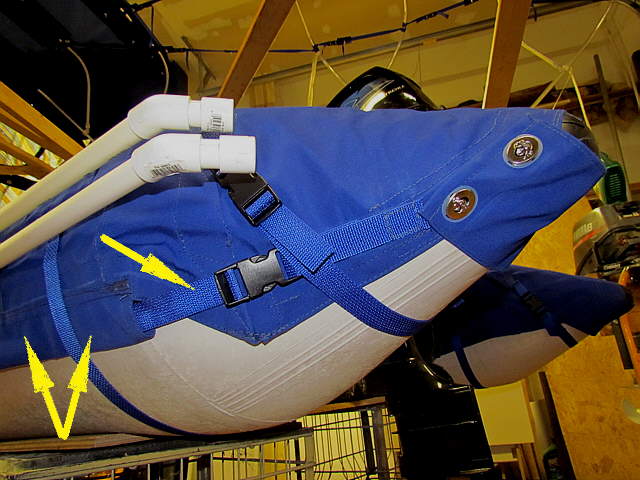
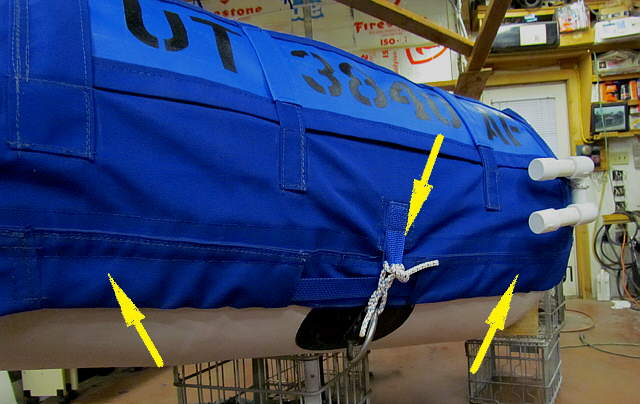
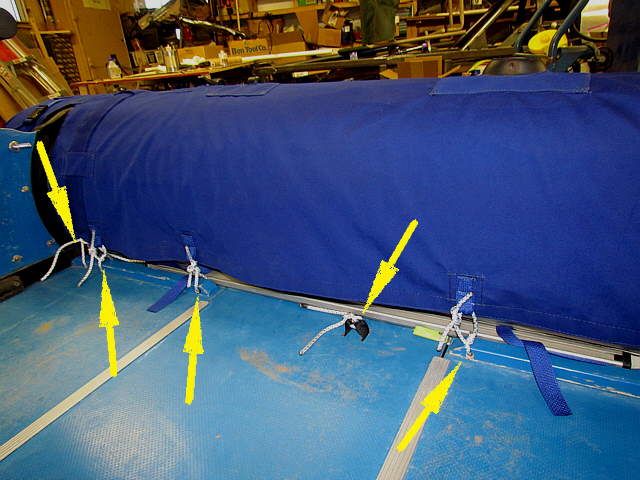
The bottom two left arrows point to the pocket that was sewn around the bottom of the chaps that has a webbing strap inside and is anchored to the stern with the buckle and strap there.
..............
Here we see the pocket/strap combination running along the bottom/side of the boat. The cut-outs are there to ease the installation of the strap as you can push it through one section at a time.
..............
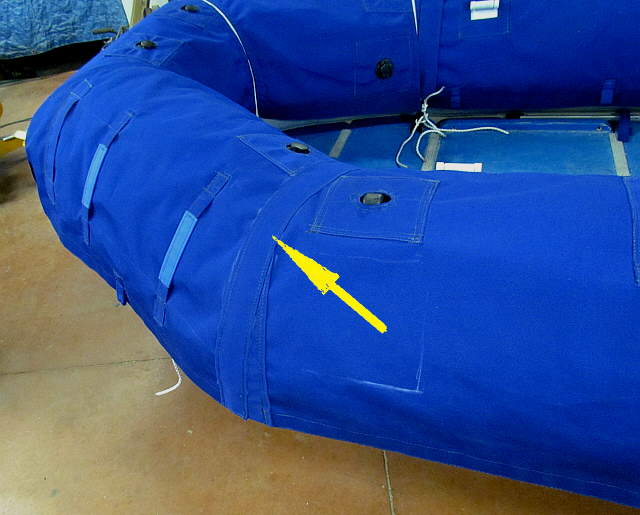
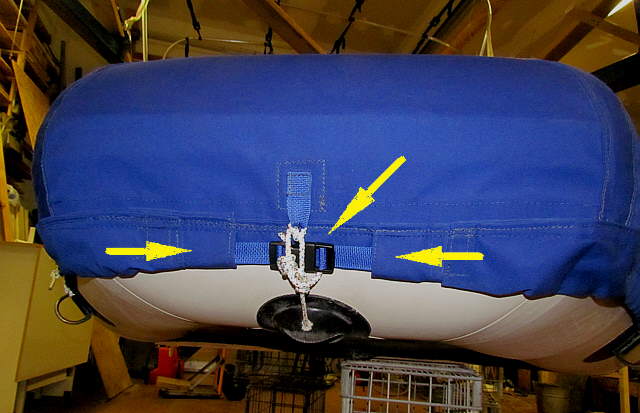
Bottom arrows again point to the pocket/strap as it goes forward. Notice it is down on the bottom taper of the boat. The top arrow shows how the cover is also attached to the D-ring there. This is also one of the D-rings that will be used as 'back-up' if we lift the dinghy from the bracket inside at the floor.
..............
The straps from both sides connect with another buckle at the bow. The buckles allow the strap to be tensioned.
..............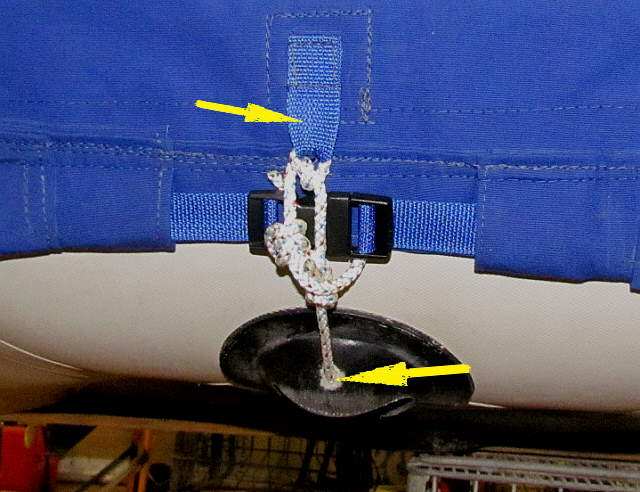
To attach the cover at the front I drilled a hole in this lift spot and tied a knot in a line and ran the line out the hole (knot is on the inside) and tied it to the chap.
..............
The right arrow points at the line running to the fender and the left points to a chap tie-down location.
..............
The front tie-down location and the dinghy lift point.
..............
Far left arrow points to the line running to the fender at the stern. The other lines hold the cover down. The middle arrow points to a strap that is not used at this point, but is there if we want to also hold the fenders at their middle points.
..............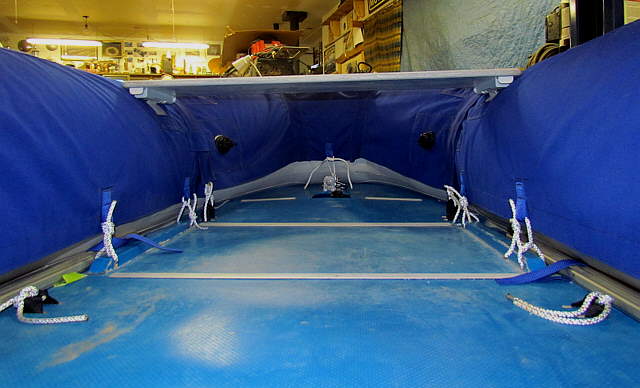
Another view of the tie downs.
..............
A bow shot....
..............
A 3/4's shot and ...
..............
... a side shot and ...
..............
... we are almost to ...
..............
... the stern.
..............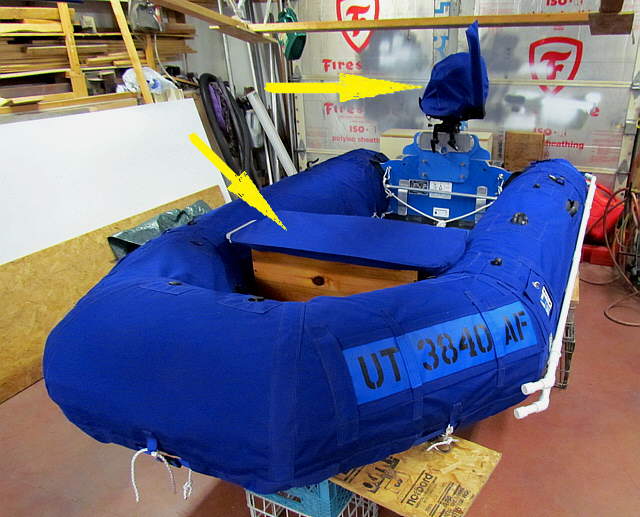
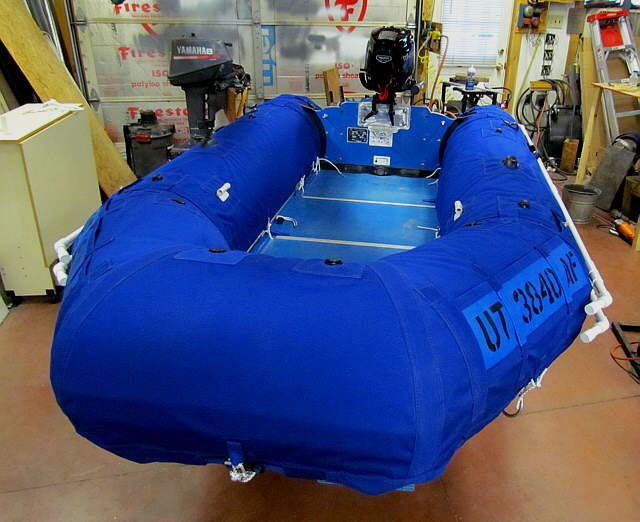
Top arrow points to a cover for the 3 1/2 HP Tohatsu that Ruth also made. More on that late. The bottom arrow points to a cover for the top...
..............
... of a storage unit I made...
..............
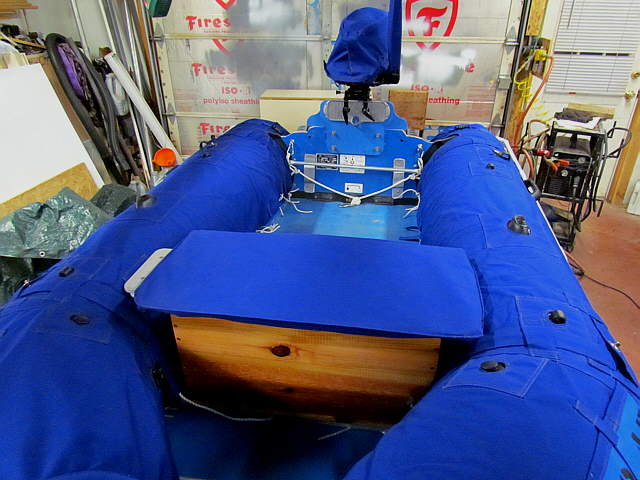
... that fits under the seat and is up on aluminum square stock that keeps it above most water levels that can and do occur. The seat still goes through it, but you now sit on the top of the box. When the boat is in use we can take the seat cover off if we want by releasing the common sense fastener on the left and lifting the cover and sliding it off the seat on the right side. I'll also post more on the box on some other pages on the site. It will give us some locked storage when we go ashore.
We are really happy with the looks of the dinghy chaps and how easy they go on and off and how they fit. We will install them at the beginning of a trip and remove them at the end. They do go on or off in a few minutes.
...........................................Next Page If There Is One
....................................................YouTube Videos:Overview: http://www.youtube.com/watch?v=01ZIdhxPv7Y&feature=channel
Bottom Pocket and Strap: http://www.youtube.com/watch?v=Ww1WPUTmdZw&feature=related
Under Seat Storage: http://www.youtube.com/watch?v=YrrUjnW3IEU&feature=youtu.be