..................
...................................................--- V-Berth Make-Over - Part II ---
..............
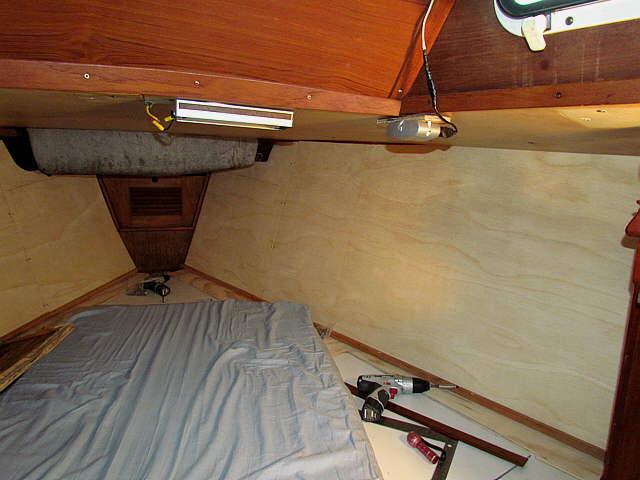
Here the starboard side is finished. We were using the V-berth during all of this and I had one of the 3 foam mattress sections in at times to sit/lay on.
..............
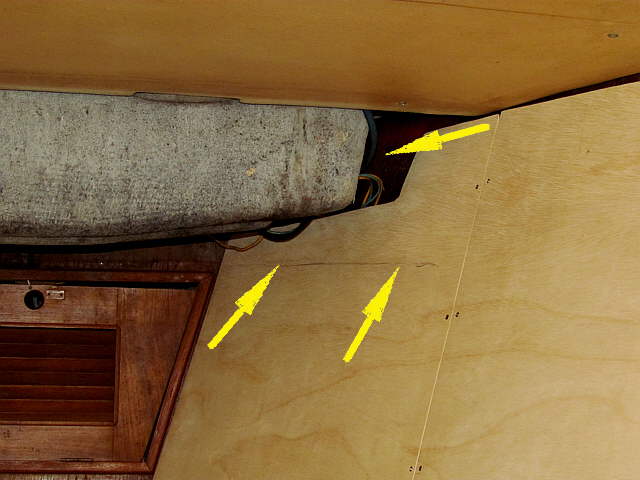
The fit up and around the anchor rode locker and the line again that shows the bottom of the headliner there. The line was used...
..............
... to add pieces, arrow, that will now support the headliner so that you don't have to remove screws to drop the headliner.
..............
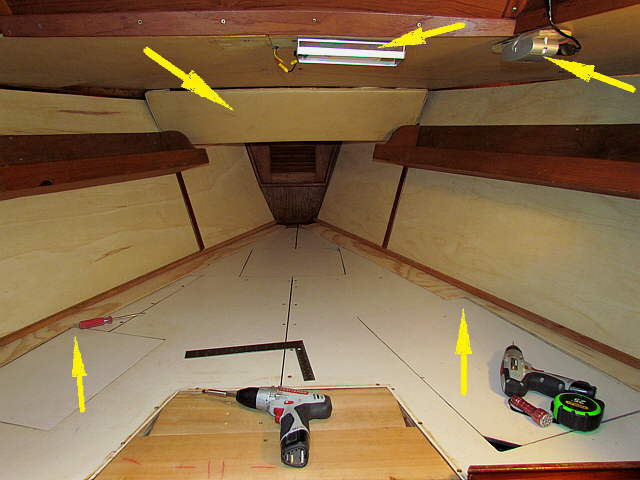
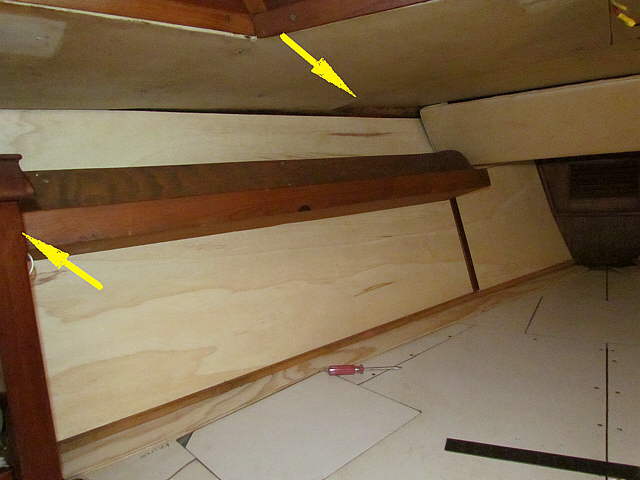
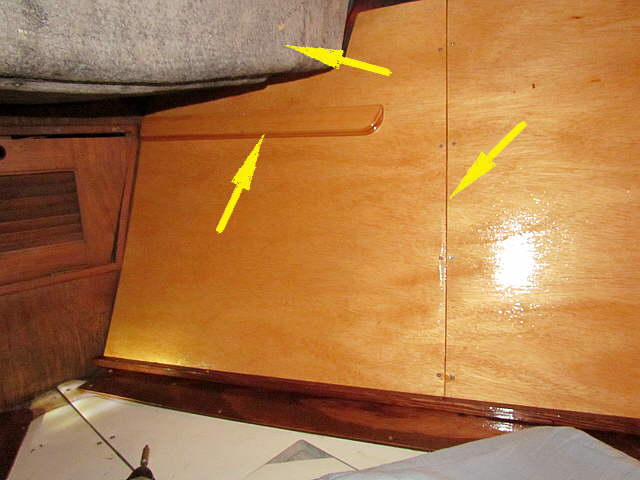
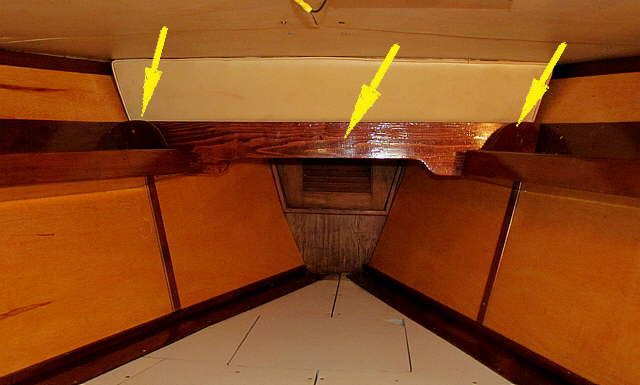
The top left arrow points to the locker headliner in place resting on the support boards that are screwed to the forward panels. The top middle arrow points to a light that was move so that the port side headline under it could be moved.
The top right arrow points to the 12 volt outlet that provides power to the Caframo fan that cools us at night in the V-berth. The bottom two arrows point to relief's in the 1/4 plywood so that the hatches there weren't trapped under the plywood.
..............
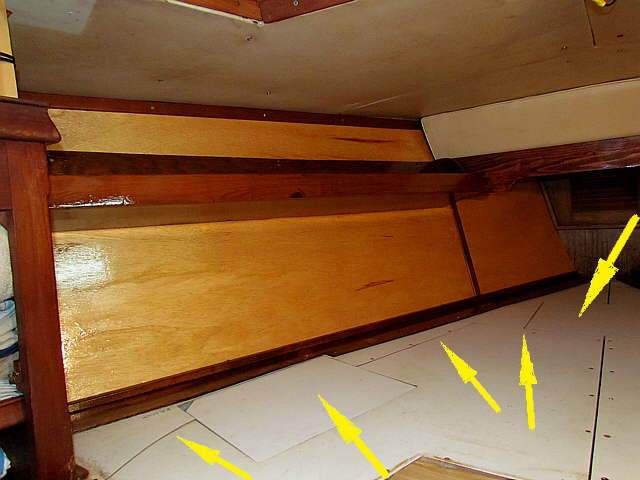
Top right arrow points to where the headline is not back into position and also there will be a trim piece along the top of the panel. The left arrow points to the end of the storage shelf where it is screwed into the side of the storage unit there. A couple more 'short' screws hold the shelf to the panel and this will be supplemented with another piece further down this page. Note that I said 'short' screws. When we got the boat the shelf was falling down and I put two screws into it and later found the they had gone through the side of the hull almost completely. Watch what you are doing in this area and the reason the panel is not screwed directly to the hull.
..............
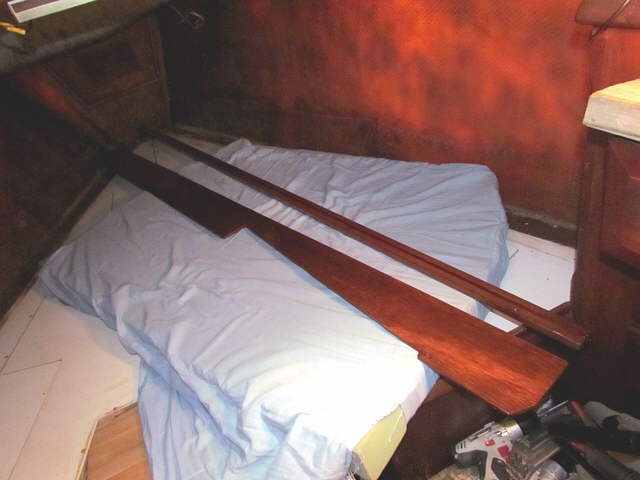
With all of the pieces finished I started the process of staining and putting a good interior/exterior polyurethane finish on all of the pieces. I finished all of the sides including the sides of the panels that would be against the hull. The hope is that if there are any slight undetected leaks that the panels have some protection from moisture on the back side. The panels are also not tight against the hull.
..............
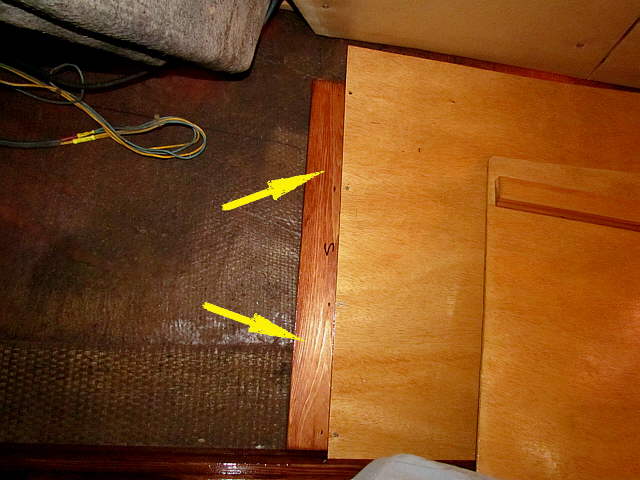
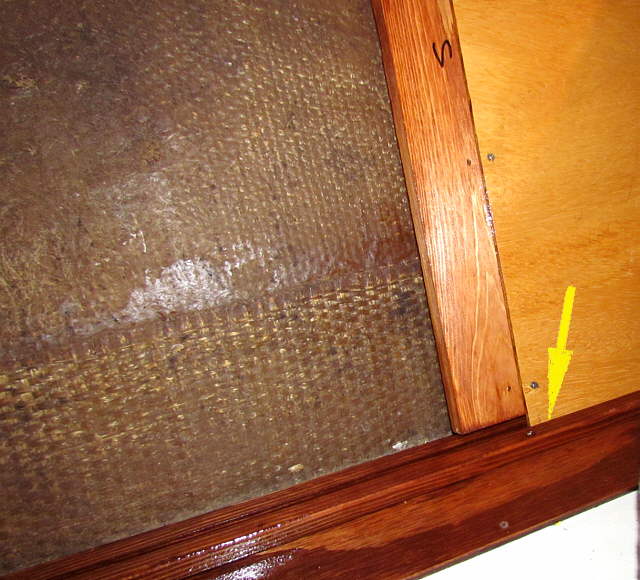
Where the panels adjoin each other there is a vertical piece of cedar also protected. The cedar just lays there and is not screwed to anything.
..............
Above you can see how the panel is recessed into the groove and the vertical cedar piece just described above.
..............
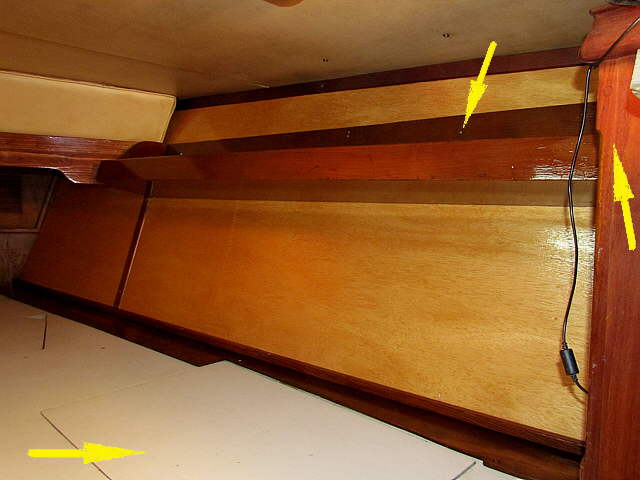
The headliner for the locker, top arrow, is not in place, but you can see the support piece for it, bottom left arrow. The right arrow shows the joint that will be covered with trim as seen...
..............
... in the picture above. The bottom arrow points to a filler piece that will re later replaced with a nicer looking one. The original mattress is cut out in that area and there is a smaller mattress piece that can fill the area in. We didn't like that and when we made a new foam mattress for the area it spans where that filler is. We made the mattress almost the same size...
.......................
...as the mattress for the Mac, shown above, and each section is just as deep. Cut like that we don't feel the joints anywhere on our bodies while sleeping on it. We like this foam so much that we now sleep on it at home, in the MacGregor in the....
.......................
...teardrop trailer above and we even have a piece for in the Suburban. Now no matter where we are we are sleeping on the same thing with the exception of motels and friend's houses. The foam we like is very firm and is 3 inch Lux High Quality foam. We buy it from the wholesale side of the Foam Factory and cut it to size ourselves with a cheap electric knife. The also have another site where they will cut for you. They have great pricing and free shipping. Either site had good pricing but you save more getting the whole sheets even if you don't need them all.
..............
Above the headliner for the locker is in place and a new cross-member added. I added this for...
..............
.. a couple reasons. One is that it visually ties the two sides and the two storage shelves together. The second is that the ends of the storage shelves are screwed into the cross-member. The helps to keep them from wanting to rotate away from the side panels when loaded. Also since the hull is "V" shaped and the shelves are held together via the cross-member if they try and slide down the hull they are wedged. I still have about 4 short screws near the top of each storage shelf into the new panels.
..............
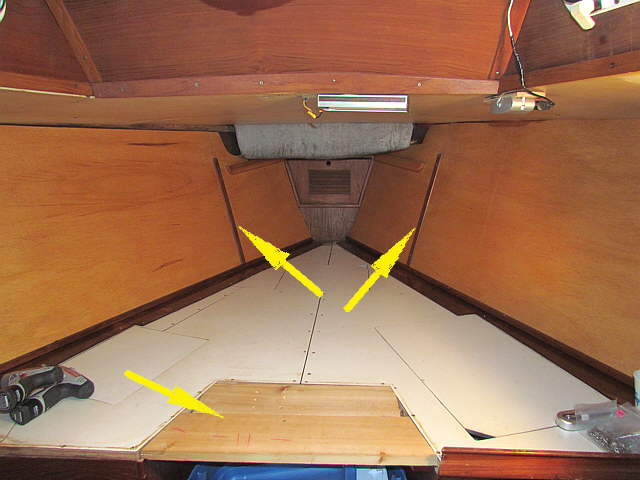
The two larger arrows, far right and second from left, point at 2 hatches that come out. The holding tank is under the left one and the right one gives acess to under the V-berth where there is a lot of storage room. The other 3 arrows point to where I cut the platform away so that the holding tank could be removed and a new larger one put in. After you take some screws out you can lift out the whole left side of the platform essentially and there will be pictures in the section on the new holding tank.
..............
The shelf on the starboard side also screws into the storage unit, right arrow, for further support. Both shelf's are now much stronger than when we bought the boat and both came with the boat. I did put cleat on them though. The bottom arrow points to another hatch that allows access to the underside of the V-berth in this area.
..............
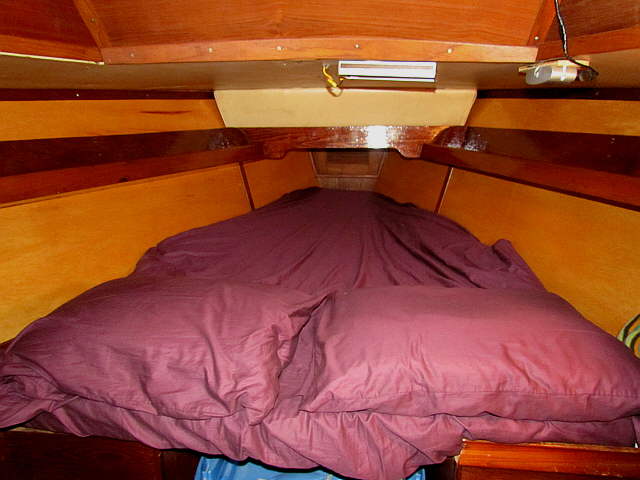
We had considered screwing the original long trim pieces to the new panels, but like the look above. We spent 3+ months of good sleeping there in the spring/summer of 2012 as we did most of the interior mods on the boat. Elsewhere will be a mod page on making sheets that fit a V-berth and don't come undone and are easy to put on the 3 mattress sections standing up and not having to go up forward into the small area.