..................
........................................................--- V-Berth Step/Platform ---
What do you do when you are 5'-2" and have a hard time getting in and out of the V-berth even with...
..............
... a little step stool? You ask your husband to make a 'better' step for you, and that is what I did.
..............
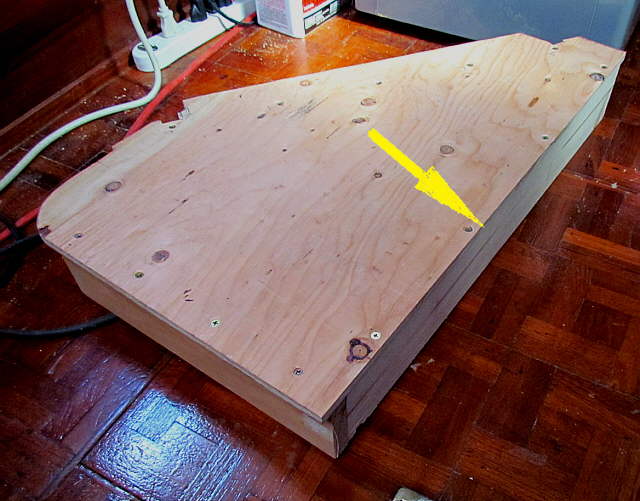
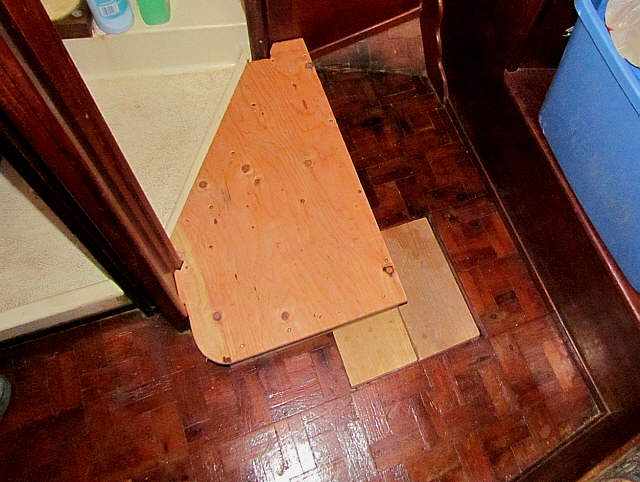
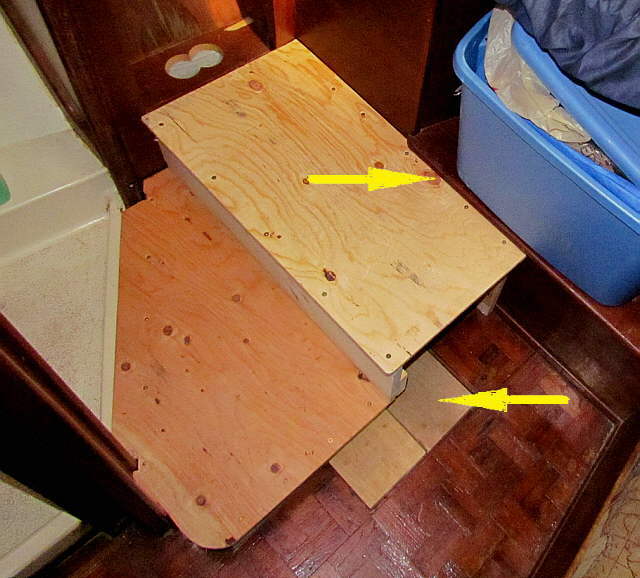
Starting into the process a couple 'steps' since I forgot to take pictures we start with a fairly simple platform except for the fact that it had to go into a complex area. I worked the plywood in slow and marked for clearance cuts and made them, arrows. You will see why they are needed a couple pictures down.
..............
The back side which is actually towards the bow is straight and so is the adjoining side.
..............
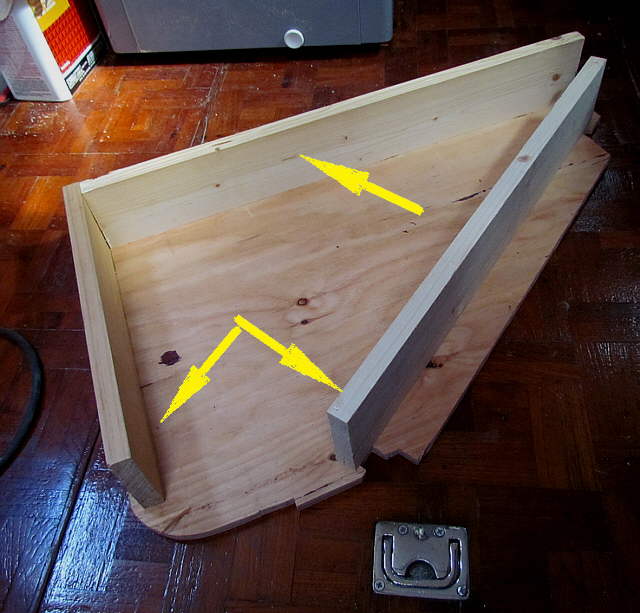
The plywood is screwed to some lumber that has been ripped to a specific width so that the platform is high enough to...
..............
.... clear the lip going into the head. The lip is there so that you can shower in the head. Above you can also see the fit that was achieved by making the clearance cuts just so.
..............
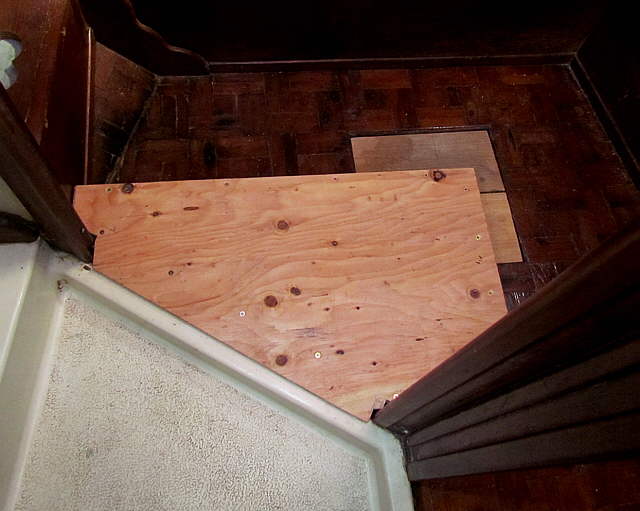
A view from the head. The idea was that going from the V-berth to the head would not be stepping down and then back up again into the head over the raised floor there.
..............
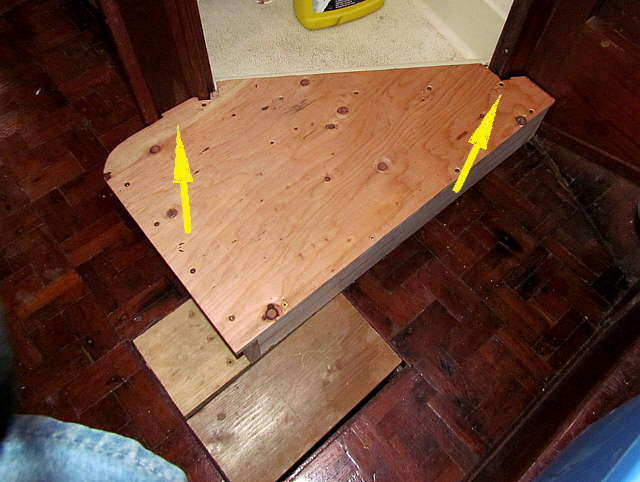
The couple unstained boards under the platform or where you acess the thru-hull shutoff valve for the head discharge. There is a hatch that matches the rest of the sole, but it was swollen into a tight fit. I'll sand it down and reinstall it in the future.
Also notice that the platform doesn't go all the way over to the V-berth. This is a fairly shallow step at this point.
..............
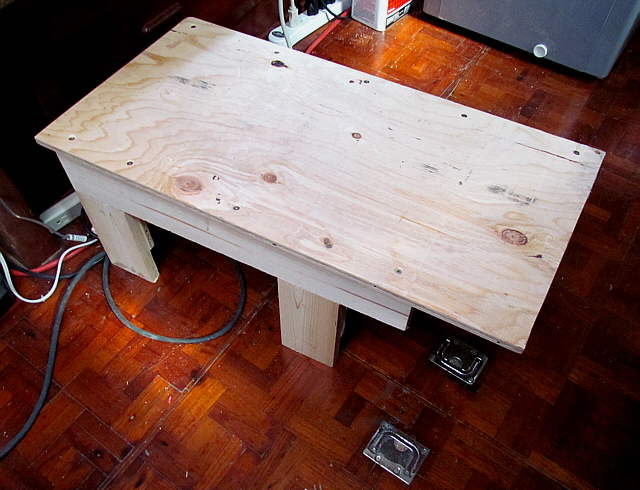
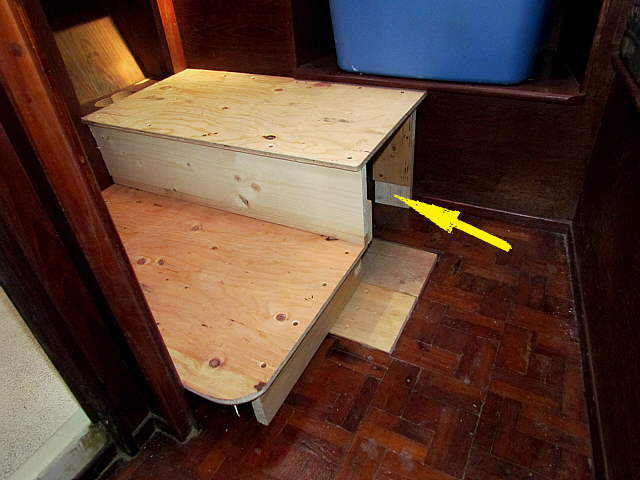
The higher step that sits on the edge of the platform was made yet and is also ....
..............
.... pretty simple in construction. The arrow points to a board that I put under the side that will rest on the platform and is just there for the picture.
..............
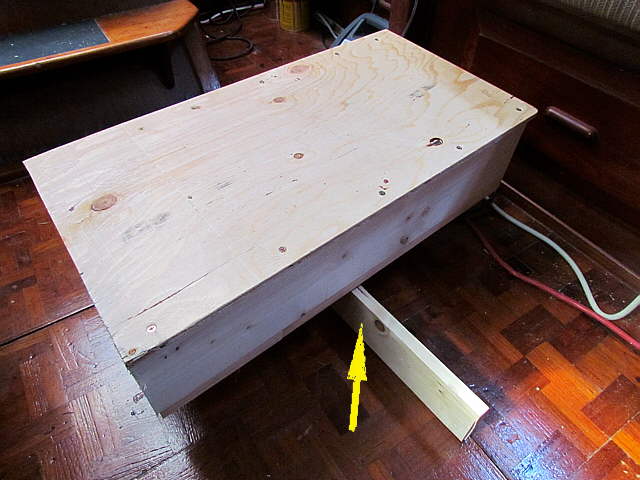
A view of the bottom with ...
..............
... the two legs being held on with the plywood pieces. The bottom right arrow points to the lip and will lock this piece to the platform.
..............
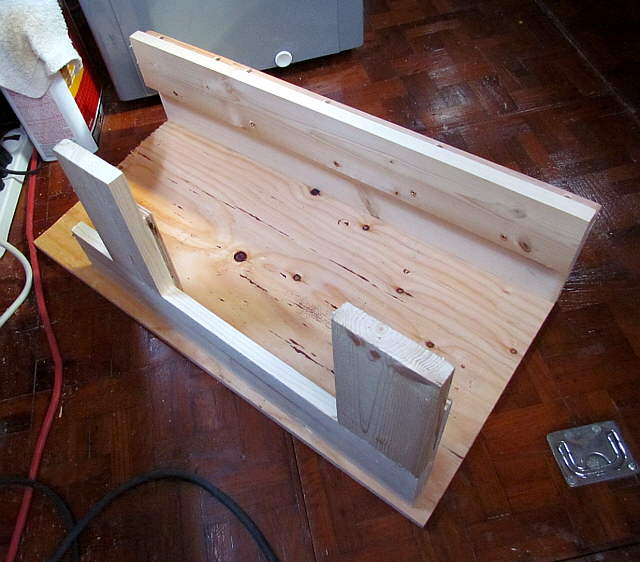
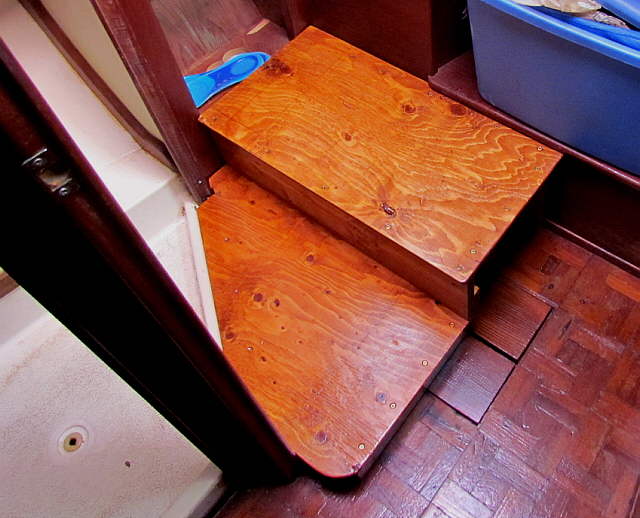
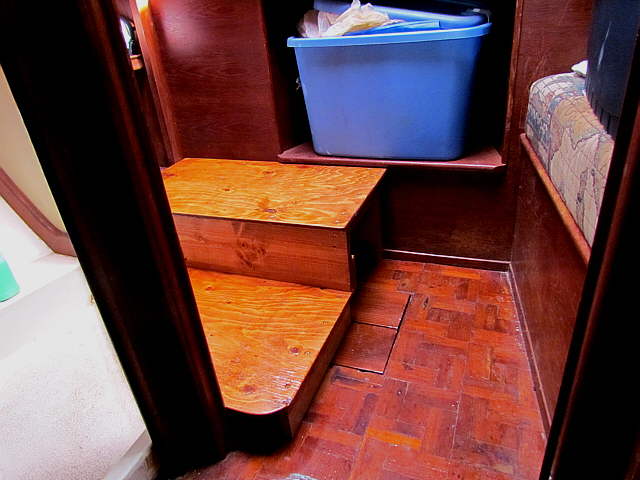
The step was made just high enough so that it would lock in under the storage ledge where the blue tub is, top arrow. The bottom arrow again points to the acess to the thru-hull valve.
The whole assembly locks into place with no other attachments to the cabin sole or sides. It is a tight fit, but you can still yank it out if you had to get to the thru-hull valve quickly.
..............
The end, arrow, wasn't closed off and makes a good place to store extra footwear.
..............
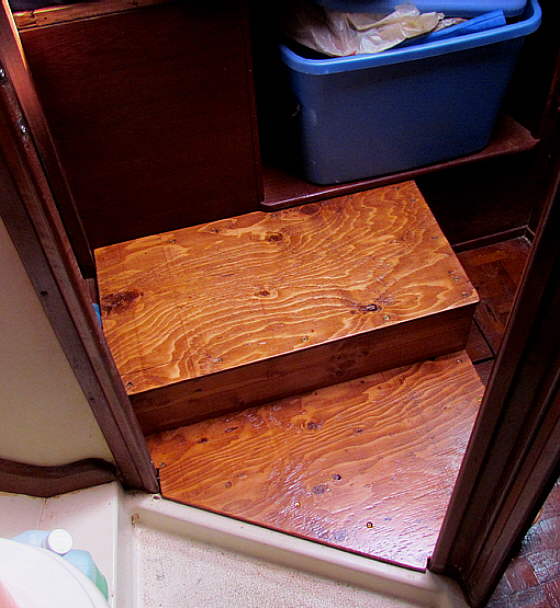
The platform stained and ...
......................
... clear coated. Sine we will be walking on this a lot no attempt was made to use expensive wood for it and we stained it with the same stain we use for things in the Mac feeling it gives a nice contrast to the rest of the Endeavour's woodwork.
..............
The step/platform doesn't cover the whole floor and that allows me (6'-1") to be able to enter the forward cabin without hitting my head. I use the storage units and sleep on the starboard side and Ruth has the opposite side of the cabin. I also find it easier to get into the berth by stepping on the side of the step/platform that is in the middle of the cabin.
This has been a good practical mod for us and was about the first one I did when we returned to the boat in 2012 and we used it for the 3+ months we were on the boat.