...Return To Mine & Other Bonneville Car Construction Pages
..Previous Page...............B'ville Car Index Page.........................Next Page
............................T--- Mounting The Sprocket ---
................. .
.
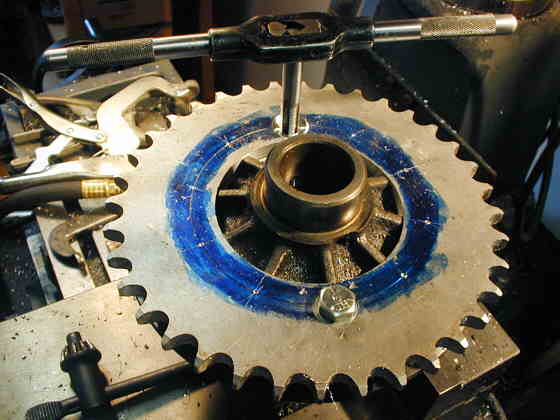
The next item to do was finish up mounting the sprocket. I have previous to this point machined this side of the carrier flat and then made a spacer to move the sprocket away from the carrier face for chain clearance ( page 4 ). I started by marking off the location of the 10 bolt holes and clamped the sprocket on top of the spacer to the carrier where I wanted it.
.
................. .
.
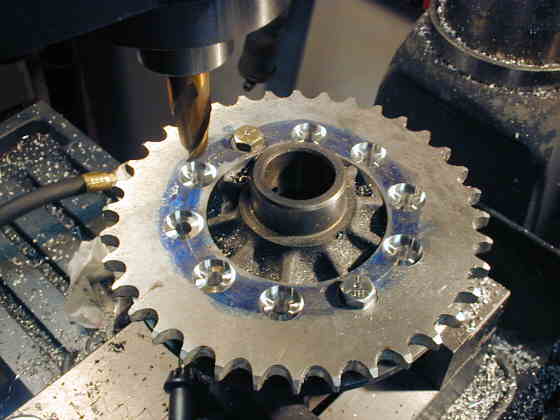
Then I drilled one hole and counter bored the hole in the sprocket face for the washer beneath the bolt head. I then tapped through the spacer and into the carrier with a 3/8 inch NF tap. I mounted the sprocket with a bolt through this first hole. Then I move to a hole opposite the first one and repeated the procedure. You can see me finishing up and tapping that hole. I remove the sprocket twice during this procedure to drill the hole through it so there would be clearance on the bolt shank.
................. .
.
Next I drilled the remaining 8 holes with the mill and counter bored the sprocket face for each of them. Then I removed the sprocket and drilled the holes in it for bolt clearance and re-installed it and tapped all the remaining holes.
................. .
.
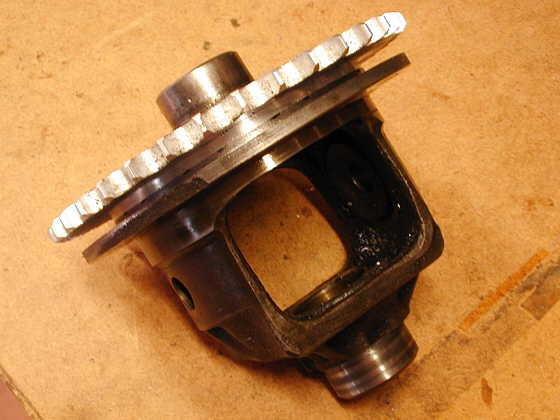
Here is the hub mounted onto the carrier in its final position. Notice the space between the sprocket and the carrier for chain clearance.
...................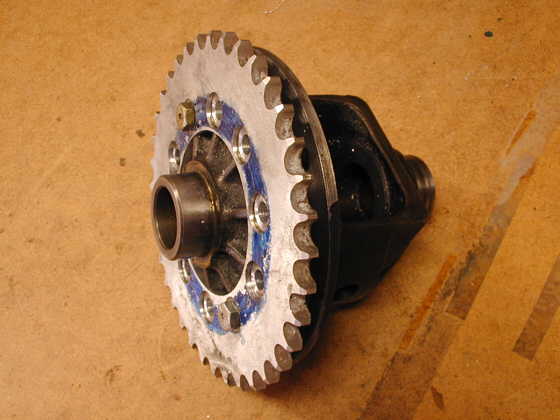
A picture of the sprocket mounted with 2 of the 10 bolts. The final bolts will be aircraft type bolts with holes in the heads for safety wire. The bolt heads are going to clear the bearing blocks by a little less then 1/8 inch.
The next thing I'll do will be to make an adapter to mount the disc brake
rotor to the carrier where the original ring rear went to the right of the sprocket in this picture.
..................................................................Next Page