...Return To Mine & Other Bonneville Car Construction Pages
.Previous Page............B'ville Car Index Page.............Next Page
================================================================
.................................-- Atlas 2900 Engine Stand --..
================================================================..............................
With the motor I needed a stand for it when not in the car. I'll put it on an engine stand when I want to work on it but wanted a storage stand and also a stand that would possibly help to position it in the car when I built motor mounts for it. To accomplish that the stand had to be low so that when I put the motor in the car I could put the stand on the build table and block the bottom of it up into place in the car to build the motor mounts. That meant when the motor was sitting on the stand it would be lower than its final resting place in the car.
.... I started with a small platform that would be placed under the pan at the rear of the motor. Here I made a mistake but it for once worked out. Without looking I thought the bottom of the pan was flat and and parallel with the block rails. Since I'd never seen the motor in a pickup I didn't know what angle the motor was placed in the vehicle at.
I took into account the length of the bellhousing, transmission and driveshaft and came up with 3 degrees as the angle pointed down that I wanted the motor. This would get it up in the car versus if it would of been in the car parallel with the ground. With the rearend pinion shaft pointed up at 3 degrees things feel into place. The short 10 inch driveshaft would be at 4.5 degrees to give a slight difference between the transmission output shaft and the pinion shaft to help the U-Joints live better. 3 degrees down is also a common 'down' for cars with a carburetor also but with fuel injection that isn't gospel.
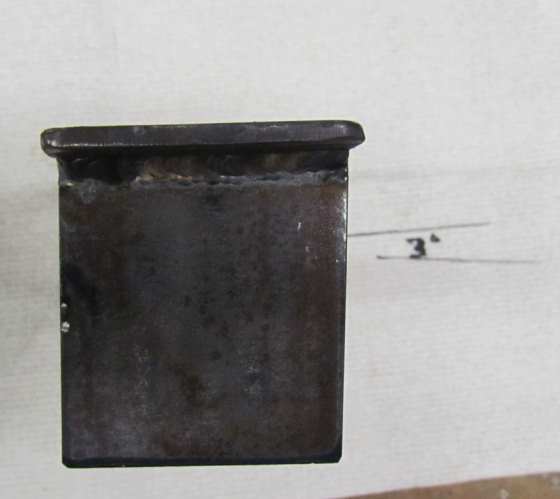
With the above in mind I cut one end of the legs for the stand at 3 degrees. A mistake but it worked out.........................
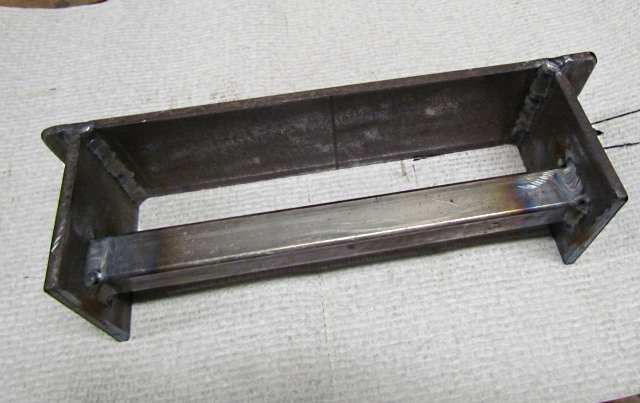
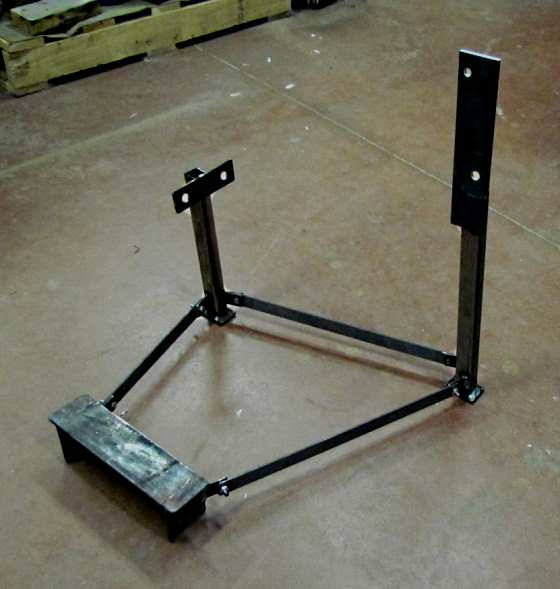
.... Above is the stand welded up with a lower cross piece...
.... Above you can see the top of the stand is at 3 degrees to the bottom.
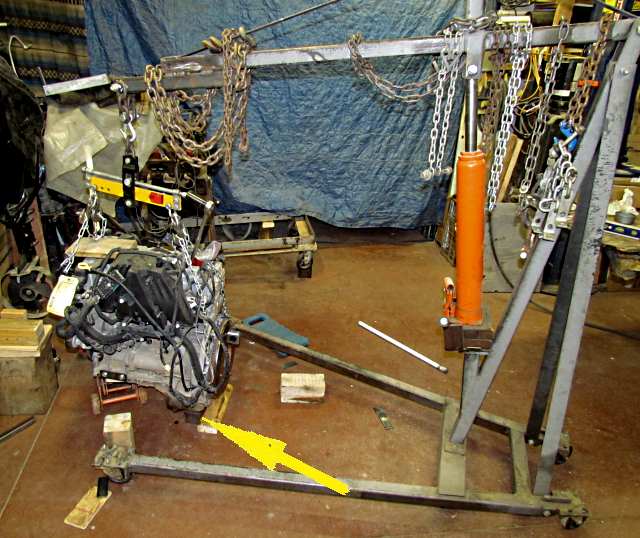
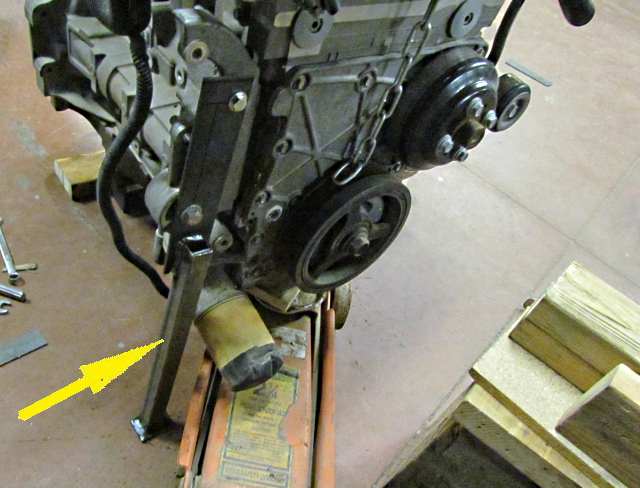
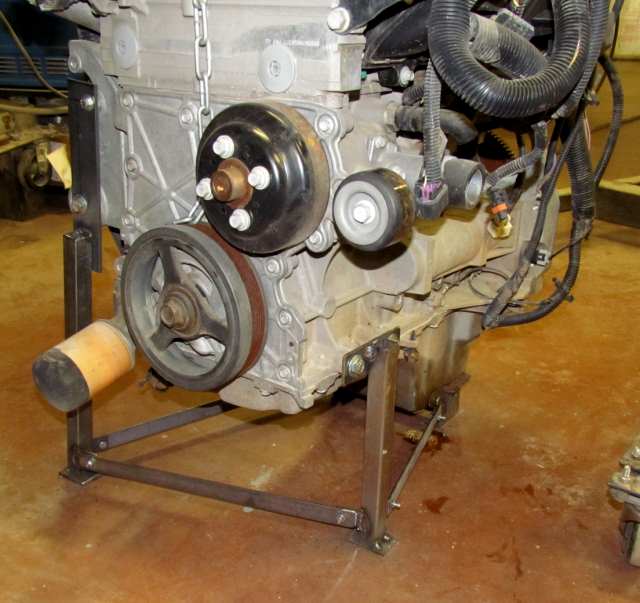
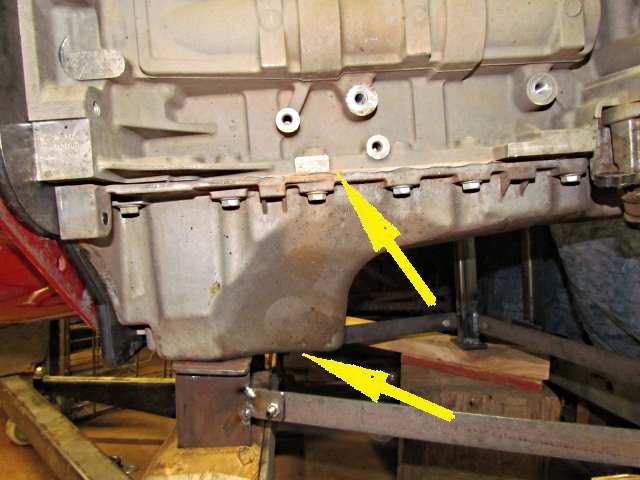
.... Here I placing the stand, arrow, under the motor.
.... AT this point I found that in order to get the motor pointed down at 3 degrees I had to reverse how I was going to put the stand under the motor to get the motor to point down and for the bottom of the pan to lie flat on the pan.
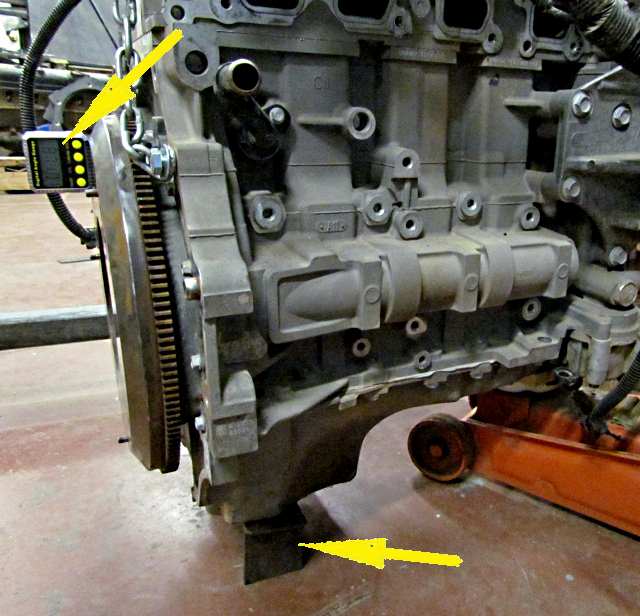
.... Above you can see the HF digital angle finder is at 87 degrees and the motor is sitting flat on the stand which is slopped 3 degrees in the opposite direction that I thought it would be. So dumb luck saved the day and I didn't have to make a new stand.
Again I want the motor this low on the stand so that I can block the stand and motor up in the car. The rounded bottom of the car is 6 inches off the ground and the bottom of the pan will be just above that once the motor is in the car.
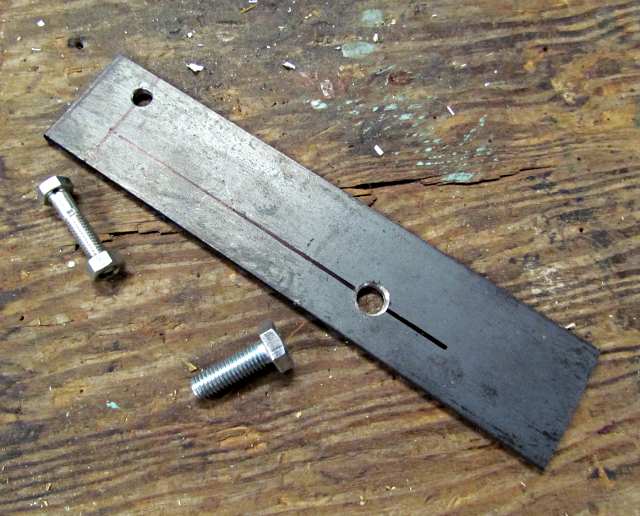
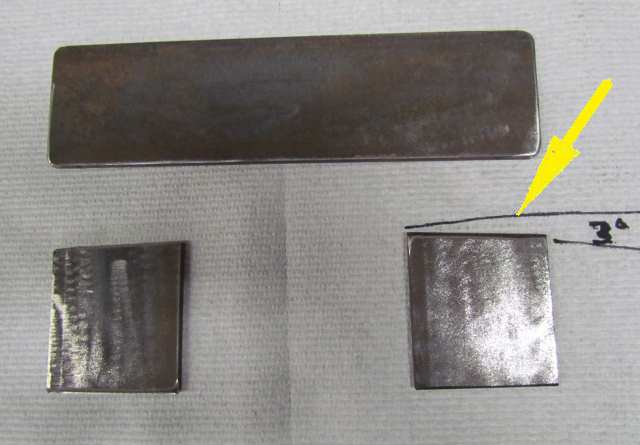
.... With the back of the stand out of the way I started on two front legs. This is the top part of the front leg on the passenger side of the motor.
.... I bolted it into position and cut and welded a leg with a foot on it to the piece. During this step and the next leg I had the motor pointed down 3 degrees in the back and also had it level side to side.
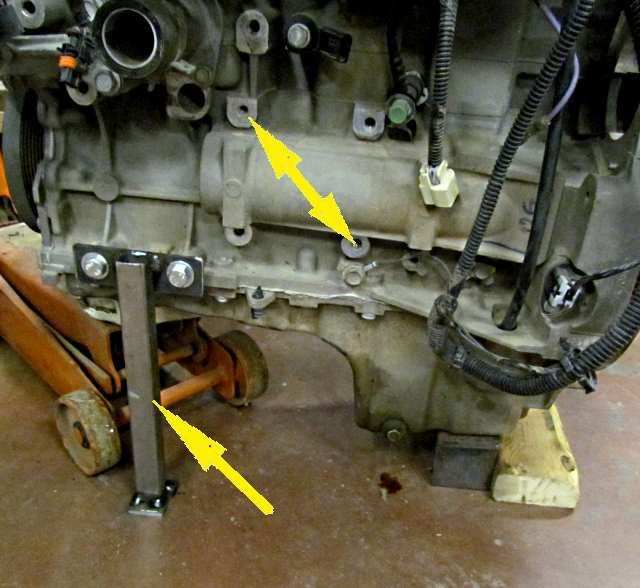
.... Next a short leg was made for the driver side of the motor. The normal motor mounts bolt onto the 4 bosses up where the double arrows are. I didn't want to use those at this point but wanted to keep them free so I could use them when the motor goes in the car and is resting on this stand as the permanent motor mounts are fabricated.
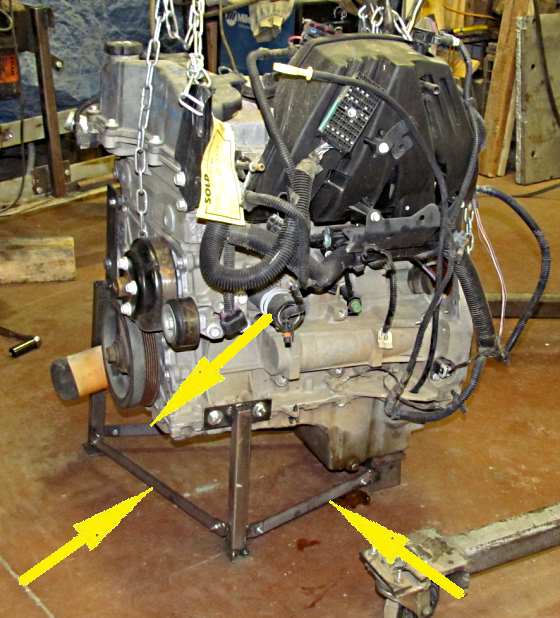
.... With the two front legs in place and the pan stand in place and the motor sitting at all the right angles the bottoms of the legs were tied together to keep them from spreading under load.
.... Short tabs were welded onto the legs and pieces of strap cut and bolted to the tabs.
.... A view of the other side.
.... With the motor off and....
.... another.
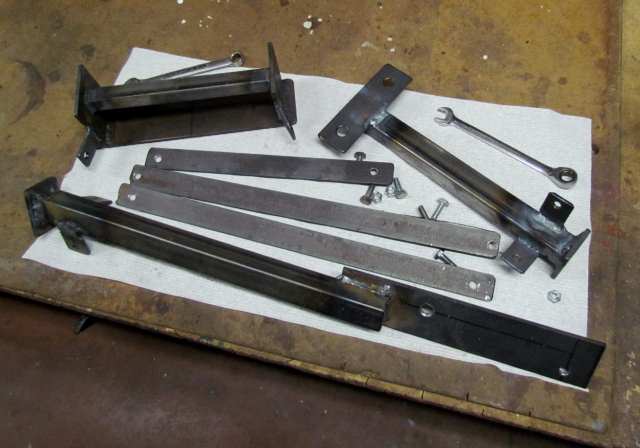
.... All the pieces after being final welded.
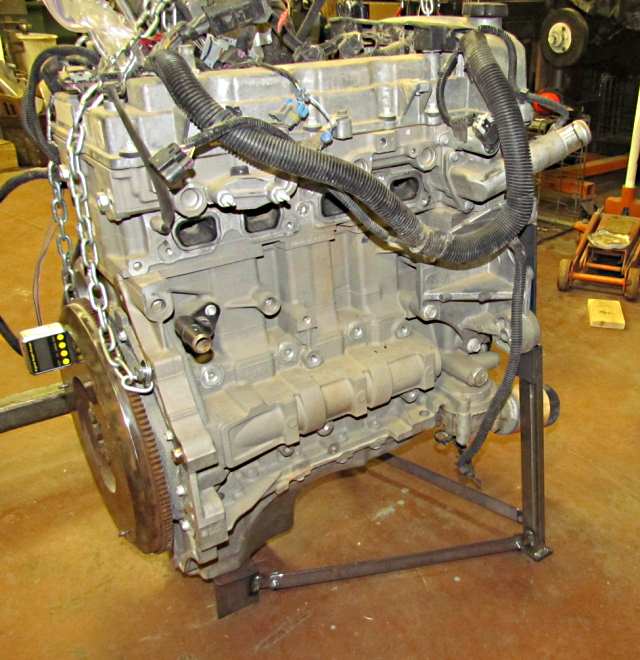
.... And a better view of how the motor sits flat on the rear stand at a 3 degree crankshaft down angle. You can also see that the pan is deeper at the front of the rear sump than the back so that the bottom is about parallel to the ground. I'll bet this is about the angle the engine sits at in the vehicle.
=================================================================
................................................................Next Page