On this page you will find Harbor Freight's English Wheel #95359, HF's Bead Roller #34104, HF's Pneumatic Planishing Hammer #94847, HF's Stretcher #95062, Lincoln® Precision TIG® 225 and my homemade press brake.
.....................................
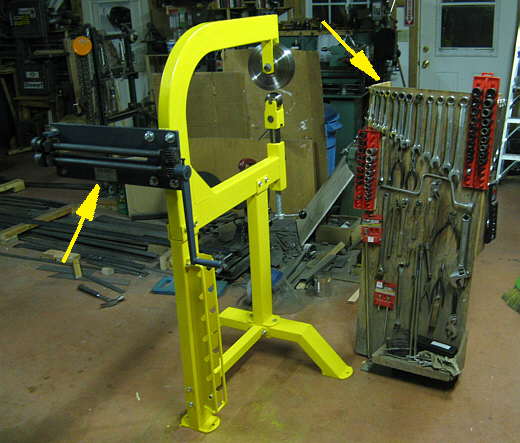
Recently (Dec. 07) I bought HF's English wheel on sale. I had bought their bead roller on a 1/2 price sale a couple years prior, but it had just laid up on a shelf unused. I was getting ready to start body work on my lakester and came up with the idea of mounting the bead roller (left arrow) on the end of the English wheel since I'm limited on shop space. Also in the picture is my "$5000.00" roll around tool box as a friend calls it. I just mounted a piece of plywood on a 2 wheeler and put the tools on that. Except for some other sockets and screwdrivers these are the tools that I build everything with and most of them come from a $50 Sears tool box kit I bought in 1964 while in the Navy.
.....................................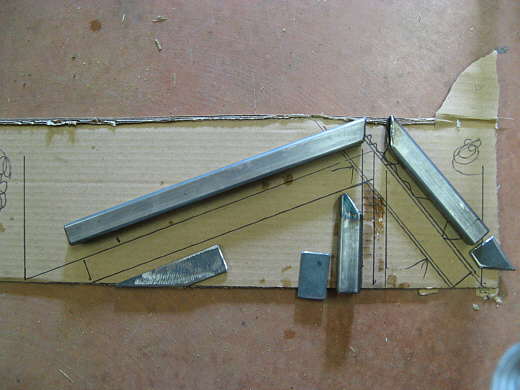
Prior to this I had only used the bead roller on a couple pieces of test metal, but had heard that they could use some reinforcement. I drew up a truss on cardboard to full scale and cut pieces of 1 inch square tubing to fit the template.
.....................................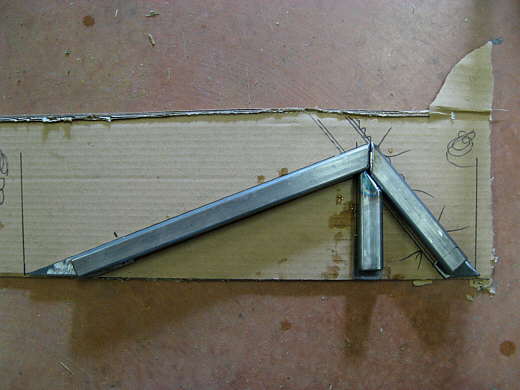
Where the square tubing would hit the bead roller I inserted some 3/16 inch strap to help with that joint and to speed up fabrication.
.....................................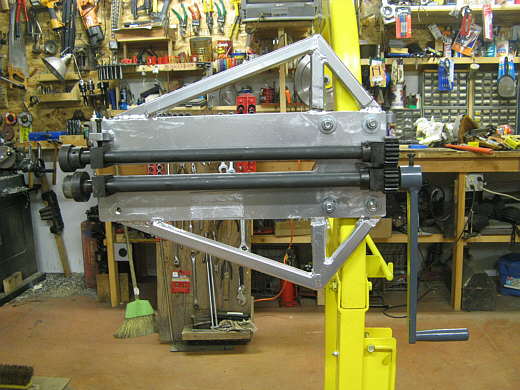
Here is the reinforced bead roller on the end of the English Wheel.
....................................
Also to make better use of the English Wheel I inserted a piece of plywood in the lower part for my body hammers and dollies.
....................................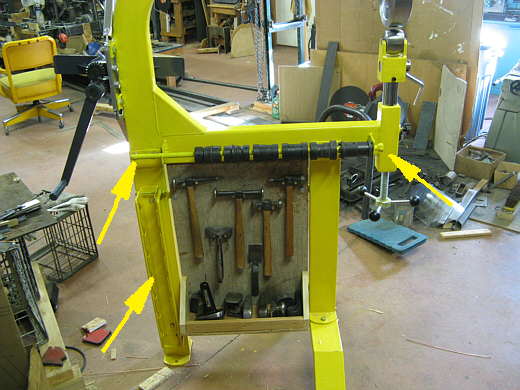
I was suppose to get the English Wheel lower anvil dies (#95366) that go in the rack where the bottom left arrow is, but the trucking company lost those and HF is in the process of re-sending them. I also made a place to store the extra mandrels that come with the bead roller (top left and right arrows). I welded two tabs onto the wheel, one with a slot in it (left side) and one with a hole in it (right side). A rod with a nut welded on the end goes through the tab with the hole in it and over to the slotted tab. You can pick the rod up on the left side and slide mandrels on or off.
....................................
While I was emptying my checking account I also bought there $200 planishing hammer (top left arrow) that was on sale for $99 and their shrinker/stretcher set (top right arrow) that was also on sale for $199. I mounted the planishing hammer on the top of one end of the sheet metal press brake that I had built a number of years ago (HERE) and the stretcher/shrinker combo on the other end. The shrinker faces to one side and the stretcher faces to the other side. I mounted them to a post that can be unbolted from the brake. That way I could put the post in a vise or loan the set to someone else and they could mount them in a vise. Also in the picture at the lower left is a Lincoln® Precision TIG® 225. I can't recommend this tig too highly. I love it and if I can weld with it anyone can. Check the aluminum welds I was able to do the first time I tried. To be fair I had been welding steel with it for a couple months at this point.
....................Return to Sumner's Home Page ....................................... Return to Tech Info Index