.....
.................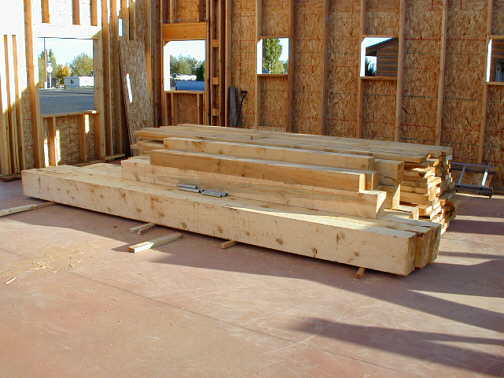
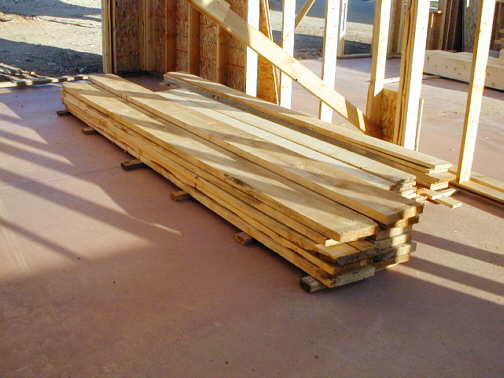
The interior walls of the house will mostly be tongue and grooved aspen. I decided rough sawn posts and beams and exposed rough sawn ceiling joists would make a good contrast with the aspen, so I ordered the lumber in the picture above and below from Timber Products in LaSal, Utah. I went and picked up this lumber with a flat bed car hauler trailer I have and it was quite a load (probably over 7000 lb.). Some hills on the way home were taken at about 20 mph. It also took me about 3 hours to unload the lumber as it was very heavy. There was no way I could lift the main beams and I had to move them by prying them up and using short pieces of pipe as rollers under them. The three large beams are 8 X 12 inches by 16 feet long.
.................
.................
The height of the exterior walls for the workshop and house, excluding the sunroom, are 10 feet. I didn't want a 10 foot ceiling in the living quarters, so the beams allowed me to drop the ceiling in the living area. The beams are 8 inches by 12 inches with the longest being 16 feet long and the posts are 8 inches by 8 inches and 8 feet high. The tops of the beams are slightly less than 9 foot off of the finished floor level. This will place the ceiling in the house about a foot under the truss bottoms.
.................
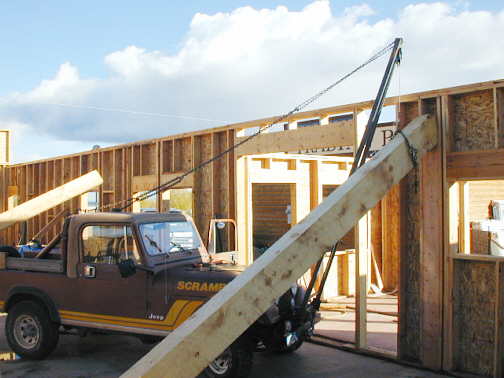
Since I needed to use the A-Frame on the jeep to position the beams, I had to place them before I put the trusses and roof on. The beams were so heavy I couldn't even lift one end. I would use a bar to lift them a couple inches and then placed short pieces of pipe to act as rollers under them and I rolled them to where I needed them.
.................
Once I had them in the right area I would hook the hoist on the jeep to them and lift first one end up and put it into position then the other end.
.................
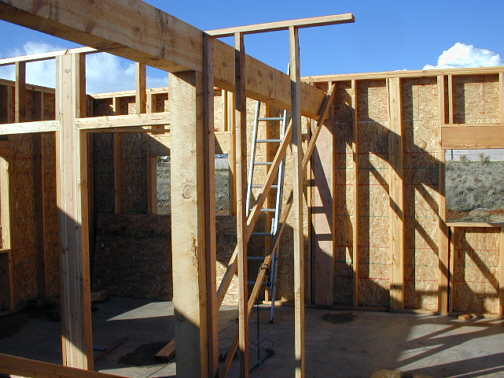
Here you can see I have the one end up and on to a support that is in the wall. I also had to construct some of my interior walls at this point since the beams rest on them at one point.
.................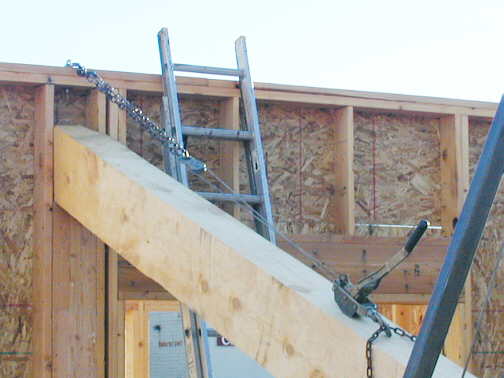
If I tried to lift the second end without holding the first end then the first end would slide out and come back down. I learned this the hard way. To overcome this I would attach a "come-along" to the first raised end like in the picture. As I raised the second end I would have to ratcheted the "come-along" to maintaining tension on the first end. There is no way I could of lifted these beams by myself without the jeep and it would have taken a bunch of help to get them up.
.................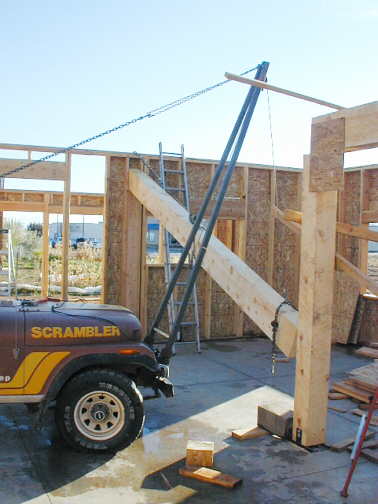
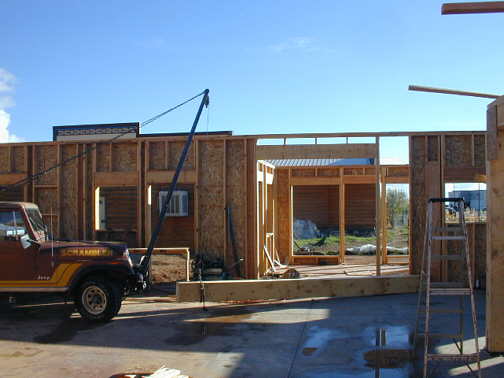
Here I am lifting the second half of the beam into place. At this point I would back the jeep up a little so the beam would clear the post until it was higher than the post and then I would pull forward and lower it on the post.
.................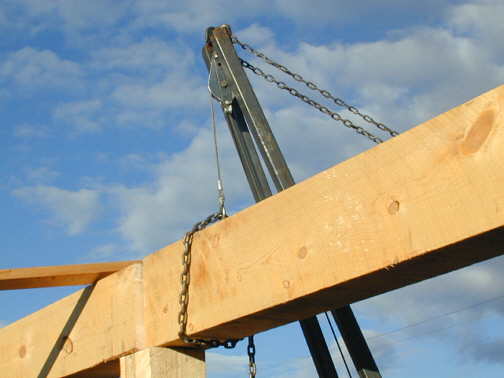
Here the beam is up and almost into position.
.................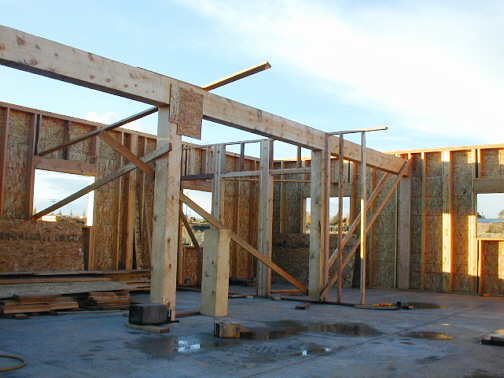
Now the posts and beams are all in position. The beam furthermost to the right is in the bedroom and the middle beam is in the area of the house where the wood burning and gas stoves will be. The left beam more visible in the picture below is in the main living area of the house.
.................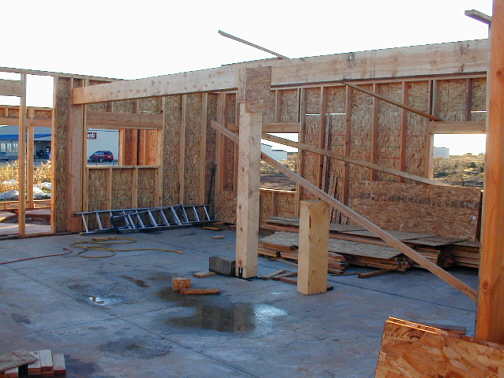
With these posts and beams in position I'm now ready to put the trusses on the house.
..........................................................................Next Page
.................