.....
.................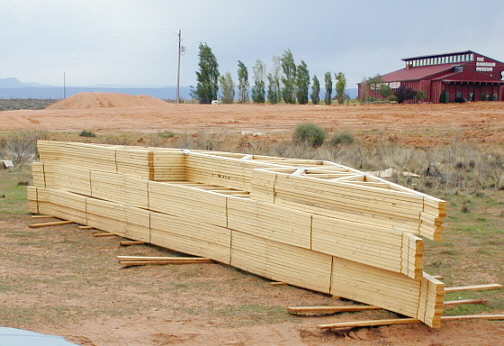
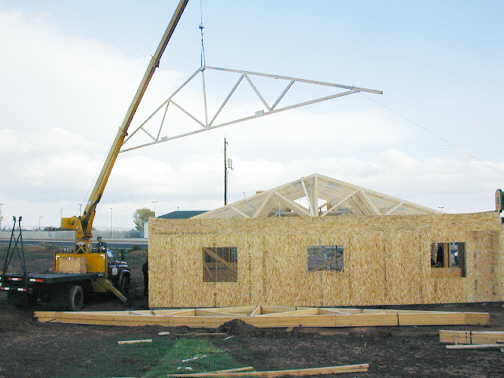
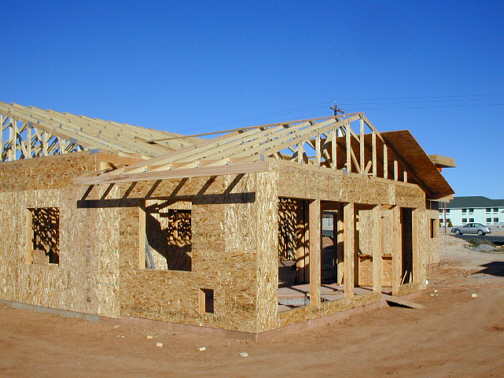
The pile of trusses in the picture above are all 40 feet long and are for the workshop/house part of the building. The ones on top of the pile are stepped up in the middle to raise the ceiling in the front center of the workshop to a height of 12 feet so I will have clearance for a car lift there.
I also had 24 and 1/2 foot long trusses made for the sunroom and shorter trusses made for the overhang out front that will be for the old gas station look. I don't have a picture of them, but you will see them when they go into place.
.................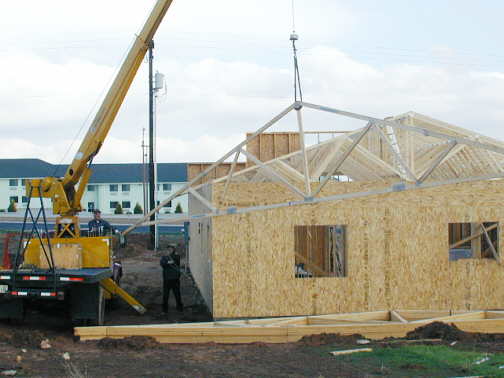
Due to the size of the trusses I had Jack come over with his crane-truck to lift them into place. I also had two friends that came and helped, Marlin and his brother Bernard. They worked on the ground and guided the trusses into place with ropes attached to the ends of them.
.................
Before they all came I had put blocking on the top plate of the house walls (see the top of the wall in the 5th picture on page 8) and left 1 1/2 inch spaces for where the trusses went. This saved a lot of time. After the trusses were set in place I would nail boards down the ridge line and at the bottom center of the trusses to space them and to hold them vertical.
.................
It still took us about 6 hours to move the trusses into place on the ground and to lift all 33 of them into place, but at least it was all done in one day.
.................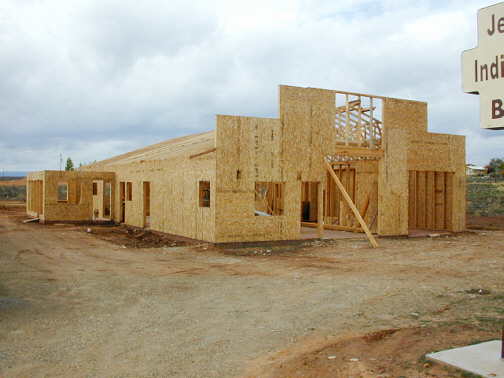
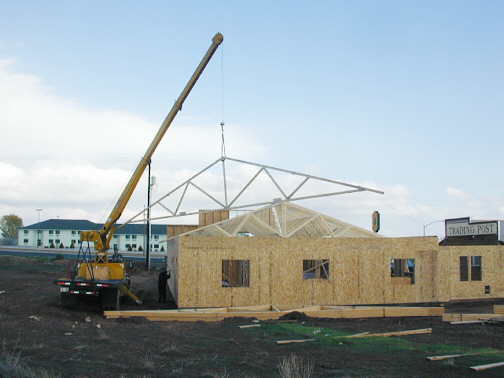
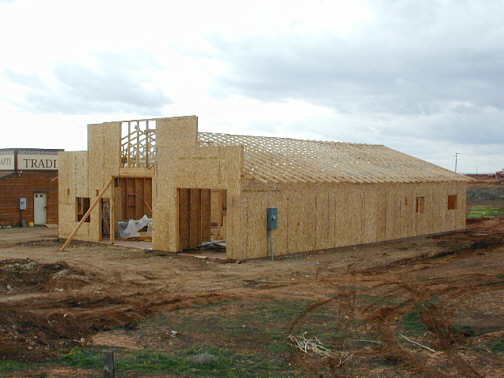
This picture and the one below show the finished job.
.................
.................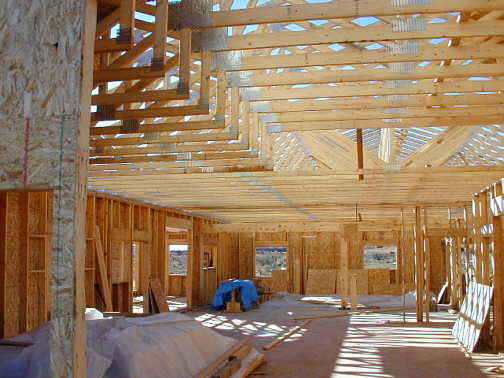
Here is a view of the trusses looking in through the workshop garage door. You can see how the ceiling will be higher right inside the door for the car lift.
.................
This picture shows the flat bottom trusses through the rest of the house and shows how the big beams will be 12 inches under them.
.................
A couple days later I lifted the sunroom trusses into place. Next I cut the tails of the trusses off to 21 inches all the way around the building. To do this cut a tail off on one end of the building side and then do the same on the other end of the wall. Then run a string between these tails that have been cut off and cut the rest of the tails in between to the string line. That way the facia will be straight even if the sides of the building or the trusses go in and out a little.
I made the cuts so that they were perpendicular to the ground and then nailed facia boards to the ends of the trusses. These will give the building a more finished look. You can see the facia board on the end of the sunroom trusses in the picture above and in the picture below.
.................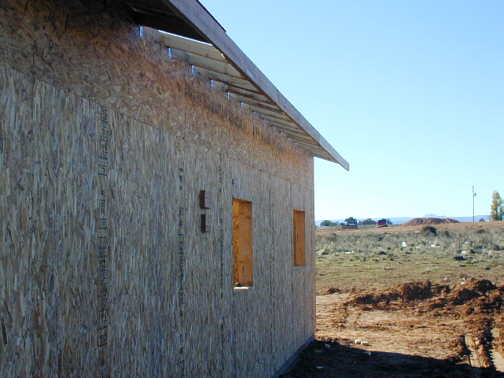
Here is a shot of the facia board going down the side of the building. Since I was working alone, I made some temporary brackets to hold these boards in place so I could nail them.
Next is the roof decking.
..........................................................................Next Page
.................