...Our MacGregor Index Page....... Mac 26S Outside Mods Index Page..........
....................... Previous Page...................................... Next Page If There Is One
...........................................--- CenterBoard Removal ---
Prior to putting a barrier coat and bottom paint in 2010 I'd never dropped the centerboard. During the process I decided to do that so that I could check out the pivot and just things in general and also at the same time put bottom paint in the centerboard trunk and also on the center board itself.
.....................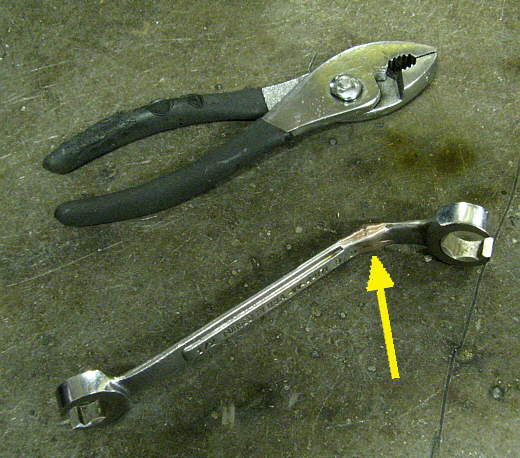
I started by bending a 9 16th wrench I had that is used for tightening flared type fittings, but a box end could be used. Actually I knew better, but didn't heat the wrench and broke it at the arrow. So next I had to braze it back together. The pliers are just in the picture for size comparison.
.....................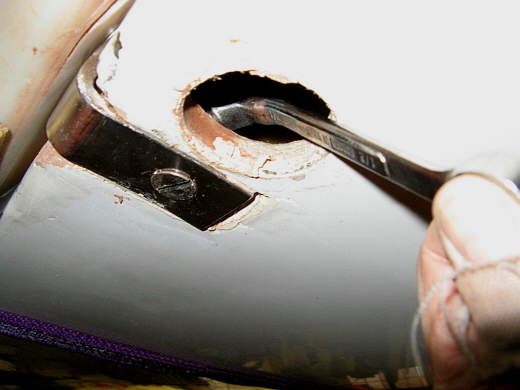
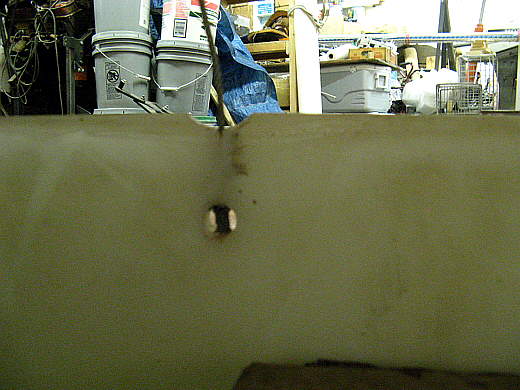
I popped the plugs out of the bottom of the boat by gently using a straight slot screwdriver. I worried that I might damage them doing this, but mine came out pretty easily. I've heard others tell a different story. With the plug out I was able to use the wrench on the nut inside and a big screw driver in the head of the screw on the outside. I didn't have much trouble removing the nut and then the bracket.
The board pivots on a stainless pipe looking sleeve that fits through the centerboard and then into holes in the two brackets. The sleeve/pin does not go into the boat. Also you need to support the centerboard while doing this as when you remove the screws holding the brackets the brackets and the centerboard are going to come down. These centerboards don't weight anything like what a swing keel weighs, but still be sure and support it.
Also the centerboard for our boat was made by IdaSailor, now called Rudder Craft and is not the stock board that came with the boat. When we bought the boat it had this centerboard. We also have an IdaSailor rudder on the boat and it is a great upgrade to the stock rudder. Not much difference between the IdaSailor centerboard and the stock one.
.....................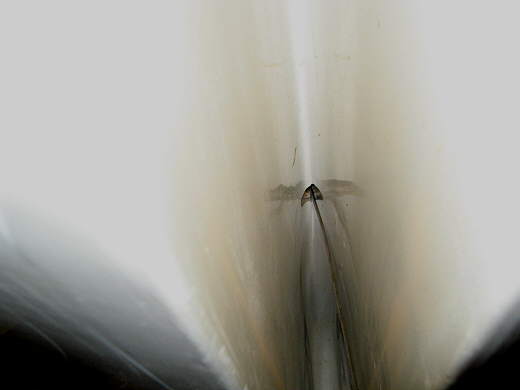
When you drop the board the uphaul, stainless cable in our case, comes down with it. I just kept the board under the boat while painting and left the cable as shown.
.....................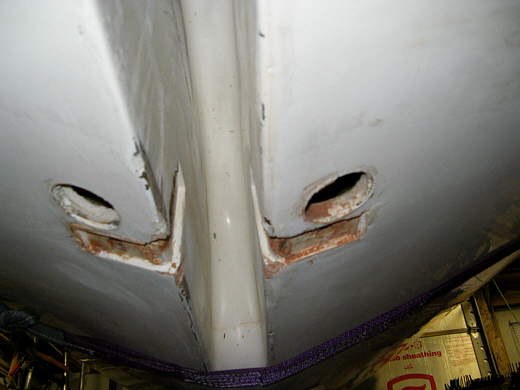
Here is the trunk with the board and brackets removed and ready to paint after washing with wax and grease remover and then sanding with 80 grit sand paper.
.....................
Our cable was held on with a crimped fitting on the end of the cable.
.....................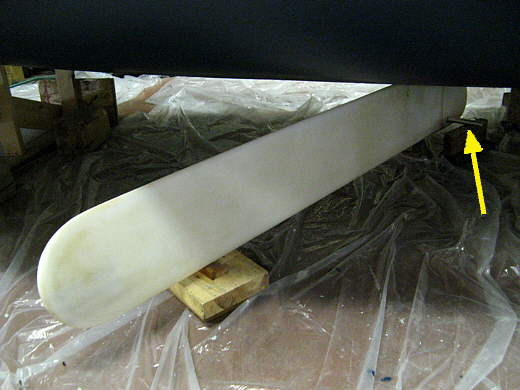
Here the board is out and ready to be painted. The boat bottom and the trunk have already been painted. I did the boat one day and the board and where the boat had been supported a second day. The arrow points to a steel rod I put through the board to help keep it balanced.
.....................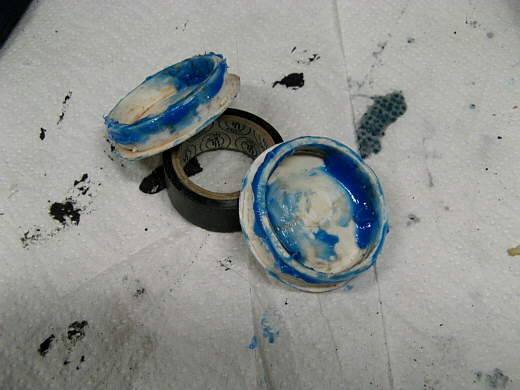
Here are the plugs ready to go back in after the board/brackets are back in place. I also used a little anti-size on the screw threads. I use some Permatex Blue RTV Silicone as it won't set up real hard. I'm hoping that if I need to pull the plugs again sometime in the future that I can pry them out again and possibly re-use them.