..................
.......................................................--- Bimini Upgrades ---
We had really good luck with the bimini our first year and can't imagine sailing without one, but there was one area I wanted to change. That was that the.....
.......
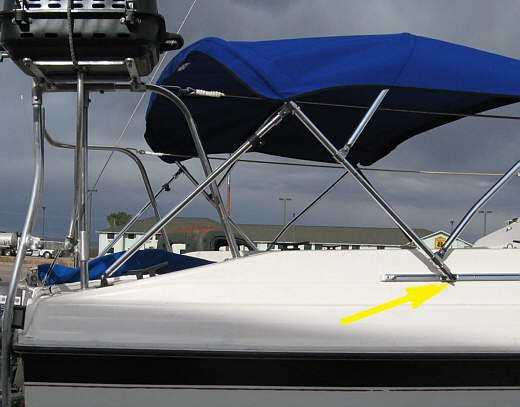
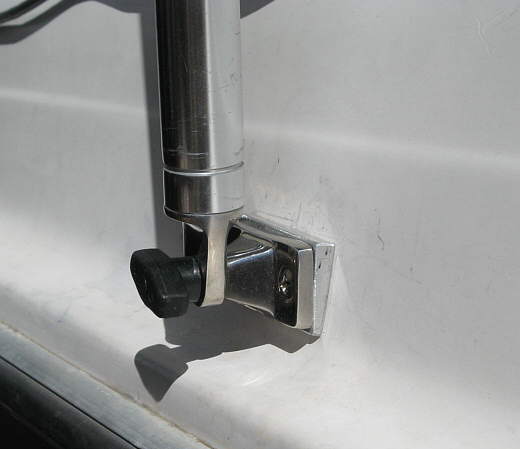
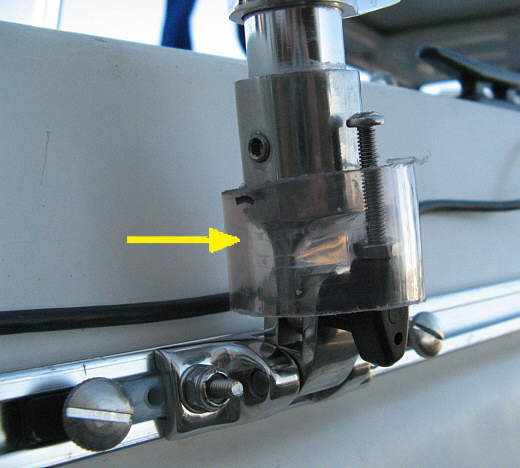
...track was at a slight angle on the side coaming and that put the main slide support (arrow) into a bind and I worried about something breaking. I ordered two pivoting slide supports and installed them. I was disappointed as they didn't fit the pieces that actually slide in the tracks without modifications. I made the mods and got them working and they took all of the bind out. There are pictures of them further down this page.
The next mod came as a result of Ruth making a pop-top/cockpit bug netting. We wanted it mounted high with the bimini under it and at the back the .....
.......
.... back bimini supports which went to the coaming top back by the lazarette presented a problem of how to get the netting around them without zippers or snaps. I thought if I could move those supports forward that they would be inside of the netting along with the rest of the bimini.
.......
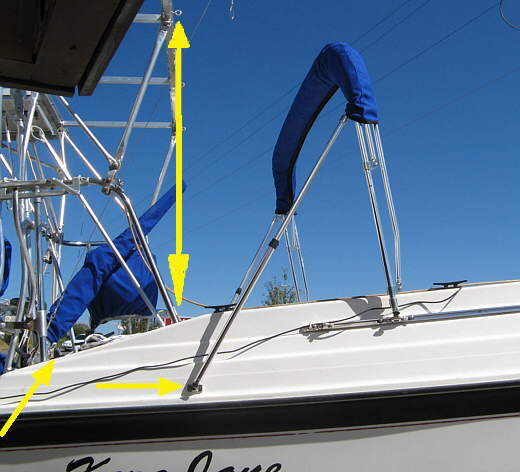
I moved them from the bracket (left most arrow) to a new one (lower right arrow) on the side of the boat. The up/down arrows show where the back of the netting will hang from the solar panel supports. Now the back bimini support will be just inside of the netting.
Doing this I found out that this location was actually better than the old one. The supports were now at better working angles with the bimini up and with it......
.......
....down where we have it if we aren't using it while sailing. On the road it is up and wrapped like in the picture before the one above. That way it is easy to come aboard while on the trailer at night and just walk under it.
To get the bimini to lay back like this I had to shorten the inner and outer poles (arrow). Since the bottom support is not further forward the bimini has as much or more travel back and forth than before. I should of put the supports here in the first place.
.......
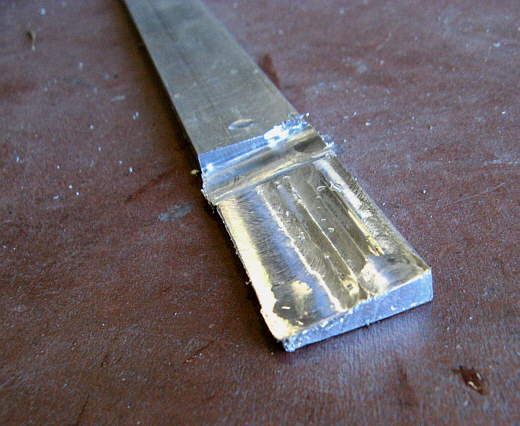
To avoid the binding like I had before since the side of the boat slopes in I made a couple wedges on the mill. Not much to them and.....
........
... you can buy them and should, but they took less time to make than going in and getting on the computer and ordering them and I didn't have to wait for them to come.
.......
Here the wedge is in place and the support is straight up and down and nothing is in a bind.
I have worried about the support screw with the knob on the end possibly backing out on long drives which wouldn't be good. So next I addressed that.
.......
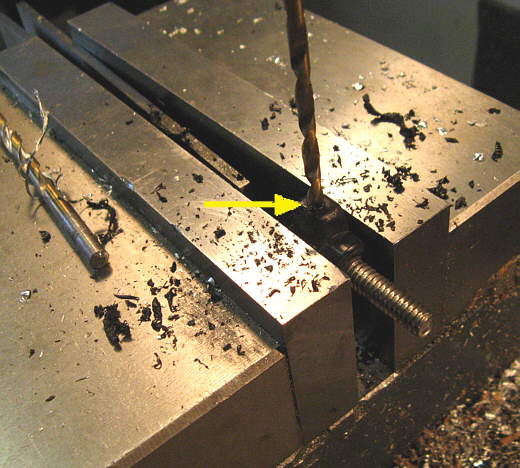
I drilled a hole all the way through the knob top to bottom and then....
.......
.... tapped the hole for a 10-24 screw.
.......
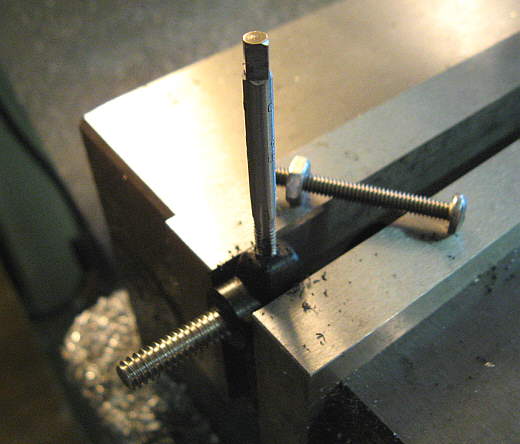
I tapped the hole from both ends so that the screw could be put in from either end. You will see why in a minute.
.......
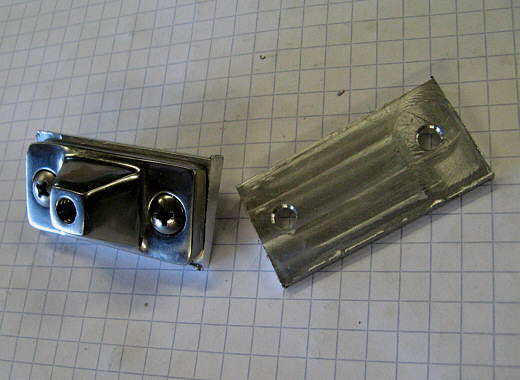
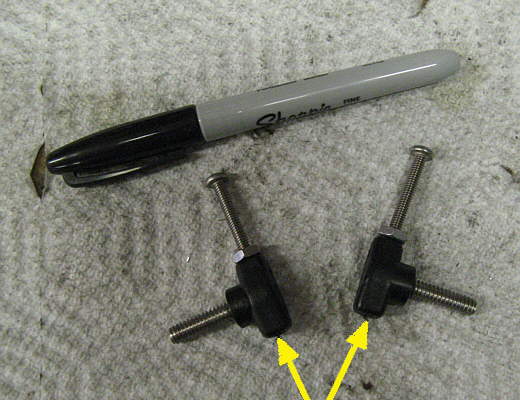
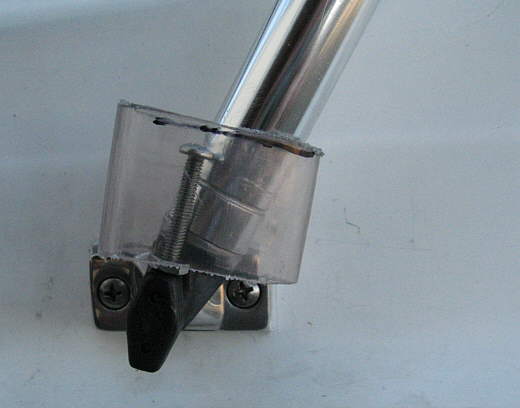
Here is the new main slide support that swivels (middle arrow) I also bought extra thumb screw stops (left and right arrows) to position on both sides of the support. Also notice that the screw on the know is pointed up when it is in and secure. If it would of been pointed down I would have then screwed it in the other end of the knob.
.......
You want it up so that you can slide a piece of tubing down over it and it won't be able to turn and back out. This is the back support.
.......
I cut and used another piece of tubing to secure the screw on the main support. To remove the screws and bimini just slide the tubing up and unscrew the screw.
I'm happy with the mods on this page and would suggest possibly using them if you are installing a bimini on your boat.