..................
...............--- Swim Ladder Extension -- Pushpit Mod ---
...............................................................................--- Part V ---
...............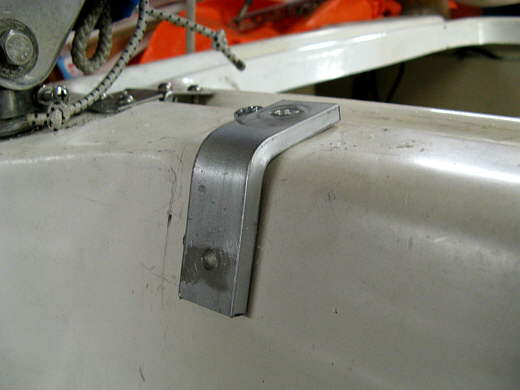
One last thing to do. The ladder was really working well at this point and the starboard up right was located at the bottom and just above the transom and wasn't going anywhere. I wanted to also attach the port upright to the transom so that it too would be held at the bottom and further up. The piece of 1 inch by 1/4 inch strap in the above picture was bent to the angle of the top of the transom just aft of the laz. hatch. I received a 1/4 inch hole in each leg.
...............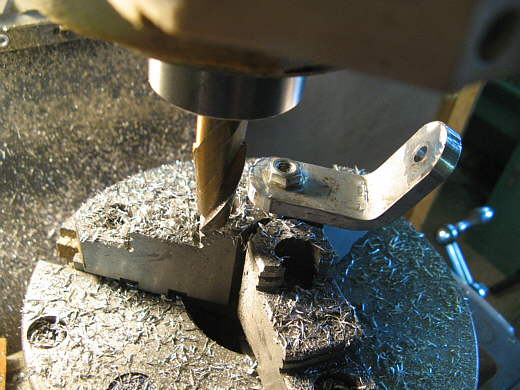
Like some of the earlier pieces the ends of the legs were radiused with the rotary table and the mill.
...............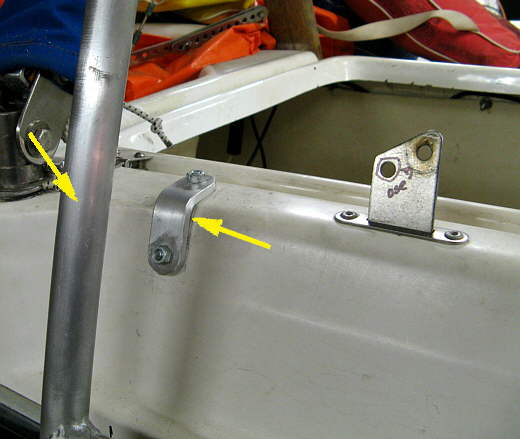
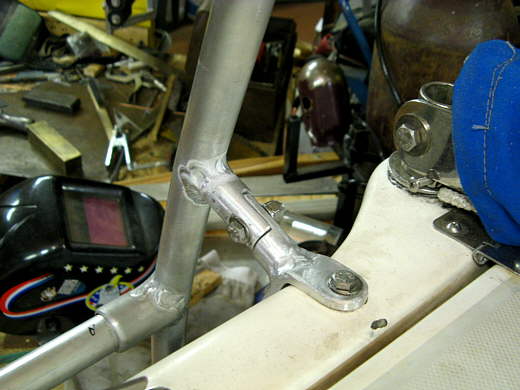
The holes were drilled through the hull and the first part of the new bracket was bolted to the boat (right arrow). It is hard to tell, but the bracket is right in front of the upright (left arrow).
...............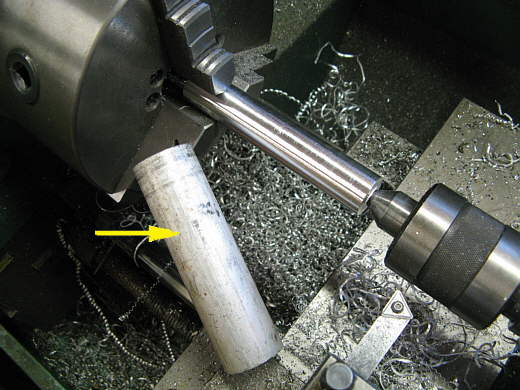
Now to connect the bracket to the upright. The way the ladder removes meant that I couldn't just weld a brace from the bracket to the upright as then the ladder would not be able to be slid straight down out of the top railing fitting. I needed a two piece connector, so the bracket and ladder could come apart for removal. Starting with another hunk of the scrap round stock I have I turned one of those down to 7/8 of an inch in the lathe.
...............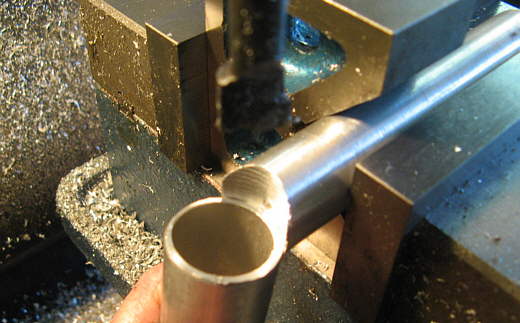
Using the boring bar one end was cut to a 1/2 inch radius so that it would fit against the 1 inch upright tube for welding.
...............
The I cut this section half way through the piece. leaving round stock on both ends.
...............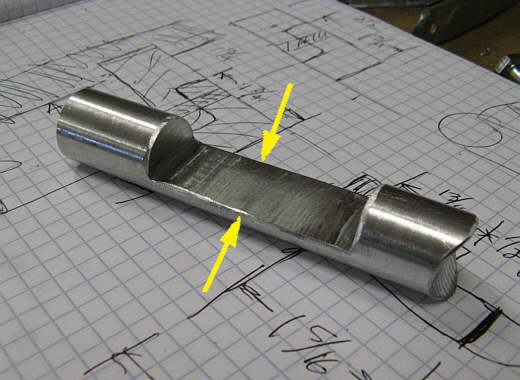
What is happening is we are making two pieces at once that will fit together once they are cut at the arrows and one of them turned over and then the two slid together like....
...............
......... here. A 1/4 inch hole was drilled through the two pieces at one time.
...............
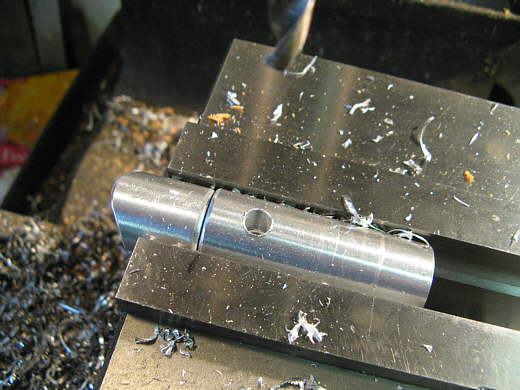
Here is our piece that was just made to connect the transom bracket to the upright. The ends were bored out some so that it would be easier to weld vs. if they were solid which would take a lot more heat with the welder.
...............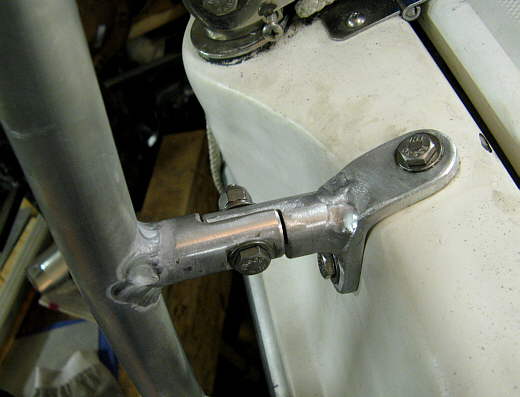
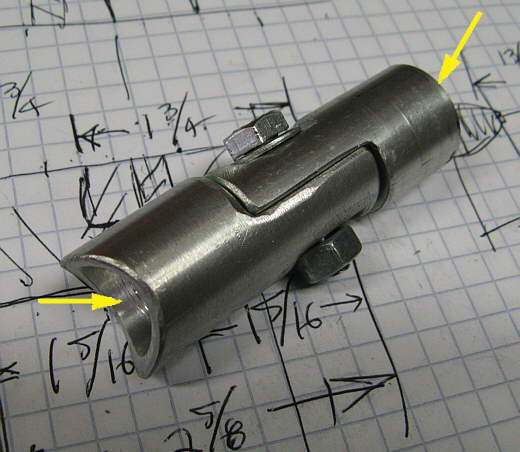
The new piece welded in. I tacked it together on the boat and then finished welding the separate pieces on the welding table. I tried to tack it quick, but the aluminum needs so much heat and it transfers that heat rapidly to anything it is touching. It did scorch the boat slightly under the bracket but did not weaken it at all..
...............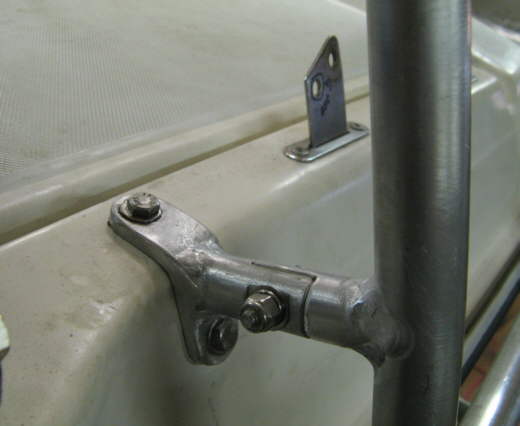
Another view of the bracket.
...............
This really stiffened the port upright to the point now that you can grab it at the top and move the whole boat with it without any bending of it.
...............
The key to making all of this work is the bottom attach points and the second attach points further up the ladder.
...............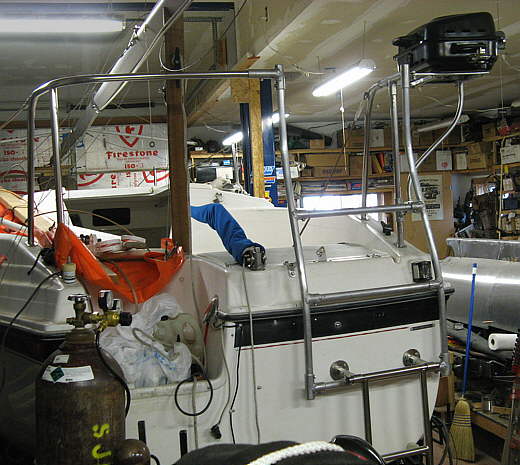
The finished ladder from the back....
...............
....and from the front.
...............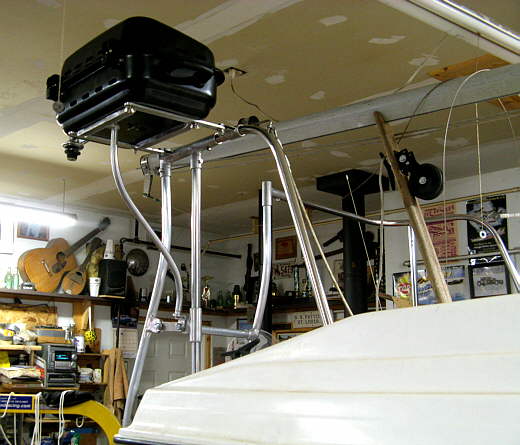
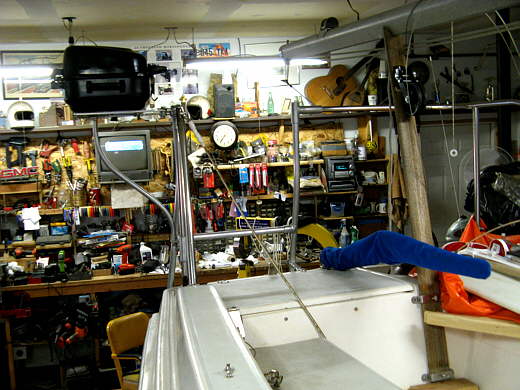
Here you can also see the BBQ platform that was made at the same time and I detail the construction of that on the next page.
............................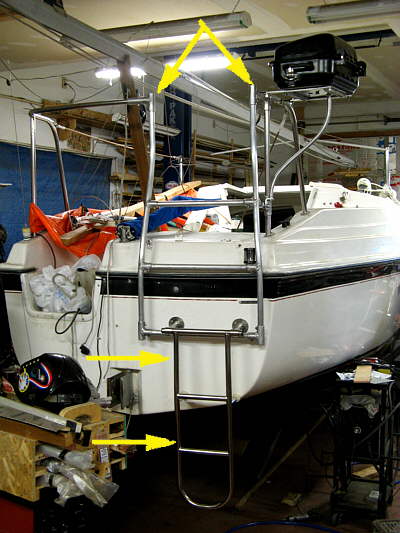
I said that this is done, but latter two more changes will be made. I'll probably make a swing out "bar gate" where the top arrows are. It isn't needed for strength, but I think it will look nicer and also Ruth said it would make her feel safer when operating the BBQ grill. I'll also make some decorative plugs for those top tee's at the same time.
The second change will be to widen the original swim ladder. It is quite narrow and you can really only put one foot on a rung at the time and for some it would be easier to have both feet on a rung at a time. I plan on cutting it down the center and moving the left upright (bottom arrows) and 1/2 of the rungs attached to them to the outside of the bracket that is at the top of this swim ladder. Then I'll fill the gap back in the middle with some new tubing and put some wood steps on the tops of the rungs.
We are very please, especially Ruth, with this change to the boat. It is now easy for her or anyone else for that matter to come aboard. It is strong and sturdy and I have no fears of anyone regardless of their weight or strength using the new loading ladder.
Well let's go to the next page and make a platform for our $30 BBQ grill.......