..................
.....................................................--- 40 Watt Solar Panel ---
Prior to installing this solar panel I had made a generator using a 12 volt GM car alternator to charge the two 12 volt batteries that we have on board. The reason for the generator and this solar panel is that I have sleep apnea and use a CPAP machine at night while sleeping and it uses 6 amps of power, so if I use it 6-8 hours every night that is 36-48 amp/hours of electricity that has to be replaced. I could get through a couple days with the two batteries and recharge at home, but when we go out with the Mac it is usually for 1 week at a minimum, so I needed a dependable way to charge the batteries and thus made the generator.
The generator works great, but it is not quiet so we wanted to try and cut down the 30-40 minutes it had to run on most days. Thus we added this 40 watt solar panel. We used it on our 3 day Lake Powell trip the first of September for the first time and didn't run the generator at all on that short trip. Then on our 18 day trip to Lake Powell the last of September and early October of 2009 where the daylight hours were down to 12 hours and less the solar panel still really helped. We would still have to run the generator but could skip days Finally we found it best to run it about 15 minutes a day.
I would of liked to of put a larger panel than this 40 watt on the boat, but size wise it was about all that would fit. Now I think I might have an idea to add a second to this one and have it hinged so that it closed like a book and covered this one and opened up during the day to give us two 40 watt panels. When closed the back of the top panel would protect both.
For most people's means I think this 40 watt would more than take care of them, especially if they sail where there is good sunshine like here in the southwest. We would like to get to the place where we only have to run the generator on cloudy days. One thing we have done is cut all of our other power consumption as low as possible. Our masthead anchor light is a 5 watt Hella 360 LED and all of our interior lighting is stick-on LED lighting. We do though run the depth finder all the time we are sailing and run the VHF marine radio usually only when trying to get a weather report.
Well let's get on with mounting and wiring the solar panel and if we add a second one later I'll put that on the site also.
.......
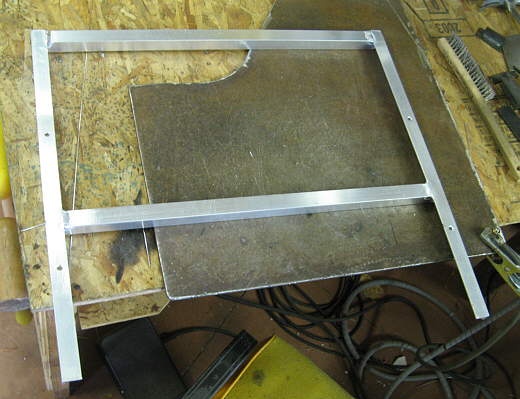
I started by cutting some pieces of aluminum angle and channel that the local hardware stocks and ......
.......
.............. welded them together for ..............
.......
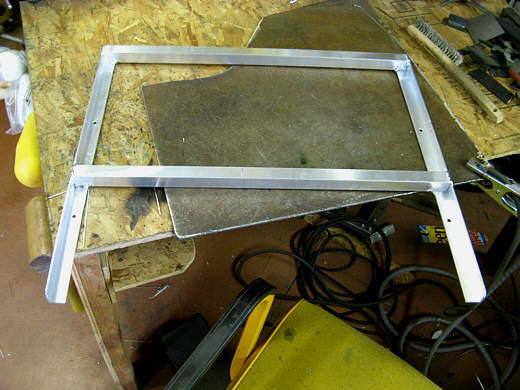
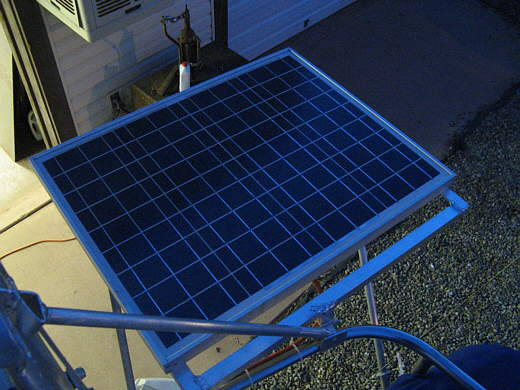
............. the panel to mount to. The panel is a Solar Cynergy SLP40-12 40 wall and cost $159.00 from Solarblvd.com in August of '09. They had great prices and I got the panel just a couple days after ordering it. I'd order from them again. I also ordered a digital amp meter from them, but didn't get a chance yet to install it. I have a similar digital volt meter and with the amp meter I will have a lot better idea what is going on from the usage side and the charging side.
.......
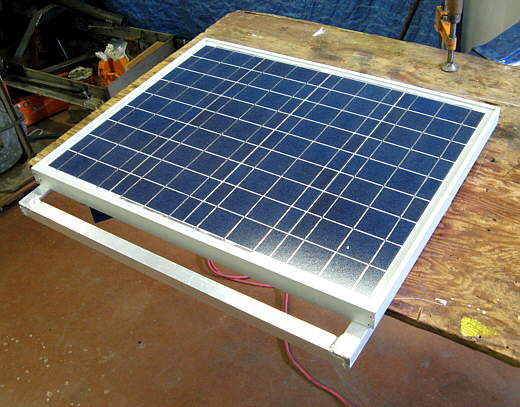
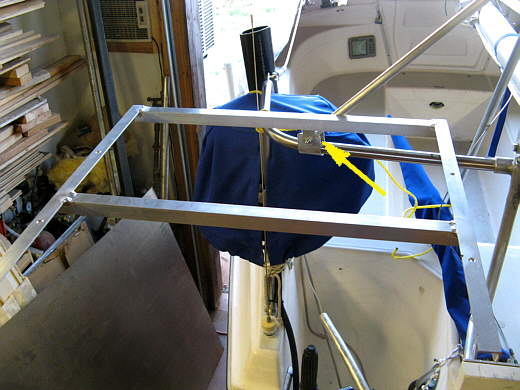
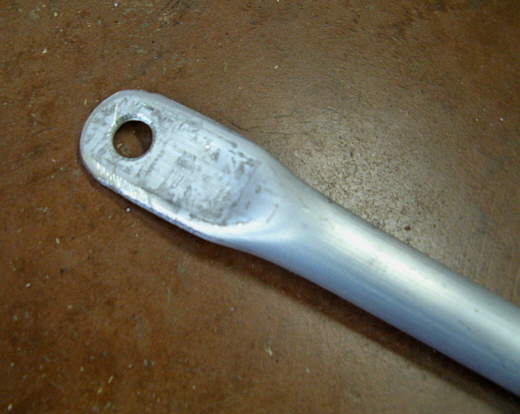
The panel is mounted to the aluminum framework with 4 bolts (arrows).
.......
On to mounting the frame on the Mac. I started with a tab that...........
.......
.......... I at first tacked into place ...............
.......
..... on the frame work, later welding it completely. It mounts the frame to the diagonal brace bracket for the mast support.
.......
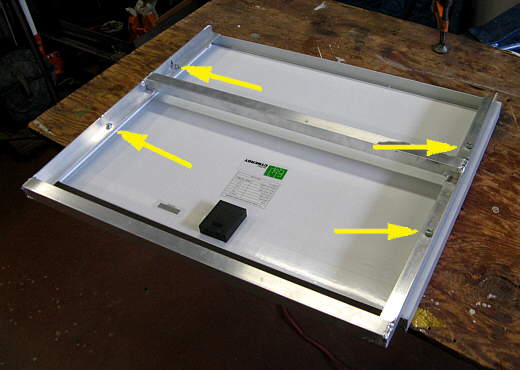
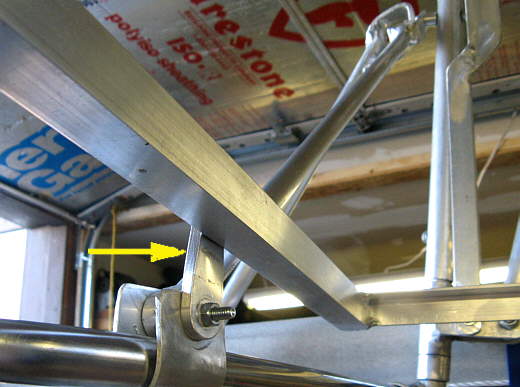
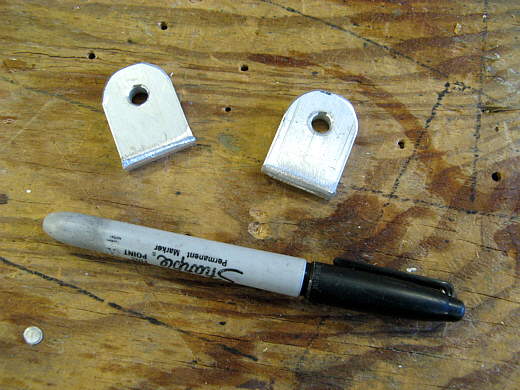
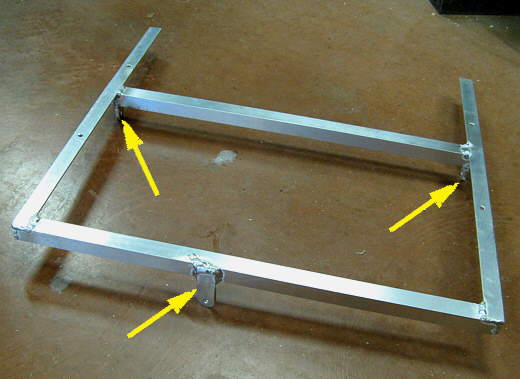
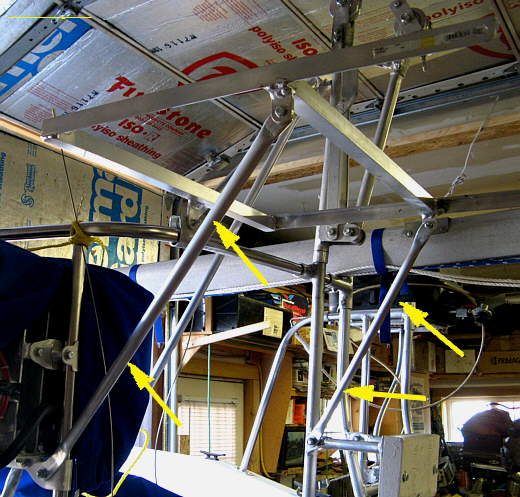
Then to mount the frame two more places for a 3 point mount, two tabs were cut, drilled and rounded on their ends and.........
.......
............then welded to the frame (top right and top left arrows) where the frame crossmember. is located. The bottom arrow points to the first tab after it was fully welded.
.......
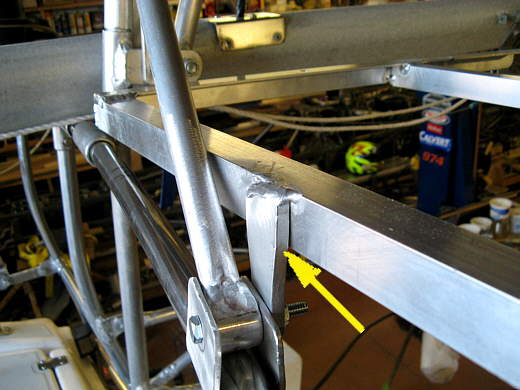
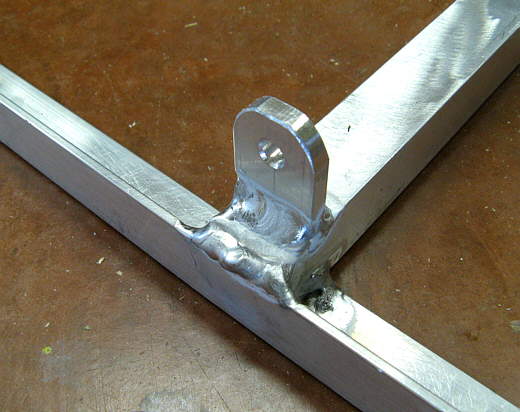
........... this is a picture of one of the two tabs at the crossmember.
.......
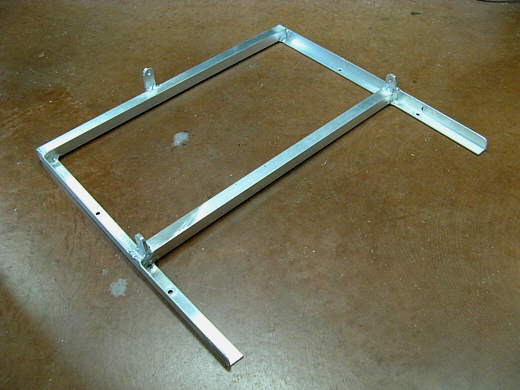
A view with the frame upside down.
.......
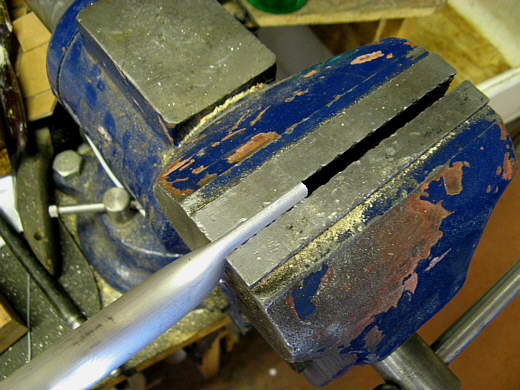
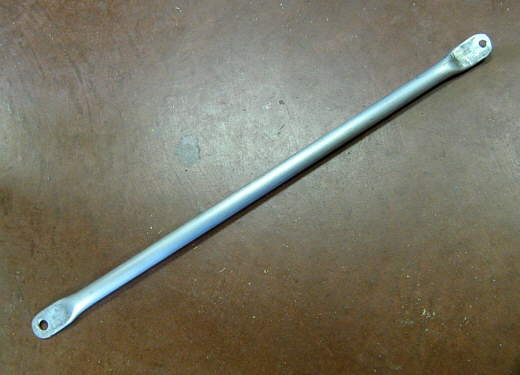
Two aluminum support tubes were then made, by cutting them to length and then the end was flattened in a vice and .........
.......
............ drilled and rounded.
.......
Here is one of the two supports.
.......
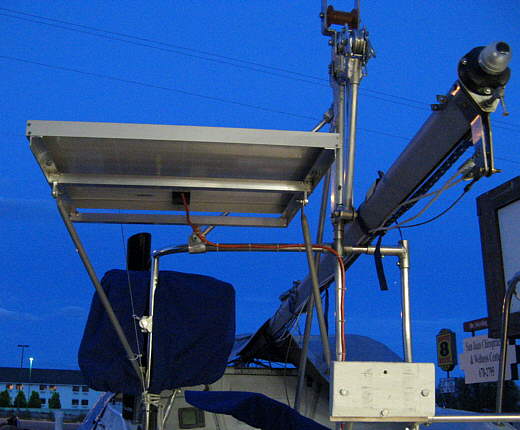
They were mounted to the the tabs on the frame and then down by the generator and over by the outboard mount for the dingy motor. With that done it was time to wire it.
.......
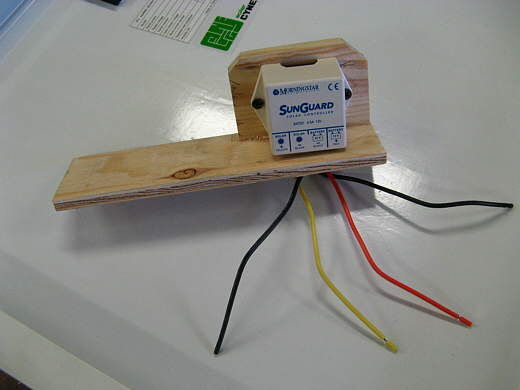
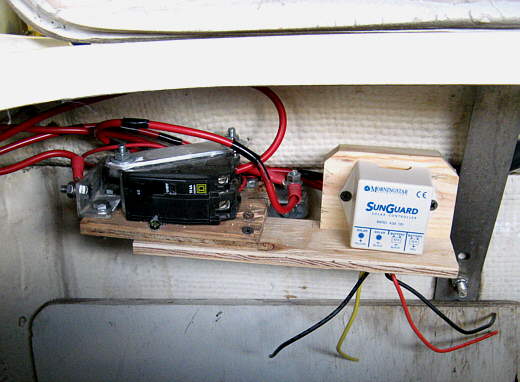
From solarblvd.com we also got a Morningstar Sunguard 4 amp 12 volt charge controller for $27.00. I was going to get a larger one, but they said there was no reason to spend the extra money as this one was large enough for the 40 watt panel, but if we add a second 40 watt panel then I'm going to have to buy a larger one at that time. I was running out of time before our next trip, so just did a quick job of mounting the controller to the plywood bracket above and .........
.......
........... then mounting it to the bracket that held the circuit breaker for the generator in the lazarette. The solar panel is wired into the wiring at this point and shares the line with the generator from here up to the battery switch that lets us charge or use one or the other battery or both. Two of the wires under the controller were wired to the solar panel and the other two go to the positive and negative wires running from here forward to the batteries.
.......
Here is the finished panel mounted on the boat.
.......
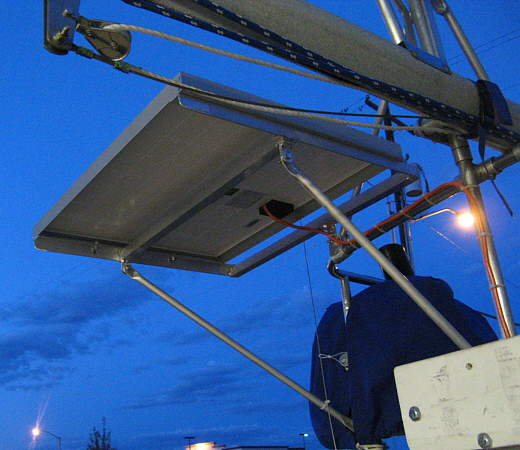
........... and another. The pictures were taken at dusk, so I had to wait until the next day to see if this all worked.
.......
The controller stops the batteries from draining back to the panel at night.
.......
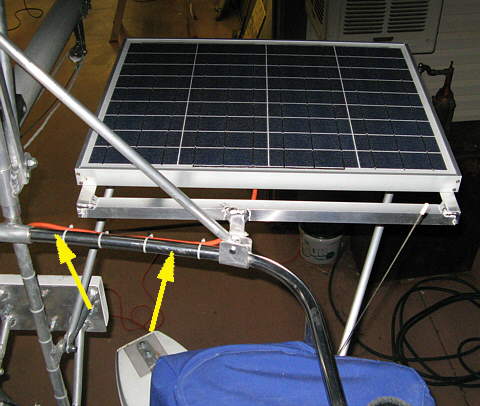
To wire the panel I used some outdoor extension cord and zip tied it to the rear rails on the pushpit (arrows).
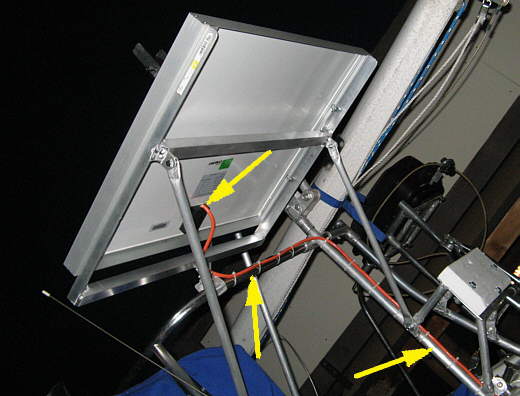
.......The cord goes to the junction box under the panel (top left arrow) and from there along the railing and then...............
.......
............ down into the outboard well. I took the extension cord and so that one length was longer than the other.. One end of it with the male plug comes down from the panel and the other with the female end comes from in the lazarette out the vent opening. The two then plug together there (top left arrow). I didn't want the male on the cord going into the lazarette as it is hooked to the batteries and they have a lot higher current capacity than the one from the panel. Still I don't want the one to the panel to short across the prongs, so we have to be careful there. It does stay plugged together all the time though, even when running the generator.
The lower left arrow points to the power cord from the generator that puts out a lot more current than the panel. It also enters the lazarette at this point. The right arrow points to the end of an extension cord that runs up under the sink where a power strip plugs into it. We have trickle chargers on the power strip for the batteries. we used them before getting the solar panel and will use them when we move the boat hopefully inside for the winter. It is also handy when working on the interior of the boat as I just have to plug an extension cord into the one on the right and I have 110 in the cabin for power tools.
To sum it up we are really happy with the solar panel and I'm going to try and figure out a way to add a second one.