..................
....................................--- Onboard Generator Part III ---
S
.........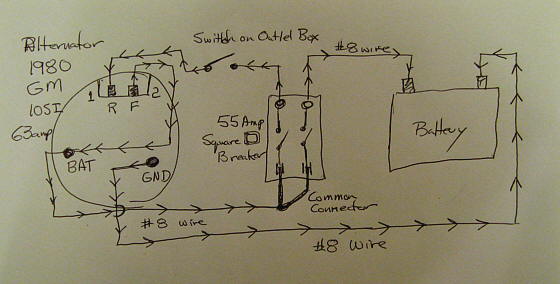
The alternator is a new 1980 GM Van 10SI 63 amp alternator.
You run a wire from the BAT terminal straight to the #2 terminal. I then went from the BAT terminal to a 55 amp Square D breaker that will work with either AC or DC current. There I made a common connector for the blade terminals. On the other side of the breaker I took a #8 wire to the battery. Using the other side of the breaker I took a smaller wire back through a switch located in the outlet box that the 220 plug goes into. From the switch the wire goes to the #1 terminal. You want this switch open (in the off position) while starting the motor with the generator or it will want to stall with a load from the alternator on it. Once the motor is up to speed throw the switch to "on".
NOTE: Be sure to open the switch (turn it off) when you are done or the battery will drain back through the alternator and discharge.I run this line through the breaker so that if it was to trip it would also open the circuit to the #1 terminal. This might not be needed, but I decided to play it safe and put it in.
You also need to run a ground from the GND terminal on the alternator to the negative (-) side of the battery.
...............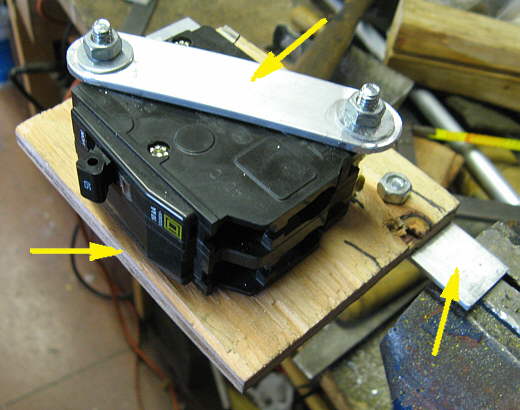
Here the breaker is mounted to a piece of plywood.
...............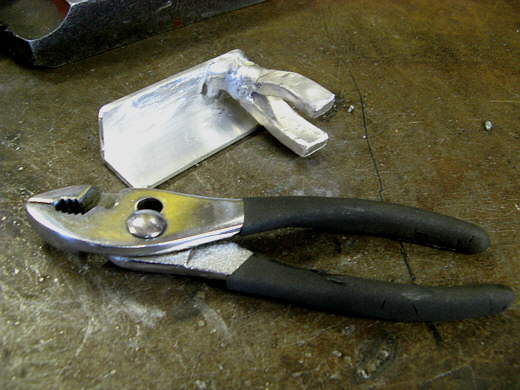
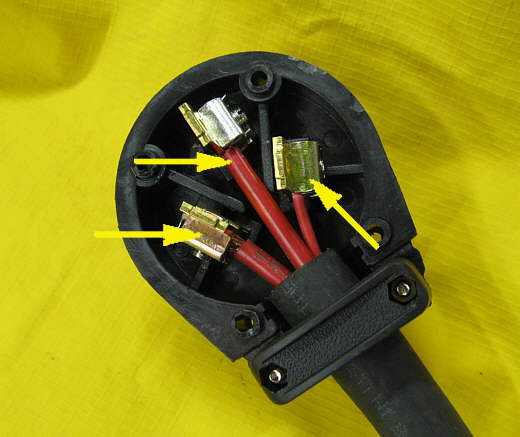
This is the common lug that.....
...............
.......goes into the back of the breaker to supply voltage from the alternator to both sides of the breaker that is usually used in a 220 volt circuit. The left arrow points to a bolt that along with the strap on top holds the breaker in place. The bottom arrow points to a piece of aluminum angle used to mount this assembly in the lazarette. The right arrow points to a hole that a screw goes in to attach the wire from the BAT terminal on the alternator to the breaker.
...............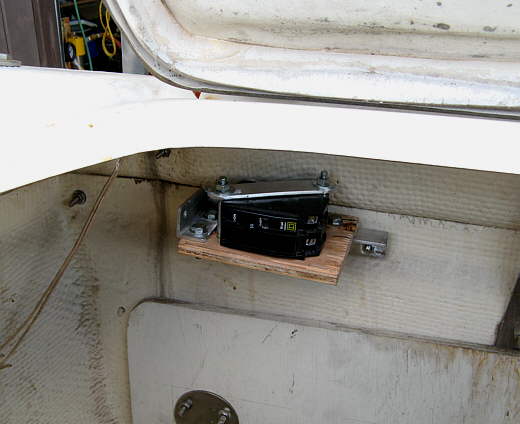
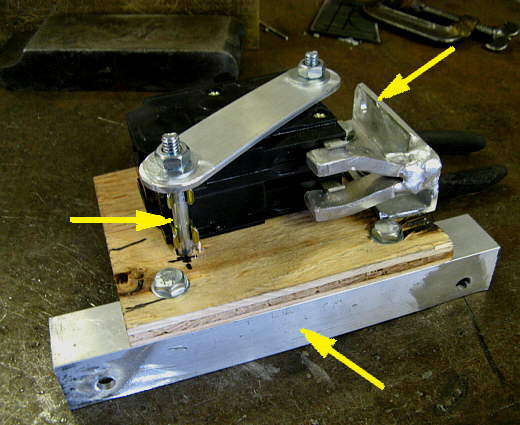
Here the breaker is mounted in the lazarette.
...............
I wanted a plug and socket so I could take things apart if necessary. The middle wire is the ground #8 wire from the GND terminal on the alternator going to the negative side of the battery. The left #8 wire is the wire that connects the BAT terminal on the alternator to the common feed on one side of the breaker. The smaller right wire comes from the breaker and goes to the switch you use while starting. From the switch the circuit is completed by a wire going from the switch to the #1 terminal.
...............
Here is the pigtail with the three wires.
...............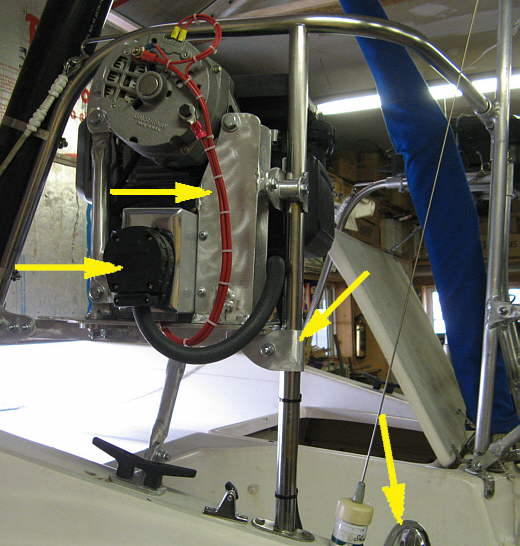
The left arrow points to the 220 plug that was used with the pigtail coming out of it and going to the lazarette. It goes down by the outboard and into the lazaretto via a vent (bottom right arrow). The upper left arrow points to the wires coming from the alternator that feed into the outlet box. The bottom right arrow points to the stanchion where the pigtail is zip tied to the back side.
...............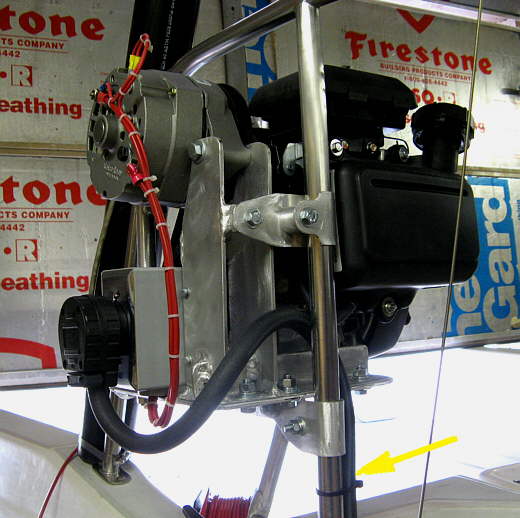
Another view....
...............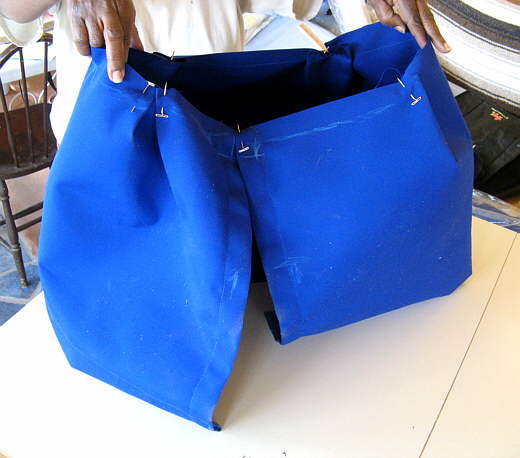
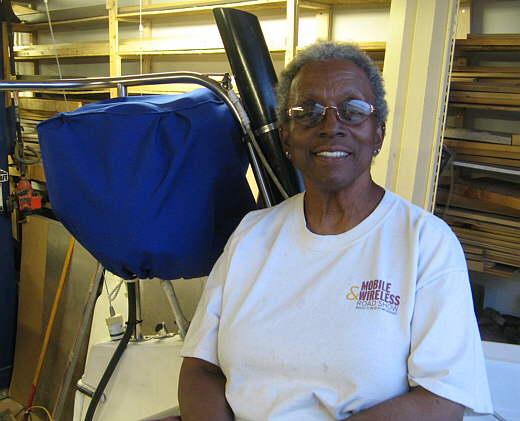
Here Ruth has started on a cover for the generator after making a pattern.
...............
First she made the sides and then....
...............
.........placed it in position to make a pattern for the top.
...............
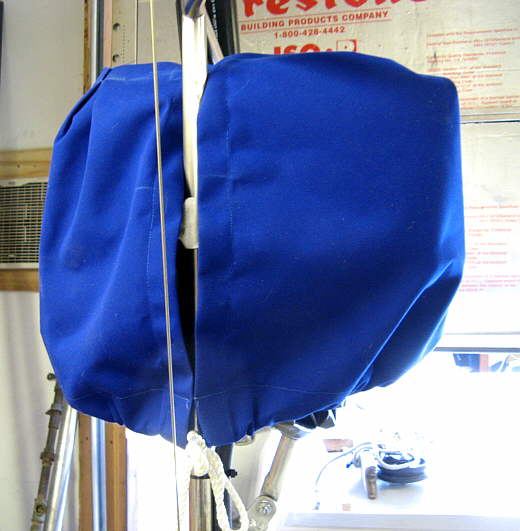
Still getting ready to make the top pattern.
...............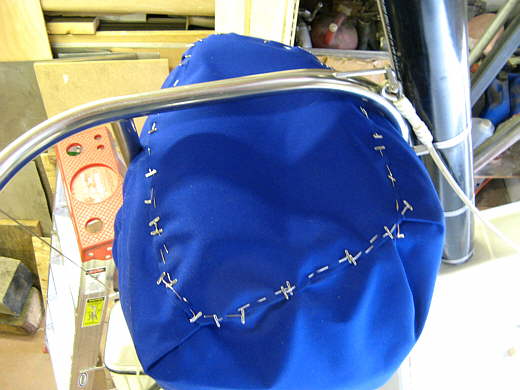
Here the top is pinned into place on the generator.
...............
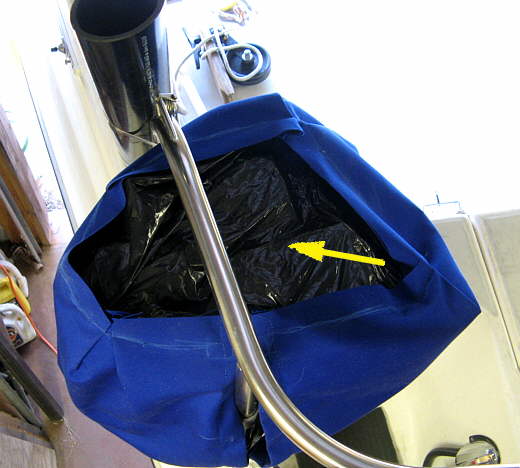
The top sewn in place.
...............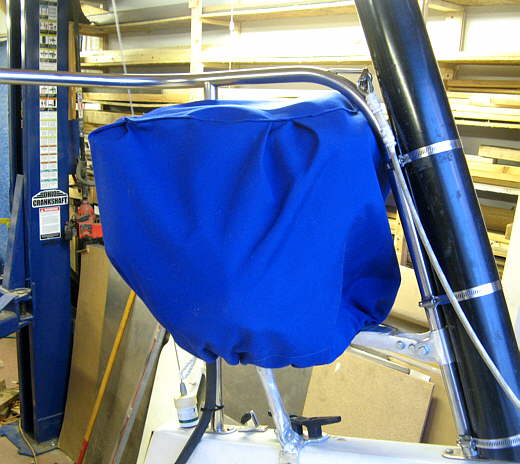
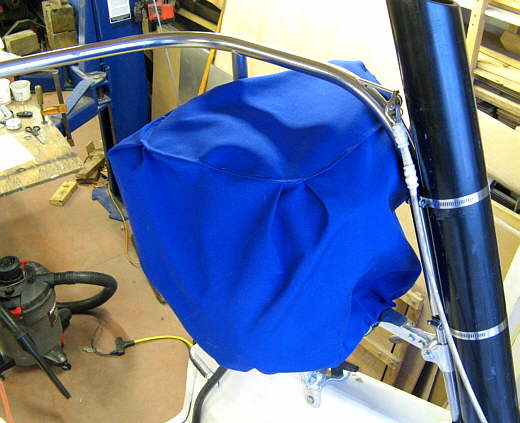
Another view.
...............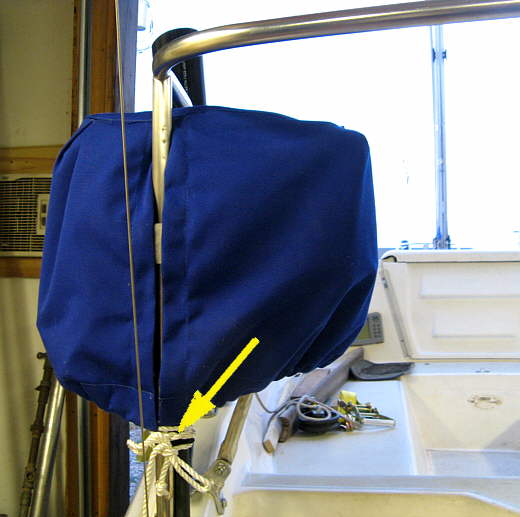
There is a slit in the side to deal with the stanchion and a pull rope that goes around the bottom.
...............
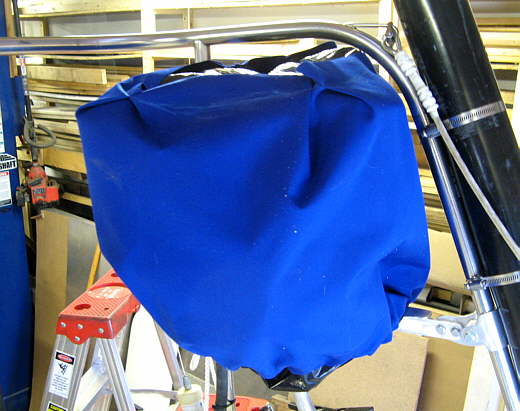
She did a great job on this and the sunbrella material matches our bimini. The picture also shows that the generator isn't all that big.
To see more of Ruth's work with canvas and the sewing machine click ( HERE ).