..................
.............--- Sail-Pack/Sail Cover/Lazy-Jacks Part IV ---
.......
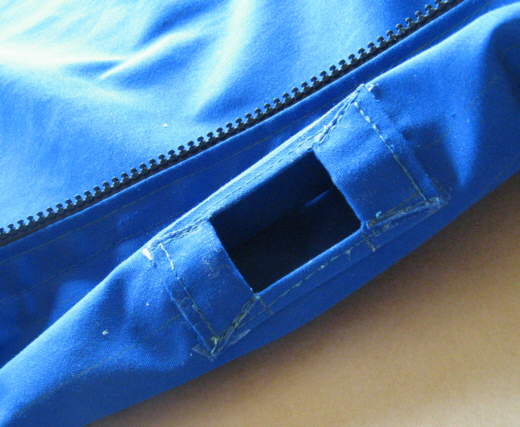
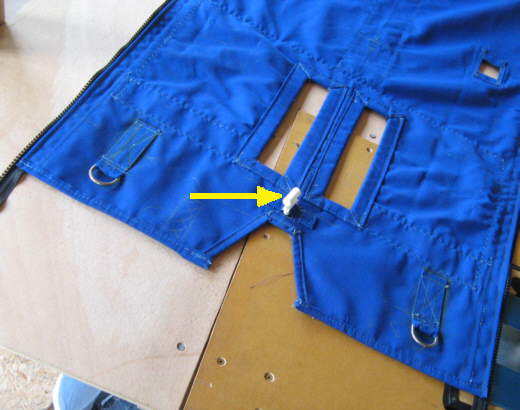
Here is the finished lazy-jack pocket with Ruth's home-made binding applied to the opening.
.......
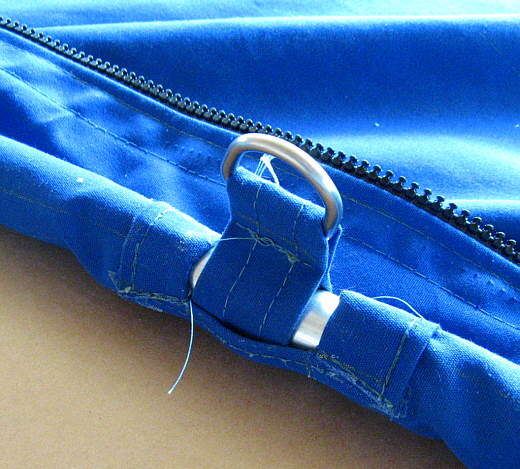
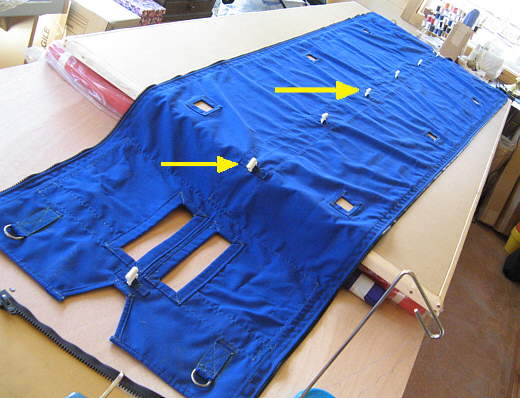
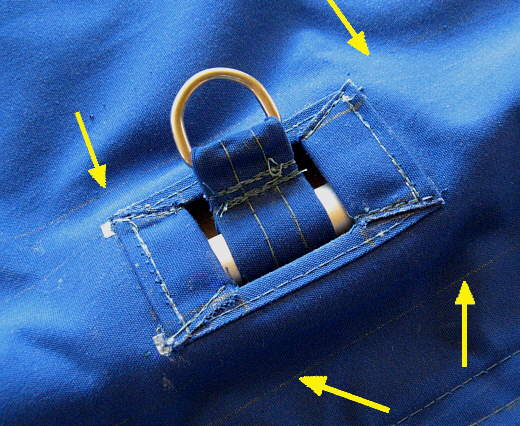
We have pinned the pocket for the aluminum tube and tried one of the lazy-jack D-rings and the tab it is attached to that the tube goes through. Sew the tube pockets at the very end. It was at this point that we decided to move each sew line out about 1/8th of an inch to make the pocket a little larger to accommodate what you see above.
.......
Since we have a loose footed main we can use the track in the boom that normally the main's bolt rope goes in for slugs on the bottom of the pack to hold it to the boom. If you are dealing with a bolt rope there are other options you can explore. Look at what Sailrite does and others also.
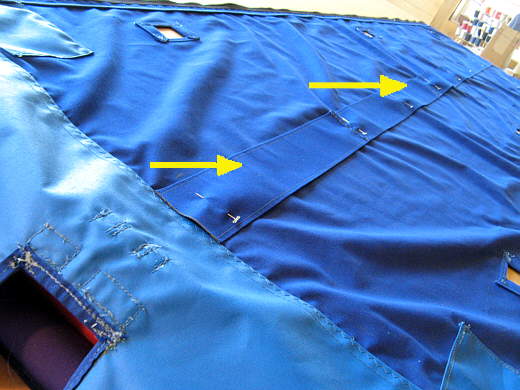
Since we were going to use the slugs Ruth put a reinforcement strip (arrows above)...
.......
... and shown sewn in above down the middle of the bottom for the slugs.
.......
Ruth is coming down the home stretch now and the end is in sight.
.......
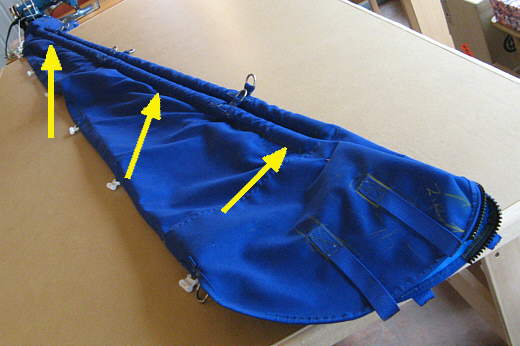
A slug was attached with a strap at the very rear and....
.......
... others were spaced equal distance down the pack.
.......
Above is another place we screwed up. The first slug at the front of the pack was placed to far forward and is where you put the slugs (or bolt rope) in the boom. We moved it back a ways to about where the left arrow is.
.......
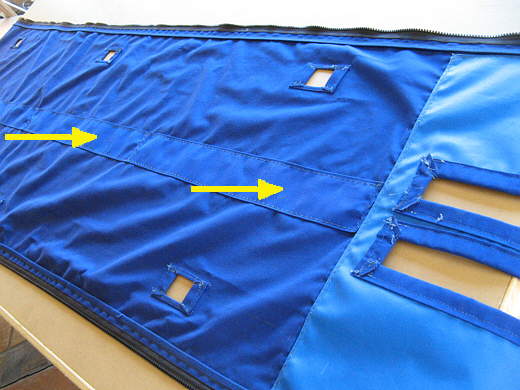
Detail of how the slugs were attached to the pack. The two lines of zig-zag stitching is where the reinforcement strip was sewn in down the middle. You could use webbing for the above, Ruth just likes to make straps from the Sunbrella material and it looks good.
.......
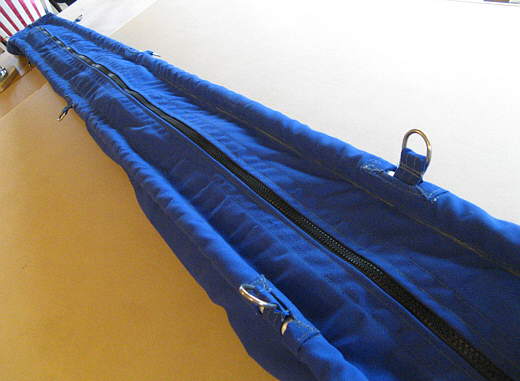
Finally it is time to sew the tubing pockets down the sides of the pack.
.......
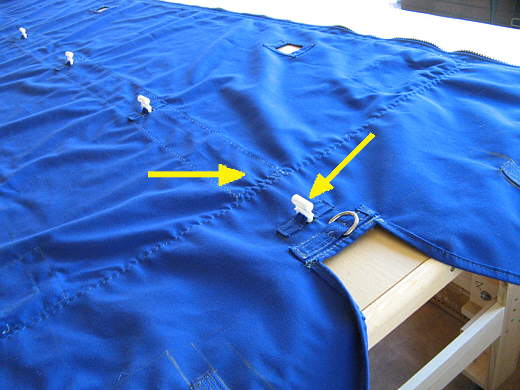
The upper two arrows and lower two arrows point to the lines that will be pinned together and sewn together to form the pocket. It was at this point that we moved the lines out about 1/8th of an inch from what they were on the pattern to make the pocket slightly bigger.
.......
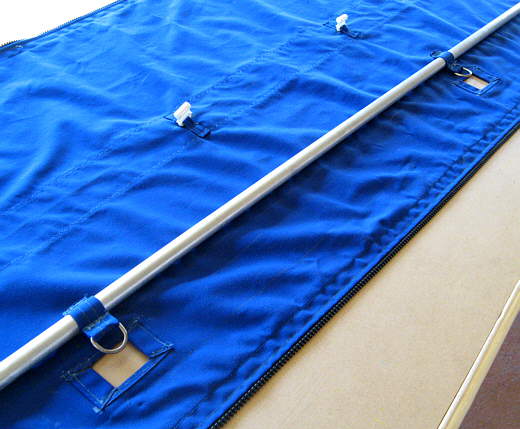
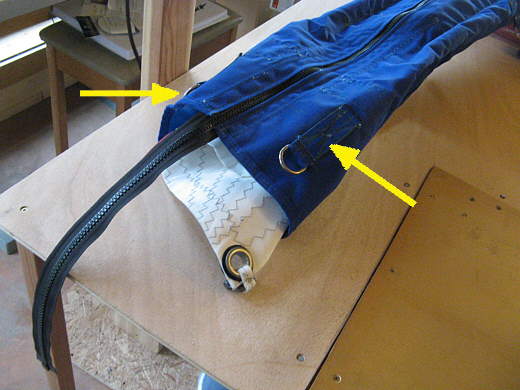
Here the pocket has been sewn in and the tubing inserted along with the D-ring tabs for the lazy-jack lines. To keep the tubing from sliding out the front or back of the pocket a few hand tack stitches will be sewn in at the ends of the tubing pockets. If the tubes would have to be removed the back tack stitches could be cut and the tube slid out.
.......
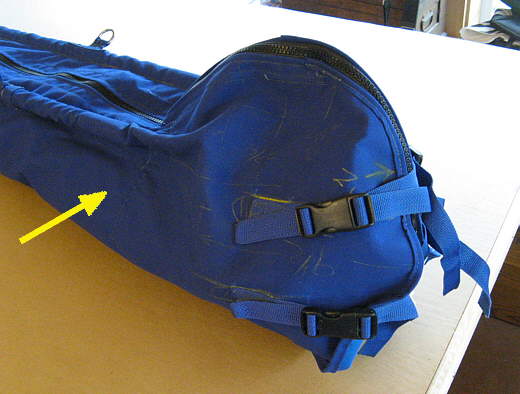
We decided to also sew a short piece of webbing inside the pack about where the arrow is. That way when the sail is up the front of the pack could be folded back inside of itself and one of the straps that goes around the front could be snapped into the female half inside the pack. Use the other front strap for the other side. This will just keep the front of the pack from flopping around.
.......
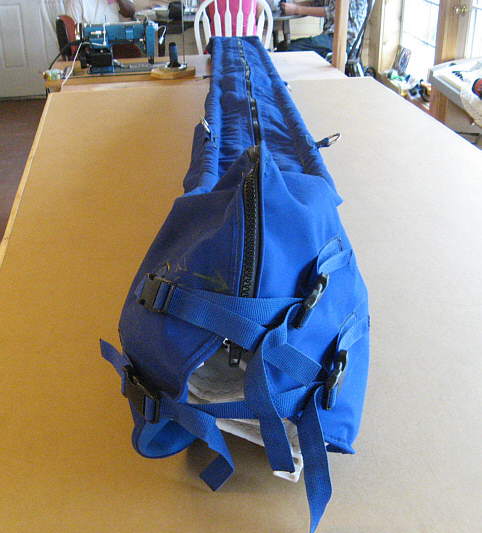
Above you can see how the two front straps just go around the boom and snap in or each side and then can be pulled tight.
.......
A view with the sail inside the pack. The sail fills the pack, but doesn't require a lot of effort to stuff it and pull the zipper and the lazy-jack lines flake it nicely. Better than I could do by hand.
.......
Two straps with D-rings are on the aft end and a line is tied to one D-ring and then runs through an eye strap on the back of the boom and around to the other D-ring. This holds the pack back so that it can't slide forward on the boom. This and the attach point at the front hold the pack in position nicely.