...........................................Return to Sumner's Home Page
.......Return To Mine & Other Bonneville Car Construction Pages
..
.. ...........Return to Hooley's Index Page ........................................ ....Next Page
..............................The Stude's 2005 Changes.- Page 1.
................
This year (2005) the car is going from an un-blown fuel competition coupe to a blown gas competition coupe. Since the blower and top hat will stick further out of the car we needed to build a scoop and an enclosure to help with the aero around the blower and air to the motor. Hooley, John and Sumner talked about what we wanted back in April of 2005 when we were all in Oklahoma at the same time. Next we presented our ideas to Tom Burkland and via e-mail he helped us refine those ideas and determine how big the scoop opening needed to be. Thanks Tom. Next John got the car in June at his place in Missouri and started on the scoop and other modifications to the front-end. He made the scoop assembly and glassed the hood to the rest of the front-end and made a change to the front air dam. On this page follow along as John explains what he did.
.......
Using tape and some wood a rough mock up of what the shape was created.
..................
It allowed me to get an idea of what I wanted the final shape to look like and I could make provisions for everything that needed to be enclosed.
............
At this point I have rough cut the sides and top. I also made a mold and cast the curved edges along the top. The idea of the scoop is to provide sufficient air to the motor and to also improve the air flow around the blower and up over the top of the car. An effort was made to avoid large flat areas and to make the surfaces curve as much as possible. This will help keep the air attached to the body.
.........................
In these photos you can also see the green foam block that I formed for the teardrop shaped area under the inlet. I made the air inlet piece that sticks out the front in a separate mold earlier before I started work on the main body of the scoop.
............................
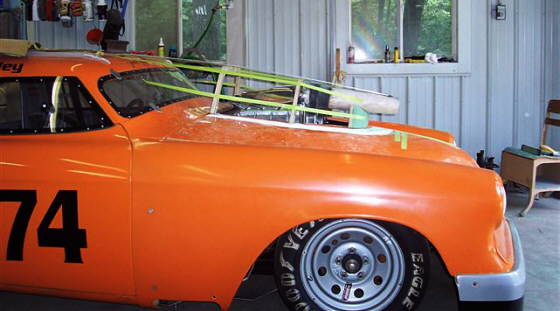
This is a shot with everything stuck together and it is now ready for final shaping and the first coats of body filler.
...........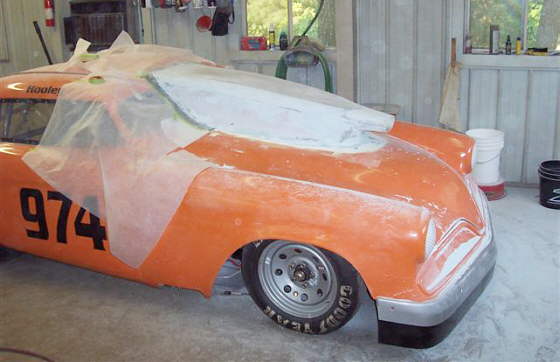
Here I am fitting the scoop to the shape of the windshield and making the fillet where the scoop meets the hood.
There is now added area to the car as seen from the side ahead of the Center of Gravity. This means we are moving the Center of Pressure ahead of where it was before (not good). We are worried about this, so there will also be changes made to the side spill plates on each side of the rear spoiler. We will make them as large as possible to add side area at the back of the car to help with the Center of Pressure issue.
...........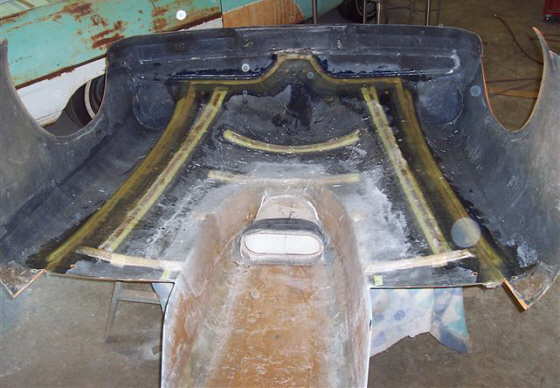
This is a shot of the front-end turned upside down and a view of the underneath of the now one piece front-end. You can see the reinforcements I made to stiffen the whole assembly and you can see how the air inlet will hook to the Enderle injector on the blower with a flexible rubber piece coming off the back of the snout that extends out past the front of the scoop enclosure.
At this point I have glassed the hood to the front fenders to make the front a one-piece unit. We thought that by doing this it would enable us to make the airflow over the car better as we could eliminate the turbulence around some of the areas where the hood meet the fenders and the rest of the front-end above the grill area. It should also make it easier to work on the car as the whole front will now come off in one piece.
..................
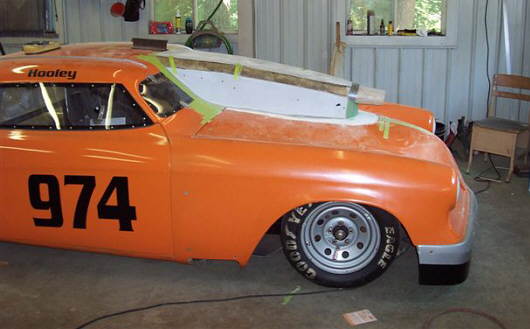
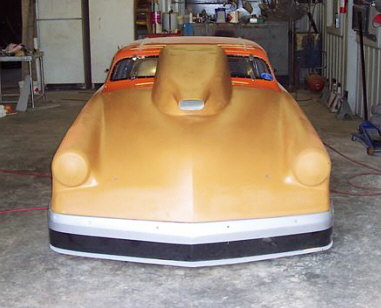
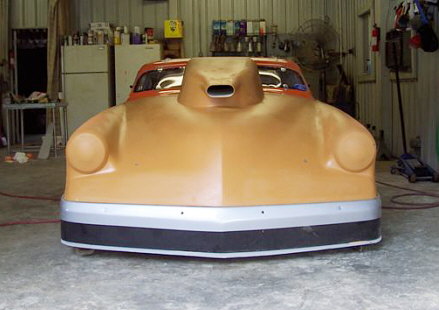
This is the complete assembly ready for the final go around of filler and then it will be time to spray on a couple of coats of the high fill primer.
You can also see in this shot the splitter (lip) that I made at the bottom of the dam. This is supposed to help force the air over the top of the car and keep it from underneath the car. What you cannot see in any of these pictures is the inner structure that was made to help support the one piece front when the air pushes down on the front at high speed.
..................................
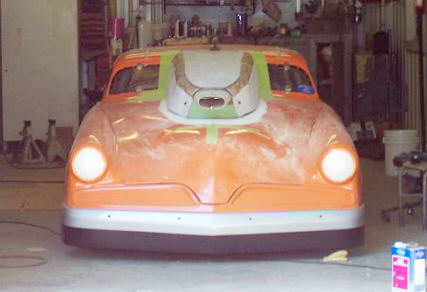
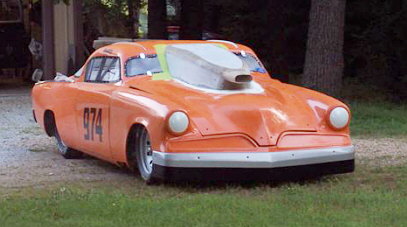
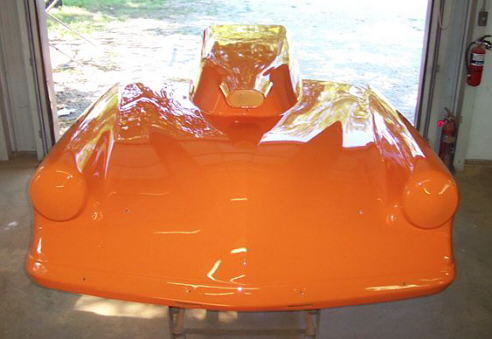
Here is the front with a fresh coat of primer. Other work done in this area was to flatten (fill in) the two eye-brow like grill openings below the headlights. Also the headlights have been made a little rounder and the flat area that would have been the trim around the lenses has been taken out (look at an earlier picture of the car).
...........................
Later we will post pictures of the belly pan added for this year and changes to the rear spoiler and spill plates.
...........................
A picture of the front all painted and ready for the grill and headlight decals.
...........................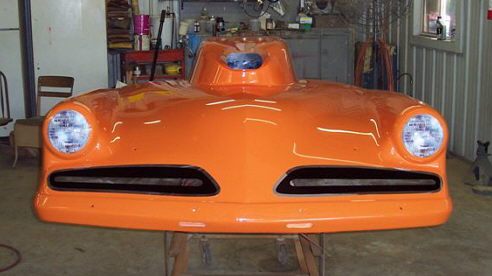
Finished with the decals. I think John sure did a great job on the frontend.
.........................................................................................Next Page
..................................Back to Hooley's 2004 Bonneville Experience Story