..................
...................................................................--- Bimini Page 1 ---
Similar to the dodger one of the goals in making the new bimini was making so that it was quick to remove from the frame for storage at the end of our trips. That meant making zipper pockets where the old bimini only had sleeves. I also didn't like how the old bimini attached to the rear of the dodger with zippers and snaps. They were torn and I feel zippers are slow to use. All of that was replaced with common sense fasteners.
Ruth was still recovering from foot surgery, so I continued on with the sewing machine after finishing the dodger.
..............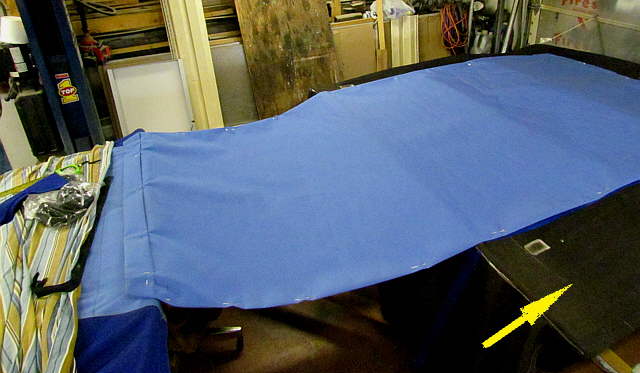
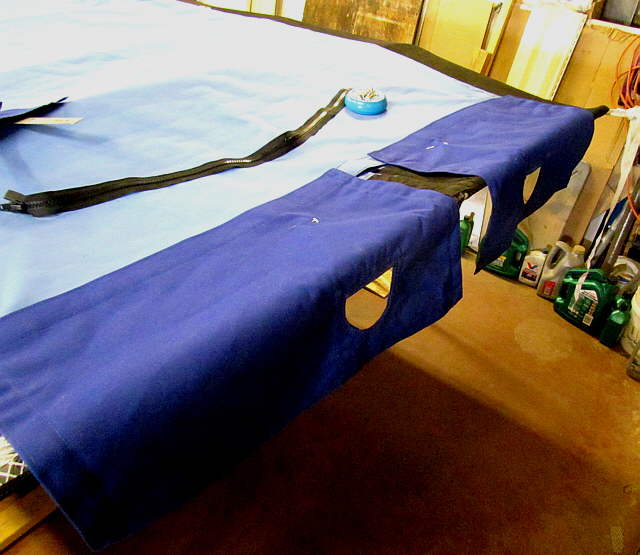
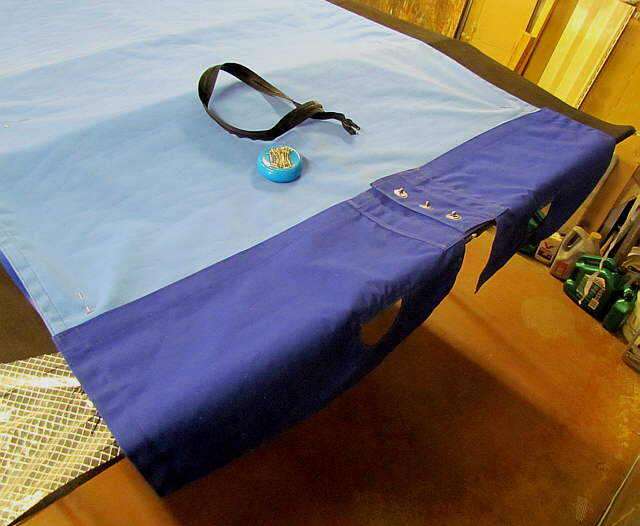
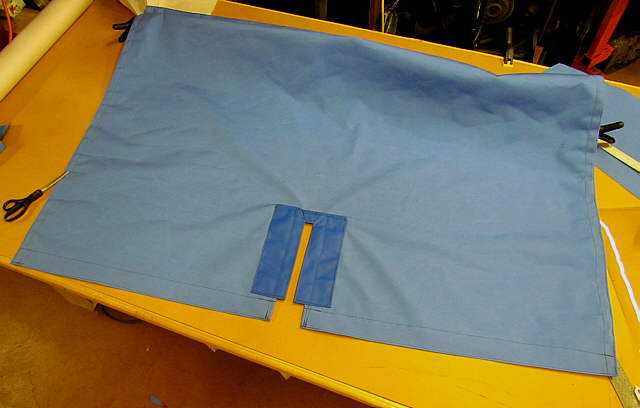
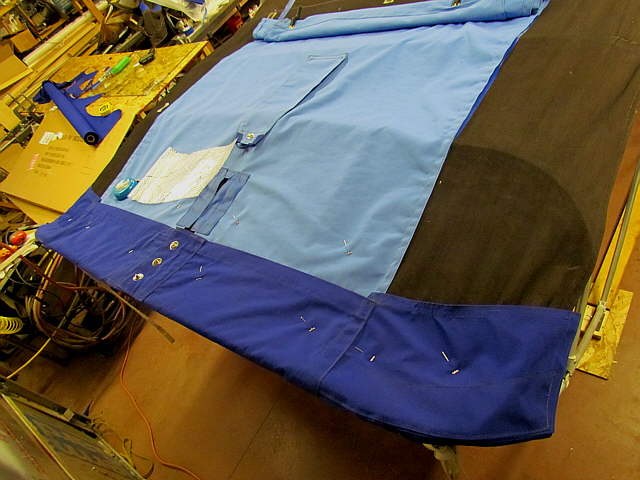
The starting point was the center section which was made from the lighter Sunbrella blue to keep the heat down below the bimini. The bottom arrow points to the original bimini. I didn't use it for a pattern, but mainly to support the new pieces and to keep the frame where it had been on the boat so that hopefully this all fits when we return to the boat.
..............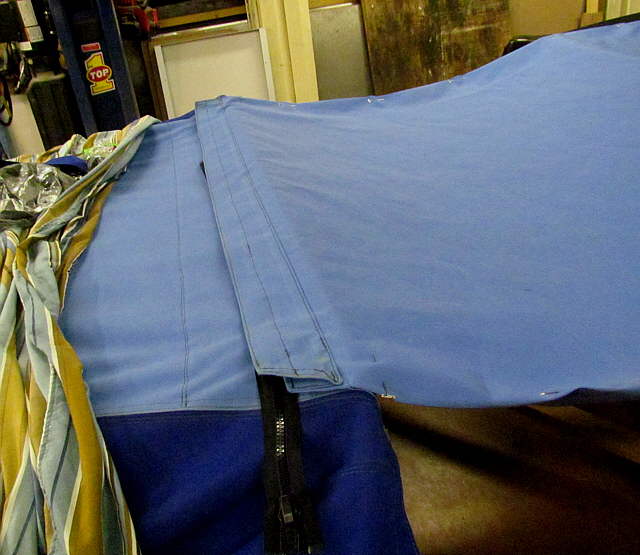
Above you can see the leading edge flap that was going to cover the zipper shown, but then I decided to not use the zippers.
..............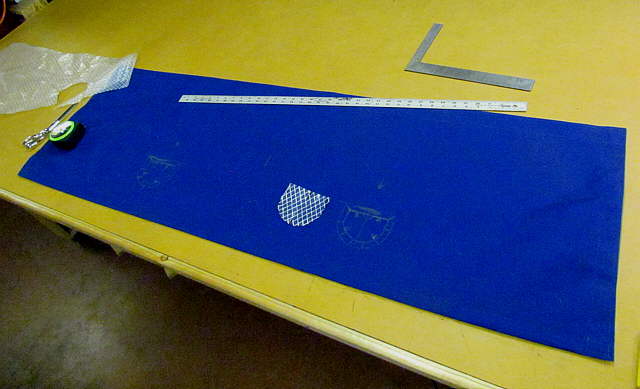
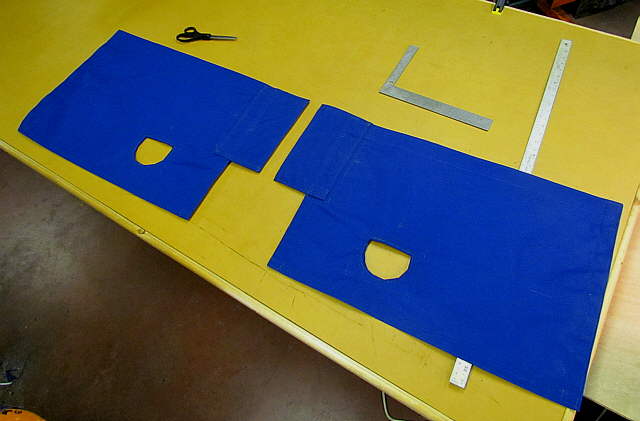
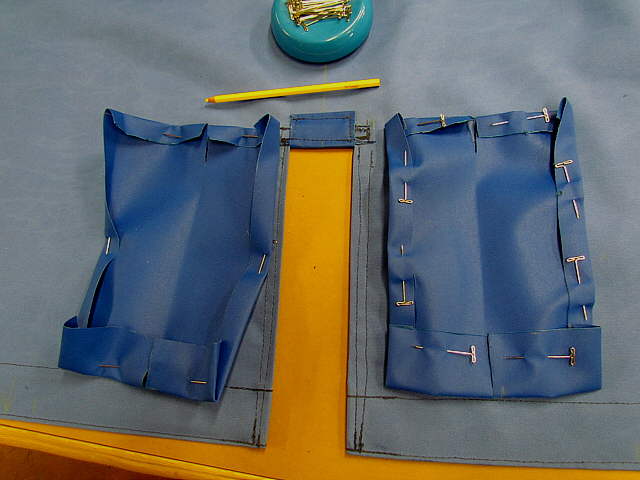
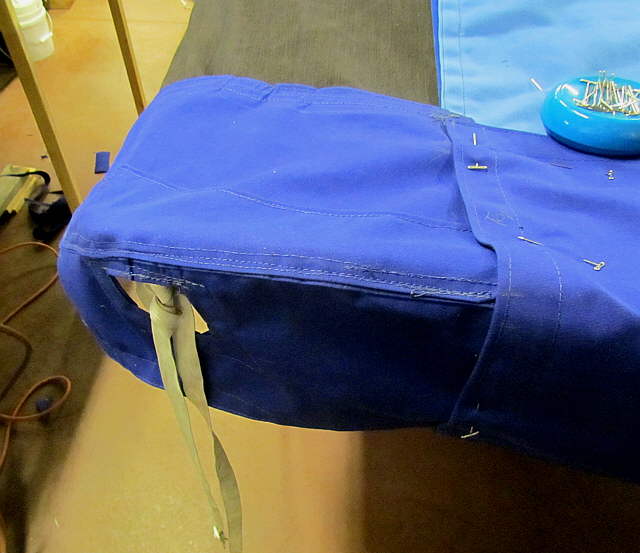
Here I'm starting on the very back center piece and laying out openings for straps that you will see later.
..............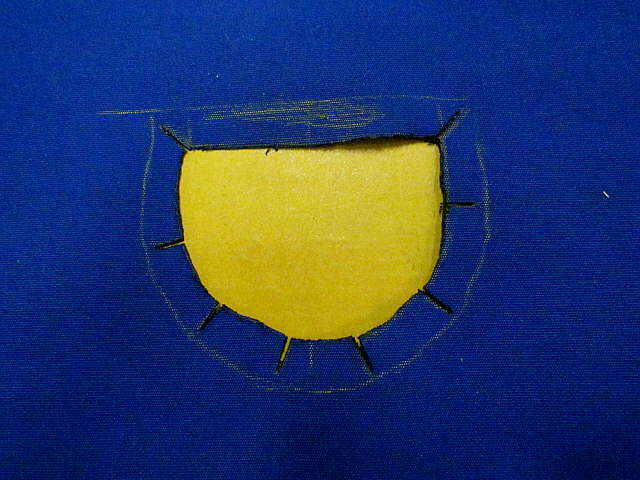
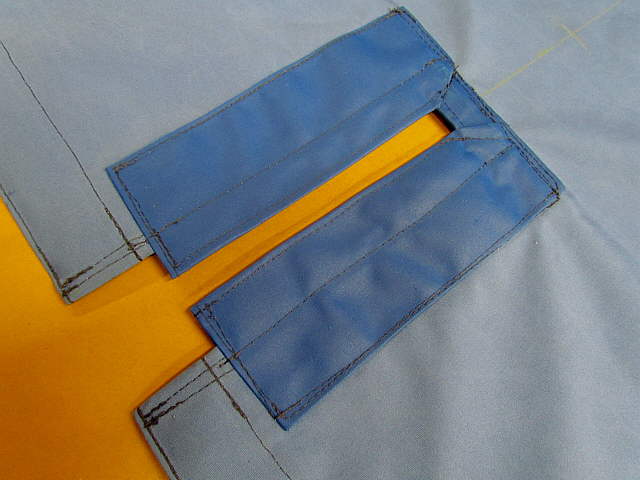
I'd mark the opening and then cut it out and put in 'bend' slits with the soldering guy that has a cutting blade in it.
..............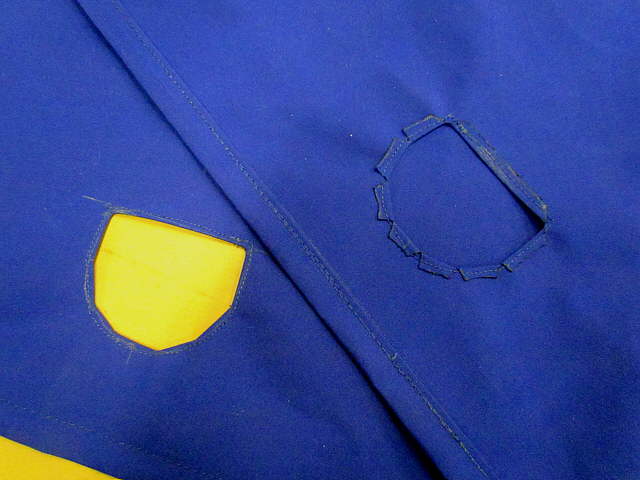
Here you can see the front and back side of the openings.
..............
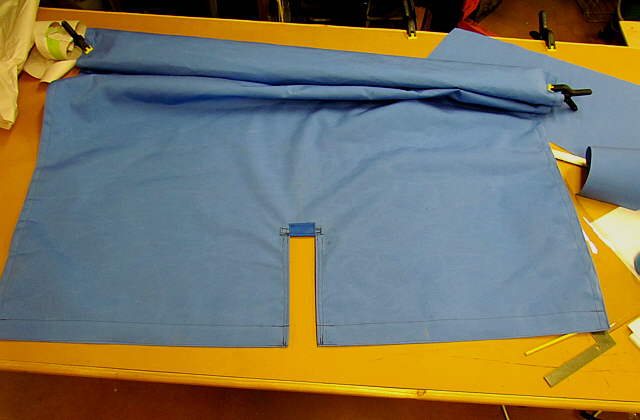
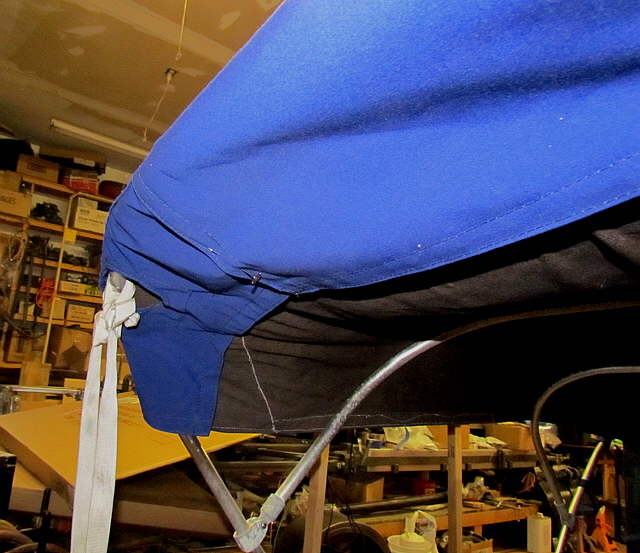
Here the piece is shown in place but....
..............
... I needed to open it up in the middle so that when you put the bimini on you can get it past the backstay.
..............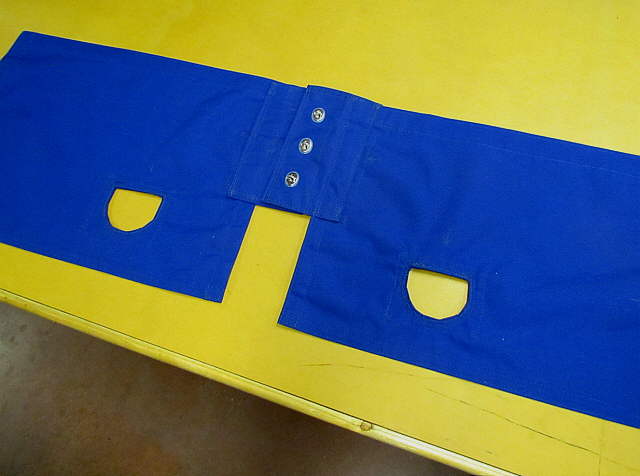
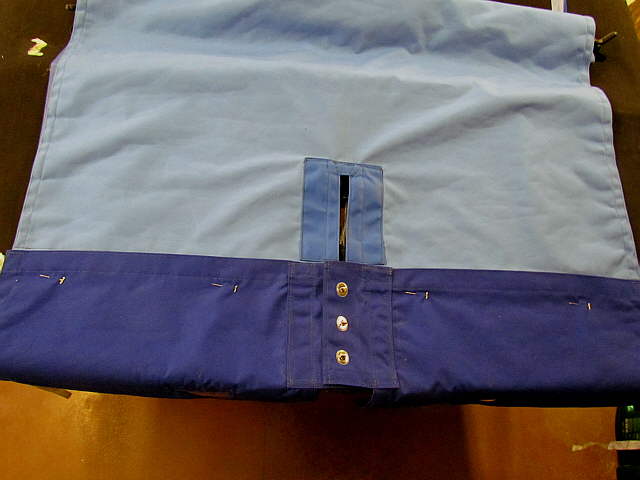
Zippers, one each side, will be placed on the bottom below the openings ...
..............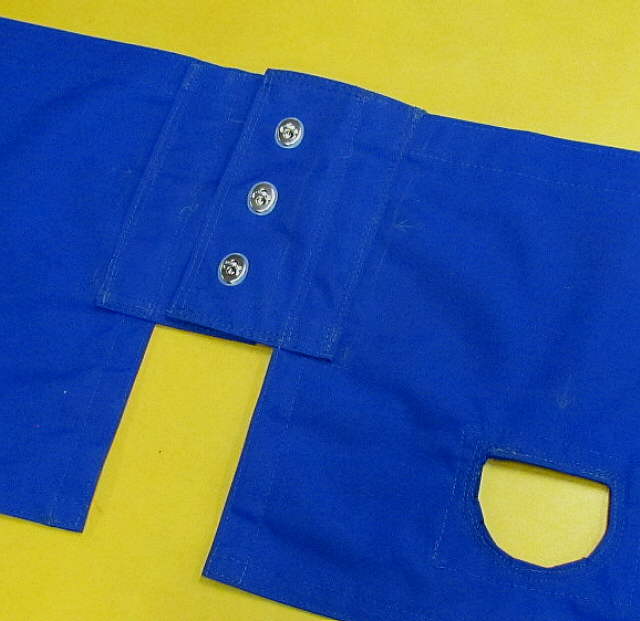
.... installed common sense fasteners to the flaps that will be behind the backstay opening.
..............
Next an opening for the backstay will be put in the lighter blue area ahead of the common sense fasteners.
..............
Here the opeing has been made and hemmed and one piece of Top Gun material has been added to the head of the opening.
..............
More Top Gun, from Sailrite, was cut and ....
..............
.... added to the sides of the opening.
..............
This will help to protect this area from the back stay if it happens to rub on it.
..............
Extra items like above were added to the bimini that the original didn't have. Hopefully it is more useful and lasts longer.
..............
Next a window was formed in the top piece using Sailrite's instructional video.
..............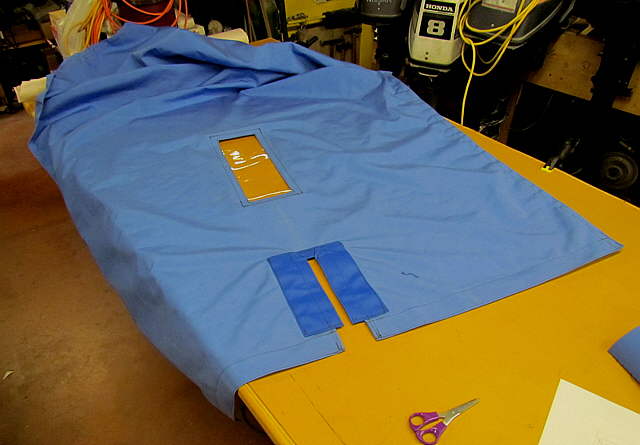
The window is a little narrower and a little further back than what was in the original bimini. This change was made to make room for six 80 watt solar panels that will be mounted above the bimini.
..............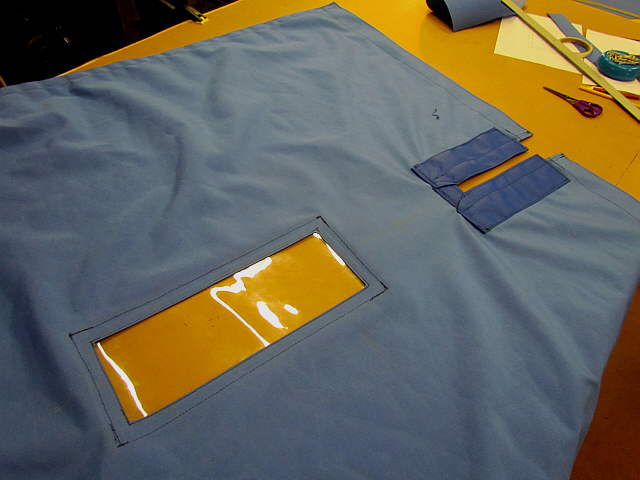
A better view of the window that will be used to see the Windex.
..............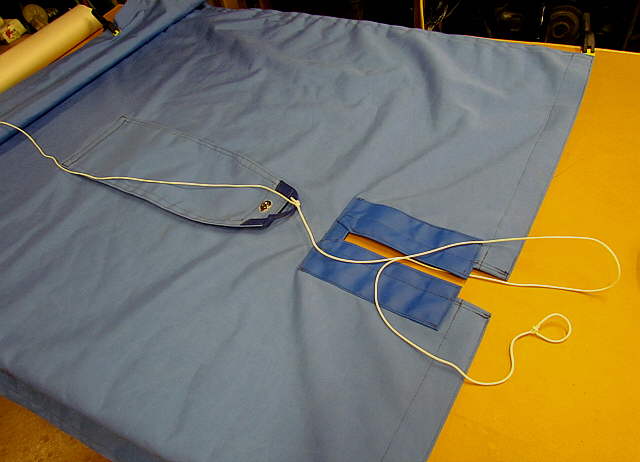
A flap was made to cover the window when not in use. It is secured with a single common sense fastener. The pull tab and lines are to pull it forward or back rearward as the flap will be going forward under the solar panels.
..............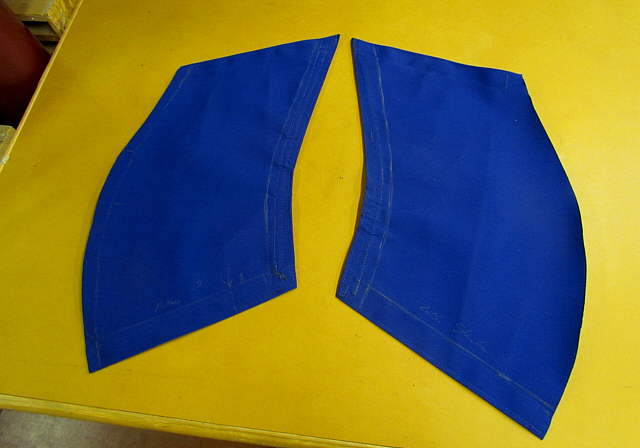
Next work began on the ...
..............
...rear corners of ...
..............
... the bimini.
..............
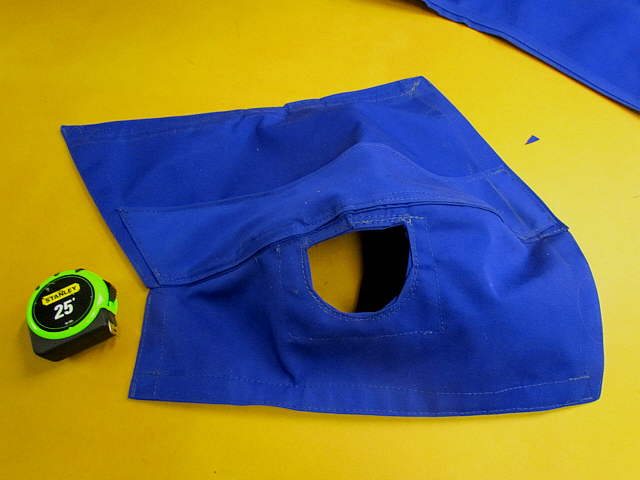
There will be a zipper install along the edge shown above.
..............
Here both corners have been made.
..............
Next work began on the sides. All of this covered the same area as the original bimini, but the construction was different.