..................
...................................................................--- Dodger Page 2 ---
..............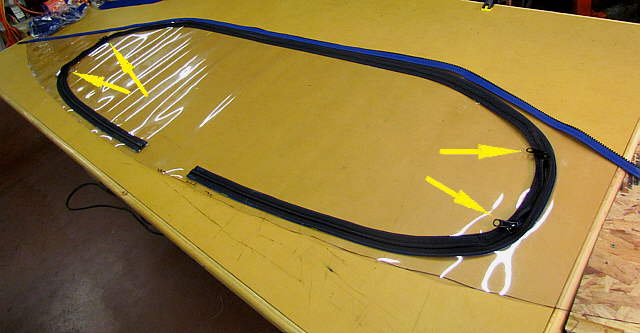
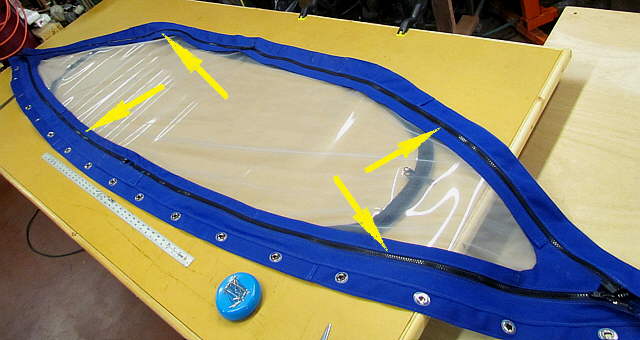
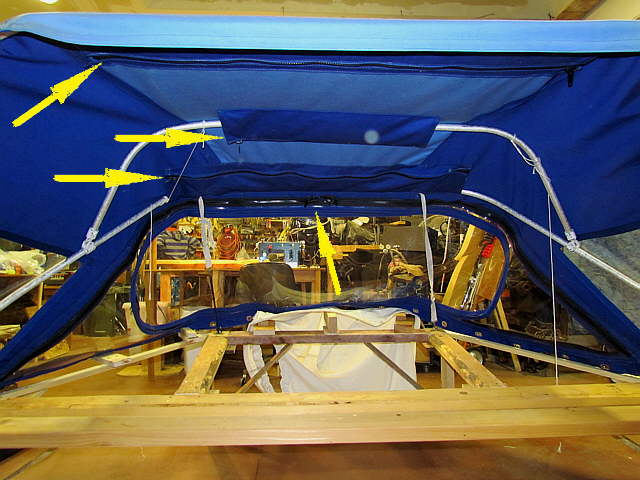
The arrows point to the 4 zipper pulls that I put on the single Zipper. It isn't too hard to get 3 on and I finally figured out how to get the 4th one on that has to go on backwards. These pull work in sets of two that face each other. You can unzip an area with one and then zip up what you want closed with the other. This is handy for just getting air in from one side of the front if needed. Or opening a small area for a little ventilation.
..............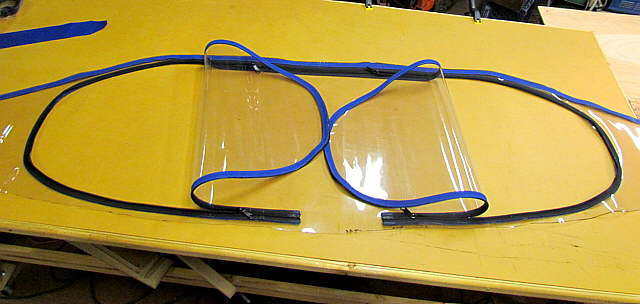
Above I have both sides unzipped, but you can have any one area or any two areas open.
..............
... and above the whole front is unzipped to the point where it would bend into the boat. 3 pulls are on the left and one on the right. Note you can't unzip the whole window out as there is a section at the bottom where the vinyl is still whole. You can take the whole front window section out and loose from the dodger if you want.
..............
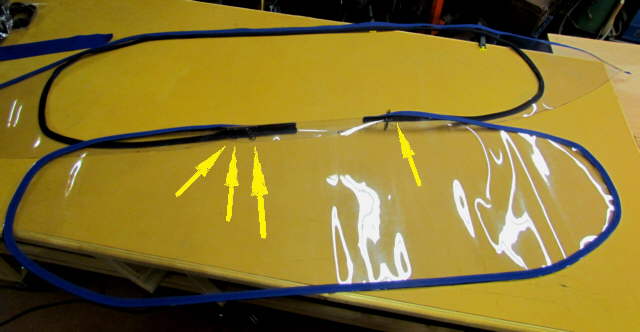
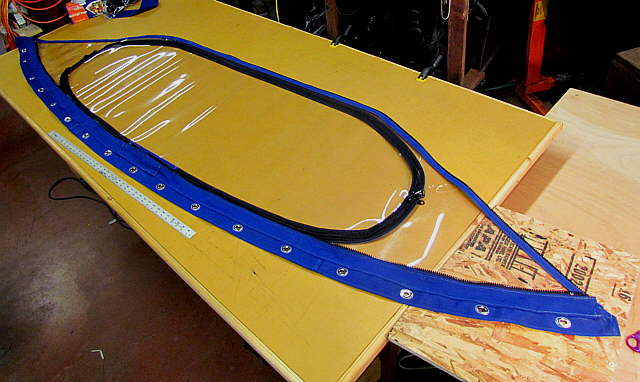
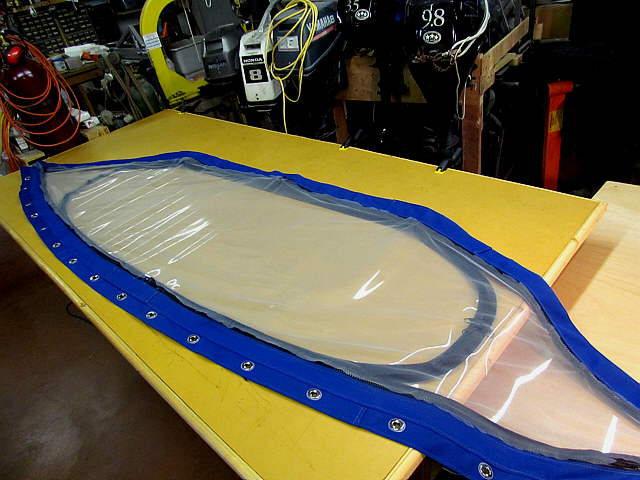
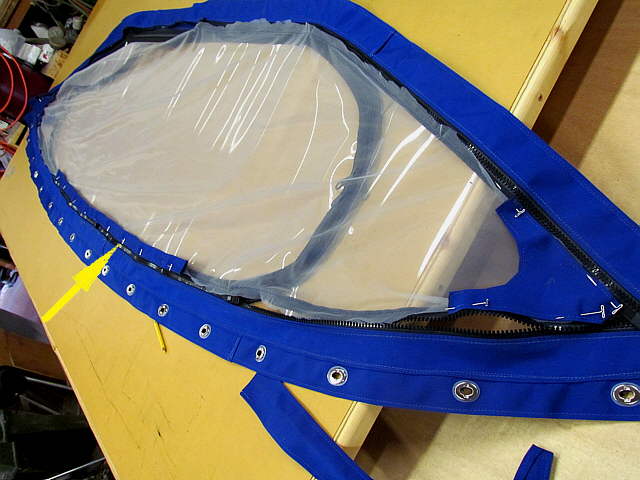
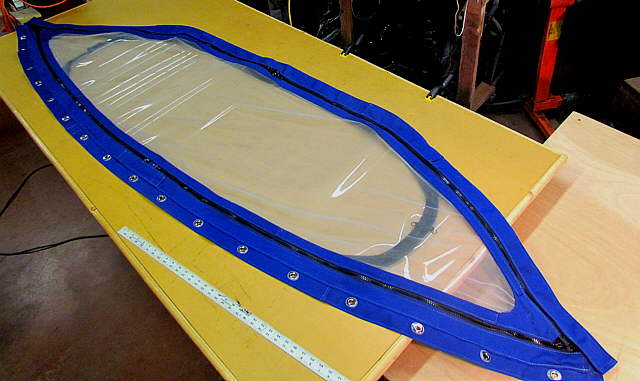
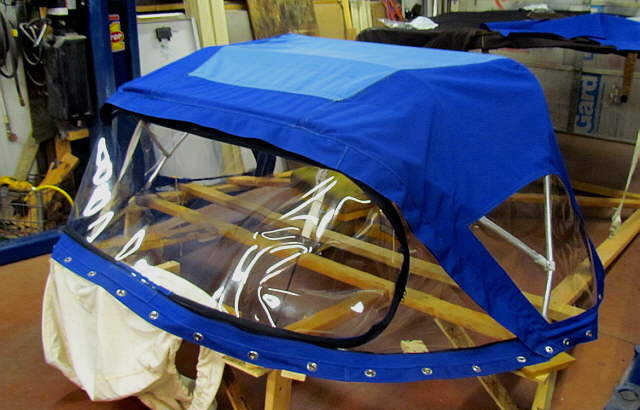
A view of the window completely closed. Note 2 zippers on each side.
..............
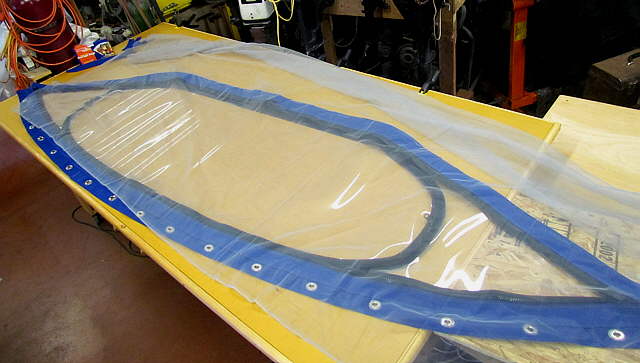
...and another view.
..............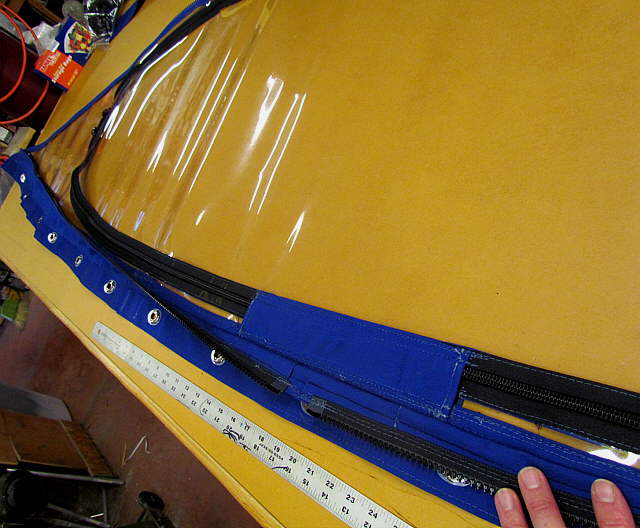
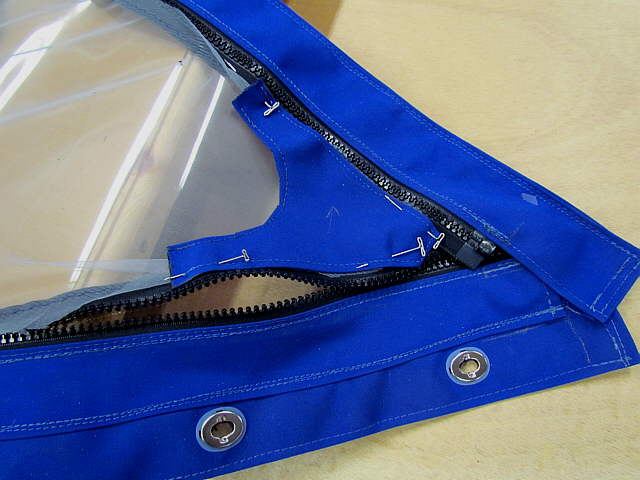
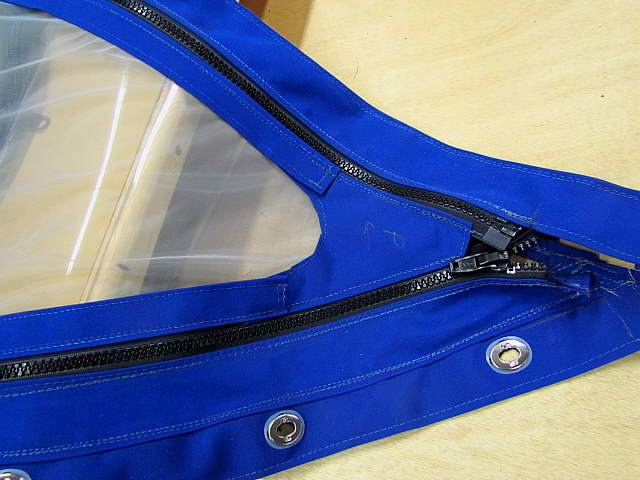
The blue material between the zippers reinforces the are where there is no zipper so that it can bend there. My finger is holding down the outer layer of zipper track that is for the bug netting that comes next.
..............
Here I'm laying out the bug net and then...
..............
... cut it. The net has to be bordered with material for the second half of the zipper track.
..............
Here are the corners where ...
..............
... the net zippers will terminate. 2 zippers on the top, one from the middle out to each side and the same on the bottom
..............
I've started to pin the perimeter fabric to the net above that will come over and tie to the corners.
..............
A view of the finished netting in one corner and you can see the upper and lower zipper tracks. The corners with backing behind helps to keep any bugs our where the zipper ends are.
..............
The arrows point to the 4 zippers.
..............
Here the netting has been unzipped and removed from the front and ...
..............
... here it is attached.
..............
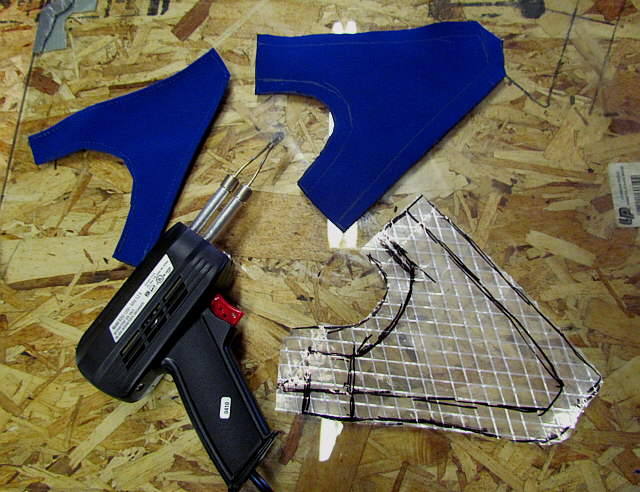
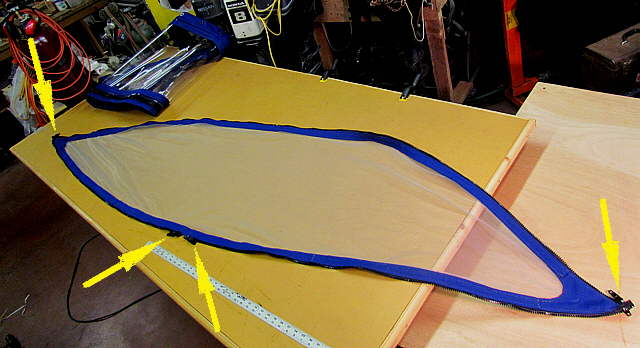
Next up was working on the main zipper track that attaches the top of the window assembly to the dodger.
..............
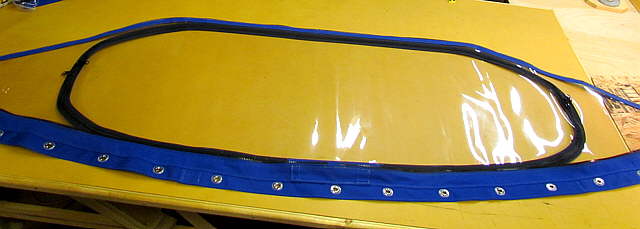
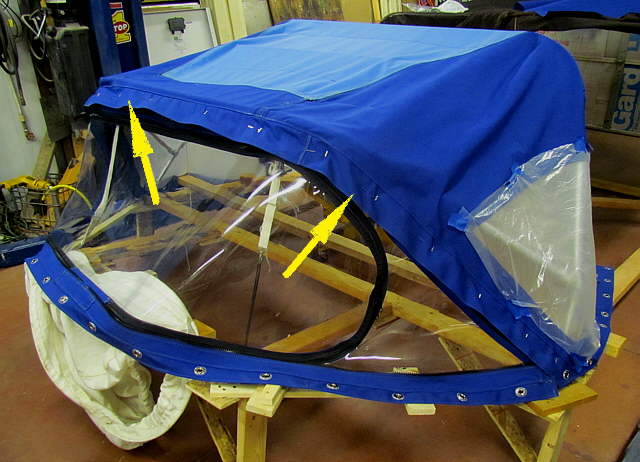
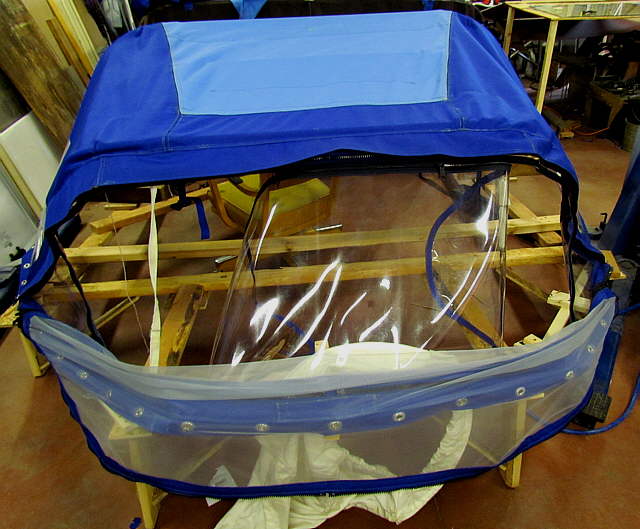
And here is the finished dodger with the window in place and closed, but without the netting.
..............
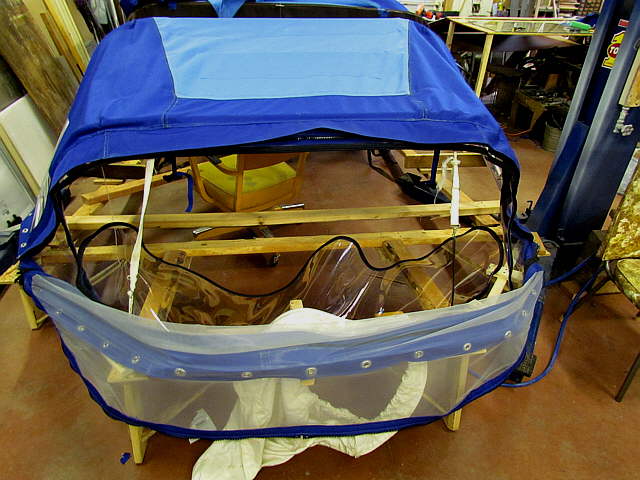
Another view of the zippered pockets that attach the dodger to the frame. The zippers on the front window have pulls inside and out.
..............
Here the window is partially open and the netting only attached by the bottom zippers and...
..............
... here the netting is dropped outside and the window inside. If we were underway and wanted maximum forward visibility this would probably be the configuration if we thought that later we would either the window close or the netting up. If that wasn't going to be the case then the whole front could be removed by just twisting the common sense fasteners and unzipping the 2 top zippers.