..................
...........................................--- Boat Fridge Install on the Boat Part III ---
..............
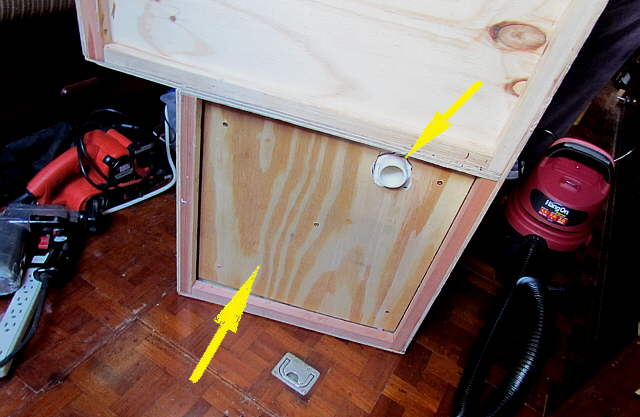
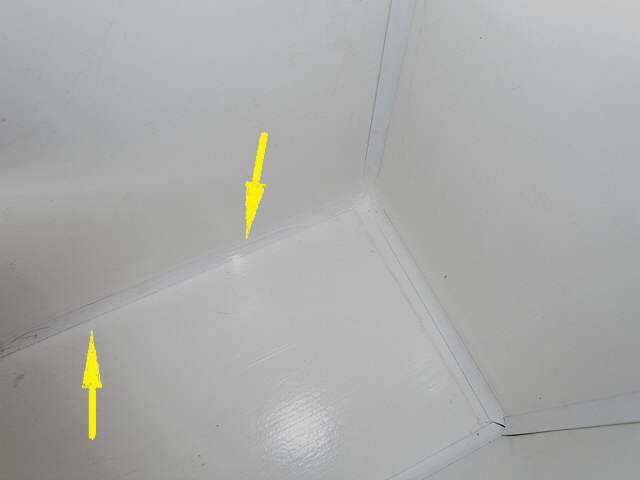
Next up was working on creating a countertop over the smaller lid but first I added 2 inches of foam under the smaller section, bottom arrow. I put in two 1 inch thick pieces since one had to be smaller than the other due to the stiffeners located up in that area. I then put in a piece of plywood and screwed thru the plywood/foam and into the plywood bottom above that. With the added 2 inches of insulation there was now 9 inches under this side of the box and 7 inches under the other side with the option to add more there if needed. After using the box for a couple months though we are amazed at how little the compressor runs. I'd guess less than 10% of the time or even less and that was with inside cabin temperatures of 80 at night and 85-87 during the day.
Lastly caulk was applied around the bottom of the PVC pipe, top arrow. You can see there is less of it showing than back a page or so.
..............
With the bottom taken care of the box was slid into place for the last time. Screws were run into it from the sides of where the old fridge had resided, the stove side and the settee side.
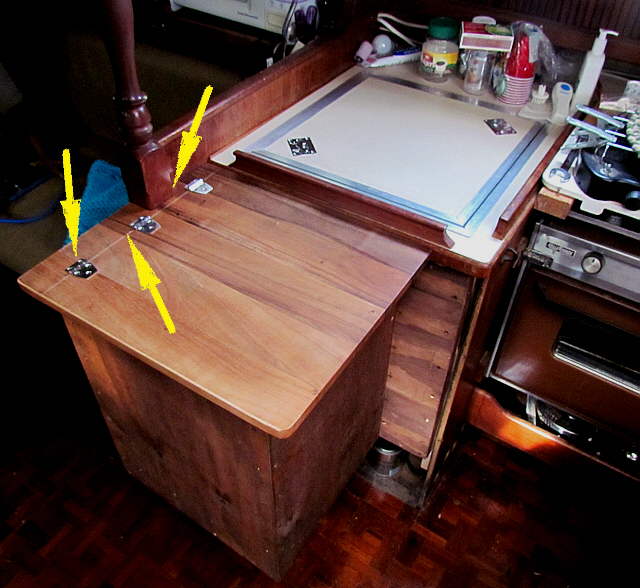
Next the pieces of plywood shown above, no stain, were screwed into place. this was to raise the new counter above the handle and to get it up to a similar height as the countertop to the right. I shimmed these pieces, right arrow, to level them for the counter that would lay on them. The left arrow points to the top of the box itself.
..............
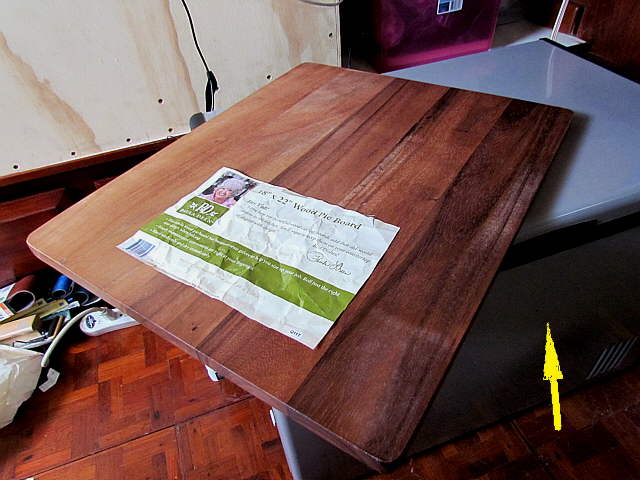
We chose a wood 'pie board' for the new countertop that we found at Walmart for about $20.00. The arrow points to the portable fridge we were still using at this point.
..............
The details for the ...
..............
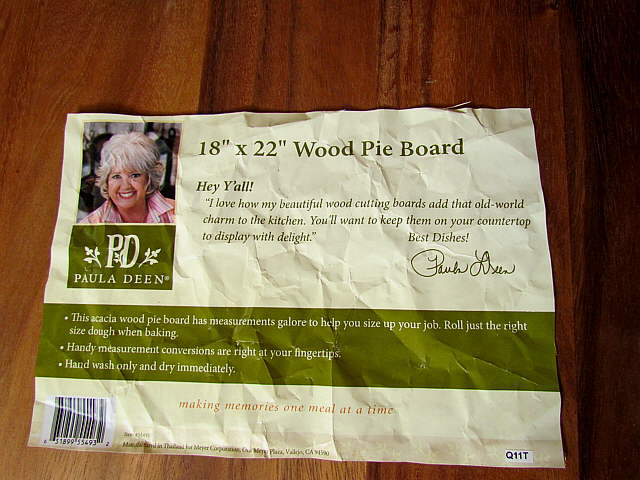
.... "Wood Pie Board". This board is not made from a real hard wood so we will not be cutting on it. One side is plain, the side we used, and the other has circles and such on it for rolling out pie crusts.
..............
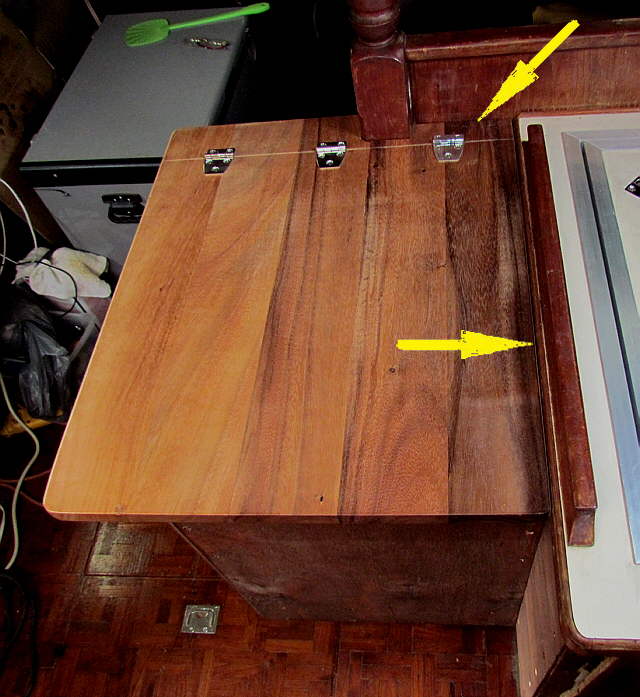
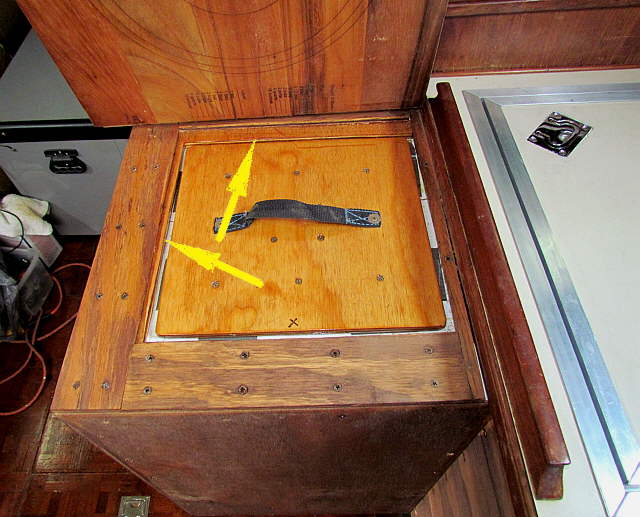
The board was used pretty much as-is, but I did cut the edge in on the side where it meets the original countertop so it is a little narrower. I wanted to get rid of the rounded corner there. It was cut across at the one end so that there would be a place for the hinges, middle arrow. It had to be cut to fit around the post and the bulkhead to the right of the post.
The screws that secure the hinges on the one side also are used to screw that side down into the top of the fridge box.
..............
Bottom arrow above points to the side that was trimmed in some to get rid of the radiused corner as seen on the opposite side. The top arrow points to the area that also had to be cut to fit around the post and bulkhead.
..............
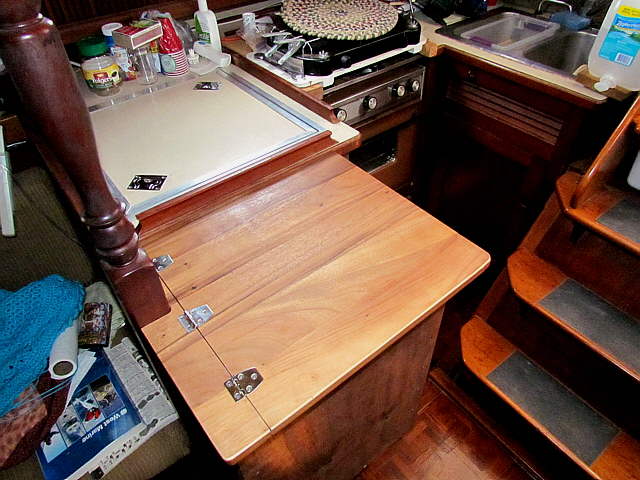
The top came out nice and helps to make the galley much more functional that before by adding to the countertop work area space and more is to come.
..............
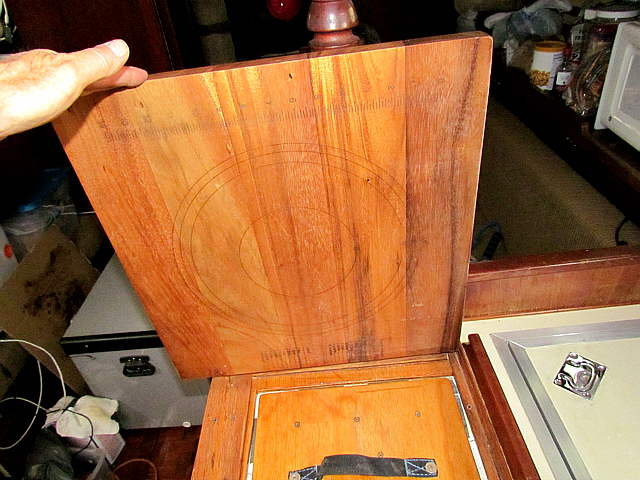
You can see the pie crust patterns on the bottom of the new top.
..............
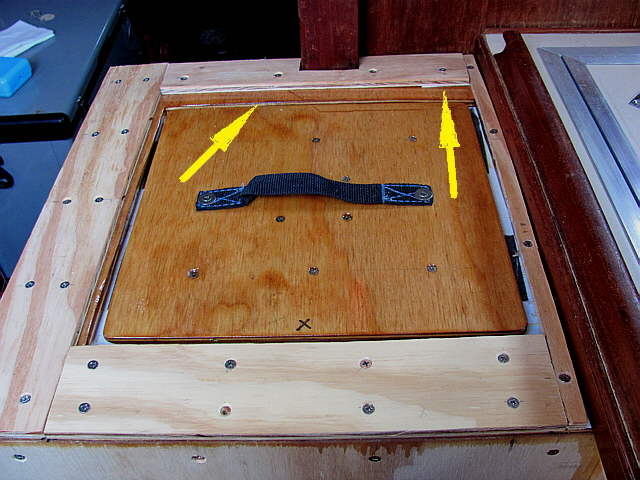
The arrows point to the top of the box as it was when it was made in Utah. The new spacer pieces are stained above, but haven't gotten a few coats of polyurethane at this point. The web handles work very well and are easy on the hands and fold down flat under the countertops above. They were Ruth's idea and a good one.
..............
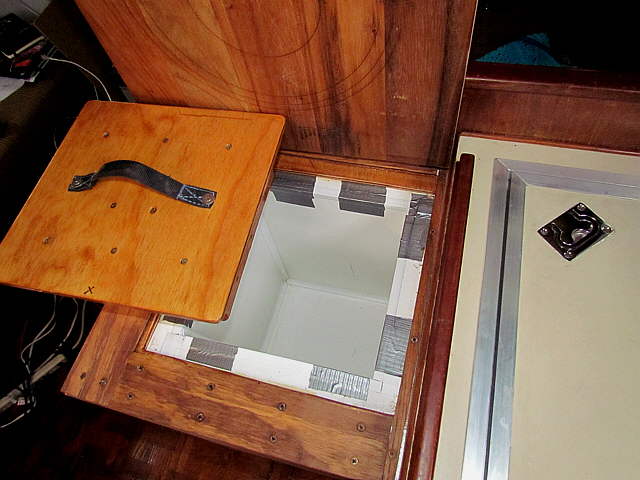
To use this side we would hinge the top up against the post and lift the lid out and put it on the edge as shown above while we removed or inserted items into the fridge. That also works well.
..............
Here the bottom molding is being caulked with a waterproof caulk. I'd pry it out and put caulk in and ....
..............
... before it setup I'd wipe up the excess.
..............
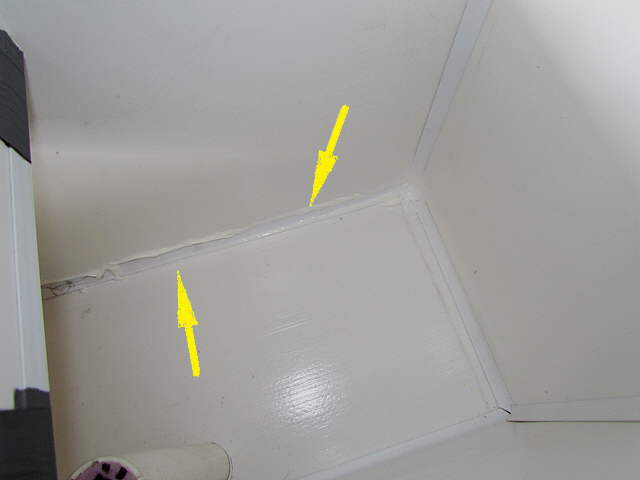
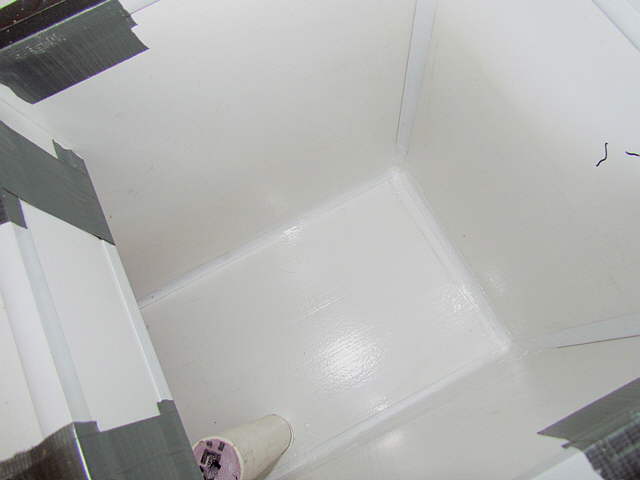
All of the bottom pieces were caulked on the large side and ....
..............
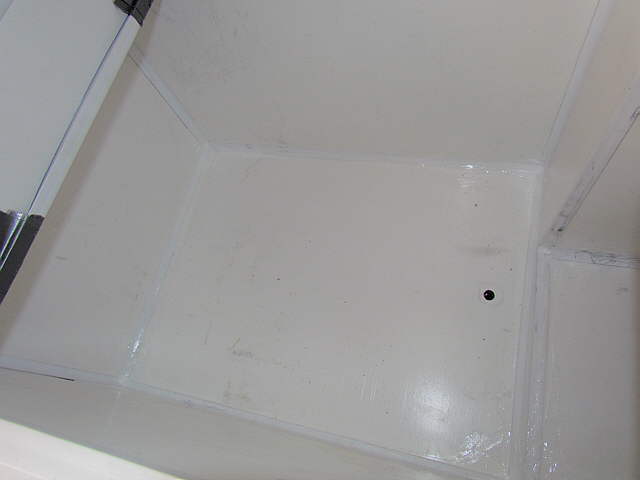
... on the small side. I didn't caulk the upright molding or all of the top molding on this trip, but will so that I can remove the duck tape. The circumference of the PVC pipe in the photo was also caulked.
We didn't have much of a problem defrosting the ice off of the evaporator and what water ended up on the floor was easily sponged up and wiped dry. Most of the caulk is just in case something breaks or spills down onto the floor. It should make the cleanup easier and the liquid would not get back in under the molding.