..................
..............................................--- Boat Fridge Install on the Boat Part II ---
..............
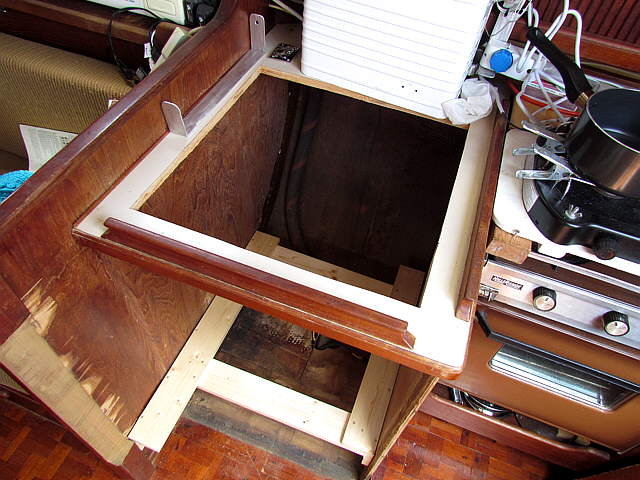
Since the large compartment of the new fridge is sitting under the counter top above a hatch had to be made in it. I marked an opening that would be in the right place and large enough for the lid in the top of the box to come out. I also needed the cut lines to be in far enough that my saber saw would work and not rub against the wood rails and back there.
One other thing is that I needed to cut the top so that I could re-use it in the opening again. Lots going on here, so let's get started.
..............
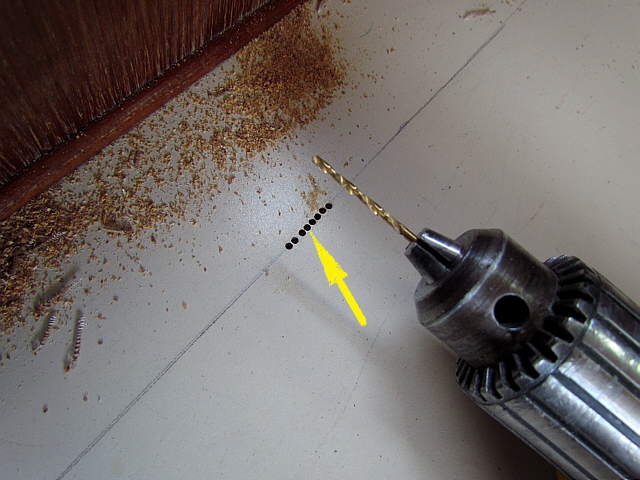
I wanted to use the saber saw and couldn't drill a large hole to put the blade in as that would ruin the piece for use later. So a number of small holes were drilled that were just....
..............
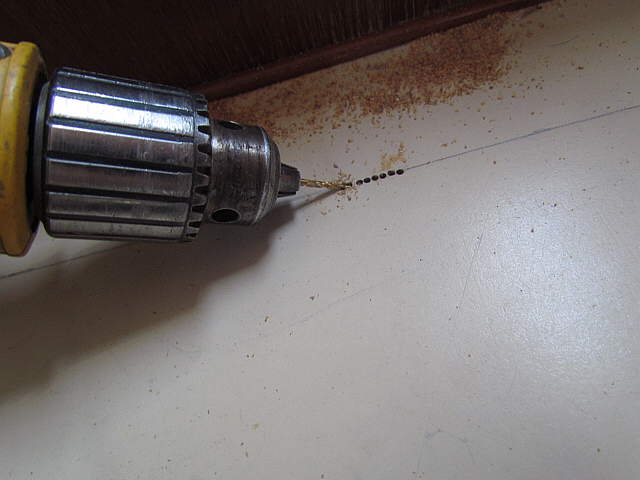
...large enough that the blade would fit into the slot that I was drilling out. By angling the drill like above I...
..............
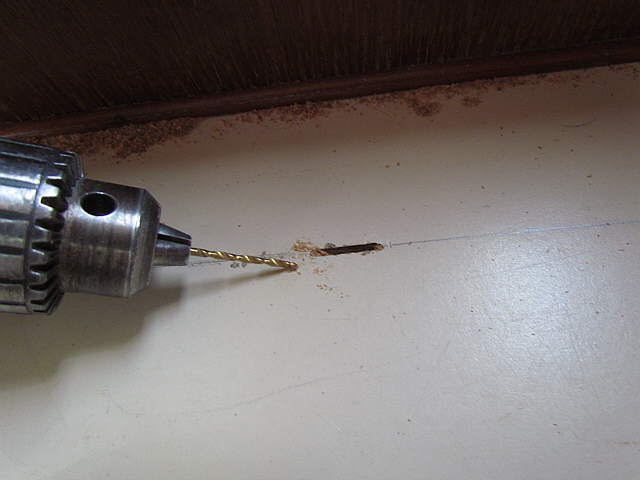
...was able to end up with a long slot that ...
..............
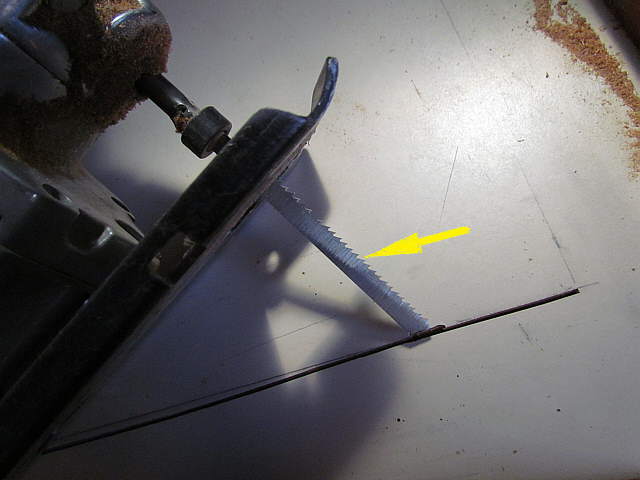
... the saber saw blade would fit into. I used a blade that is designed to cut counter tops where the teeth point down vs. up like a normal blade. Cut slow and push down on the saw to keep it from jumping up and a blade like this won't chip the countertop.
..............
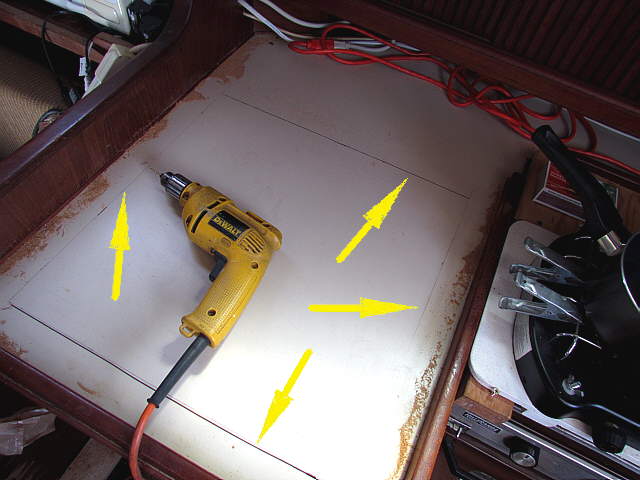
Here is the first cut and you can see that you need the line in far enough so that the saw will fit inside of the wood rail, left arrow. The right arrow points to the starting slot. Try and get this right, but you will end up making the inside piece you are cutting out smaller so there is some room for error.
Also cut to the corner, but don't try and cut around it. You need square corners so you will need to...
..............
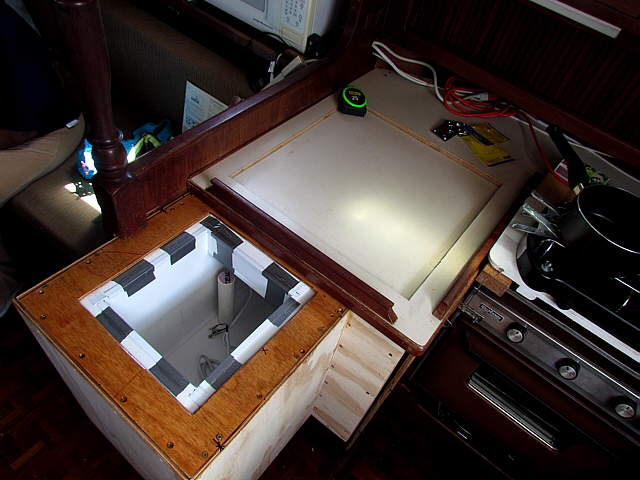
... create 4 slots with the drill to cut the 4 sides. Above the 4 cuts have been made with the box out of the opening of course. With the box back in you can see that the cut piece falls down a little before hitting the web handle on the lid top below.
..............
Another view.
..............
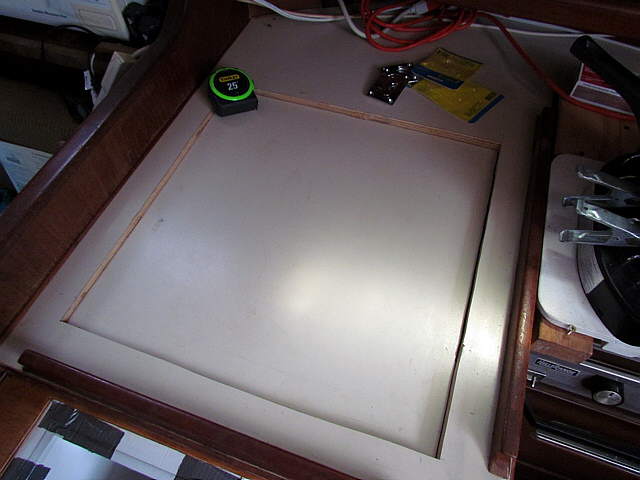
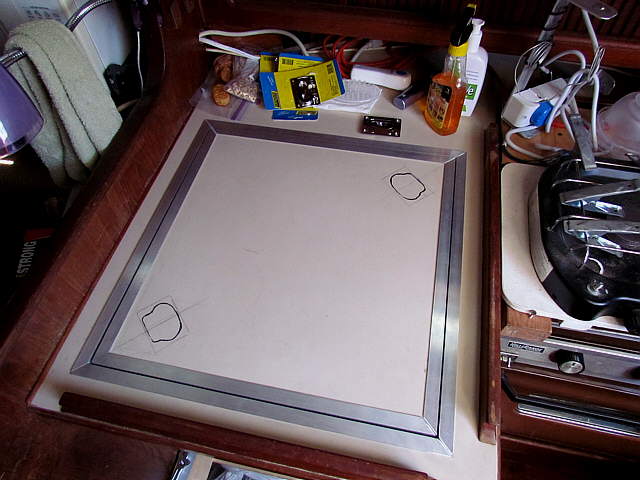
The new opening and the first step is done.
...............................
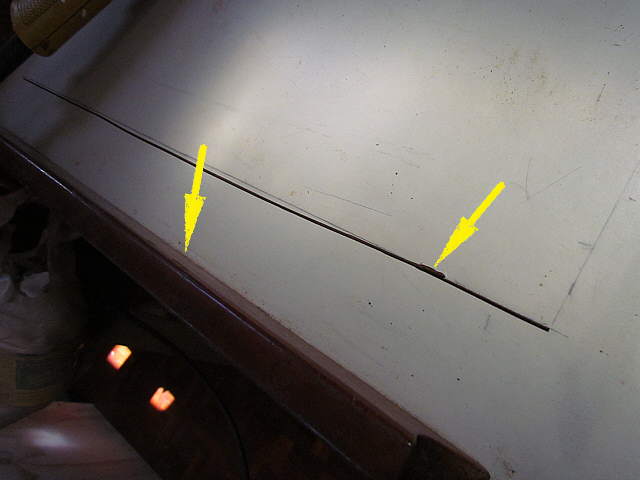
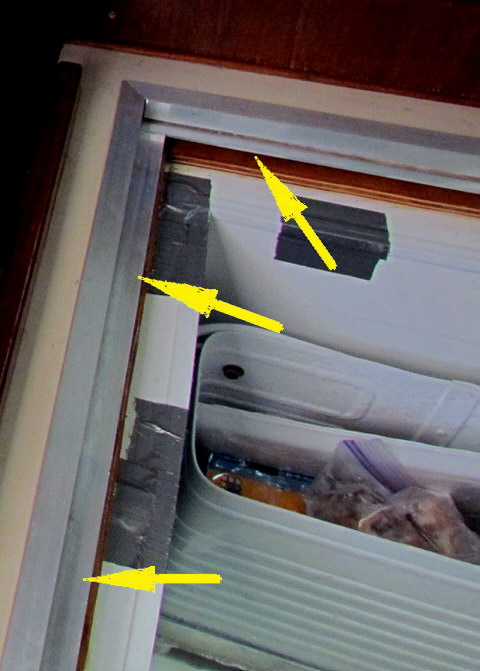
I forgot to record the next step, but the picture above should help. It was taken with the fridge in use later. Next I screwed some wide 1/8 th inch thick aluminum strap to the bottom of the opening (the box was out) on the 4 sides (see the arrows). Now when you put the cut piece in the opening...
..............
... it rests on the straps and remains level with the rest of the counter top. I then made the sides of the opening as straight as possible with a belt sander and file. Also make the opening as square as possible. You can remove some material, but keep it to a minimum for now.
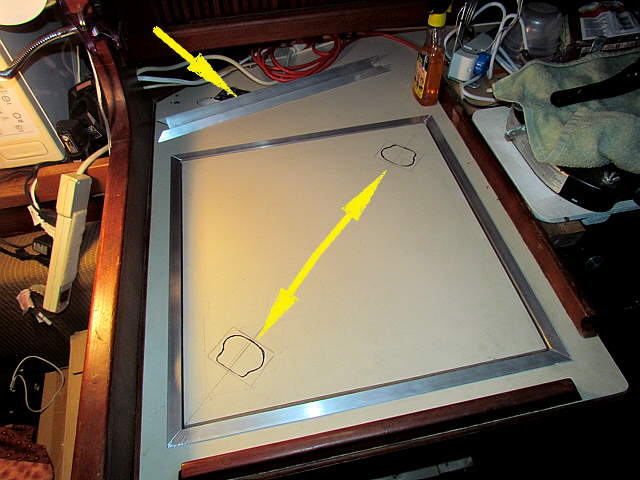
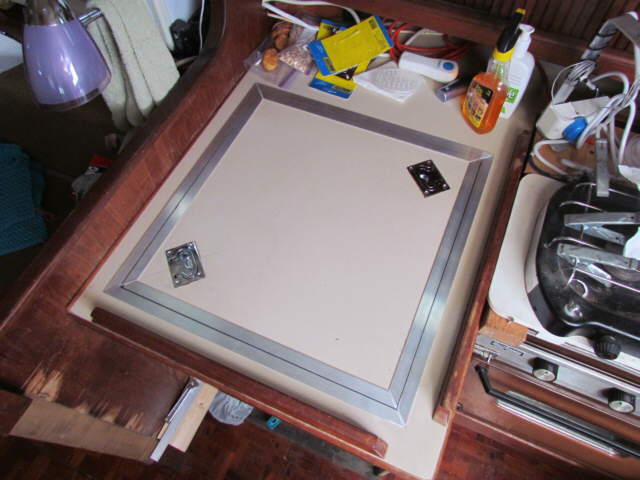
Next pieces of aluminum angle (hardware stores and Home Depot have the aluminum) were cut to frame the opening in the counter above. The top arrow points to aluminum to frame the lid itself which will come in a moment.
The other markings for for lift handles that will be added in a minute also.
..............
Nest start squaring up the lid itself and work to have edges that are parallel to the aluminum pieces around the opening and to create enough clearance for the aluminum that will frame the lid. Work slow and mark straight lines to sand up to with the belt sander. If you don't get it right the lid won't look good. The arrow points to a piece of aluminum used as a space while truing everything up and see where I had to sand.
..............
I kept working on the lid with the belt sander until it was squared up and had about 1/8 th inch clearance all around with the inner aluminum trim pieces dropped in place. Don't forget that it is sitting aluminum strap that was screwed on from under the counter top with the fridge box out.
..............
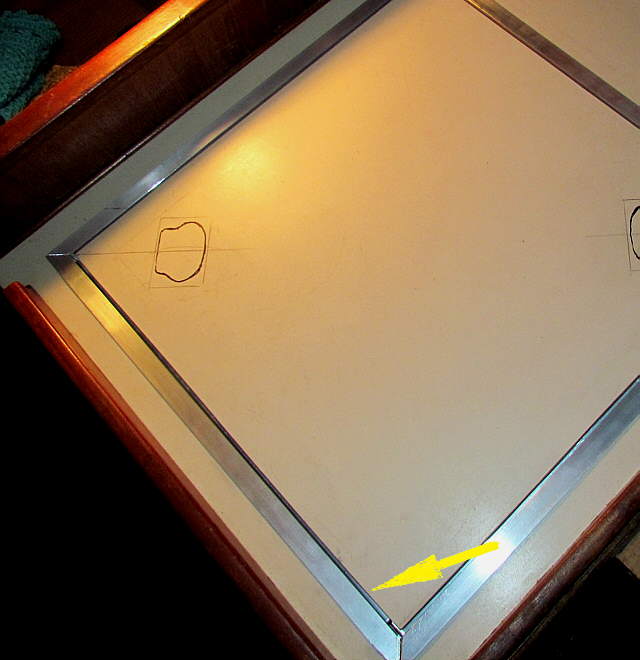
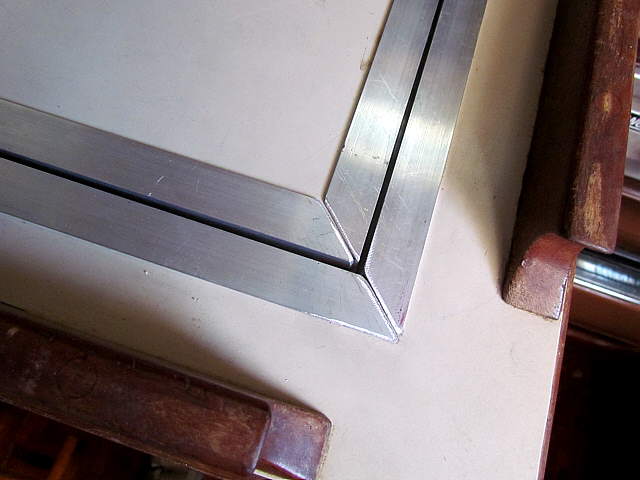
A close-up of the corners. At this point the aluminum is just laying in place. Later it will be held in place with a 'bath and tub' caulk.
..............
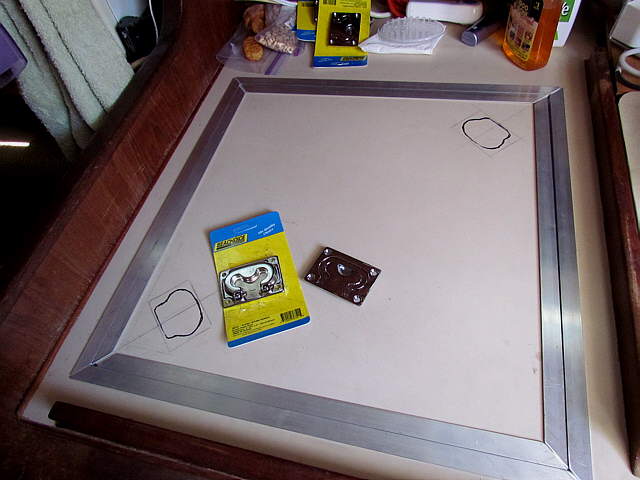
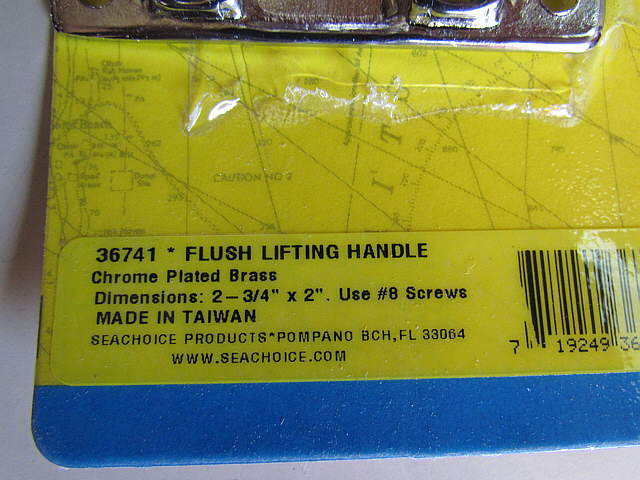
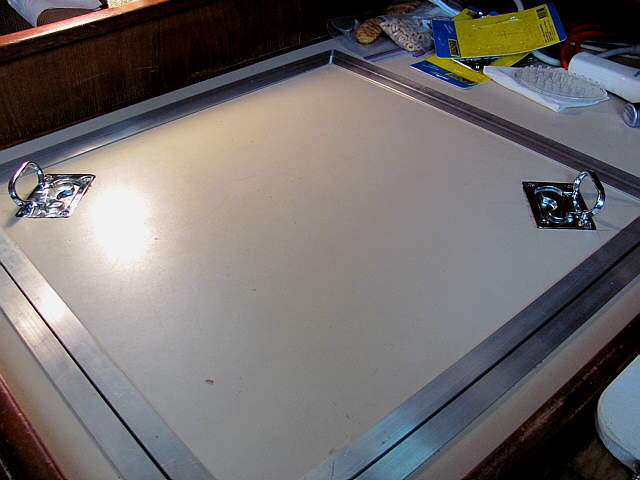
Two flush lift handles were bought from the True Value Hardware store. In Florida they have quite a bit of boat stuff. We figured since the hatch is rather large that two would be better than one and the two have worked out well. They were located as above since you are reaching in at an angle to the hatch.
..............
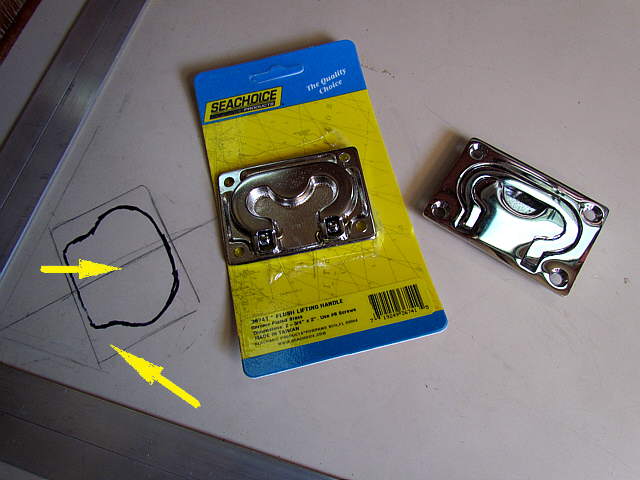
A router was used to cut into the hatch so that the handles would fit flush. I had to cut deeper in the center part where the top arrow is since the handle is thicker there. Then the cut was reduced out to the edges where the lower arrow is.
..............
The handles used.
..............
Another view of the layout line that went diagonally across the hatch from corner to corner. The cutout was centered on that line and set out an equal distance from the corner.
..............
This went well except I did slip two places a little 'free-handing' the router.
..............
The handles like this worked very well taking the hatch in and out. With the handles in place 'bath and tub' caulk was used under all of the trim and after using the box a couple months has worked fine.