..................
.......................................................................--- Boat Fridge Build Part V ---
..............
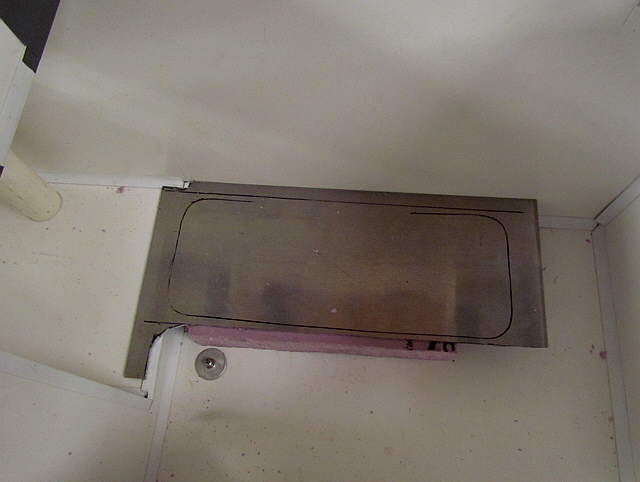
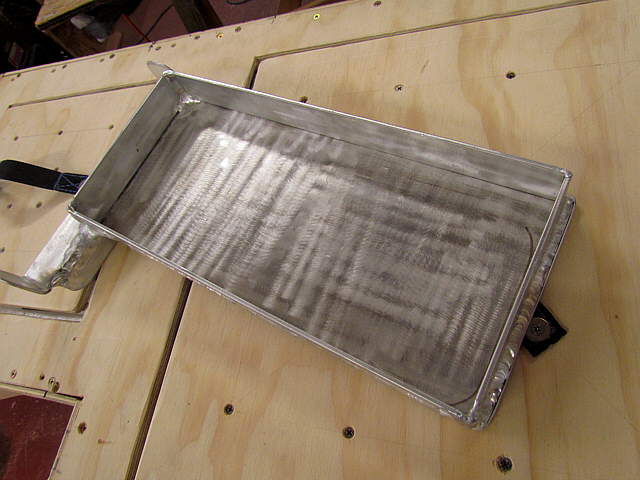
Next came mounting the evaporator and thermostat controls. I started with this piece of scrap aluminum and drew the inside outline of the evaporator on it and propped it up with some temporary foam.
..............
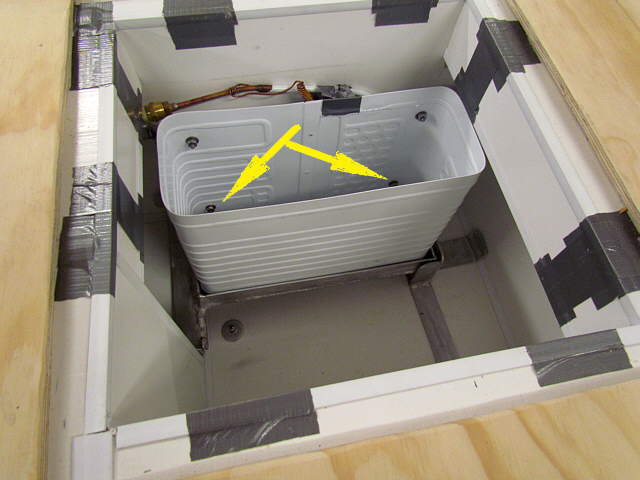
The evaporator will sit on it like this and the piece was just wide enough to.....
..............
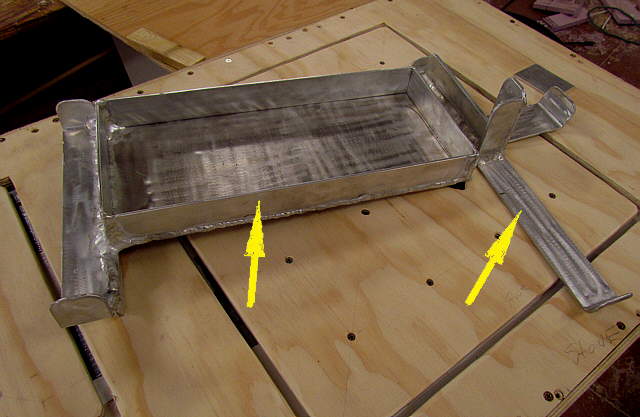
...put sides on it. I wanted a box for when we defrosted the evaporator. After defrosting it twice, you really don't need a box under it like this, but now it is made. The end pieces...
..............
...locate it inside of the box bottom and ...
..............
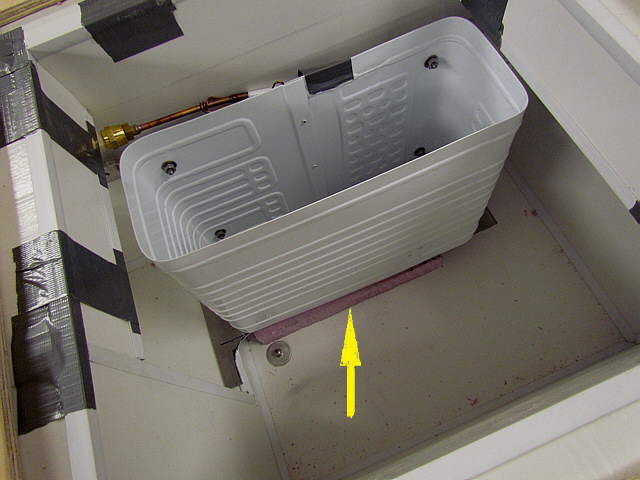
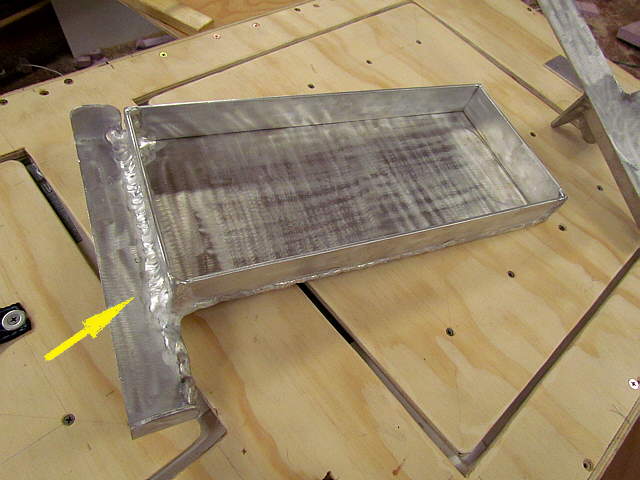
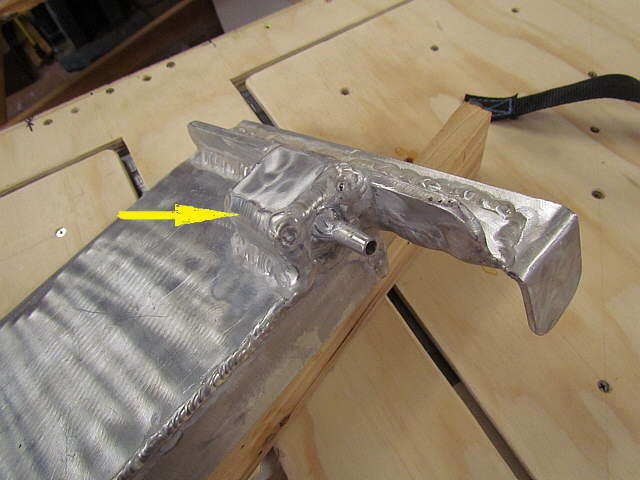
... the far end piece sits on the 2 inch lip between the box's larger and smaller side.
..............
The arrow points to the end that sits on the step in the box's bottom.
..............
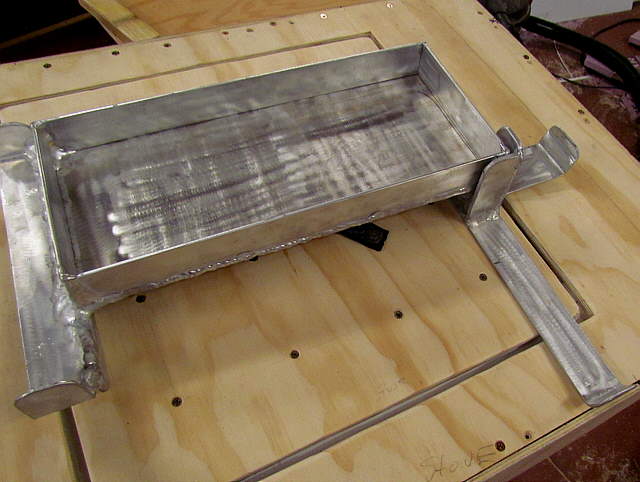
The piece above locates the...
..............
... other end of the box assembly and ..
..............
... also raises it to the same height...
..............
... as the stepped end to the left above. The arrows point to bent tabs on the ends of the locators that can be bent to create a snug fit. None of this is bolted to the box.
..............
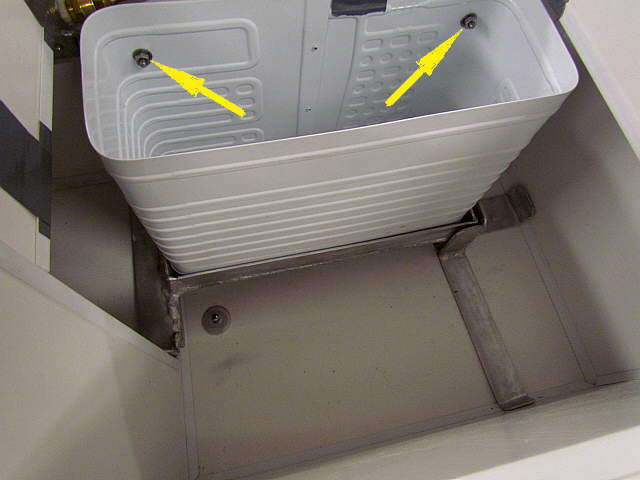
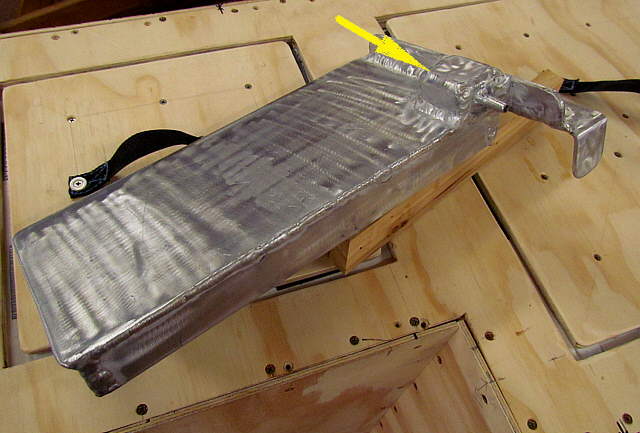
The evaporator bolts to the piece..
..............
...that I made earlier with...
..............
...four SS bolts. At this point the coolant line is still coiled at the back of the evaporator and won't be uncoiled until the fridge is at the boat and read to be hooked to the compressor/condenser.
..............
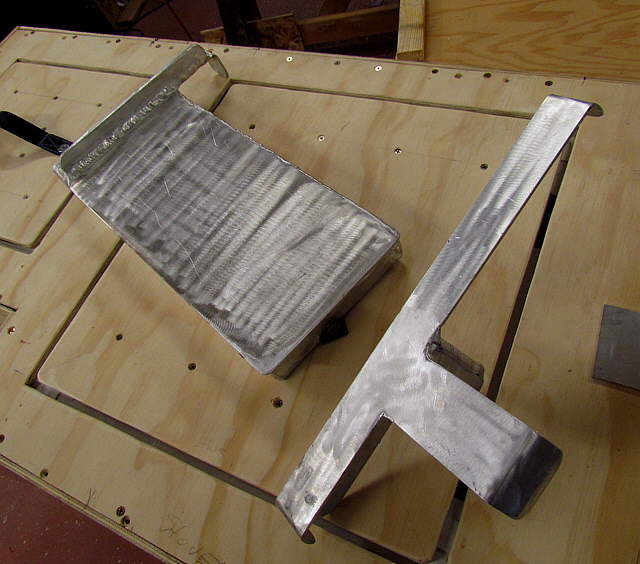
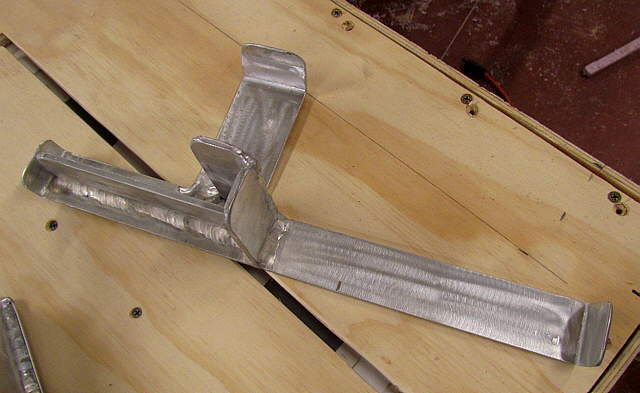
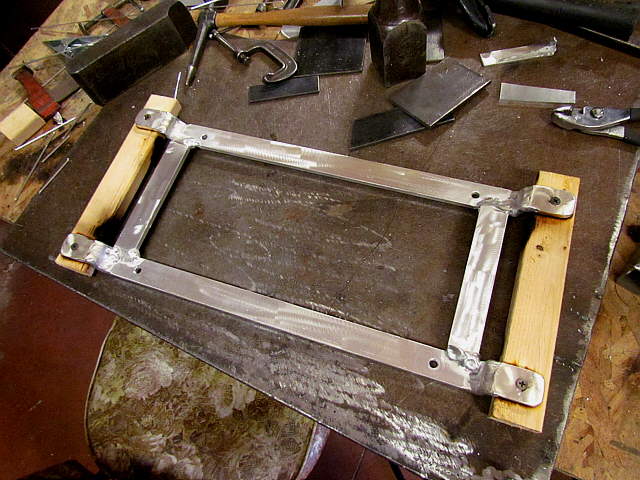
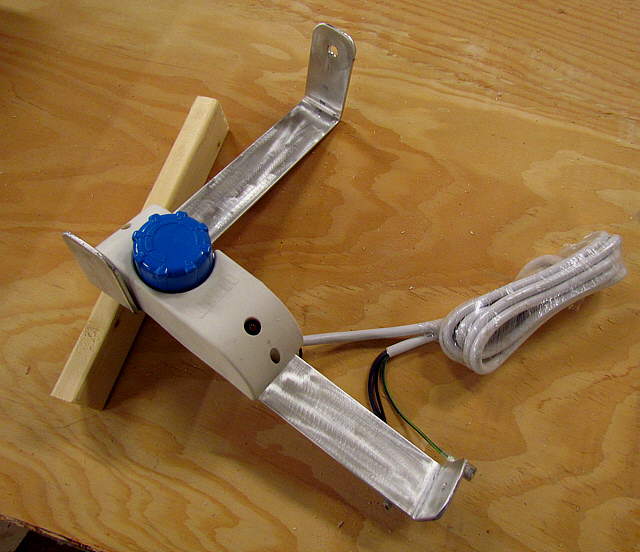
The compressor/condenser comes with a thermostat and a sensor that mounts to the evaporator and also the wiring that runs down out of the box to the compressor controls. It was mounted to two pieces of aluminum shown above and was ...
..............
...located right above the step area in the box, but can be mounted anywhere in the box as long as you can get the sensor pickup to the side of the evaporator.
..............
A backside view of the thermostat mount.
..............
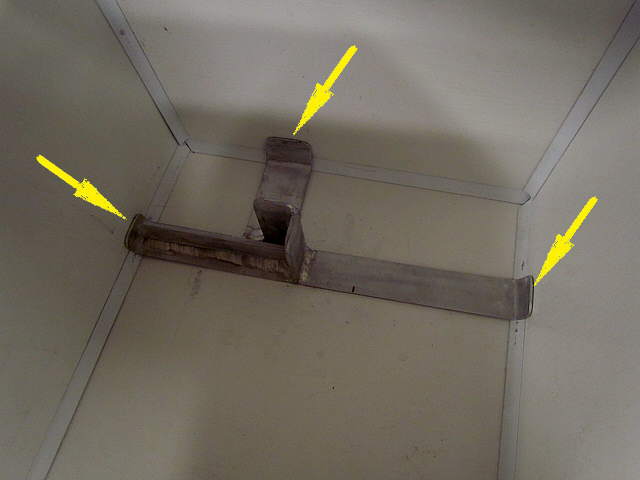
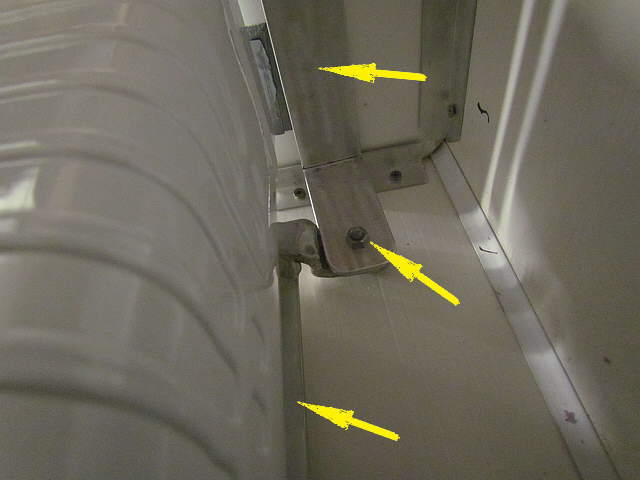
Here you can see another locator piece that runs from side to side in the box and is bolted to the bracket on the back side of the evaporator. The bolt is not going thru the box side.
..............
Above you can see how the locator spans the top and again has bent tabs on the end for fitment.
..............
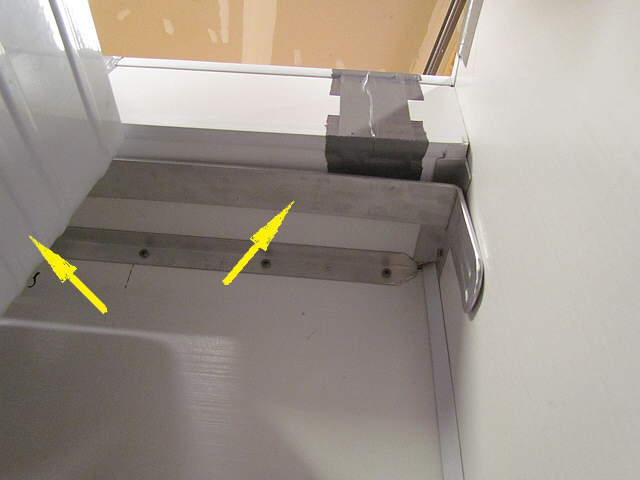
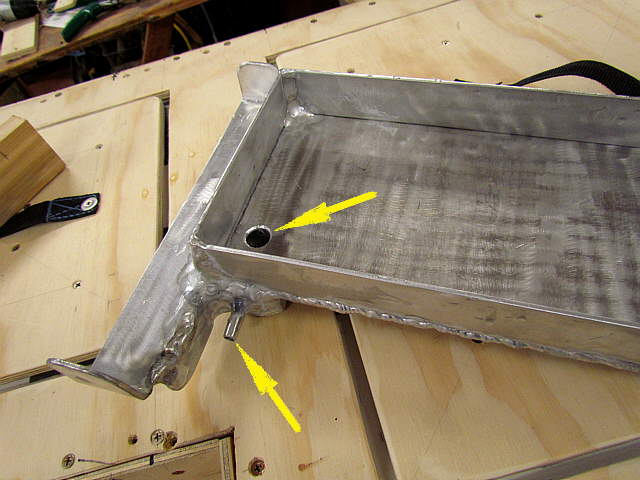
I added a sump to the bottom of the box for the evaporator and ...
..............
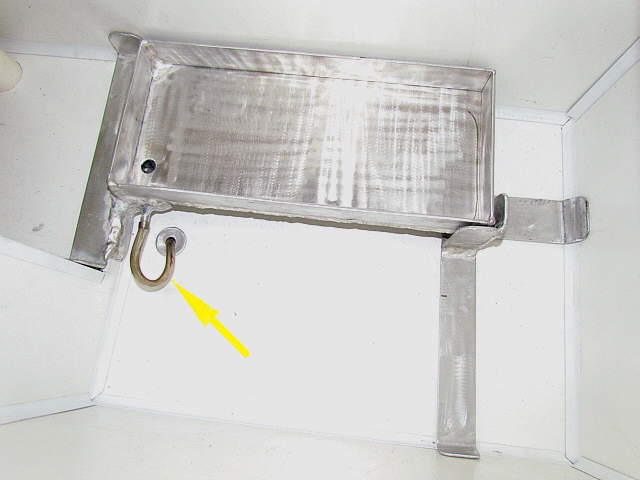
... the sump has an outlet for a hose.
..............
Above you can see the inlet and outlet for the sump. The idea is that any melt water can go to the box and ...
..............
... from there to the sump and out to the drain. You don't need this and I'll say why when I get to the install and use of the fridge in the boat.
..............
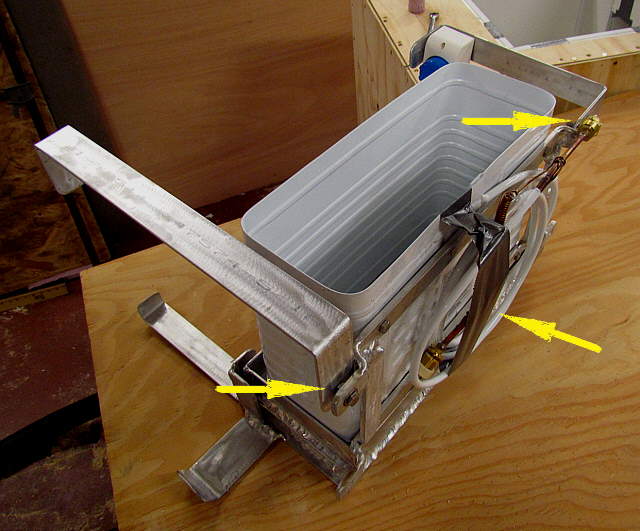
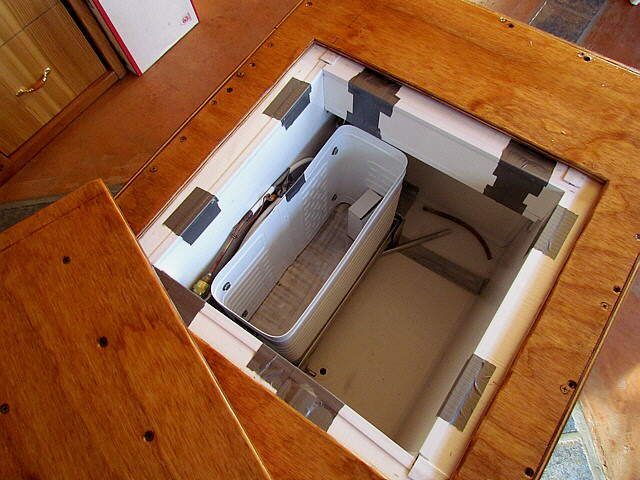
Here is the evaporator and thermostat and all of the ...
..............
....locators and how they all ...
..............
.... attach. Notice again how the bracket on the back of the evaporator spaces it from the side of the box for the coolant line to cleat and because the evaporator shouldn't be tight against a surface anyway.
..............
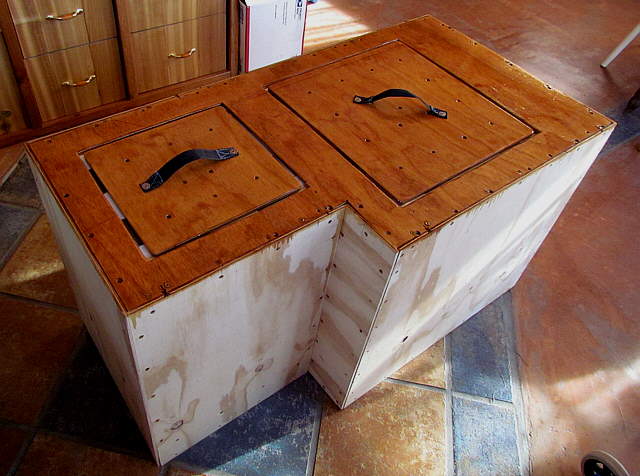
The finished box with the top stained and with a number of polyurethane clear coats on it and ...
..............
.... ready to go to the boat 2200 miles away.
..............
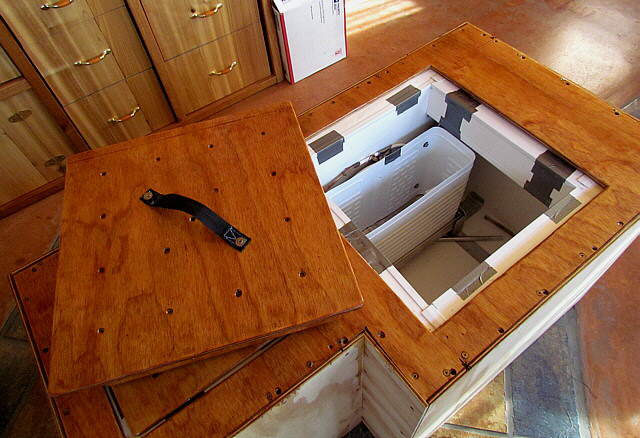
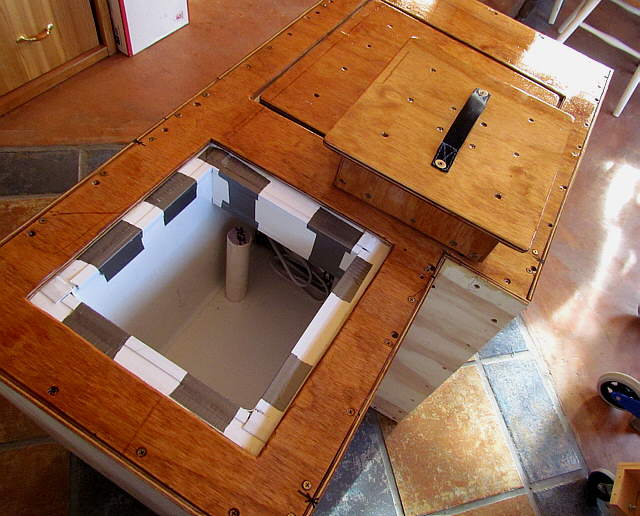
A couple final views of the box and ...
..............
... down into the large side and ...
..............
... into the smaller side.