..................
....................................................................---Boat Fridge Build Part II ---
..............
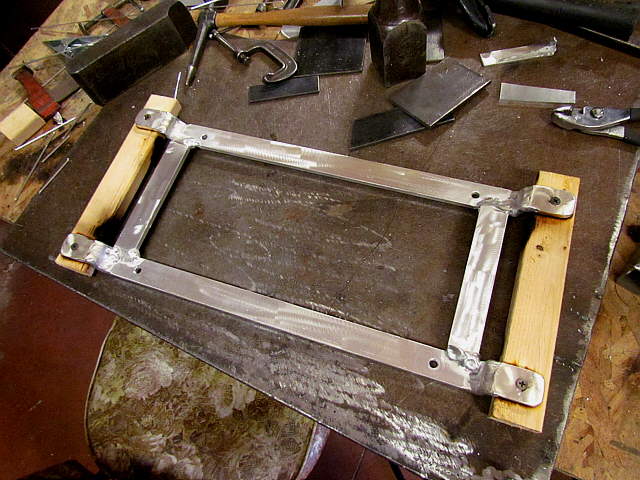
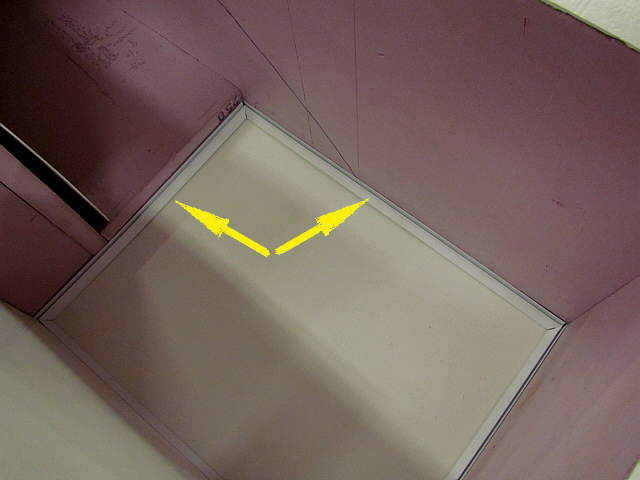
About this point I got sidetracked from the box a little as I was concerned about how the evaporator/freezer (see next picture) was going to mount. I made the mount above out of some aluminum stock. It has a bend in the pieces to hold the evaporator away from the side some as recommended by the manufacture. That also creates a ...
..............
... space for the cooling line. In the pictures here...
..............
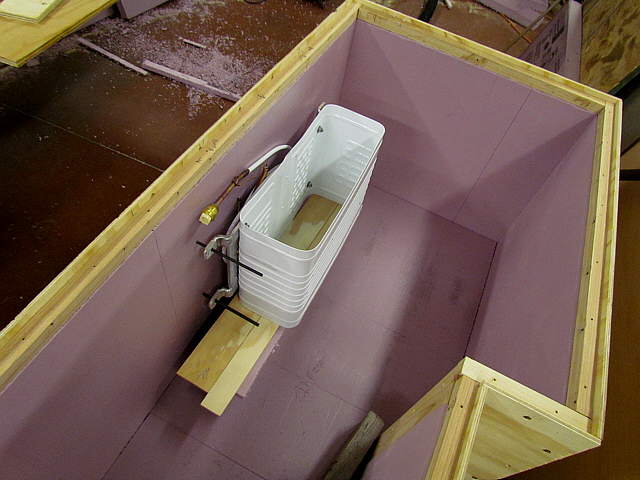
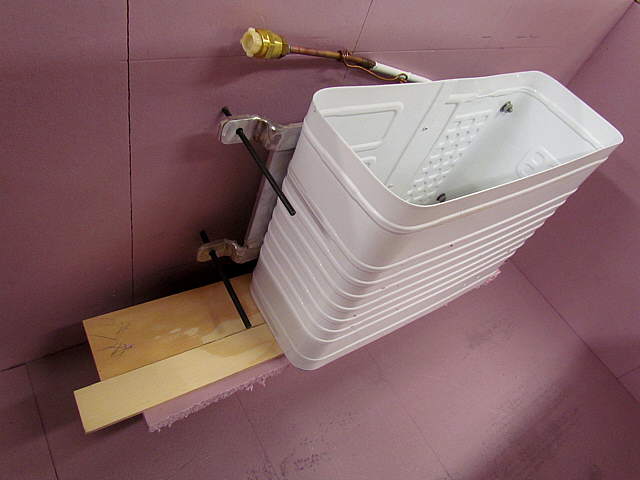
...the cooling line is still coiled up as it comes with the evaporator. It is also pre-charged with coolant. The evaporator is a...
..........................................
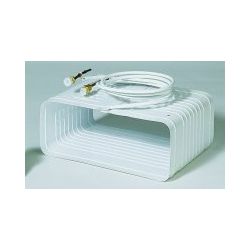
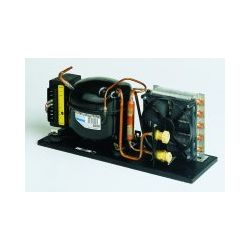
.... Waeco VD-09 Evaporator that is 10.6" D x 5.5" W x 14.4" H or a little under .5 cu. ft. in size and comes with a thermostat. We bought it and the ....
..........................................
..... Waeco/ Adler Barbour Coolmatic 84 from Defender Marine. It is has a Danfoss BD35F compressor that is rated for boxes up to 8 cu. ft. for cooling, which is about twice the size of our box. It is also rated for up to 2.5 cu. ft. if you want to use it for a freezer box. Our box is about 4 cu. ft. counting the space for the freezer. We could of gotten one of the 50 series for our size box, but it would of been operating at about maximum capacity. We felt using one of the 80 series was a better option considering that we would be using it in a hot climate and we were using the evaporator that is also a freezing compartment which was questionable with the 50 series. With 3 inches of insulation in the box they rate the evaporator for boxes up to 6 cu. ft.. So take into consideration which evaporator you are using before deciding on box volume.
Here is a quote from the description on West Marine's site about the 80 Series vs. the 50 series...
"Similar to the CoolMatic Series 50 Compressor/Condensers, but designed for larger boxes and use in warmer waters. The Danfoss BD35F (Series 80) is tuned for higher efficiency and is available in three sizes to match your installation needs."
The 80 series also isn't that much more than the 50 series. Both series have a couple different layouts for the actually hardware, so pick the one that will fit your space the best.
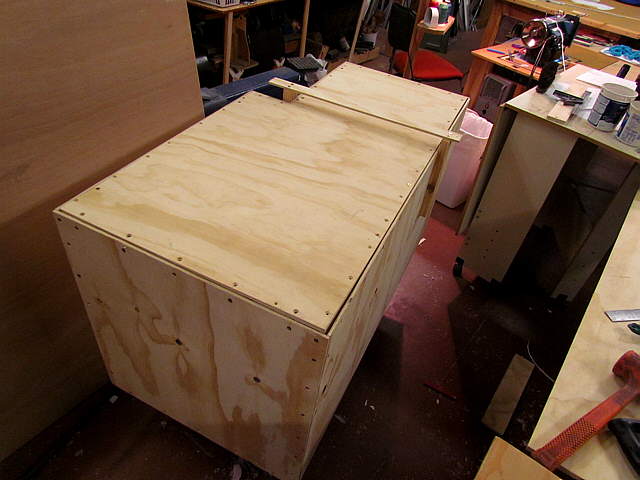
Now back to the 'box' build...
..............
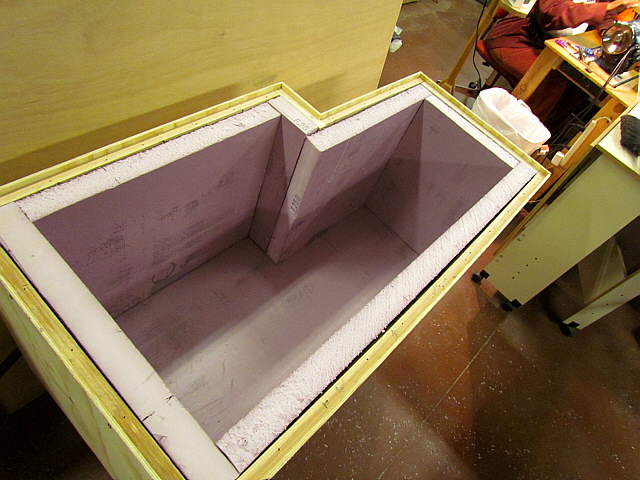
Here 2 inches of foam is being added to the walls.
..............
Remember that there is 1 inch of foam (installed on the previous page) behind the 2 inch foam above and under the stiffener pieces.
..............
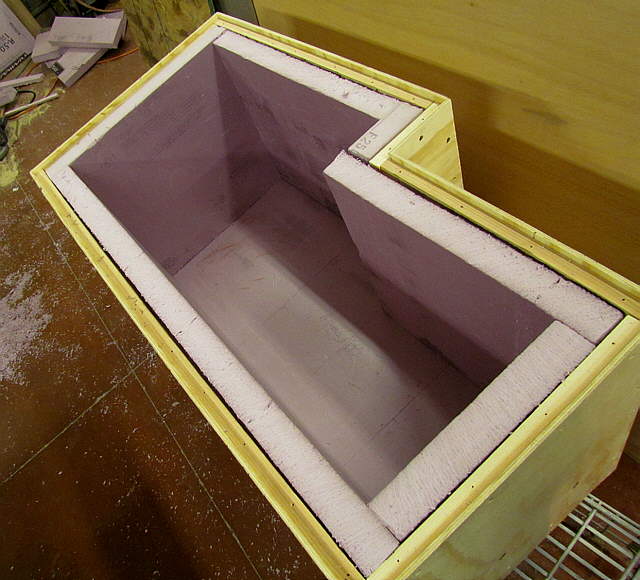
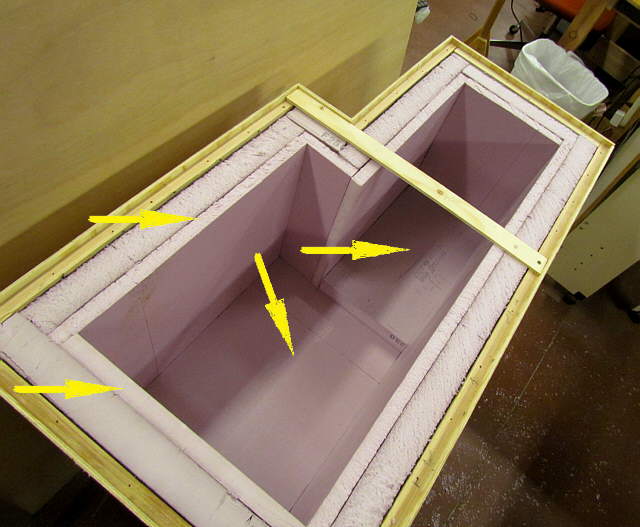
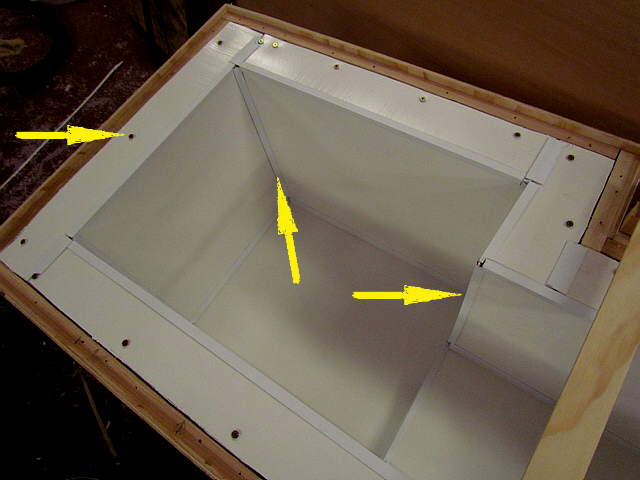
Here another 1 inch of foam has been added to the floor. This brings the thickness to 5 inches on the large side (left side) and 3 inches on the small side of the box (right side).
..............
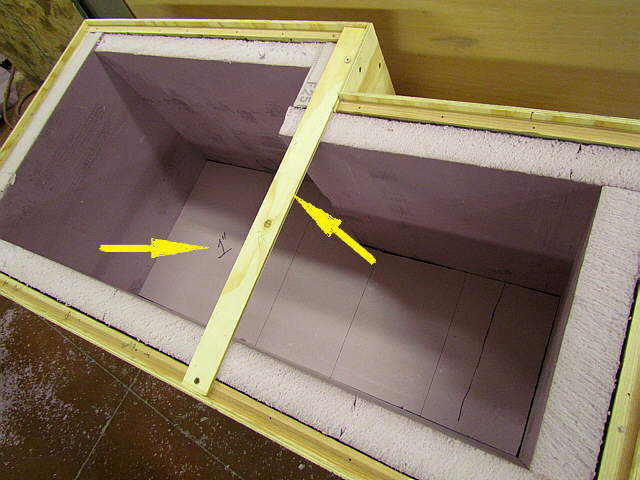
Then another 1 inch was added to the walls all around for a uniform 4 inch wall thickness. Also another full sheet of 2 inch foam was added to the whole floor bringing the thickness on the left to 7 inches and 5 inches on the right. Finally another 2 inches was added to the floor (right most arrow) on the smaller part of the box. That increased the floor thickness there to 7 inches also and created the 2 inch step in the floor where the small part meets the larger part of the box on the left.
To summarize the box ended up at this point with 4 inch foam walls and a 7 inch foam bottom. On the boat another 2 inches of foam was added under the box on the small compartment end for a total of 9 inches there.
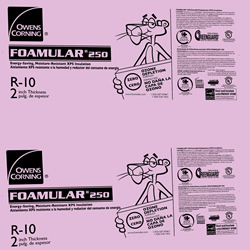
The insulation used came from the local lumberyard and has a R-5 rating per inch. The top/lids are 3 inches so are R-15. The 4 inch walls are R-20. The bottom in the larger section is 7 inches deep with a R-35 value and the bottom in the smaller section is 9 inches deep for a R-45 value.
The insulation is Owens Cornings FOAMULAR® extruded polystyrene rigid insulation.
..............
It can be used in applications such as below ground against concrete walls. I held some under water in the shop for a number of days and it didn't seem to absorb any water. There are other products out there with slightly better R ratings, but I didn't feel they were worth the expense or trouble in finding to warrant there use. If someone doesn't have the space that this insulation takes up they may be worth looking into.
..............
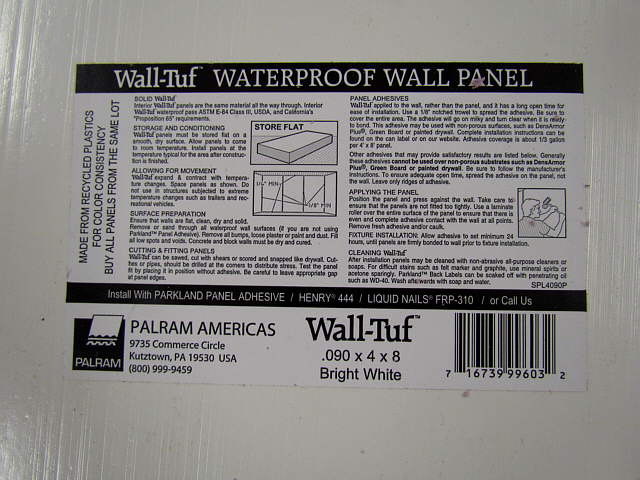
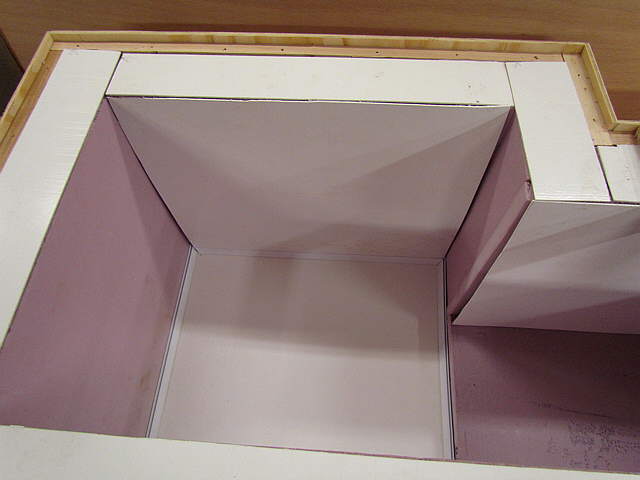
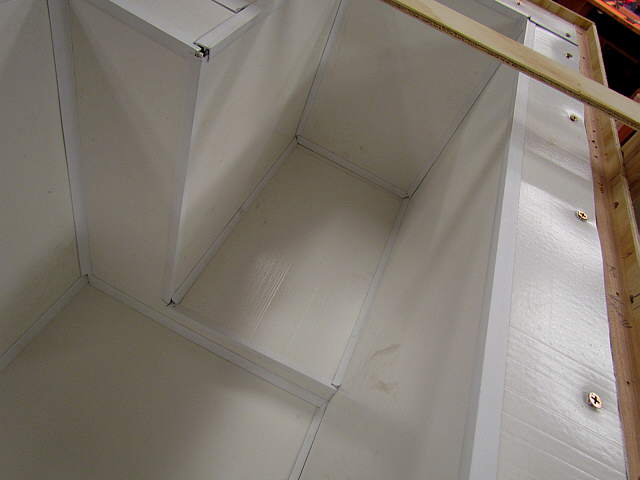
Next pieces of plastic wall panel were cut to line the box with.
..............
>090 Wall-Tuf was used for this part and was bought at the local lumberyard.
..............
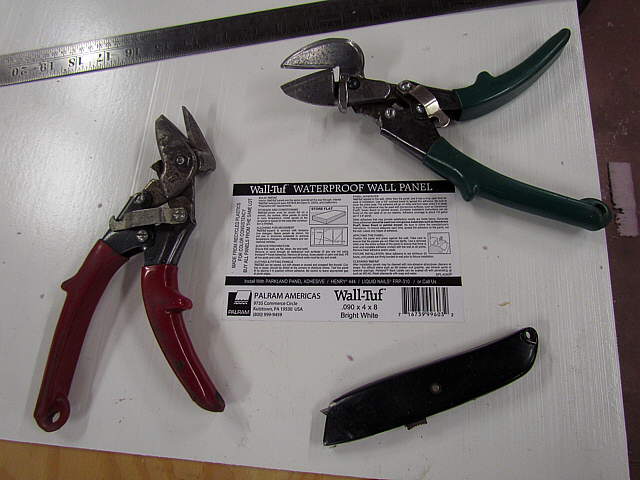
I cut most of it with the tin snips above.
..............
You don't want to cut this to a tight fit so that there is room to put it into the corner molding and not have it buckle.
..............
Above you can see the molding at the bottom. You can get it for inside, outside and butt joints.
..............
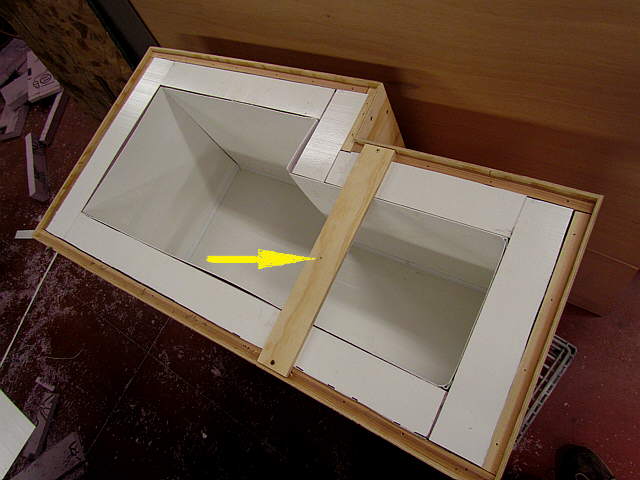
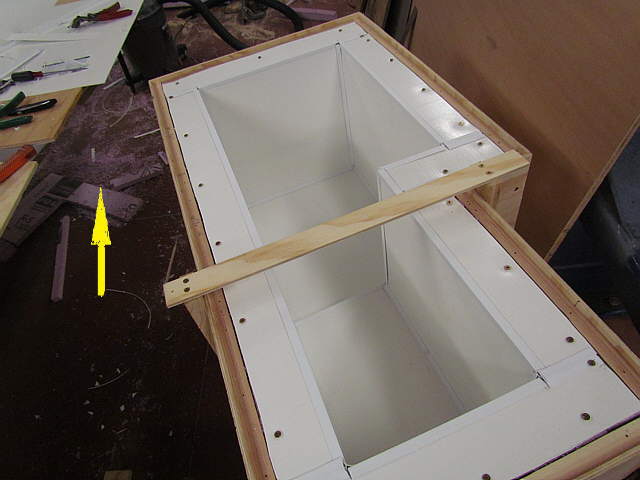
During all of this I kept a crosspiece in place to avoid the box from spreading in the middle. If I needed to move it I added another before removing the first. Later the lid will serve this purpose.
..............
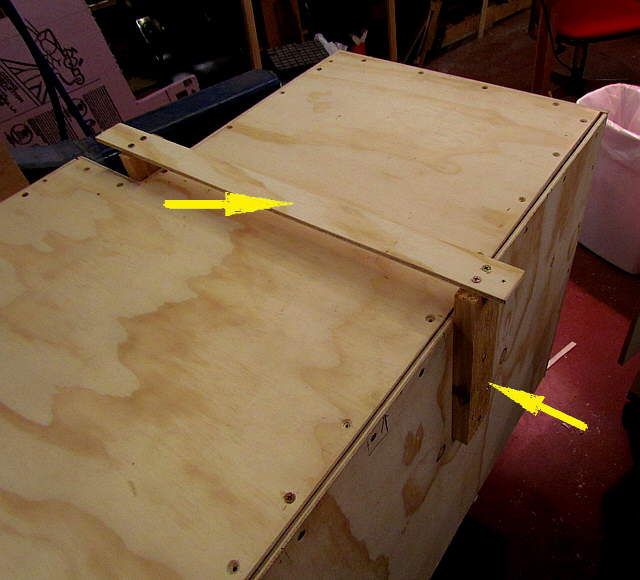
I would occasionally put the lid on to make sure that it would go on later with no problem. I added the uprights to the sides, see above, and...
..............
....they kept the box in position while the lid went off or on.
..............
Above you can see more of the molding in place and I started to capture some of the pieces with screws down into the foam.
..............
The screws just held things in place and later the lid will capture the top pieces above.
..............
The arrow point to a lot of foam dust and scraps. I used a hand crosscut saw to cut the foam and it worked very well.