............................................................--- Boat Fridge Build Part I ---
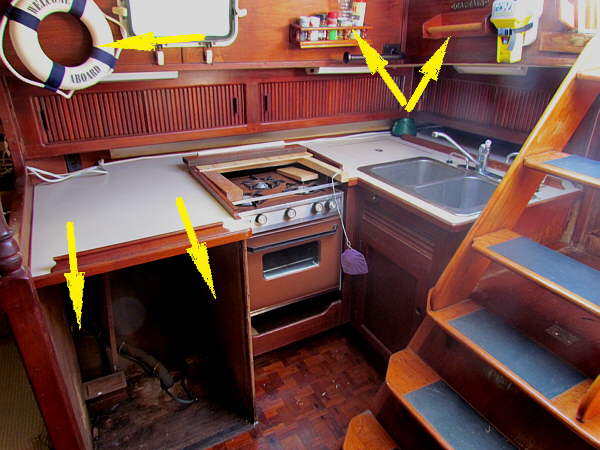
The Endeavour came with an icebox off to the left of the sink and not very handy to get to at all and a 12 volt DC/120 volt AC fridge that was a front opener with not much insulation. We wanted to use neither after having used a pretty good...
..............
.. EdgeStar portable fridge on our MacGregor. We wanted to..................
... use the ice box (below the upper 2 arrows to the right) for storage on trips and would build and install a 12 volt DC fridge in the hole where the front opening fridge had been, lower left 2 arrows.
We wanted it to be as efficient as possible and to possibly have a freezer section.
..............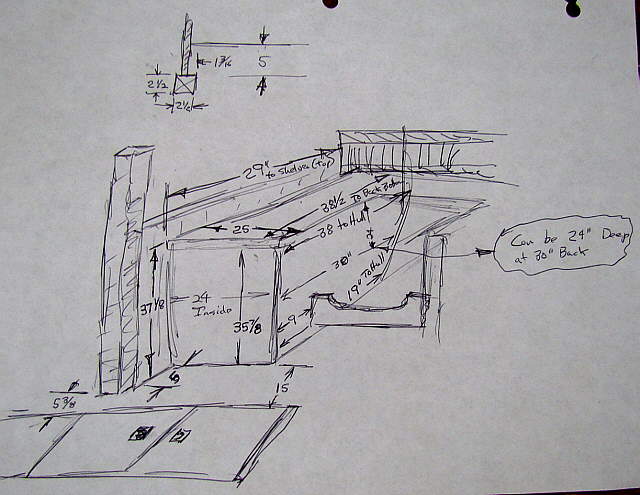
After buying and moving the boat to the boatyard and before moving I took some measurements to help in building the fridge back home in Utah, 2200 miles from the boat. I felt pretty good about the measurements, but Nick and Norm who both lived in Florida near the boat went to it and did some backup measurements for me. Thanks guys. With the above I started to layout the fridge.
..............
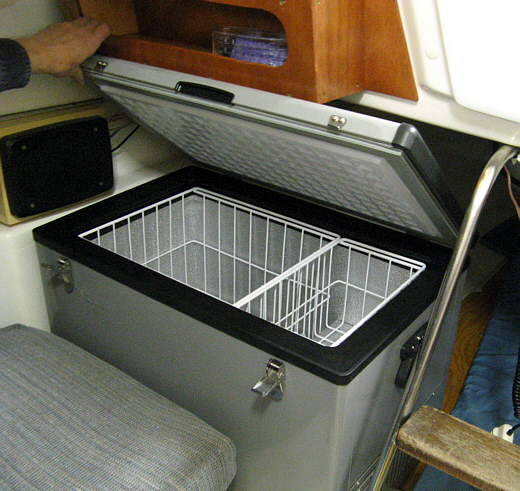
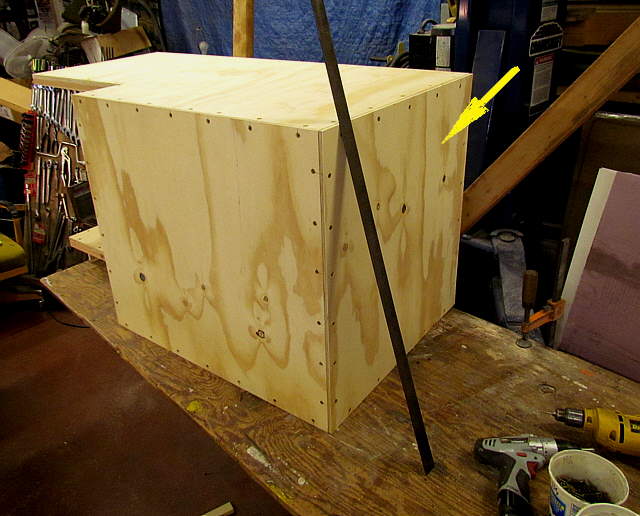
We wanted the fridge to big one box with a freezer section, but with two lids to get into it. A smaller lid on the end where we hoped to keep items used more often. Like drinks and sandwich and breakfast milk and such. A larger lid further in where the freezer would be and where things would be stored before moving to the smaller side of the box. The box would also stick out about 18 inches further into the cabin. We felt that we could live with that as the companionway is wide and the cabin is wide at that area with the chart table opposite. Besides sticking out 18 inches we didn't want it to limit getting into the galley proper. While on the boat I mocked up this extension with some cardboard and we felt we could live with the box sticking out.
It was also designed to be not at deep as the counter it would adjoin which would help in getting bast it into the galley area.
After installing it on the boat and using it for a couple months while living/working on the boat we are very happy with it. The extra space it takes up is not a problem. Getting in and out of the galley area has not been a problem and the extra counter space has helped in preparing meals. Best of all the fridge has worked great and is over 1 cubic foot bigger than the portable 63 (2.3 cu. foot) one on the Mac and has the freezer section in addition. It also uses way less electricity than the portable, but in all fairness has lots more insulation.
We are very happy and feel this will be a great addition that will contribute to enjoyable cruising.
..............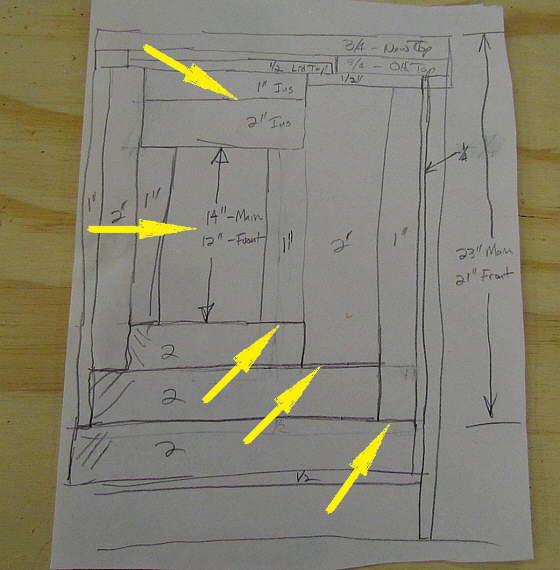
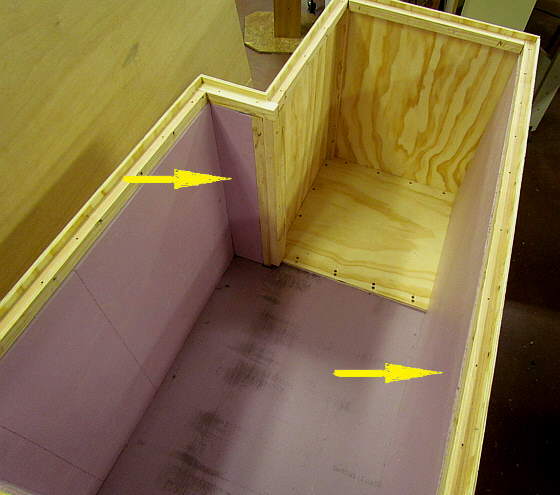
The key to it being so efficient is insulation, insulation and more insulation. Above is a drawing of the insulation and is pretty close to what we ended up with. It is not to scale, but just represents how the insulation is placed in the box. To help keep the air in the box from going down past seams I stepped the installation of the insulation (lower 3 arrows). Also you will see that there is a step in the interior of the box itself with the smaller section having less depth, 12 inches vs. the the 14 inch depth of the larger part of the box (upper arrow). I measured milk cartons and came up with the 12 inches for the smaller section. I felt added depth there just meant cooling air/space that wouldn't be used. So far we are happy with these decisions.
The bottom of the main larger section has 7 inches of insulation and the bottom of the smaller section ended up with 7 inches installed at home and anther 2 inches added at the boat yard for a total of 9 inches under the smaller section. Above it only shows three 2 inch thick pieces on the bottom, but I was able to increase the depth of the box and add 1 more inch piece between the top two 2 inch pieces. That will be shown on the build below.
The reason you want as much as you can on the the bottom is just the opposite of what you do for your house where you want the most in the ceiling. Heat rises and cold goes to heat. You are trying to keep the cold from going to the heat. On the box temps will build under the box and rise to the bottom of it and you want to insulate this the most.
Above the box the heat is rising away from the box towards the ceiling of the cabin. Still get as much insulation as you can on the sides and above. I was stuck with the walls being 4 inches as more would result in the interior width getting to narrow, especially in the front smaller compartment and to some degree in the larger compartment due to the freezer there.
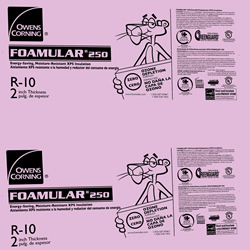
The insulation used came from the local lumberyard and has a R-5 rating per inch. It is Owens Cornings FOAMULAR® extruded polystyrene rigid insulation.
..............
It can be used in applications such as below ground against concrete walls. I held some under water in the shop for a number of days and it didn't seem to absorb any water. There are other products out there with slightly better R ratings, but I didn't feel they were worth the expense or trouble in finding to warrant there use. If someone doesn't have the space that this insulation takes up they may be worth looking into.
..............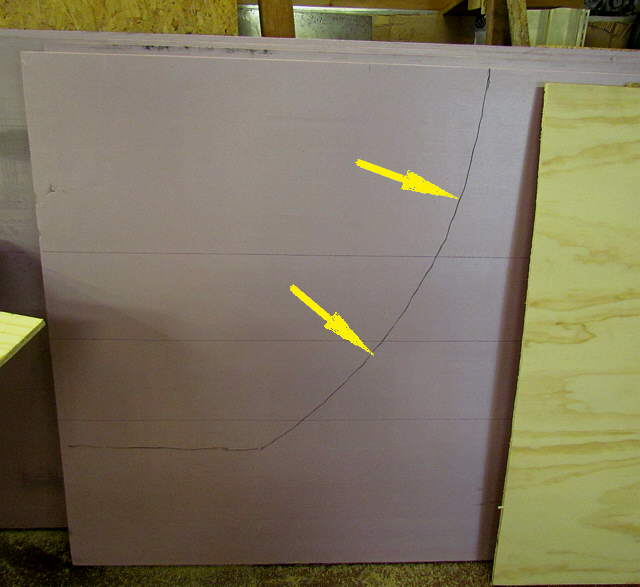
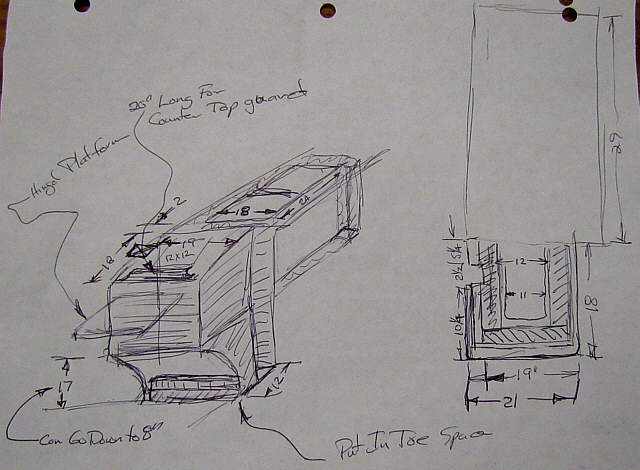
I mocked up the shape of the hull from measurements I had taken at the boat. By doing this I could see that the box could be a little deeper which allowed one more inch of insulation on the bottom. I later used this insulation inside of the box.
..............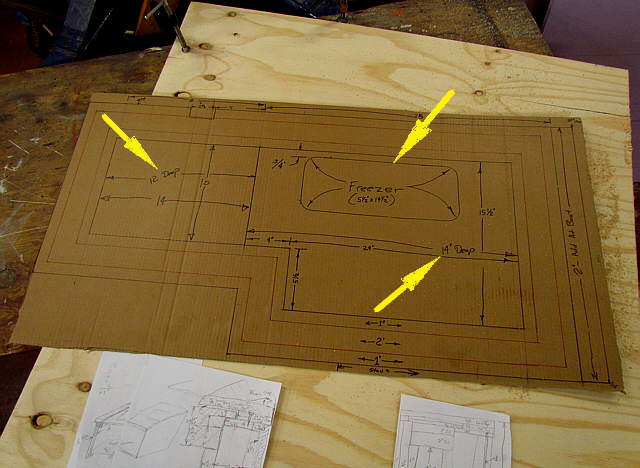
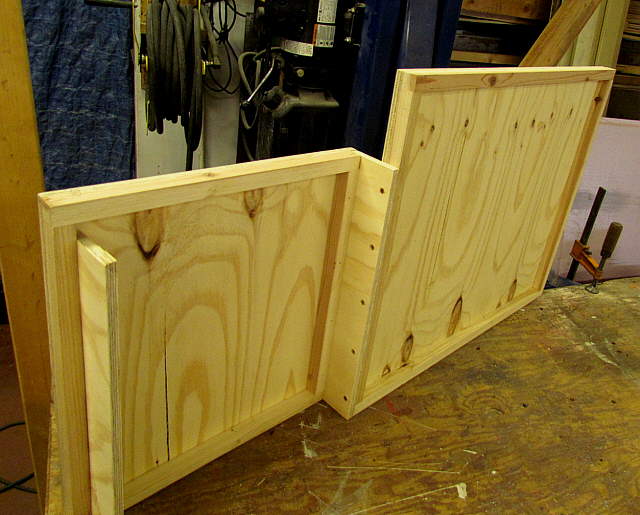
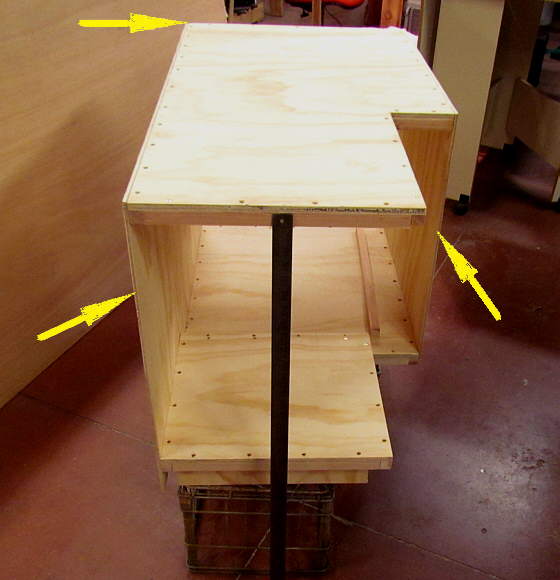
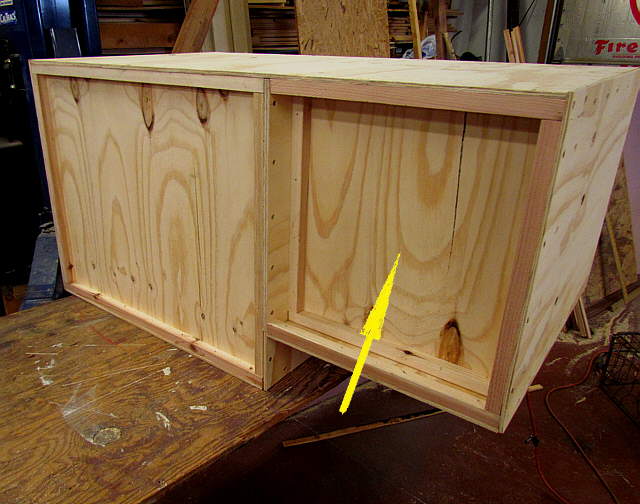
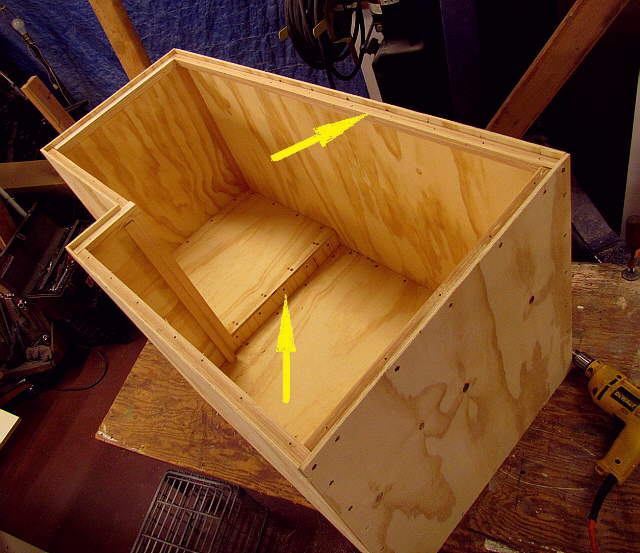
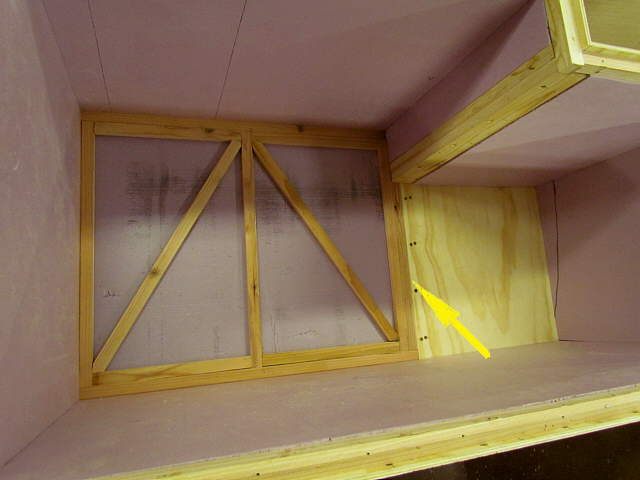
A full size drawing of the box was made on a piece of cardboard and used as a reference during the build. The left arrow points to the smaller section of the box used for items we need to get to more often. The top right arrow points to the freezer section and the bottom arrow points to the larger part of the box where the freezer is located.
..............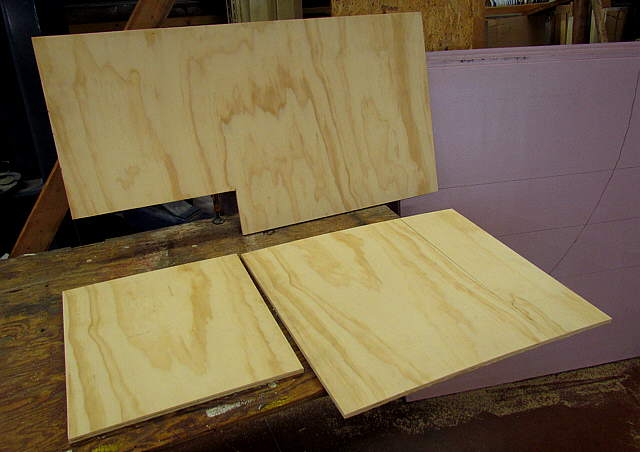
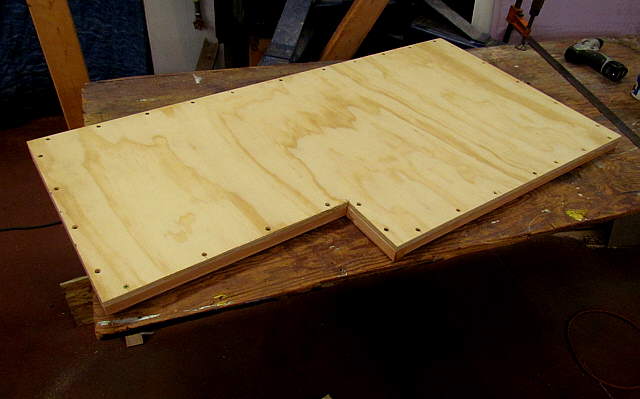
The top piece above is the top of the fridge. The bottom two pieces were the bottom floors for the smaller and larger compartment.
..............
Pieces of 1" X 1" cedar I had were ripped to stiffen the floor section. The cedar was actually 7/8 inch thick. The 1 inch side was placed vertical above.
..............
The same sections from below. The 1 inch was there so that if I wanted I could glue or screw 1 inch thick pieces of foam into these areas. I did that later on the smaller section, but forgot to on the larger section. If I would of that would of increased the bottom foam on the larger section to 8 inches thick. If I pull the fridge out at some point I might still do that and might still be able to with the fridge in the boat.
..............
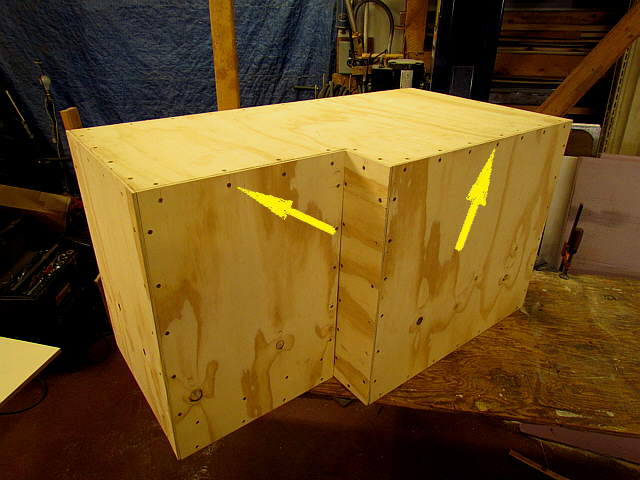
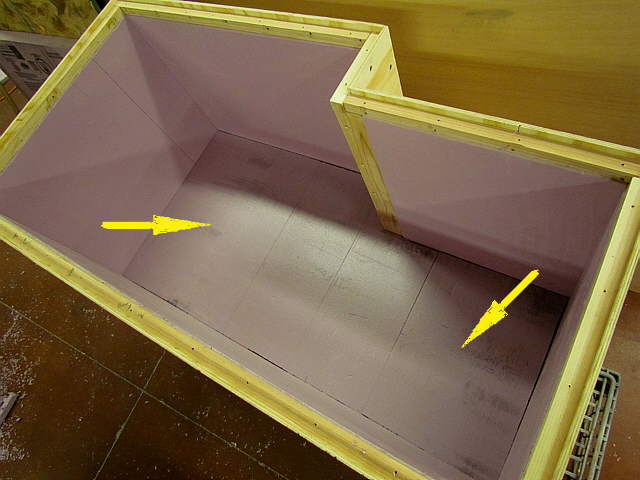
Above you can see the step that results in the smaller section (left side) being not as deep at the right side by a couple inches.
..............
Above is a bottom view.
..............
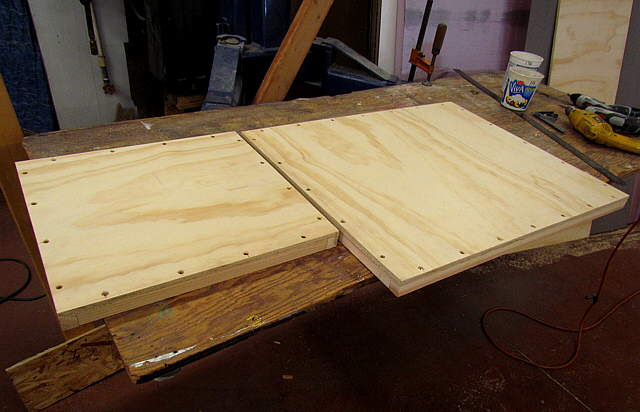
The top side of the box with stiffeners screwed to the bottom side of it.
..............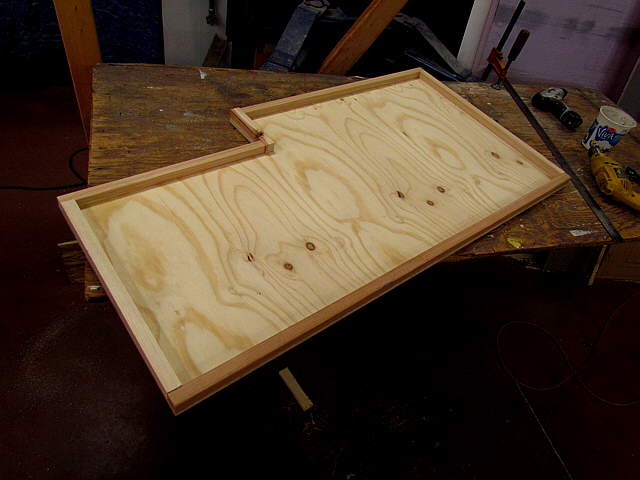
Further into the build the stiffeners will be screwed to the sides of the box and the top will be unscrewed from them and the box for part of the build.
..............
The back side (towards the bow) in place.
..............
The front side of the larger section in place with the yard stick there for size reference.
..............
The hull side of the box. There are the 7/8th X 1 strips inside at the corners.
..............
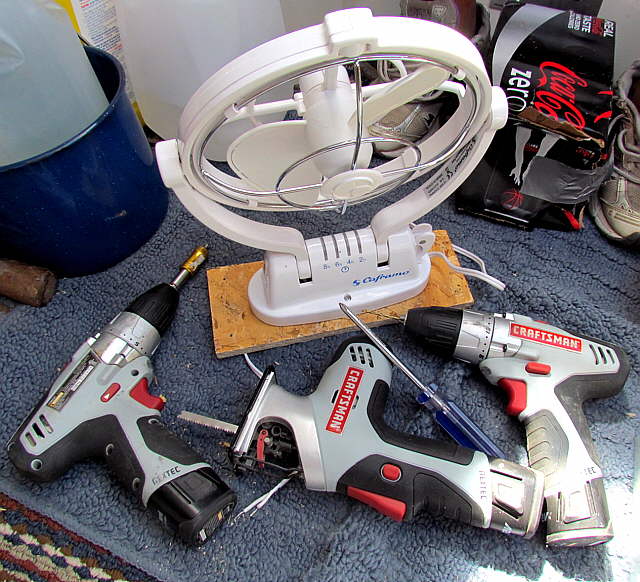
I love these 12 volt lithium battery drills/drivers from Sears. I never use my higher voltage cordless drills anymore. They have a high speed, used above on the left drill, and a low high torque setting that I was using on the driver on the right. Don't underestimate these. I take them on the boat and with a small inverter...
......
....they will charge in 20 minutes. They also came with a....
......
...saber saw and a LED light. I highly recommend them.

..............
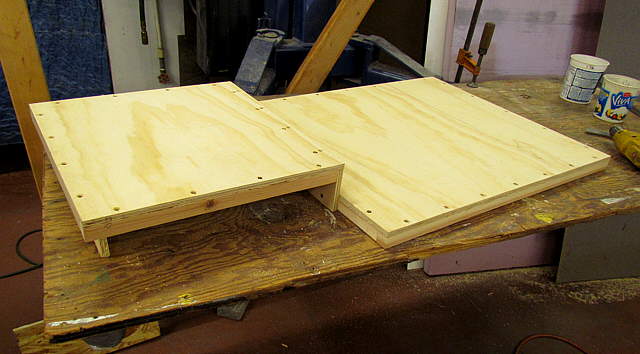
The bottom of the fridge with all of the walls in place. The arrow points to where I added another 2 inches of insulation on the boat when I was installing the fridge. 1 inch could of been added to the other side (bottom) easily, but I overlooked that.
..............
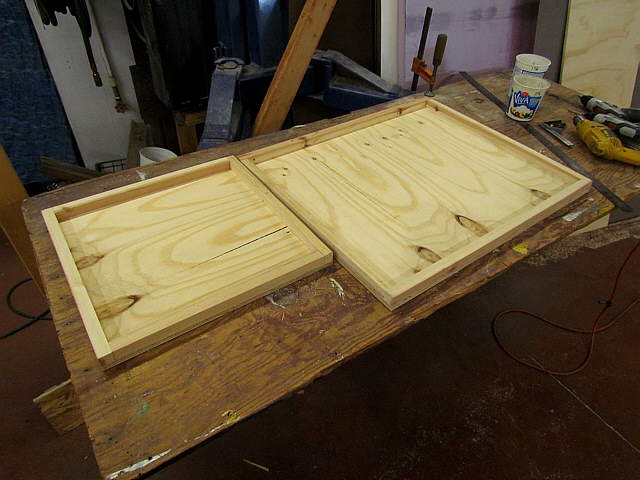
The arrows point to the screws that went into the stiffeners that were on the bottom of the top piece.
..............
The top was unscrewed leaving the stiffeners around the top of the side walls. The arrow points to the step in the bottom.
..............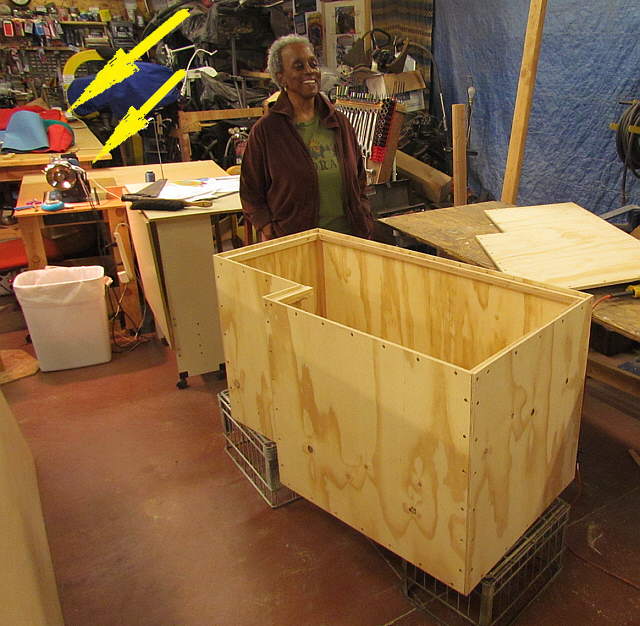
Here Ruth takes a break from sewing bags for the boats (left arrows) and comes over and checks what I've been doing. Ruth is 5'-2", but even considering that the box is big. I left about 3/8th of an inch wiggle room to slide it into the opening in the boat, but started to worry about that and you will soon see why.
..............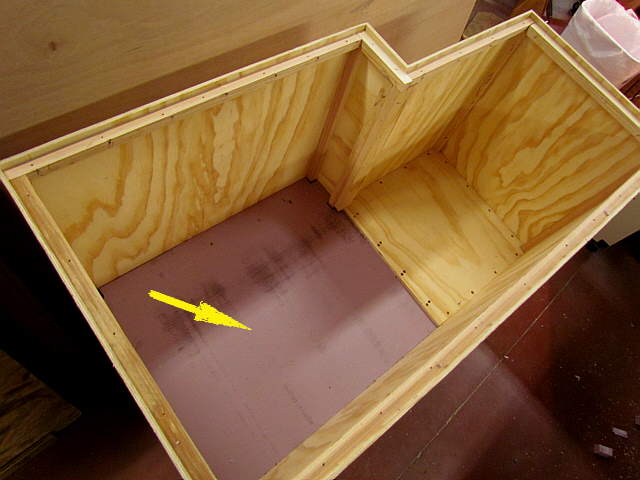
First a piece of 2 inch thick insulation was cut and put into the lower/larger section. The foam came from the local lumber yard and is used a lot on the outside of new construction. I had to notch it to clear some of the stiffeners in the corners.
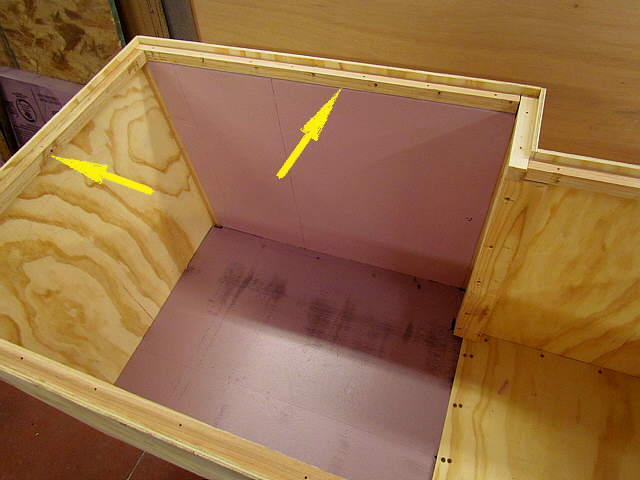
The insulation is an Owens Corning product with an insulation R value of R-5 per inch. The top/lids are 3 inches so are R-15. The 4 inch walls are R-20. The bottom in the larger section is 7 inches deep with a R-35 value and the bottom in the smaller section is 9 inches deep for a R-45 value.
..............
Then one inch thick pieces of foam were cut for the sides and they lay inside of the stiffeners. I cut the foam a tad large and pressed it into place. It is pretty forgiving.
..............
Here I'm working around the sides with the 1 inch foam and you can see that I didn't put a piece in the higher floor at this point.
..............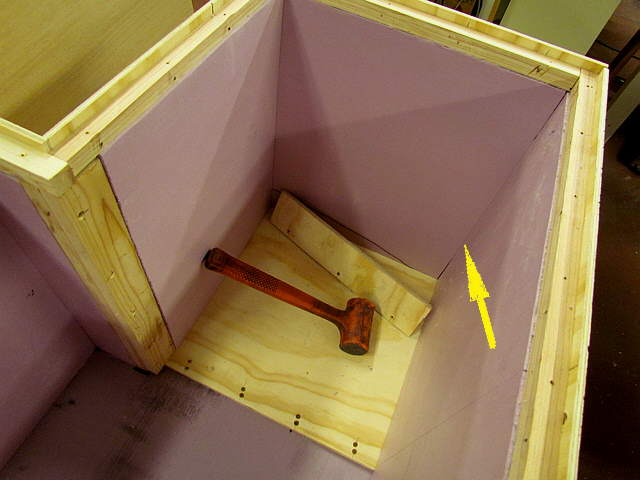
As I mentioned above I cut the foam a tad large and wedged it into place some times...
..............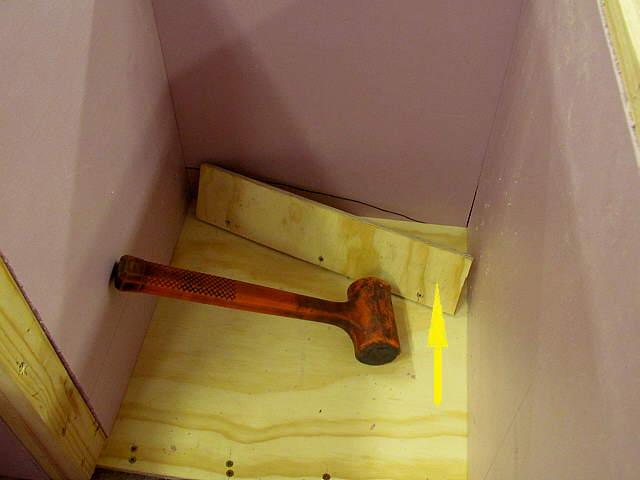
... using a mallet and a block of wood. This produced a...
..............
... nice snug fit and no adhesive was used. After using the box on the boat for a couple months the no-adhesive has held up fine.
..............
Some lumber was ripped and put in the bottom to the point the area from the raise floor over into the larger section was flat and all at the same level.
..............
A second piece of 2 inch was cut and put into place over the wood strips (dead air space) and the smaller section, right arrow. At this point we have 4 inches of depth to the left and 2 inches to the right.