..................
..........................................................--- Dish--Bowl--Silverware Storage ---
..........................................................................................................--- Part I ---
After installing the fridge and putting in storage over it we still had two main things we wanted to do to the galley to make it more functional. The first and what we will show on the next 3 pages was to put in storage for dishes, bowls and silverware in a location where they would be easy to get to and put away. The other that will be shown after this mod was put in drawers under/in the companionway steps and a sliding countertop there also.
..............
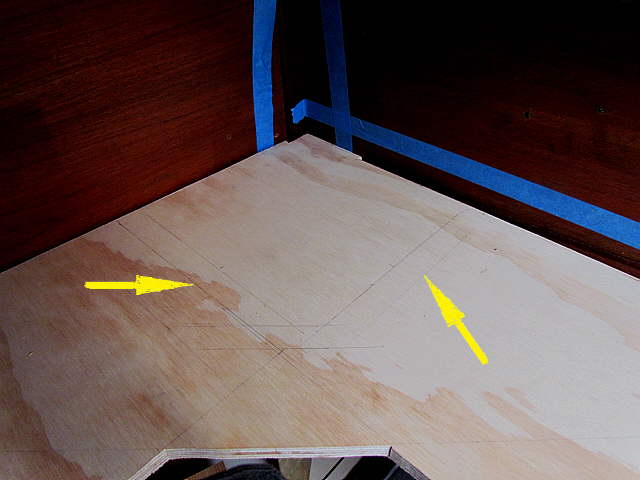
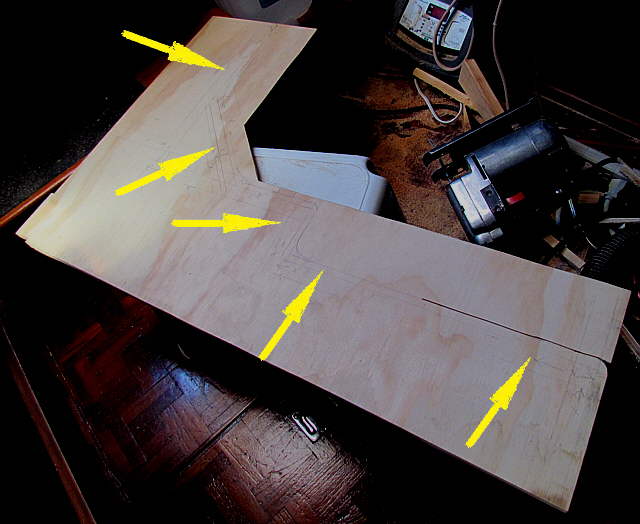
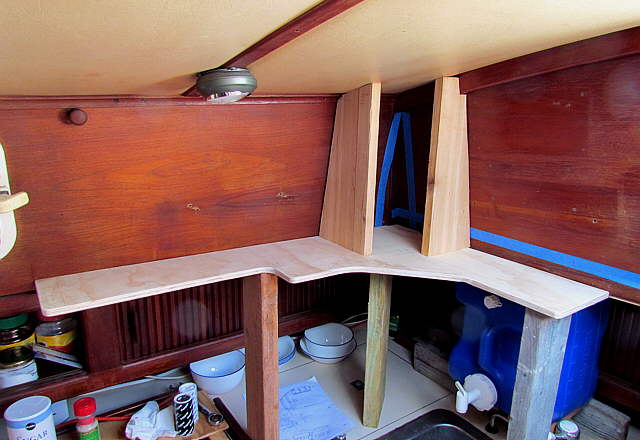
Above the sink, stove and the original ice box was an area, arrows that just wasn't being used very well. The plan was to put in storage there for the dishes, bowls and silverware that would work while anchored and hopefully most of the time sailing/motoring if we weren't encountering major weather.
Some tape was used to try and mock in where the storage would go. One hurdle on these boats is there are no square walls like in your kitchen at home. The walls and the ceiling all slope in different directions so that the boat will come out of the mold when it is made. The tape helped to give some reference lines to work on.
..............
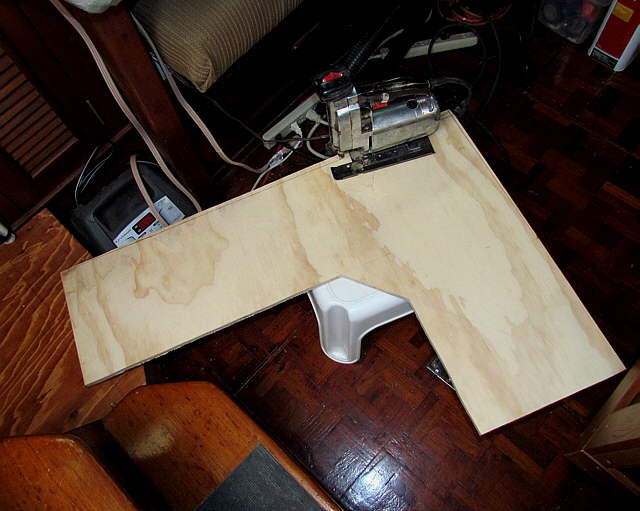
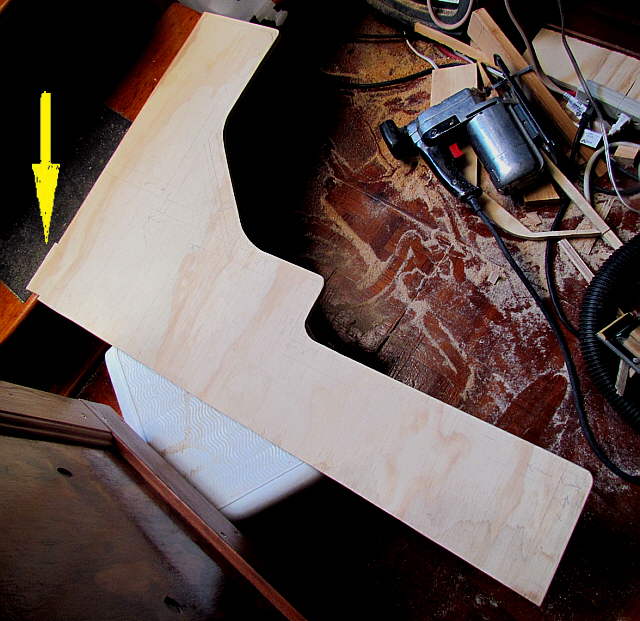
It was decided that an "L" shaped piece might work and one was cut that was going to be oversized at first. It pretty much maximize the area with the companionway being a stopping point on one leg of the "L" and a portal the stopping point for the other leg.
..............
It was propped into place and then lines were scribed that helped to account for the angles involved and the first cut was on the lines and a few further cuts were made until it ...
..............
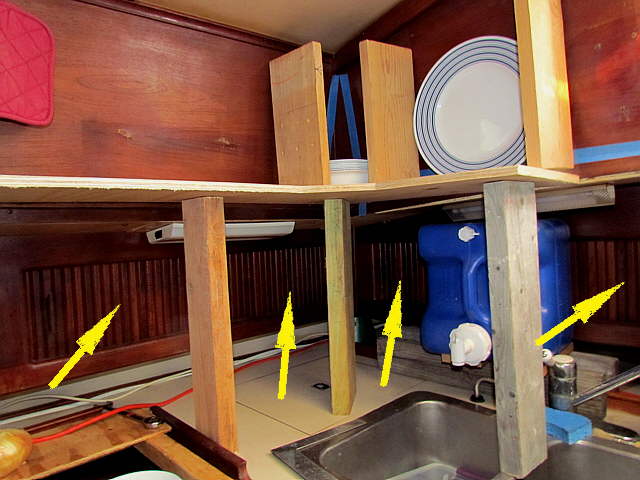
... fit up against the surfaces involved. Some scrape 2 X 4's were cut to hold it at the ....
..............
....desired height. The arrows point to some nice storage that was available on the Endeavour behind sliding doors. We did use this area and will continue to use it, but Ruth has a hard time reaching some of it and if the plates and such could be stored above it would work out well for here.
..............
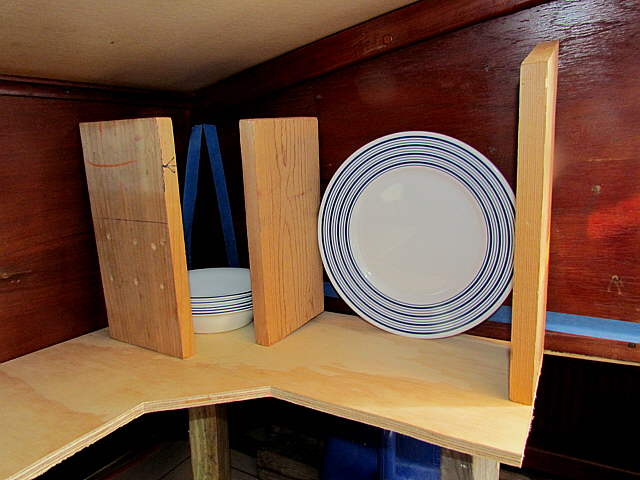
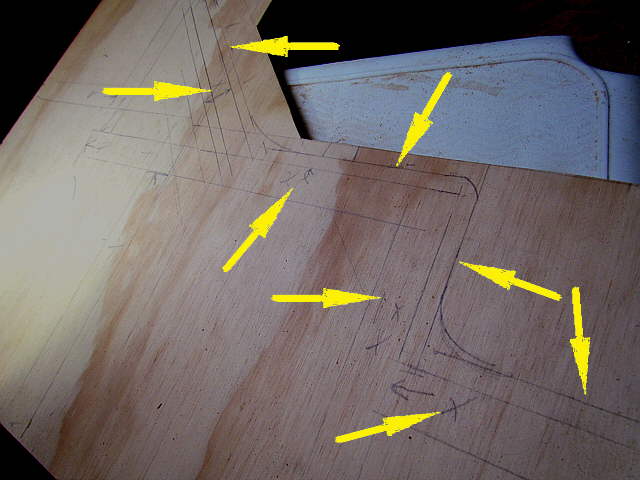
I started to decide where the different plates and bowls would go and used some scrap pieces of wood to mock in where the dividers would be placed.
..............
The arrows point to the marks that were made along the sides of the temporary dividers and would be used to place the permanent dividers.
..............
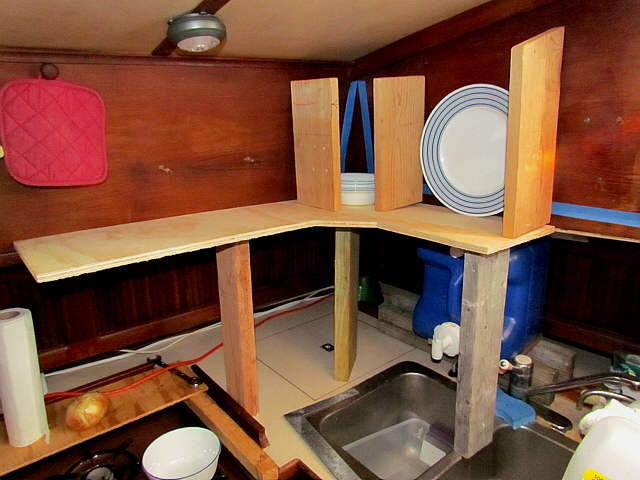
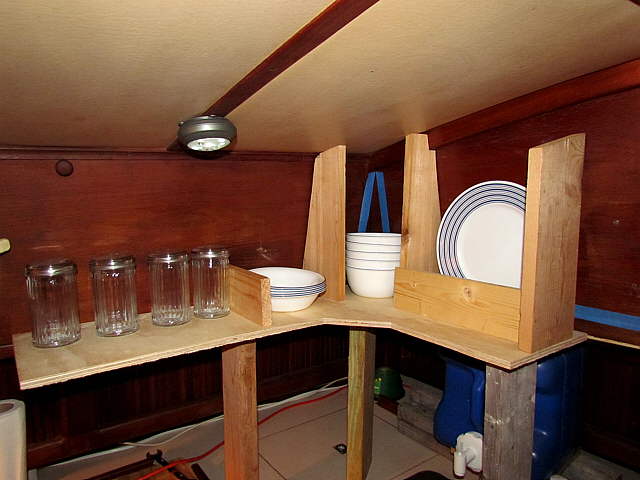
Above one can see the first permanent dividers in place in the corner. The sugar containers to the left will hold knives, forks and spoons (2 different sizes).
..............
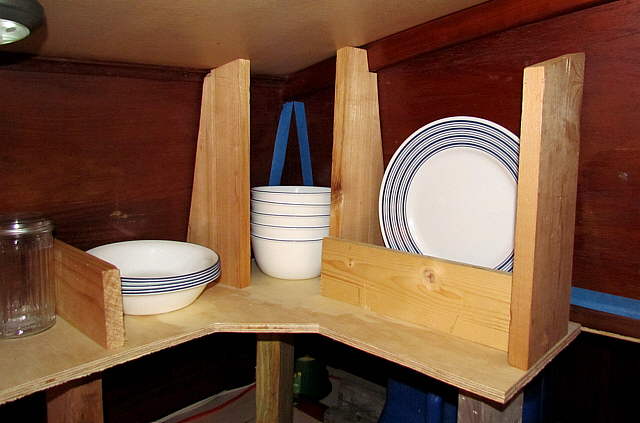
A close-up of the same area and most of what you see are just temporary pieces at this point.
..............
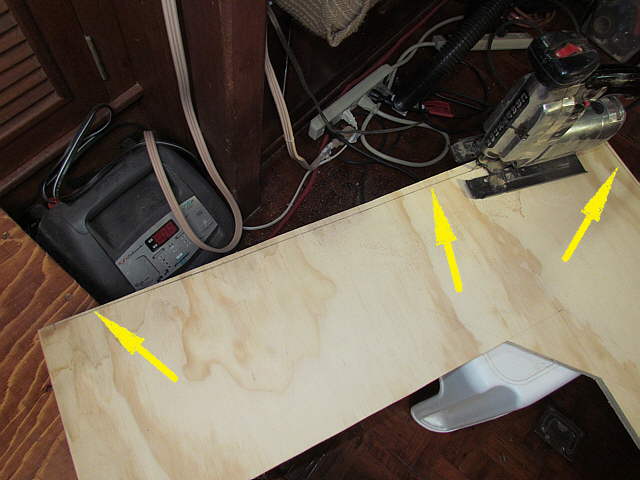
Knowing now what we wanted lines were drawn on the ...
..............
... plywood "L" marking the outer edge (right arrows) and were dividers would mount (left arrows).
..............
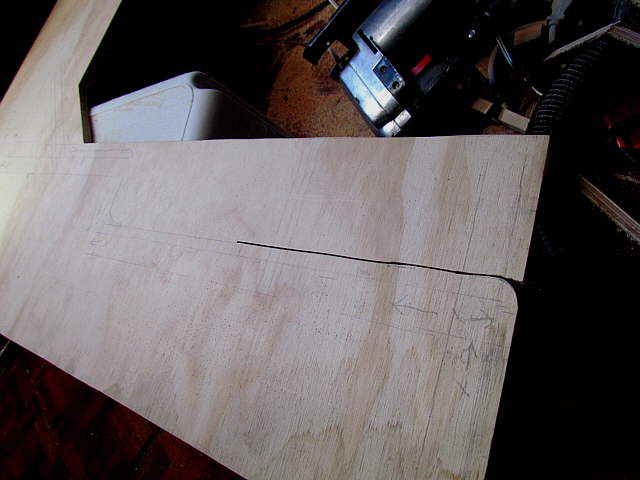
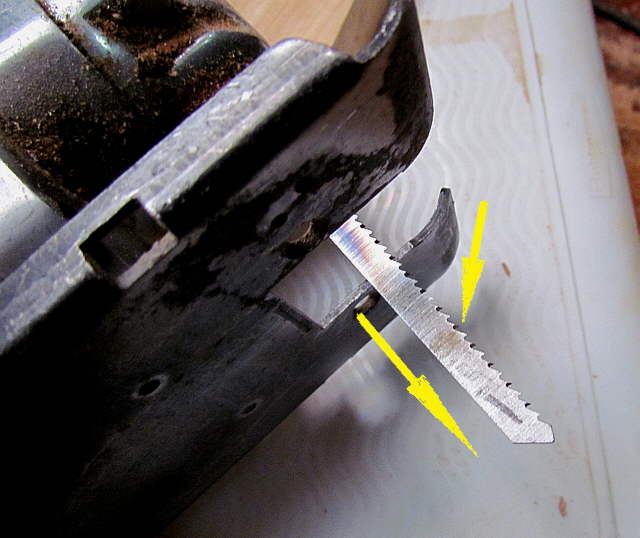
The final shape was then cut out using...
..............
... a blade that is normally used to cut countertops with the teeth reversed and pointing down. You need to hold the saw tight to the work, but if you are cutting on the 'good' side of the wood you won't be as likely to get splinter in on that side like you would using a normal blade.
..............
Above the shelf is cut to its final shape and ....
..............
... placed into position for a look.