..............................................--- Mounting Brackets Part I ---
I was unsure exactly how I would mount the framework for the solar panels once we got to the boat, but had some ideas. I knew that some supports would probably be on the side of the cockpit moldings or down on the teak by the rub rail and some would be on the stern railing. I decided to design a couple different type mounts and make plenty and take them with us to the boat.
I considered buying SS ones, but I like making things and those aren't cheap and I couldn't find ones to handle all that I wanted to do. A number are made for bimini supports and the solar array weighs a lot more than a bimini. Also I felt that there was going to be one small area that the framework would stick out past the rub rail and wanted the framework and supports to take a minor brush with a piling if that ever happened. For that reason I wanted strong mounting hardware.
..............
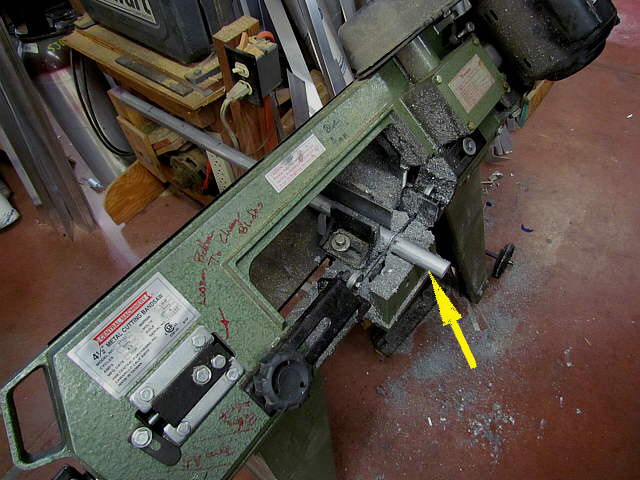
The basis for a number of the key brackets that were used mostly at the top of the support poles was 1 inch aluminum solid round bar. Here a piece is being cut on the HF band saw.
..............
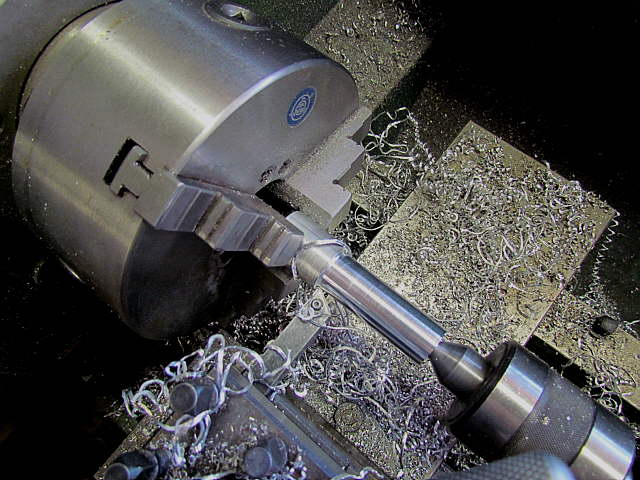
While the next piece was being cut I'd turn the previous cut one down in the lathe just enough so that it would slide into the 1 inch .090 wall aluminum tubing I was going to use for the uprights.
..............
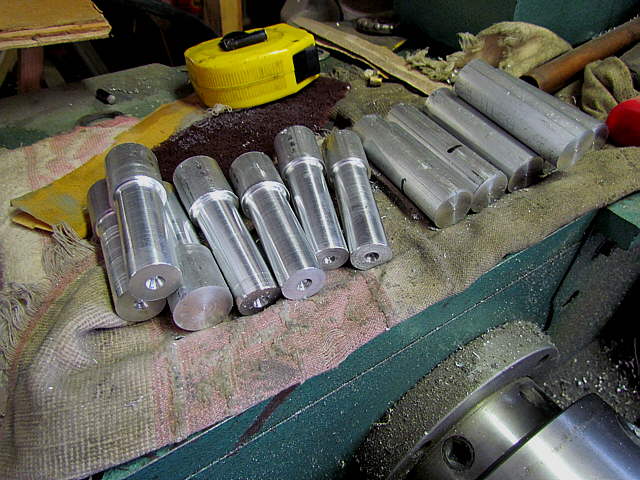
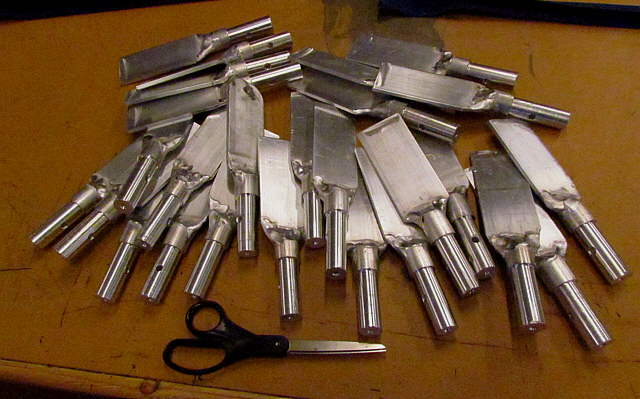
The cutting got ahead of the machining and then it was just machining until they were all done.
..............
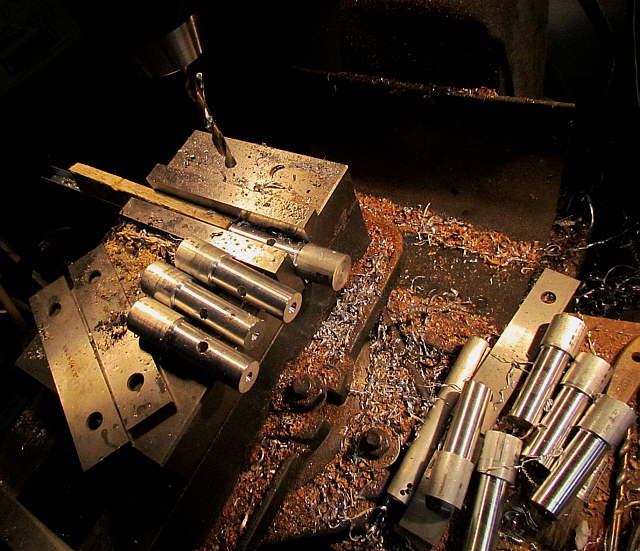
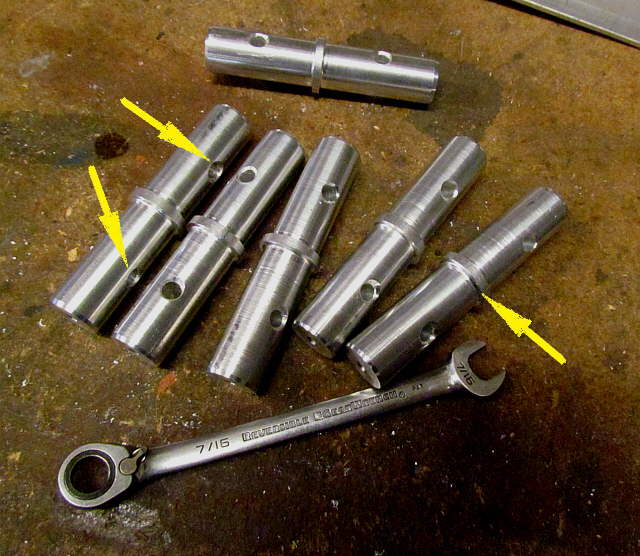
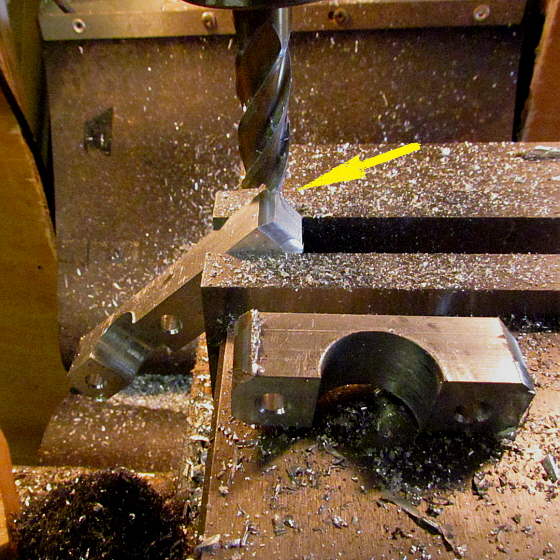
1/4 inch holes were drilled up 1 inch from the machined edge. This will slide into the round tubing and then a hole will be drilled through the tubing where these holes are and a 1/4 inch SS bolt will be use to hold the pieces together.
..............................
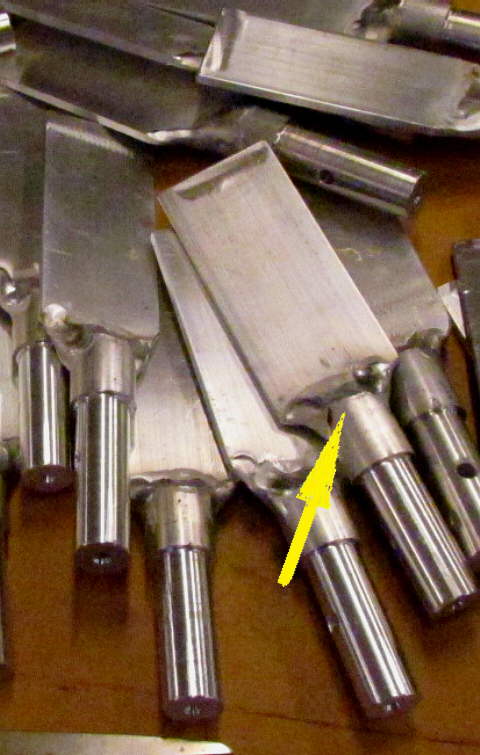
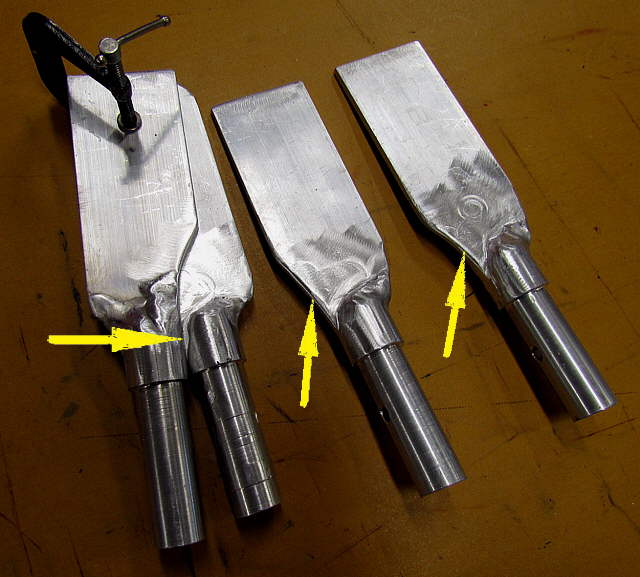
The round stock was slotted on the end about 1/2 inch deep with 3/16 inch slots and the rectangular pieces of 3/16 flat strap were inserted into the slots and welded to the round stock. Later at the boat the flat strap will be drilled and cut to fit the mounting location where it will be used. So these were basically done except for one more step.
..............
I thought that I might need to mount a couple of these together at the front mounts so I took a few and clearanced them, see arrows, so that they would fit up against each other.
..............
These were used mostly at the tops of the support tubing, but as you will see some were used at the bottoms also.
......................
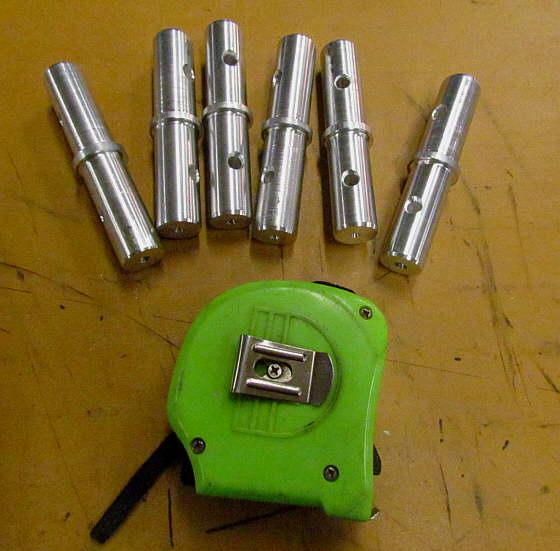
I also machined some sleeves up that could be used to joint two pieces of..
..............
... round tubing together if needed. I didn't use any of these, but maybe some day?
..............................
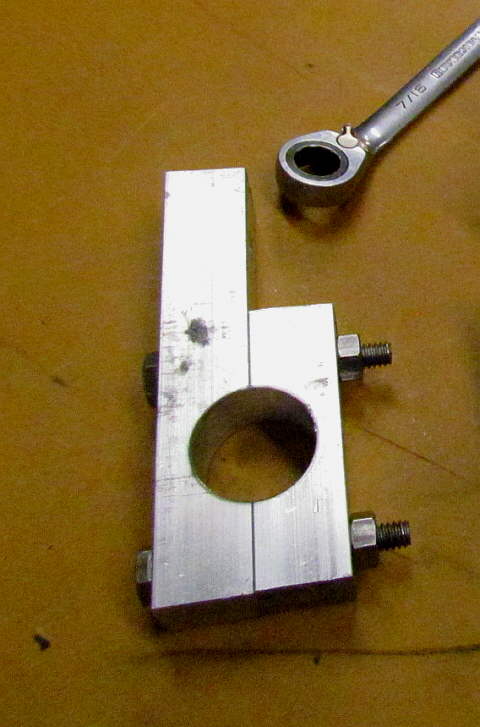
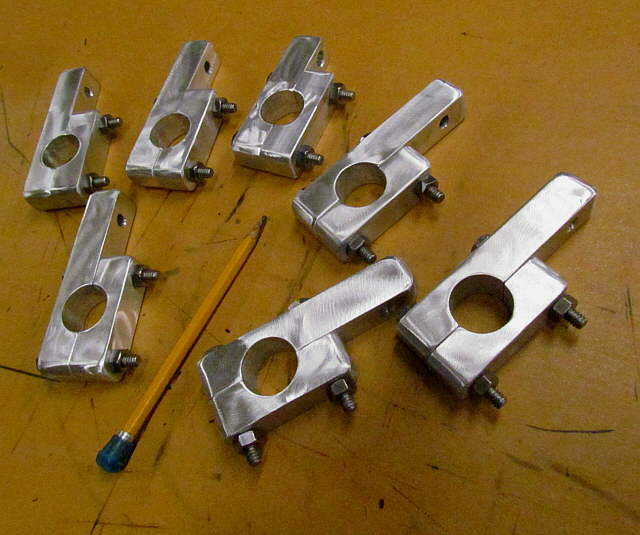
Next I took some solid square aluminum stock and drilled it and bolted it together and drilled a 1 inch hole at the joint between the two pieces.
..............................
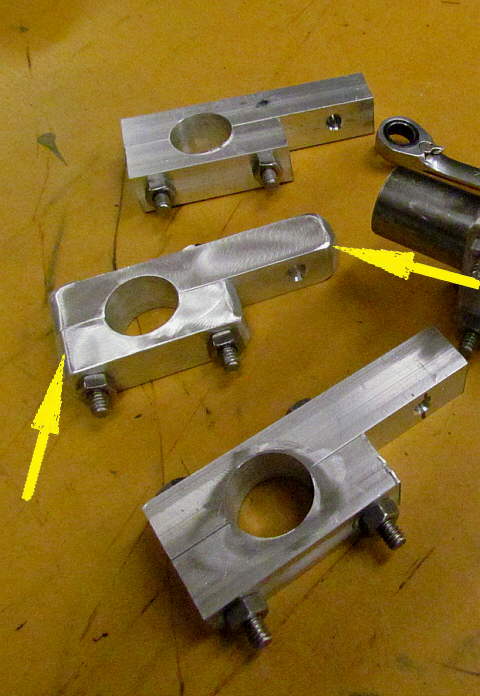
The bracket in the middle has had its squared ends rounded off. The longer piece of the bracket is...
..............
....where another bracket or bar could be attached. All of those holes were drilled to 1/4 inch at this point but I'd planned on probably enlarging them in use to 5/16 or 3/8 inch. The SS round tubing above and on the boat is gripped by the bracket and is tight enough so that when it is clamped down it doesn't move.
......................
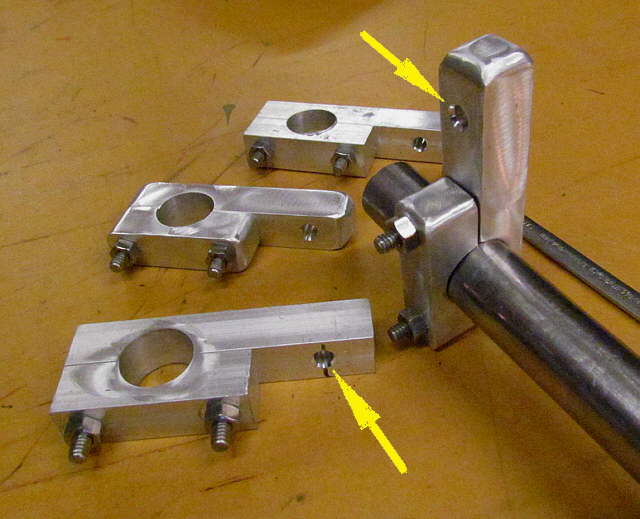
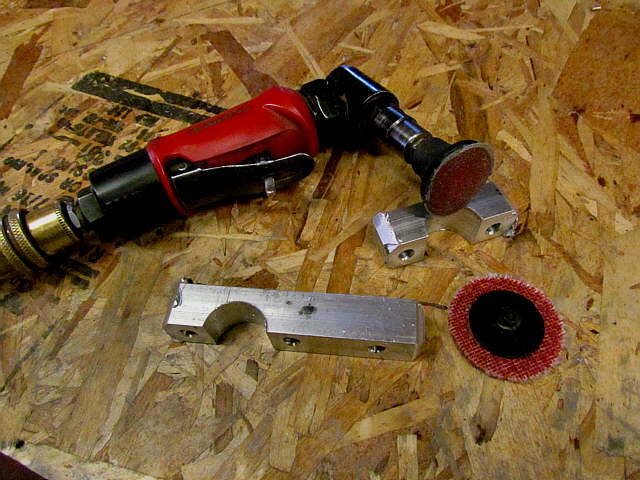
The ends were rounded by first taking a bevel cut with the end mill and ...
..............
....then finished off with the air tool and 3M Roloc discs.
..............
I ended up using these on the pushpit railing around the stern.