...............................................--- Mounting Brackets Part II ---
..............
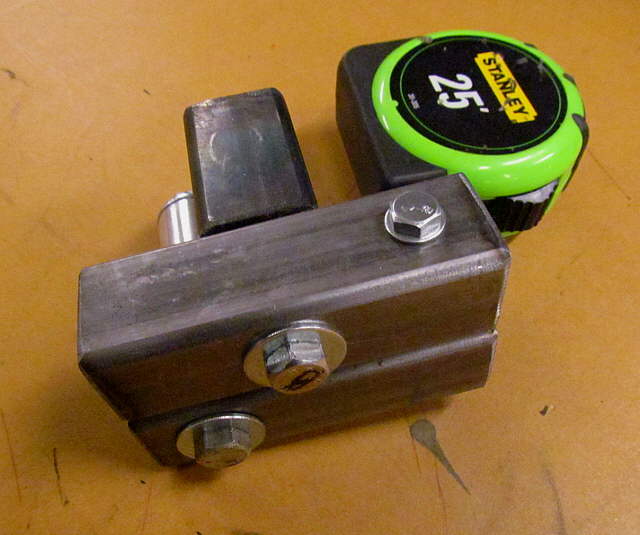
The picture above shows a little jig I made to bend some aluminum in for other brackets. It consists of a couple pieces of square tubing for the bottom and one post and a piece of round stock, also aluminum for the other post.
..............
A bottom view. Nothing fancy here.
..............
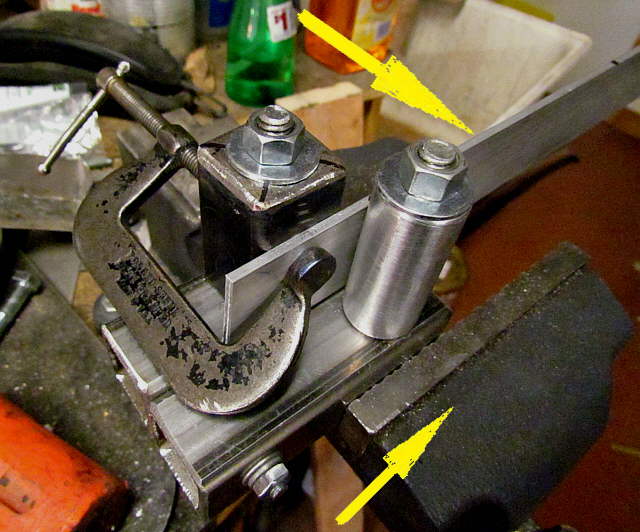
Lets make a bracket using the jig that has been clamped in the vise. I start by holding a piece of aluminum flat strap to it with a c-clamp.
..............
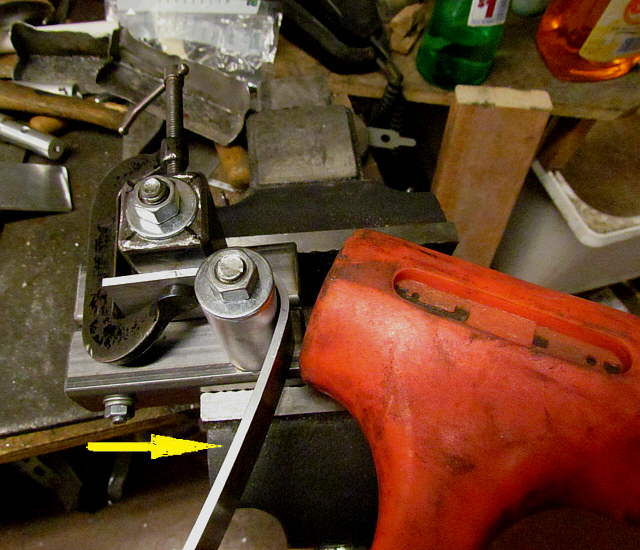
Then bend the aluminum around the round post using a crescent wrench on the aluminum (out of the picture) and work the metal with a dead blow mallet.
..............
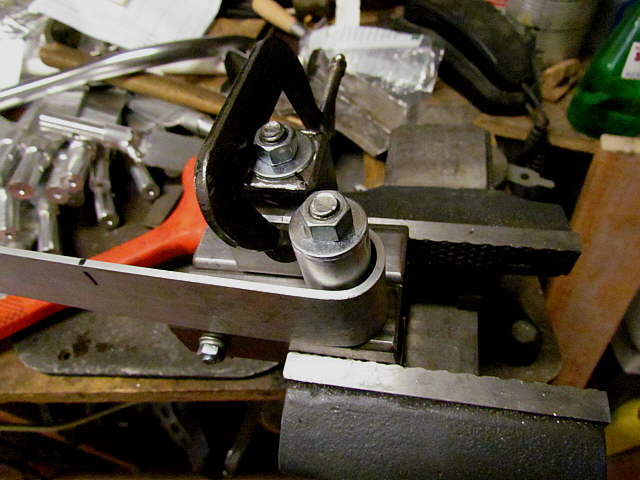
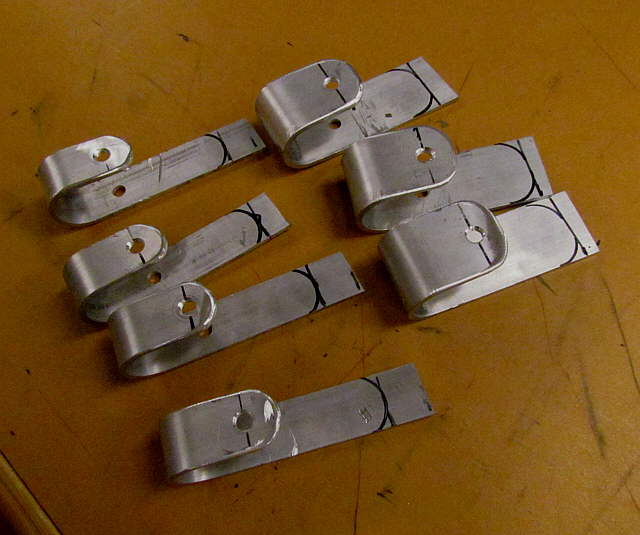
For this next series of clamps this is as far as we will take the bend.
..............
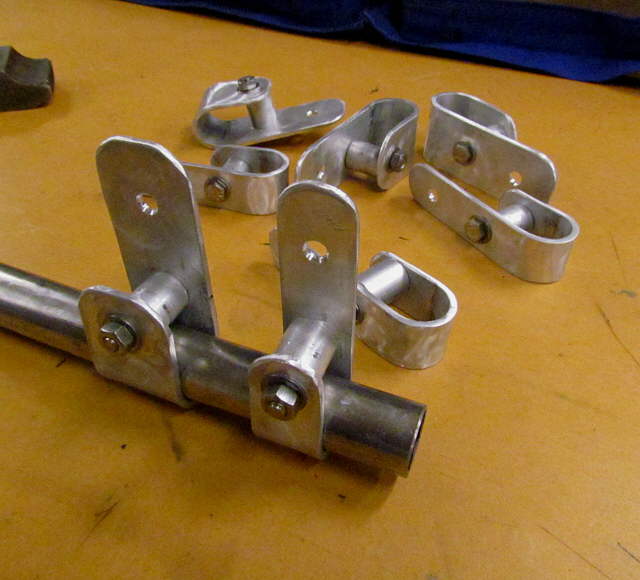
A number of narrower and wider pieces of strap where bent to shape. Holes were drilled in them and the square ends rounded off.
..............
Here all of the pieces have had the ends rounded off and polished a little with Roloc discs in the right angle air tool.
..............
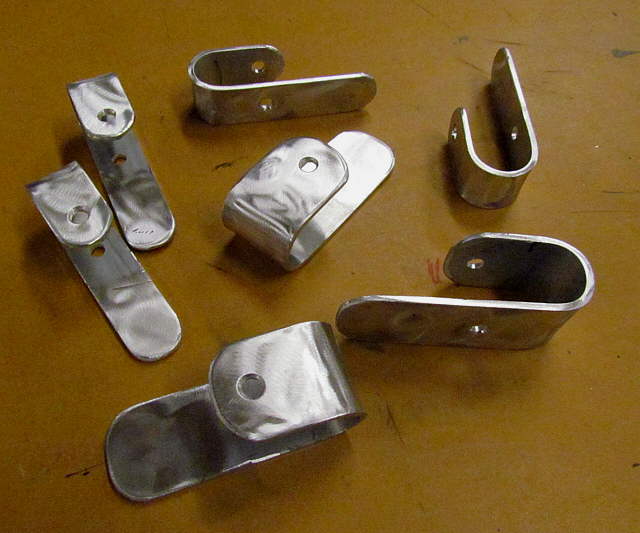
Next lengths of round tubing where cut just under 1 inch in length.
..............
They are used to tighten the 'U-shaped' end just enough in order ...
..............
.... for it to clamp onto the 1 inch rail tubing. Mounting holes were also added to the long leg of the clamp.
..............
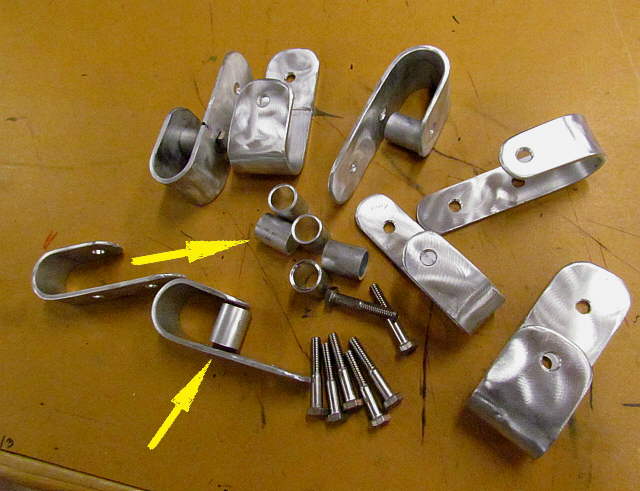
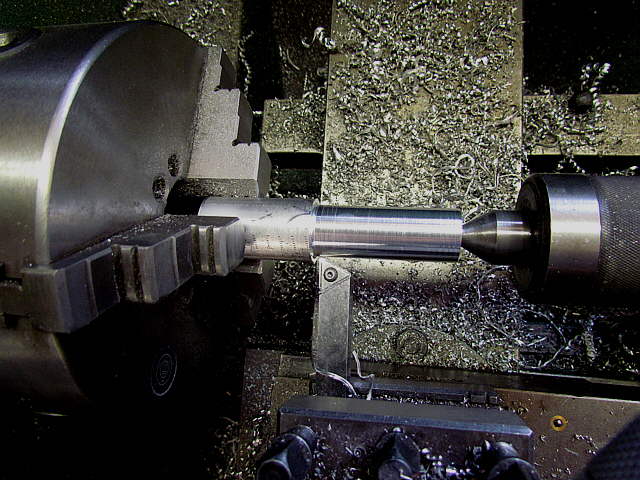
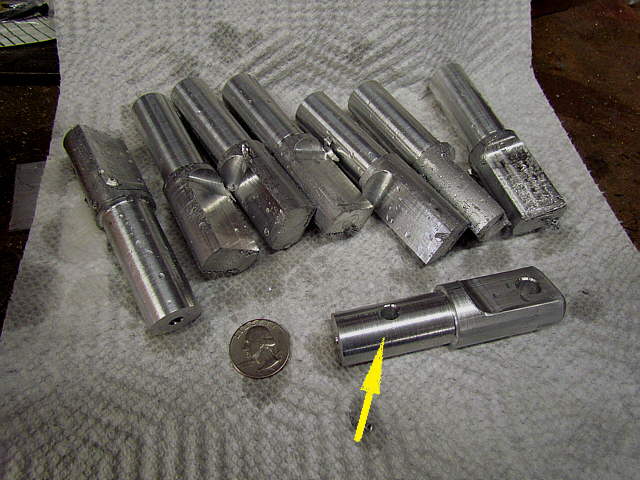
Next up is a fitting that will go into the end of the 1 inch round tubing that I bought. Again it was turned down just enough so that...
..............
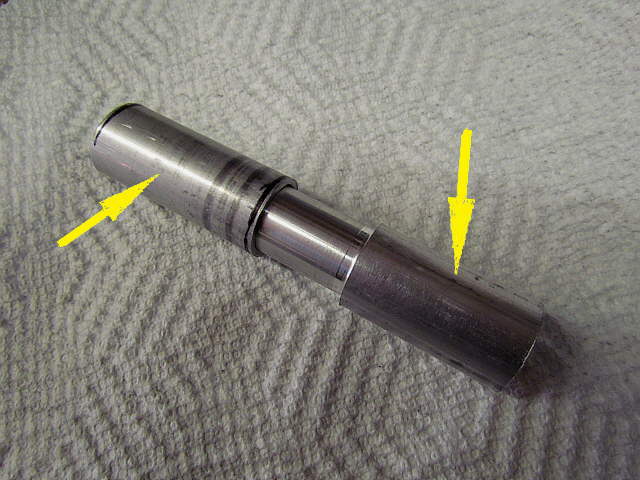
...it would slide into a piece of round tubing shown here on the left for illustration purposes. The actual tubing used will be much longer.
..............
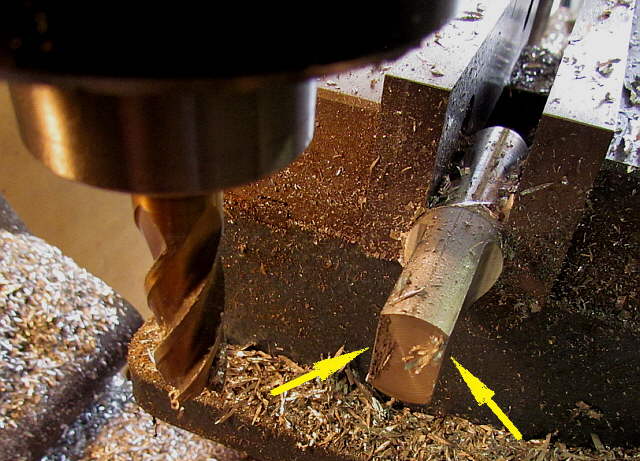
Next the end that wasn't turned is flattened with an end mill to form 2 parallel flat sides.
..............
Holes were again drilled 1 inch from the turning step, bottom arrow and ...
..............
... on the other end as well that will be the mounting end.