...Return To Mine & Other Bonneville Car Construction Pages
.Previous Page...............B'ville Car Index Page.........................Next Page
...............................--- Seat & Roll Cage Part V ---
Yes you are right I had to make some more changes to the cage.
......................... .
.
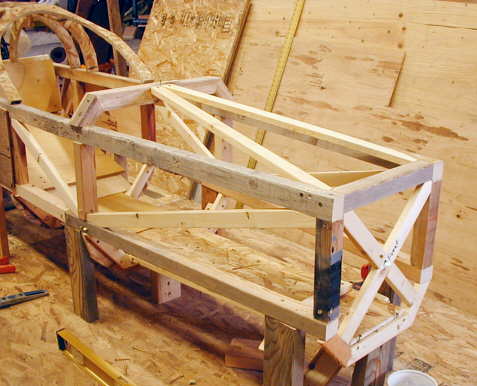
I, along with some others, felt I had overbuilt the cage area. I decided to re-do some of the front area and take out one set of crossmembers. So I basically redid the side and top area.
........................... .
.
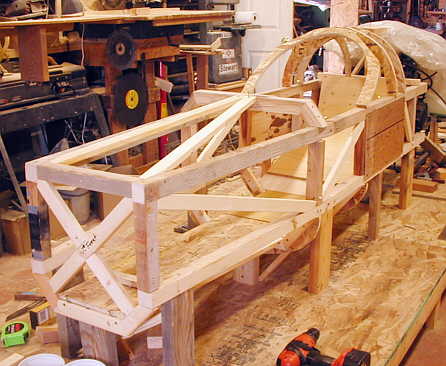
Another view showing the changes to the front.
........................................... .
.
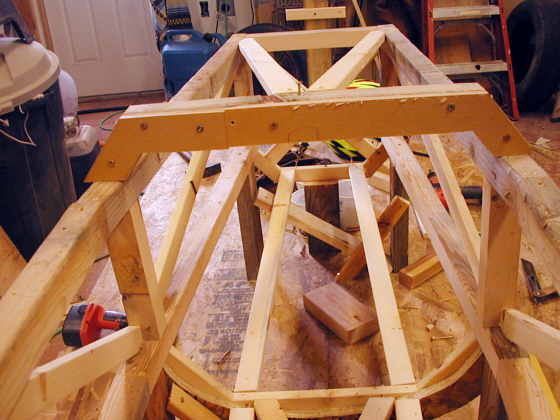
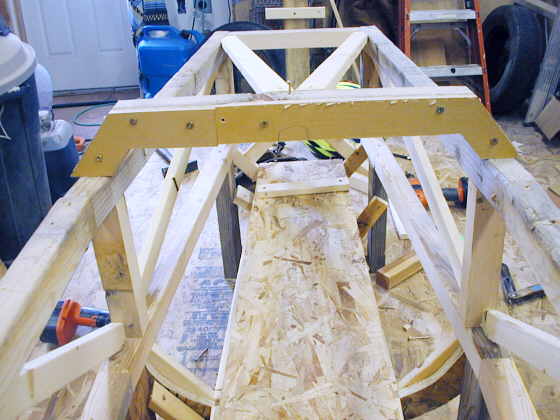
I changed the top "X" pattern bracing to two diagonal pieces. This helps getting in and out of the car. I can slide down into the foot well with my knees going up just in front of the cockpit crossmember in the triangulated section. That lets me get my head down so I can slide back into the back of the cage. The way the top-front was before, my knees would hit the top bracing and made it difficult to get into the cockpit.
............... .
.
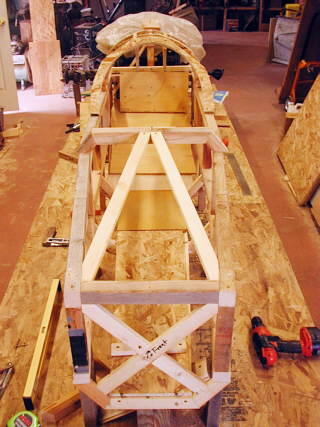
A view from inside the cockpit showing the floor bracing.
...............
Here I have the bottom floor on the floor bracing. The 1 X 2 is where my heels rest.
I figured the weight of the driver cage area using the square tubing vs. 1 5/8 inch DOM round tubing. It looks like the square tubing is going to be about 40-50 lbs more. I think I'll live with that for now. It will help move the center of gravity (CG) a little further ahead and that will help keep the CG ahead of the CP (center of pressure), which I want to make sure I do on this car.
Now I feel good about the cage area and will move onto the front of the car.
..................................................................Next
Page