...Return To Mine & Other Bonneville Car Construction Pages
.Previous Page...............B'ville Car Index Page.........................Next Page
...............................--- Seat & Roll Cage Part IV ---
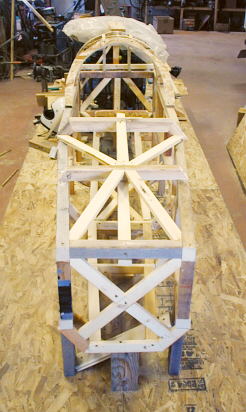
Finally with this group of pictures I think I can present the final cage, but then again I'll bet there will be changes.
............. .
.
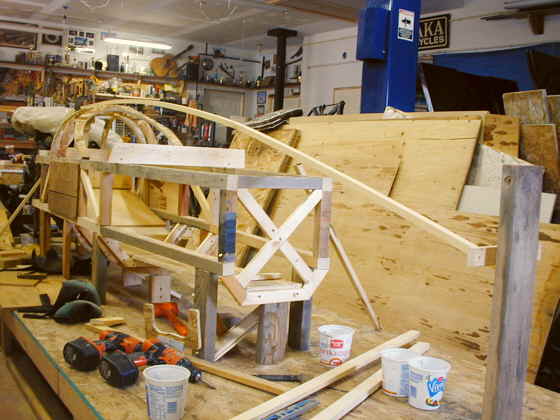
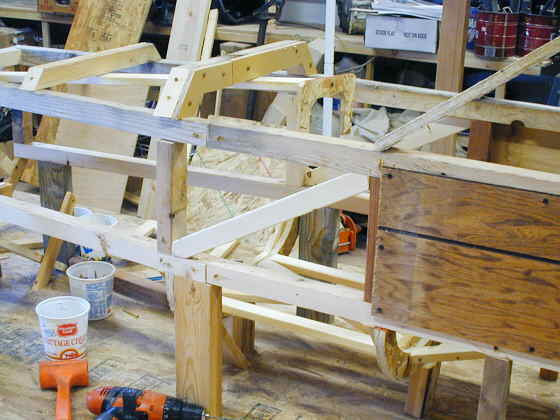
I used a strip of wood to get an idea of how the body might slope towards the front, although I won't know for sure until I get the tanks here. I leave on a trip east tomorrow, April 13, 2005, and will pick up the drop tanks in Texas on the way back.
............ .
.
Another view showing the possible body outline. I have also started sloping the foot well up so that the lowest part of the body will be from my butt back to the motor. Here you can also see the bracing for the front of the foot well area. The frame in front of this will go from .120 X 2 X 2 down to .120 1 2/2 X 1 1/2 square tubing. I'll also use that size for the frame behind the driver's cage.
............ .
.
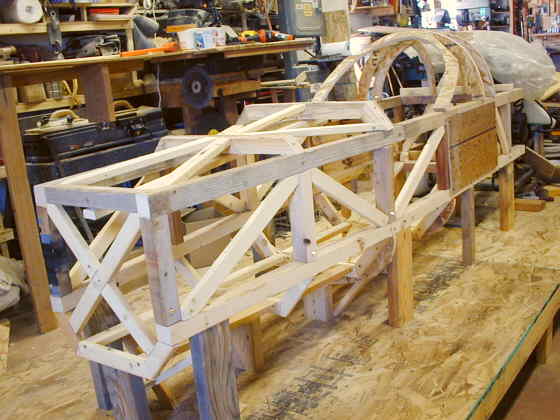
After consulting with a friend I decide to do away with the "X" bracing at the back of the cage area as the rear helmet hoops weren't really supported and tied into the rest of the frame. This is the new look. (This is how it was.)
............ .
.
Here I've added some top crossmembers over the top of the foot well. I also installed a 1 X 2 that represents the steering shaft and made a wheel to see how things worked for entry and exit. The wheel will be a removable one on the car. I can get in and out fairly easily with the first crossmember in that location. That moved it ahead of the upright between the top and bottom frame rails. I took care of that next.
...........
I've moved the vertical upright ahead so that it is under the first top cross member in the foot area. That meant I also had to move the bottom crossmember ahead a couple inches and make a new diagonal side support. Man I'm glad I'm just doing these changes in wood. I suppose I could have drawn up plans, but I like working out of my head and sometimes you just can't seem to really get it right until it is for real.
.............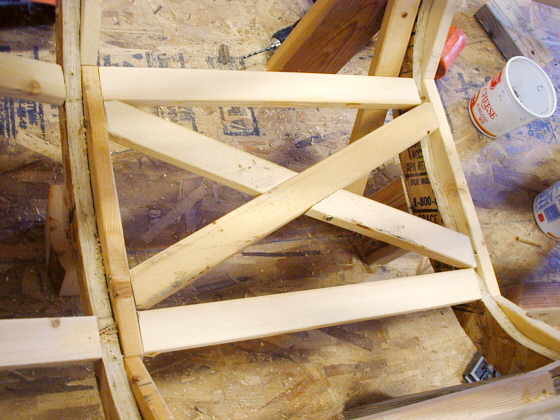
I re-did the "X" members under my butt between these two bottom crossmembers, since I had moved the right one a couple inches forward. This will really give some protection and strength to the center of the driver area.
..............
I added a middle vertical upright and bracing for the foot well area.
............................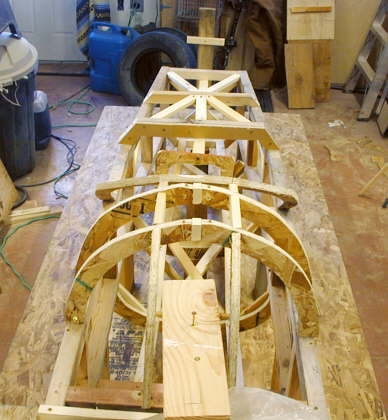
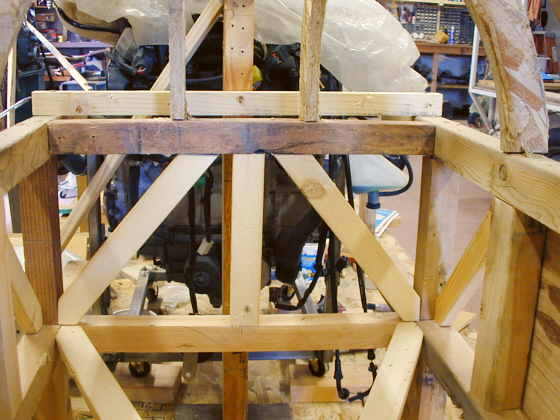
A view from the rear of the cage looking forward.
..............................................
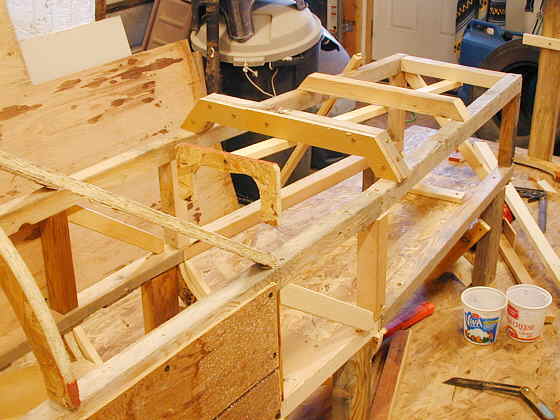
A good view of the bracing on the top of the foot well area.
..............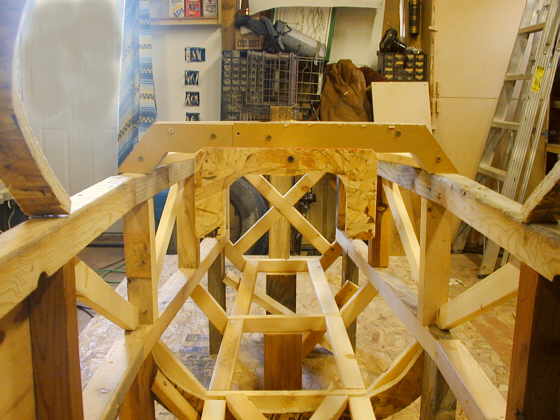
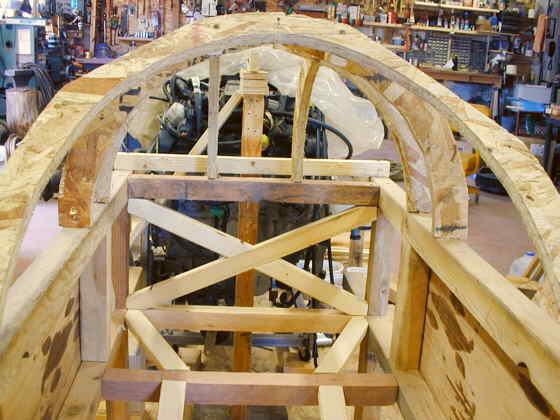
The driver's view. You can see the bottom bracing up through the foot well and also the steering wheel center picture and the view over the first top crossmember.
It feels really good to get this much done before I head to Missouri. Check back in a couple weeks to see how the tanks look. I hope they will be workable :-).
c ya, Sum
..................................................................Next
Page