...Return To Mine & Other Bonneville Car Construction Pages
.Previous Page...............B'ville Car Index Page.........................Next Page
...................--- Finish Work on the Rear Carrier ---
.................. .
.
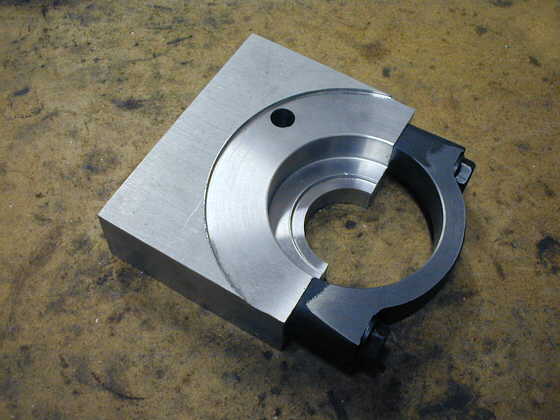
I had to go back on the pillow blocks and relieve another area all the way in towards the center on the picture above. I forgot that the inner bearing race needs to turn with the carrier. That relief now gives the clearance needed for the inner bearing race.
............... .
.
I also had to chuck the carrier up in the 3 jaw chuck and turn the bearing surfaces to a slightly smaller diameter as I didn't want the ball bearings to be as tight an interference fit as the tapered roller bearings were. Actually I just used a file to remove a little over 1 thousand's from the diameter and then cleaned them up with some emery cloth. The bearings are still a press on fit, but not as tight as before. You can see the bearings pressed onto the carrier above.
................. .
.
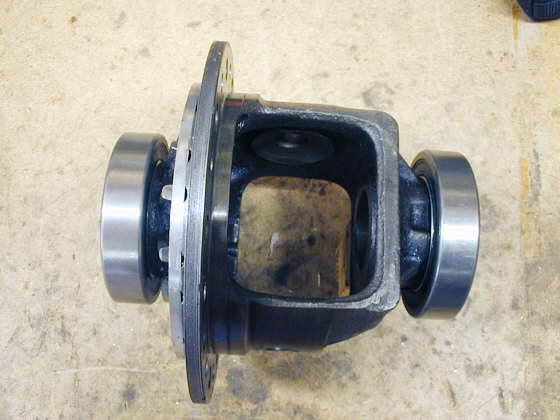
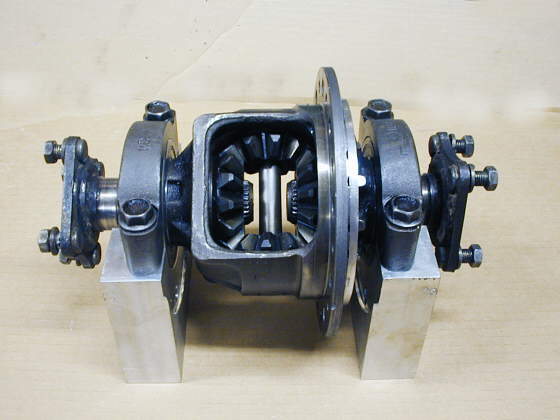
Here is the carrier with the output shafts re-installed along with the side and spider gears. I'll use these spiders as I build the car and then will probably use the other set I have welded up when the car is done to give me a "locked" rearend.
....................................... .
.
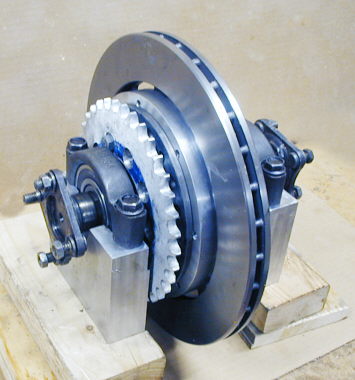
A picture looking from the right side with the sprocket and disc brake rotor installed on the carrier.
.......................................
And a picture from the left side showing the finished carrier. At this point I don't have all of the bolts installed that will hold the sprocket, adapter for the rotor and the disk brake rotor.
I am real happy how this all came out and it turns really easy and smooth. I hope this all works as planned and I'm not over looking anything.
..................................................................Next Page